


Welcome Wreath Craft Kit
Crafting is fun. Wreaths are awesome. Flowers = happiness. And with spending more time at home, some updates to our wall decor can brighten not only our homes but our spirits. At Oh You’re Lovely, we just released a new craft kit for a wood cutout wreath with wood flowers. The perfect combo!
And I am excited to share with you a step-by-step process on how to get started on creating a piece that will be a great new addition to your house! Let’s get started.
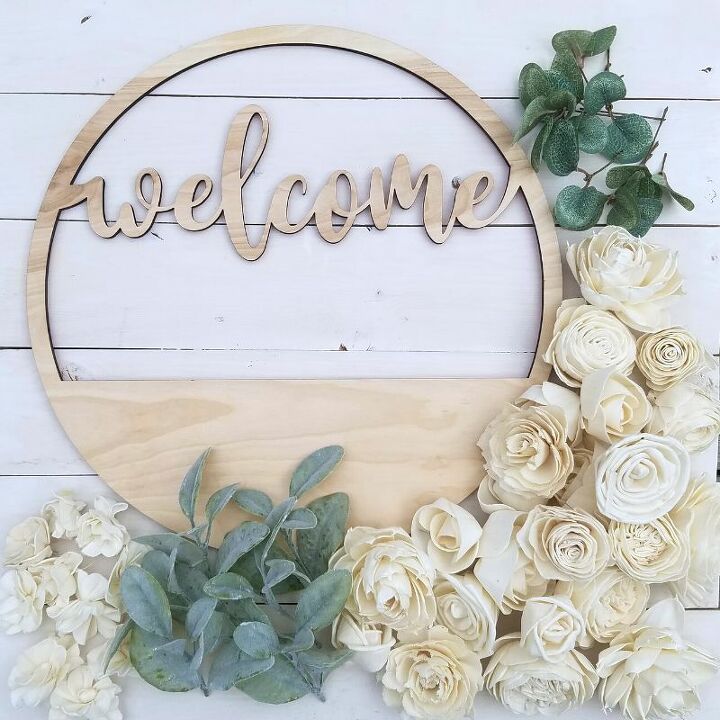
This craft kit includes:
- One 14” wooden Welcome wreath (you can also choose the word Home)
- Assortment of 25 roses (styles may vary)
- Ten individual hydrangea blooms
- One bundle of individually cut greenery (well thought out surprise bundle that will be enough to finish your project!)

Think about your favorite color combinations and take a little time to plan out what colors you would like to include on your wreath. I think I was dreaming of summer and fresh watermelons when I came up with this one but whatever you want to use, go for it! For the welcome cutout base, I used craft acrylic paint and hand-painted a layer onto it. You can also spray paint or stain the base.
For the flowers, I used most of the dyeing techniques we have posted tutorials on so far - hand painting for delicate flowers, blending colors and the dip dye method. There are more flowers in the kit than you will use on the wreath so feel free to experiment with the painting!
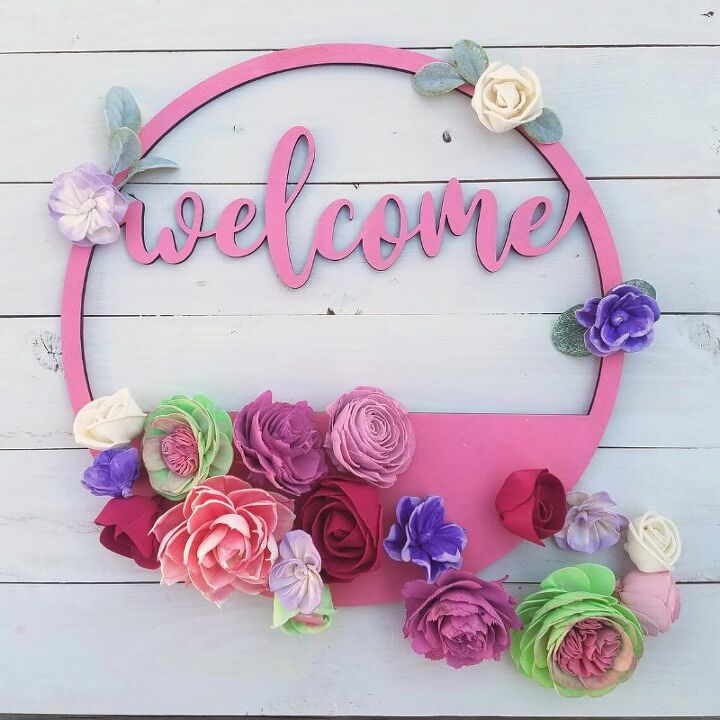
Once everything has dried, it’s time to start designing! For the most part, I begin by loosely placing flowers where I want them to go. I don’t use any glue for this step because I tend to change my mind as I go and rearrange their placement until I smile when I look at it 
You’ll notice in the picture that I do have some greenery in the top half. I like to save the greenery placement for last UNLESS I want to place the greenery under a flower. Since the top part will just include individual flowers, I placed a little bit of greenery under them for the designing part of the process.
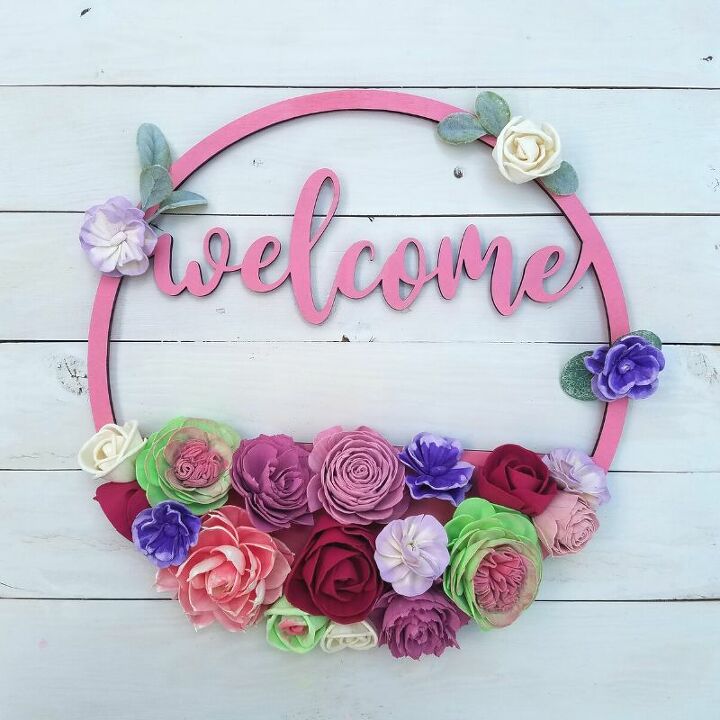
When you have the flowers arranged in a way that you are happy with, take a quick picture! I am admittedly a messy crafter so when I start this step of gluing the flowers down to the wreath, they end up all over the place! Having a pic nearby means I can glue and place them the way I originally envisioned.
You may find as you are gluing that more space on the bottom section opens up. Luckily you have plenty of flowers to fill any gaps that may be created!
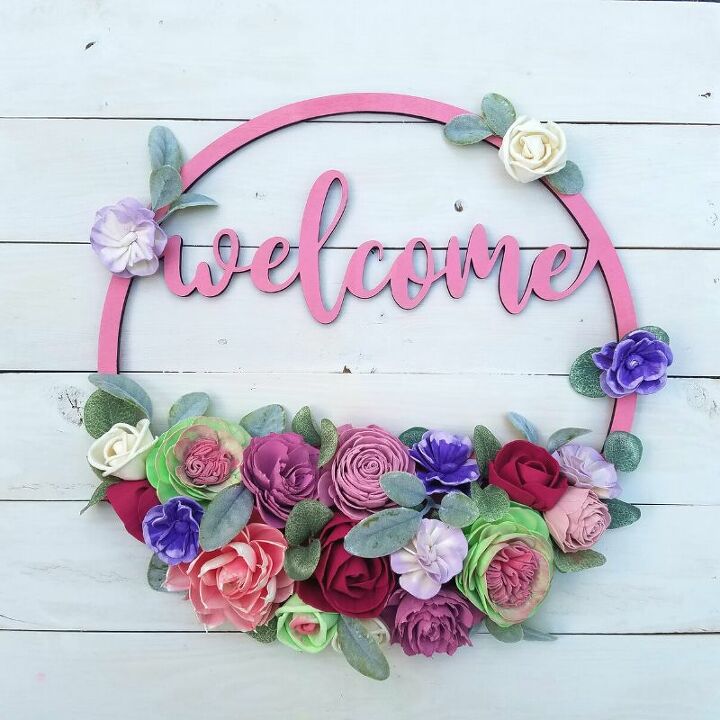
As you can see in the picture, I added the bits of greenery from the kit into open spaces that I found on the edges of the wreath and in between some flowers. Fun fact - when I first started working with wood flowers, I was terrified of greenery! So feel free to use as much or as little of it as you are comfortable with.
And there you have it! A fun wreath craft kit to help keep your creative juices flowing and something pretty for your home 


Frequently asked questions
Have a question about this project?
Where can I purchase the kit