


7 Easy Steps to Make Wooden Christmas Trees

I was recently given some reclaimed wood. We already love reclaimed wood on walls and wanted to do something simple for winter decor. You’ve all probably seen pallet wood trees, but how about a reclaimed wooden Christmas tree?!
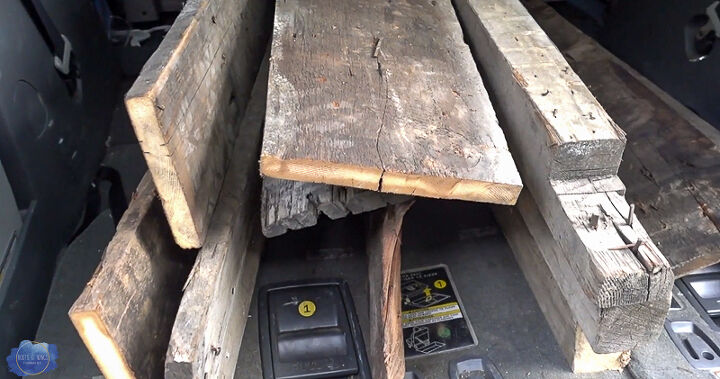
First I pulled out any remaining nails from this 1×10 piece. I wanted to use only one piece of the reclaimed wood so I'd have plenty left to do other projects. This piece was 8 ft long, and was just what I needed for these wooden Christmas trees.
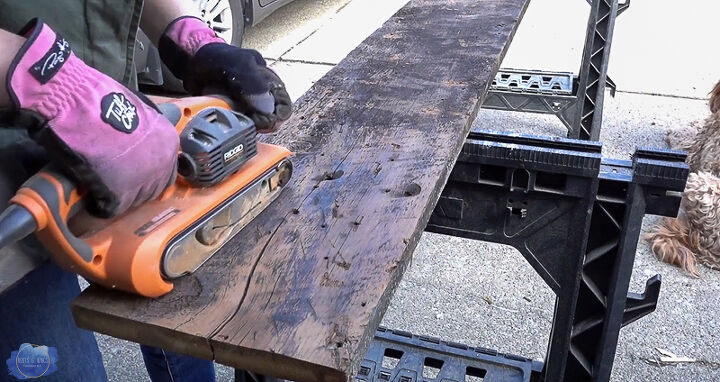
I sanded using my belt sander with a 50 grit belt. Wear a mask & gloves-it's messy. I finished up with my pad sander and 120 grit sandpaper. This smoothed it out more and took care of rogue splinters.
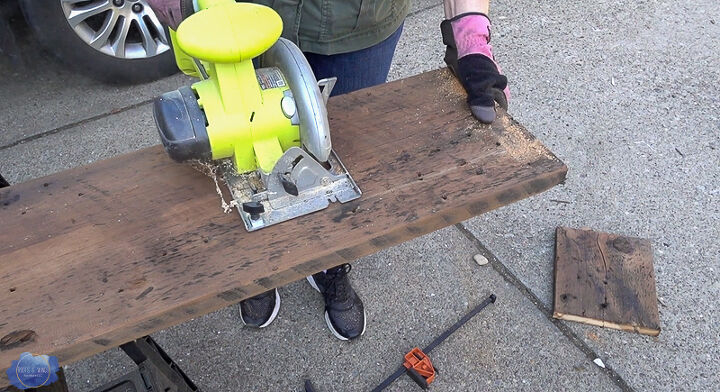
Since I wanted my tree bases to be about 12″ wide and my trees to be about 3 ft tall, I cut a few pieces at 12″ wide and began to lay out the tree design.
With my base pieces cut, I began to rip the wood into thinner planks to give the trees some varying plank widths and make them more interesting to look at.
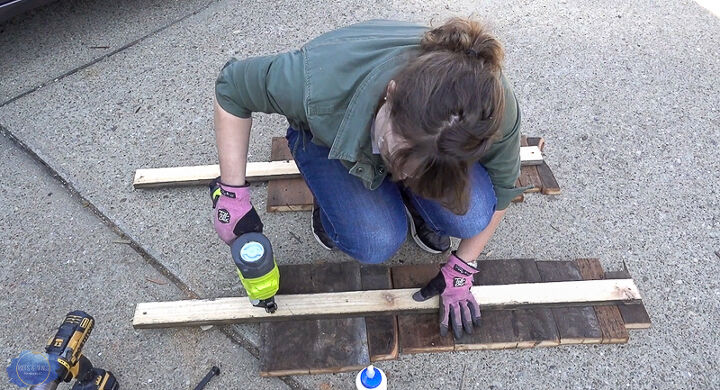
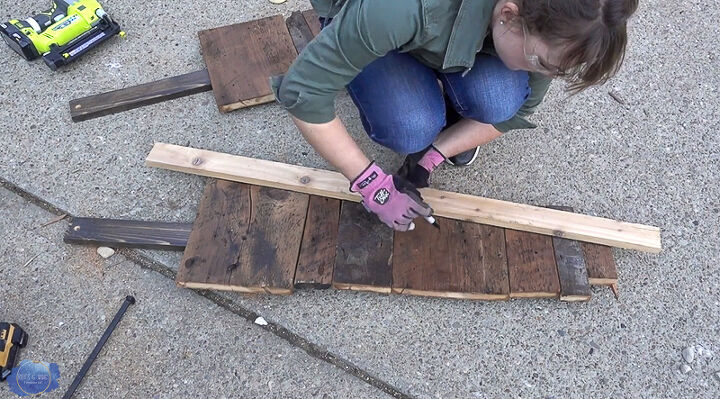
I laid out all the pieces, and alternated the pieces in width to make the rough forms of the trees. I used some of the un-sanded sides to give a variation in color. Just flipped, positioned and adjusted until it looked right.
Using some pieces of scrap wood as a brace, I glued and nailed the pieces together. You could also use screws here.
I flipped over the tree and using a straight piece of wood marked my triangle. I wanted my wooden Christmas trees to all be tall and skinny triangles. Make them any size or shape you’d like though. I marked my lines with a marker.
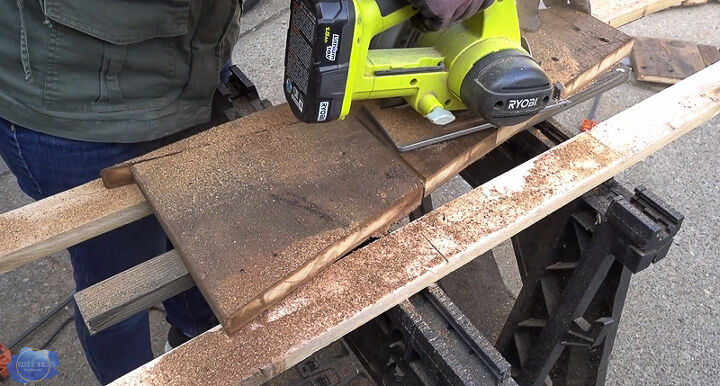
I cut triangles with my circular saw which gave the edges a nice clean cut. I reattached and glued some of the top pieces if needed for more reinforcement.
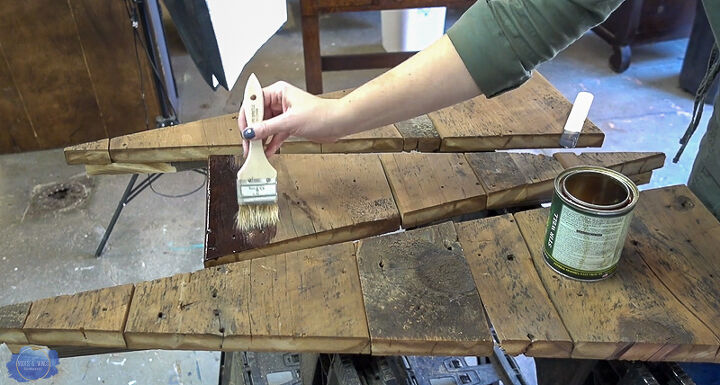
Because this wood was old and dry, I grabbed some oil based polyurethane to seal up the wood and re-hydrate it. This really darkened the color of the trees.

From beautiful old reclaimed wood to a set of wooden Christmas trees in 7 easy steps!
If you like this project and tutorial check out more on my YouTube channel.
I'd love to connect with you on social media:
IG: @rootsandwingsfurniture
Facebook: @RootsandWingsFurniture
Stay Creative!
~Jenni
Resources for this project:
See all materials


Frequently asked questions
Have a question about this project?