


Advent Calendar Using Bamboo Food Cones

This advent calendar is easy to make and can stand anywhere. And you can buy the supplies with your Christmas baking ingredients.
Visit the a food packaging store
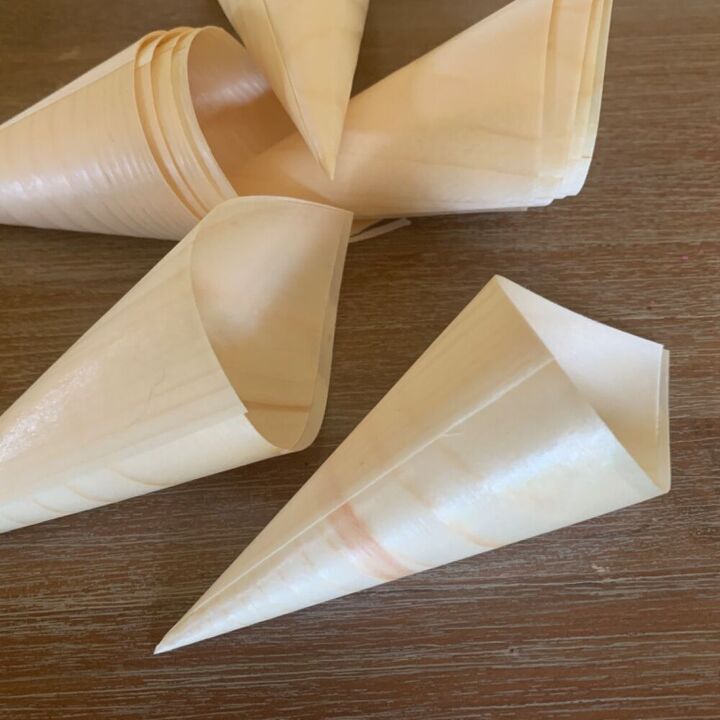
I just love these disposable bamboo mini-food servers. They are so elegant and eco-friendly and I’ve been thinking of a way to use them for a long time. Of course you could easily make some cones in card stock but the light wood colour of these really appeals to me.
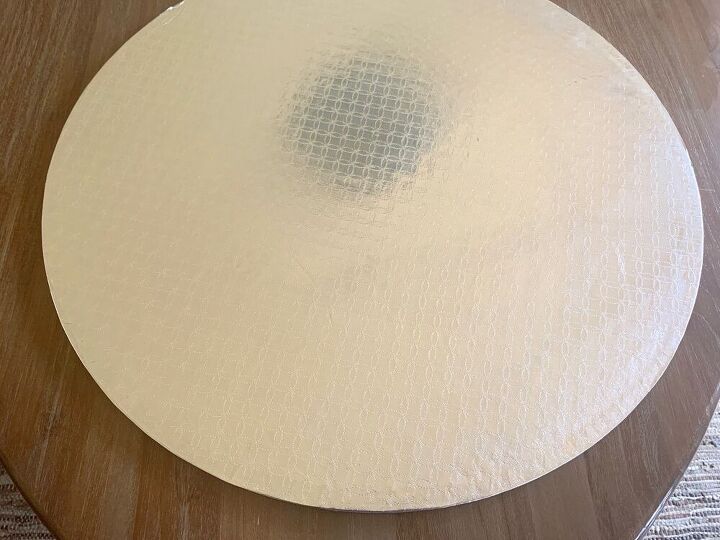
And then there is my other crafting staple, the cake board, this time in polystyrene. Both of these can be found at a catering supply store, together with all you cookie spices.
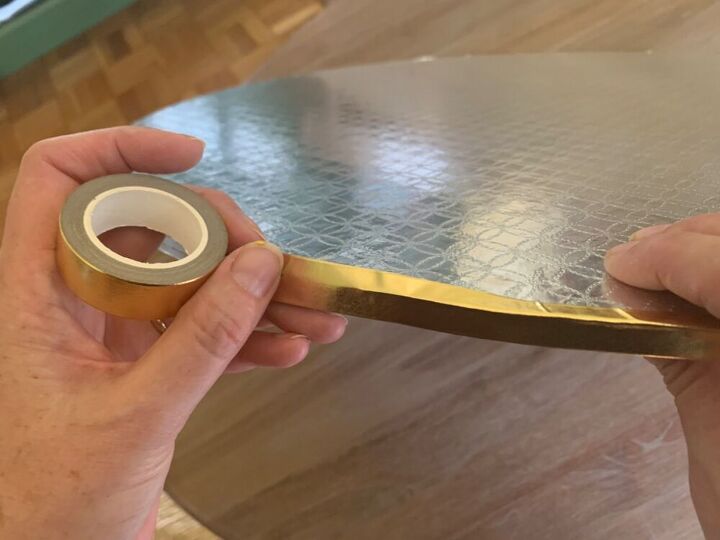
Make a rim for the board
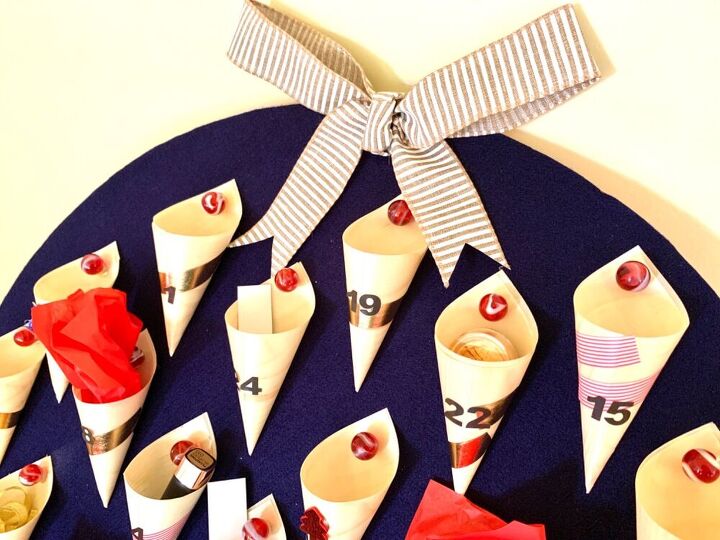
I took some gold washi tape and wrapped it around the edge of the board. You will notice that it creases on the flat side. This shouldn't be a problem as long as the felt is the correct size.
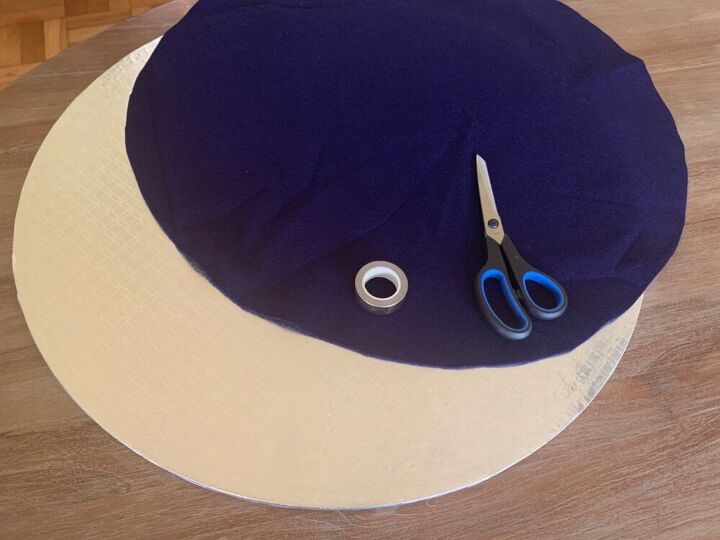
Fit and stick a piece of felt
In my defense, I'm not American, so when I chose the beautiful, richly coloured royal-blue felt over the green (so traditional!) and the grey (so grey!) it didn't cross my mind that my end product was going to confuse folks in the U.S. a bit. I assure you, it's for Christmas, not for the 4th of July! I should have just gone for the green...sorry about that.
Anyhow, I traced the shape of the board onto the felt with a white crayon and cut it out.
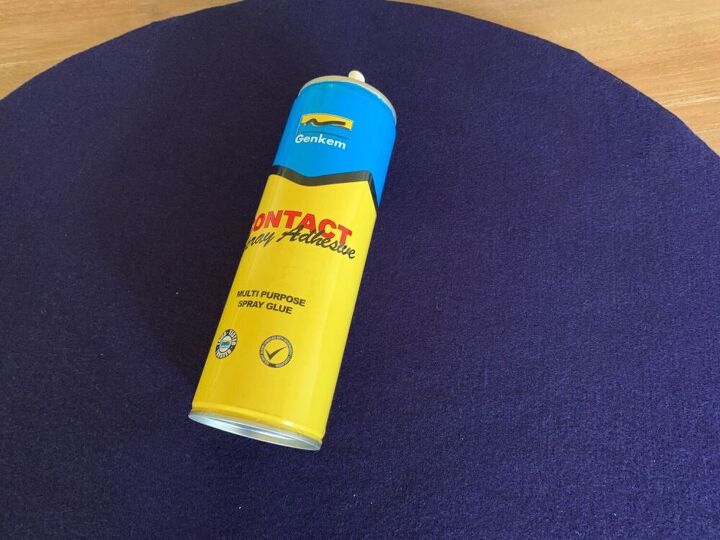
After ironing out the creases, I sprayed contact adhesive on both surfaces and left it a bit before I stuck the felt onto the board. Be sure to follow the instructions on the can regarding the waiting period.
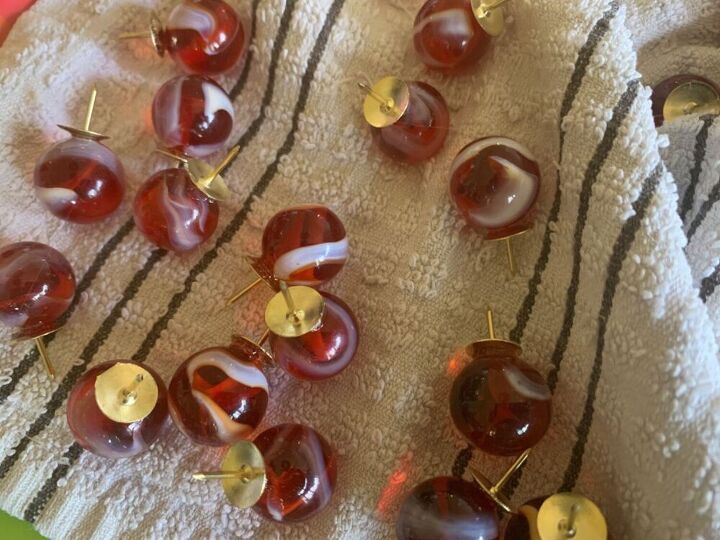
Make some pretty tacks
I took 24 beautiful red marbles and stuck them to some tacks with hot glue. You can also use superglue but definitely don't skimp on whatever glue you use otherwise the marbles will come right off. I put mine on a dish cloth to prevent them from rolling around. Once again, I was so enamored with the stripy marbles that I didn't notice the theme developing.
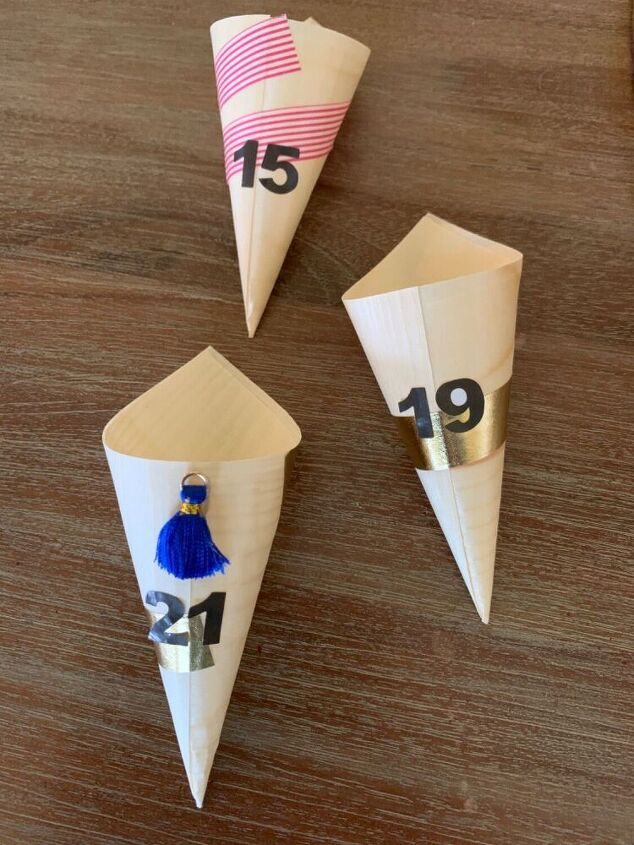
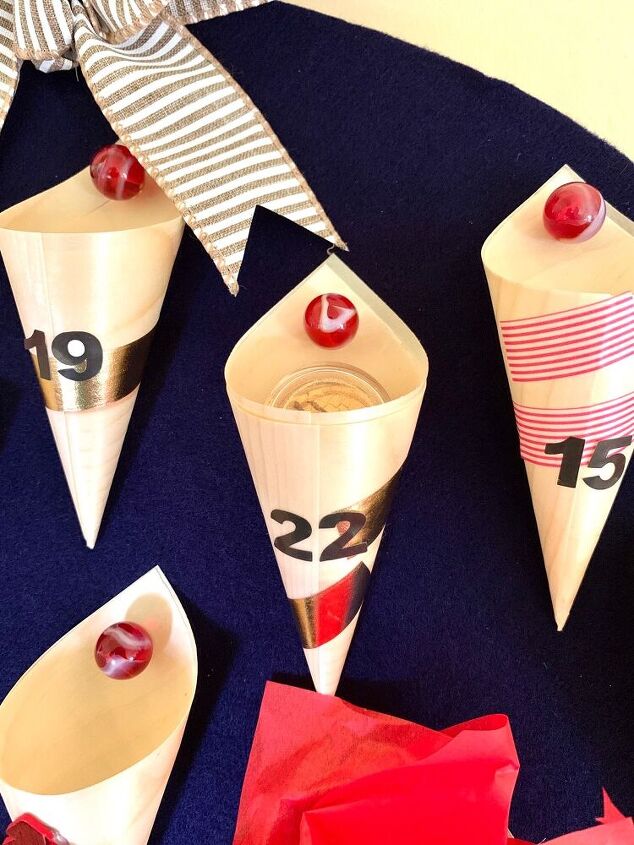
Decorate the cones
I used washi-tape, tassles and wooden shapes to decorate the cones. To get the numbers I used stick-ons but you could always be more creative with a printer, laser-cutter or clay. Really striking red and white striped tape...Oh dear!
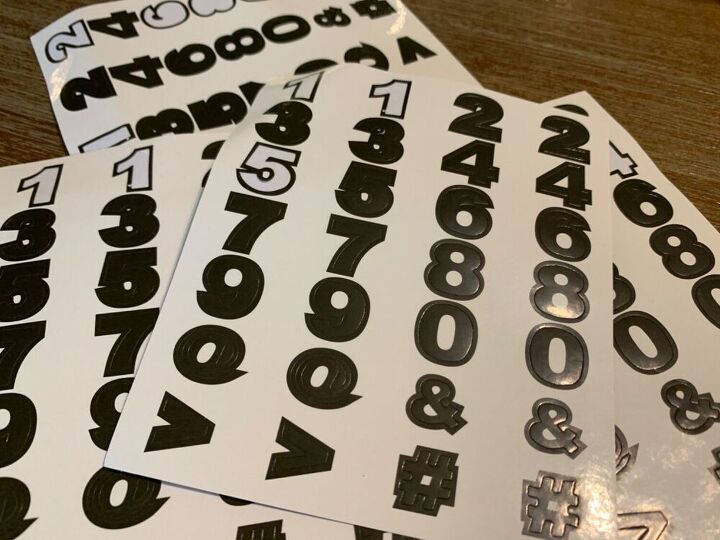
The ready-bought stick-ons are very quick to use.
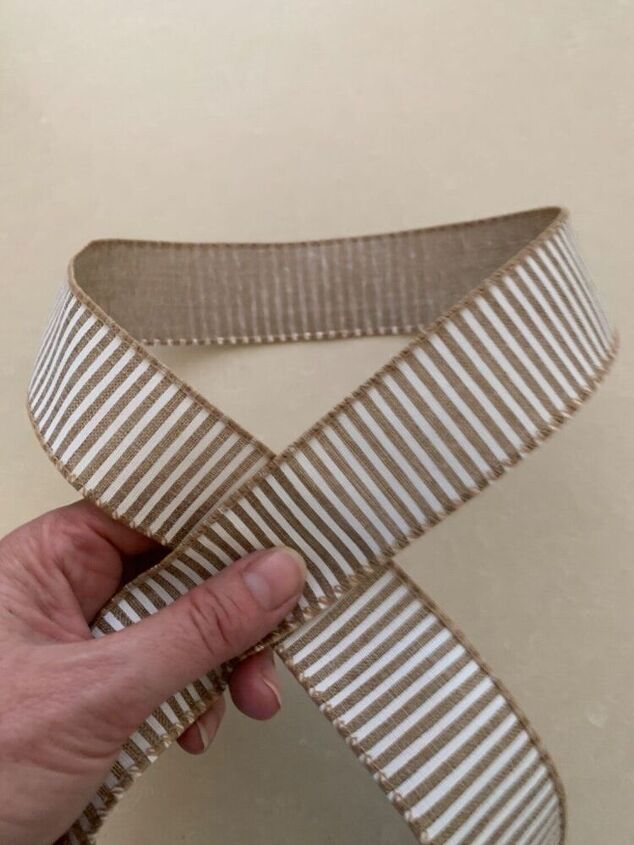
Construct a bow
If, like me, you've never made a wreath, you will quickly discover that you don't just tie a bow, you construct one. The easiest method I could find was this:
Fold a nice sized piece of wired ribbon to cross over as pictured above. The loop is going to make your bow 'ears' so it needs to be quite big.
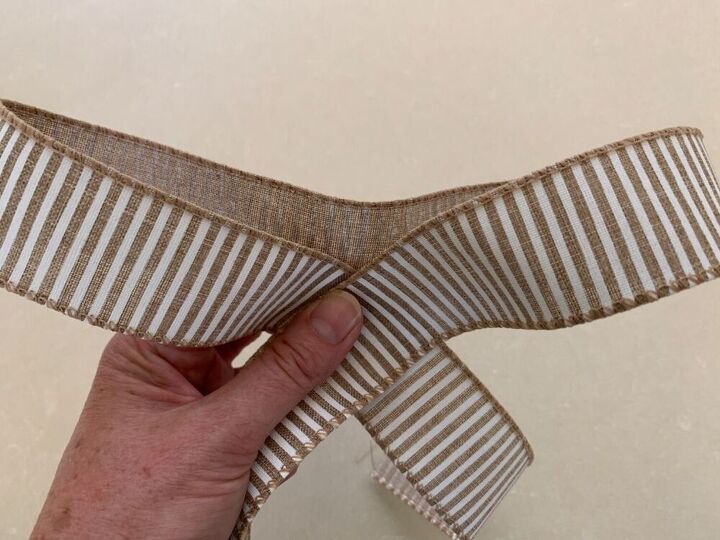
Bring the centre of the loop down towards the cross and pinch all three parts together. You will have two ears.
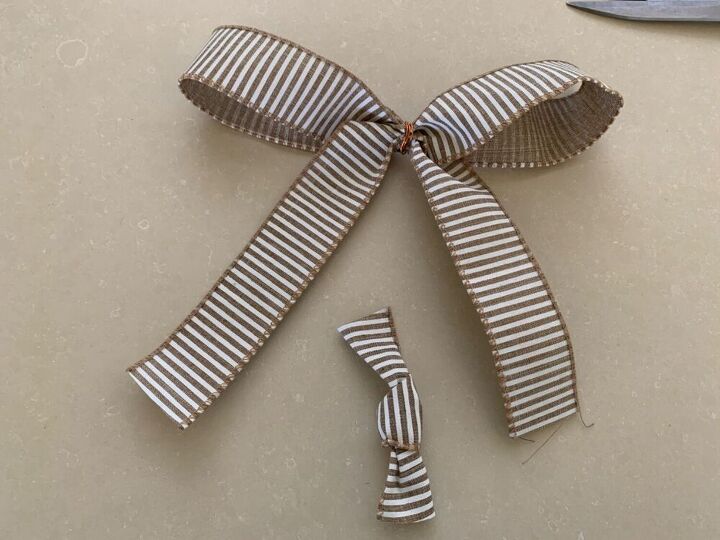
Wrap a thin piece of wire around the centre section to secure the ears and the crossed fabric and trim.
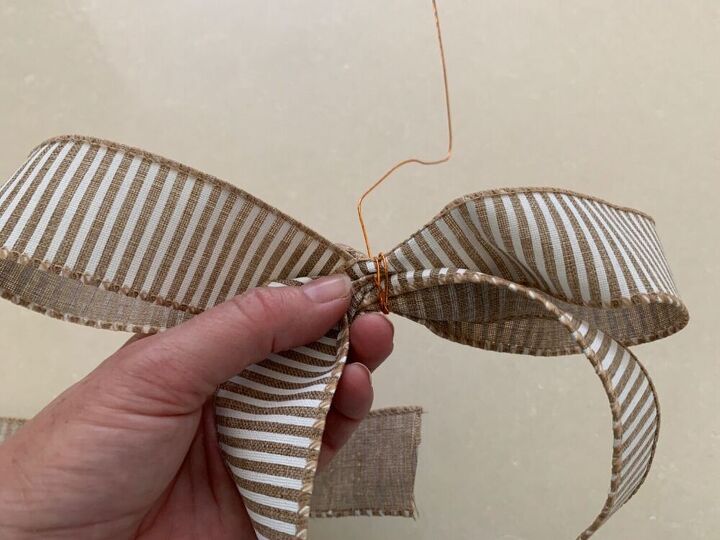
Next, trim the tails.
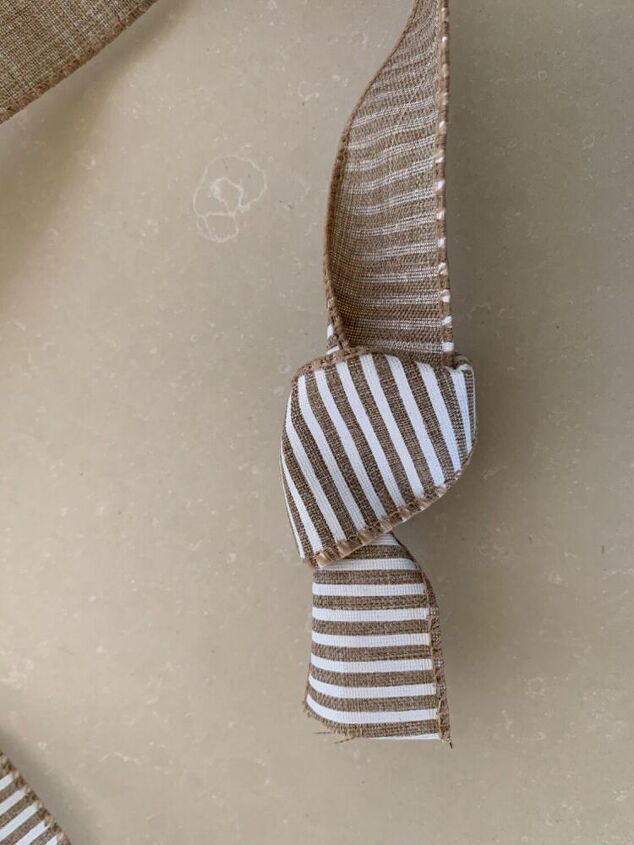
Take a short loose piece and tie a knot that will be big enough to cover the wire but small enough to look like an actual knot. The one pictured above needs to be tightened further.
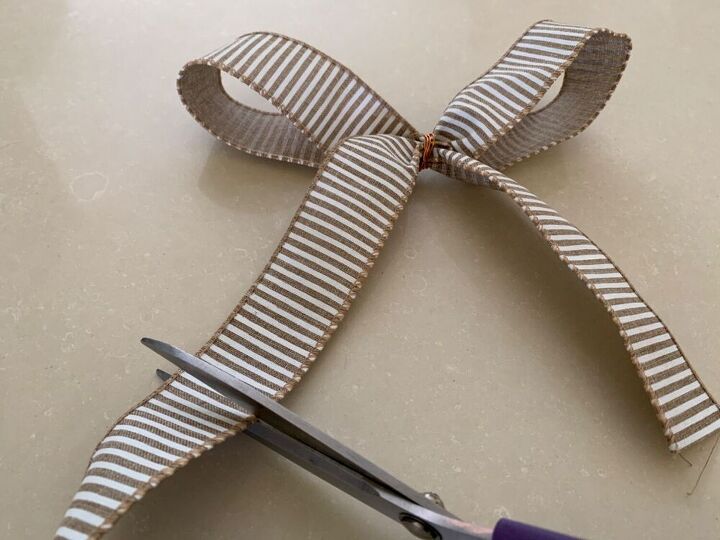
You should be left with two parts that look like this. The loose knot can be trimmed and tightened further to better fit over the wire.
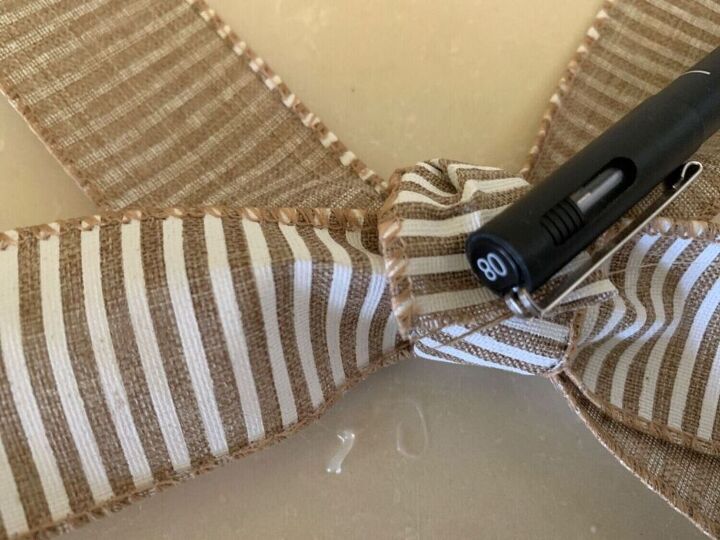
Roll the extra piece over the wire and stick with hot glue on the back, less visible side of the bow. You may need something like a pen with which to press down the fabric until it has cooled.
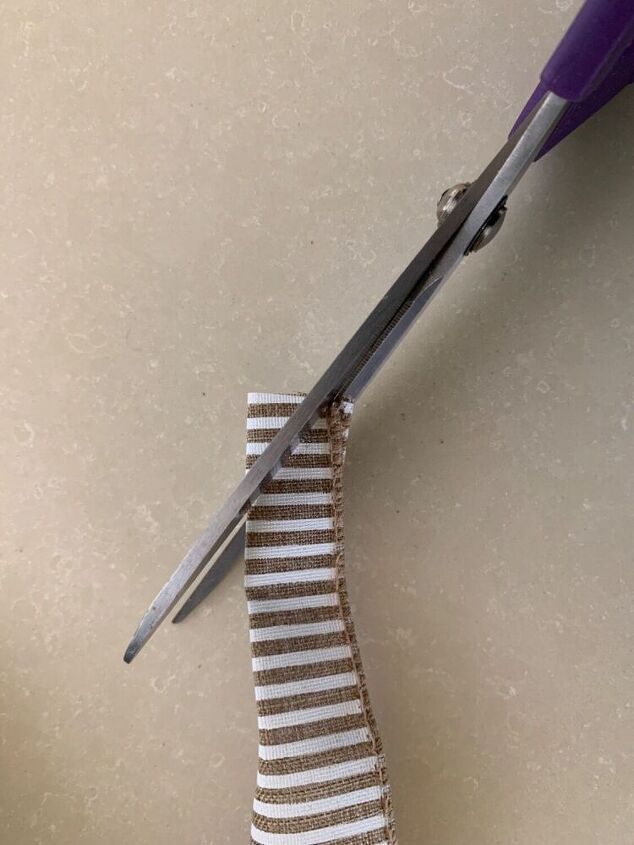
Fold each tail in half, lengthways and cut a diagonal line towards the fold. When you open it you will have a nice V-shape. Then stick the bow to the board with hot glue.
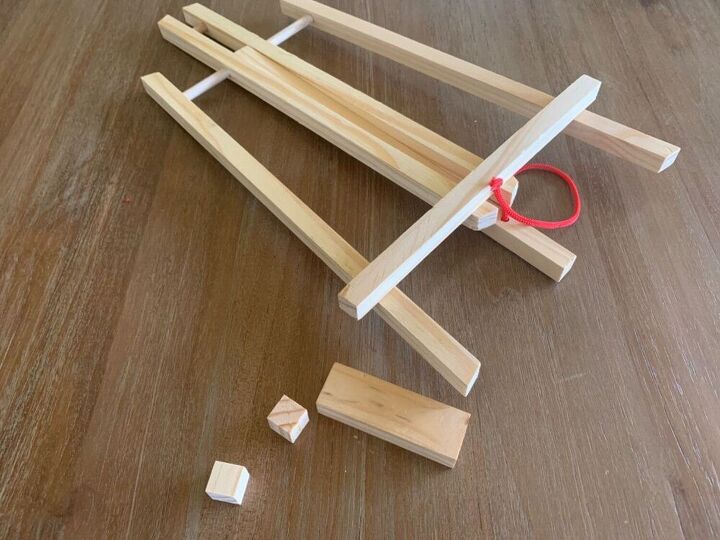
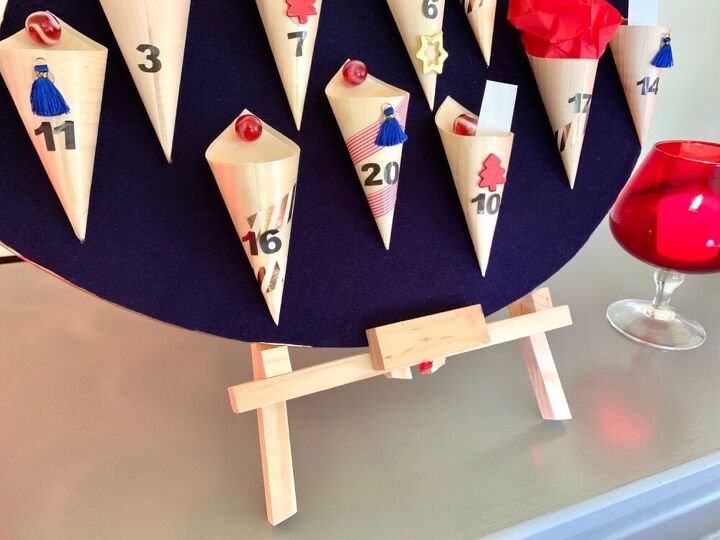
Make a stand
I was concerned about the weight of the final calendar and didn't want it falling off the wall on the 1st of December, so I decided to have mine stand by itself. I used a small wooden easel, two small square and one rectangular wooden blocks.
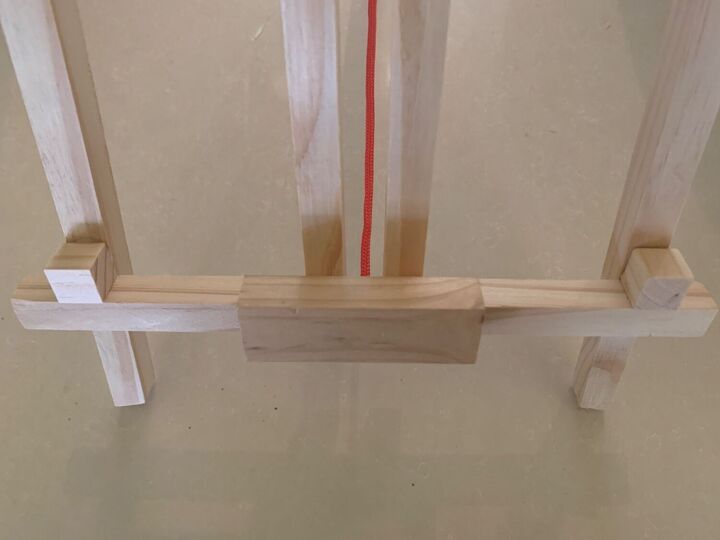
Place the board on the easel and mark where you need to place the two side stopper blocks. Then stick them and the front rectangle in place with a glue gun.
Pin the cones to the board
Place the cones on the board to plan the layout and then pin them into position. Be careful though, the bamboo is quite brittle and prone to splitting. Finally, fill the cones with goodies.
And let it stand on the easel.

There you have it, a striking if a little bit patriotic, advent calendar.
Comments
Join the conversation
-
Hi Thea: I have been looking for an easy to do advent calendar to send to my oldest son, single and won't be home this Christmas, this is perfect. If I may ask, what little gifts did you put in them? If you have any ideas for men gifts would appreciate all input. Thanks so much !
-
This is a great idea. Even if we have our own take on what we use to decorate it, the idea is fantastic. Thanks for sharing


Frequently asked questions
Have a question about this project?