


Cheap & Easy DIY Rustic Christmas Trees

My front yard always seems to be lacking large sized Christmas decorations. Part of the problem is the big stuff is expensive and isn't made well enough to justify the cost and then of course there is the storage problem. So......
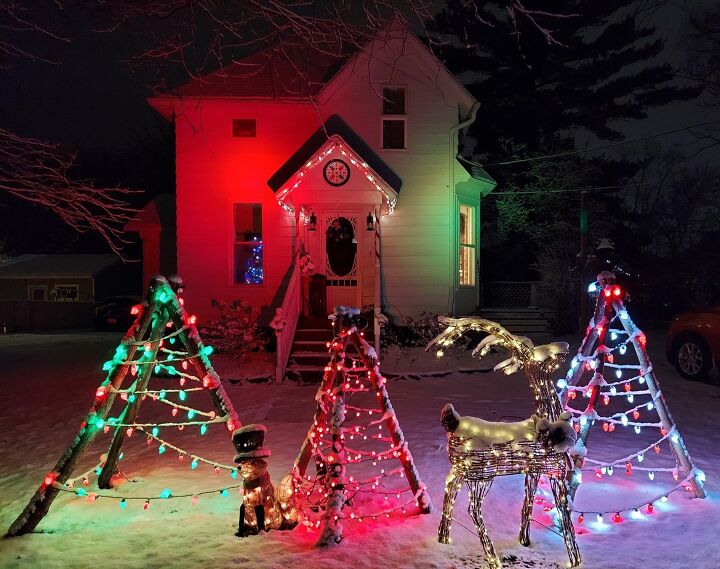
Using skinny trees that had been cut down a few years ago (or you can use 2x4's) we made several of these Christmas trees for our front yard and all it cost was lights and a few bolts.....they fold up and take very little room to store for future use too!
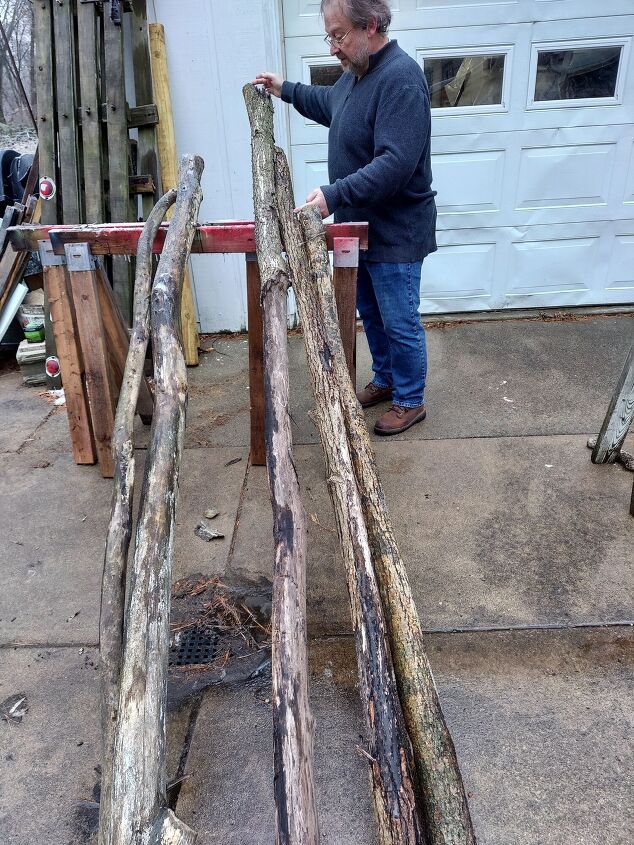
These trees should be long and as straight as possible. You need 3 for each Christmas tree you make. We made 2 taller Christmas trees along with a shorter one.
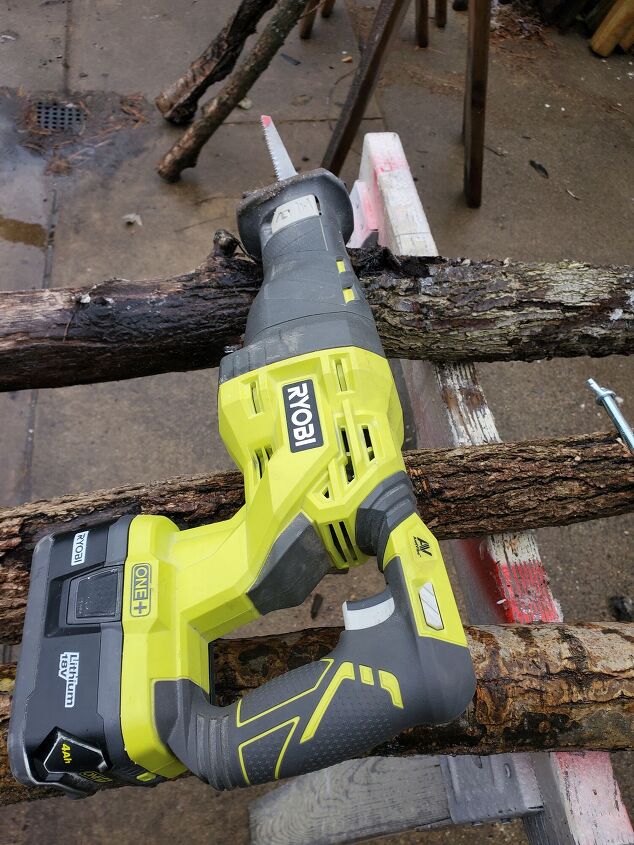
Each 3 should be cut to the same length.
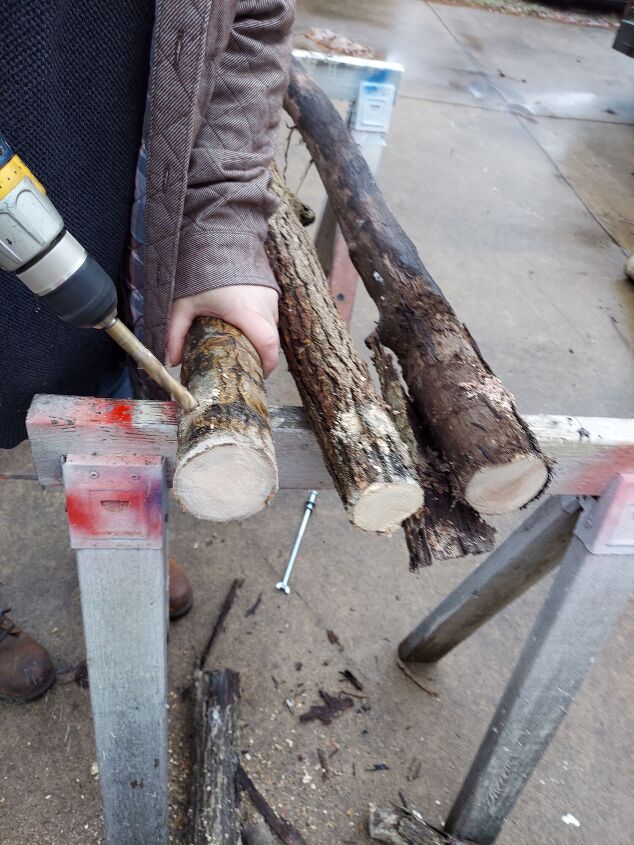
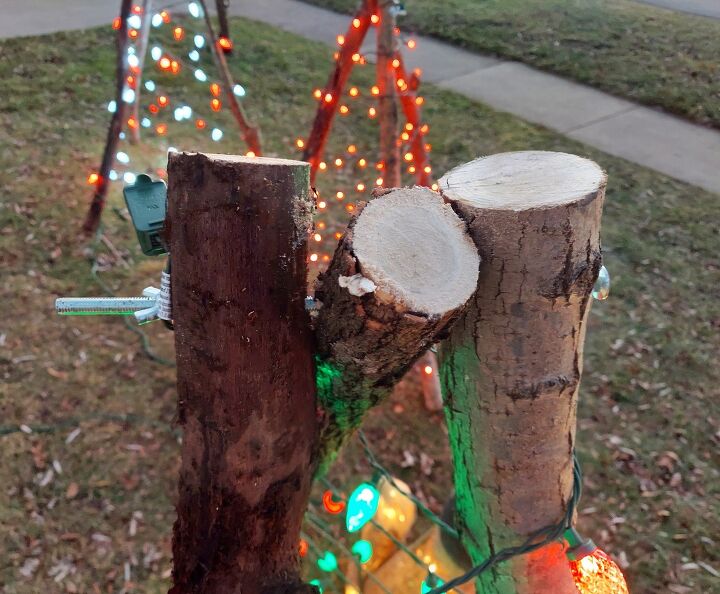
Drill a hole through the side of each at the top.
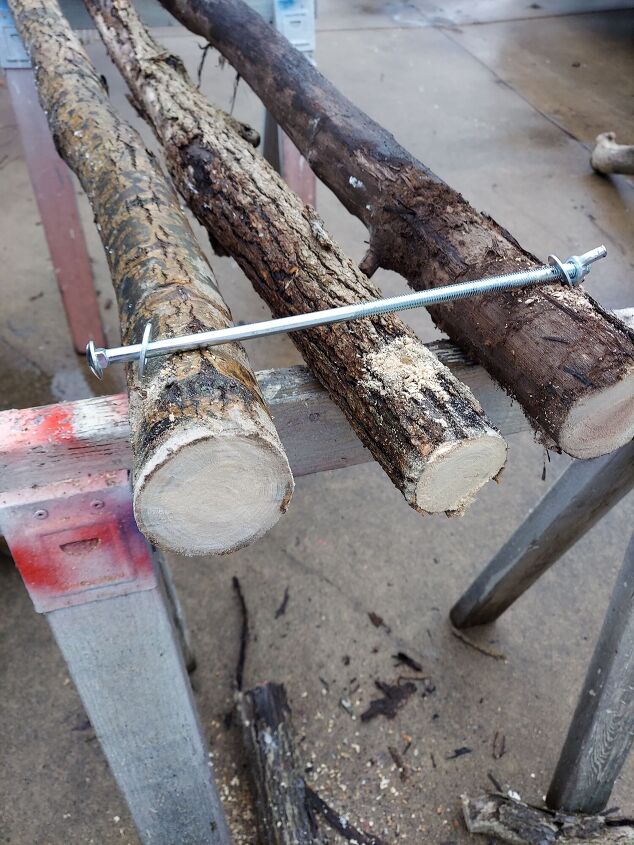
You'll need a long bolt that can go through all 3 trees plus 2 washers, and a wingnut. Once all are attached you can stand it up into a tripod and it will be quite sturdy.
You can wind your Christmas lights onto your tripod tree starting at the top with the "end" of the lights and going around and around to the bottom where you will plug it into an extension cord. We did secure the lights once at the bottom using a staple then plugged it into an outdoor extension cord.
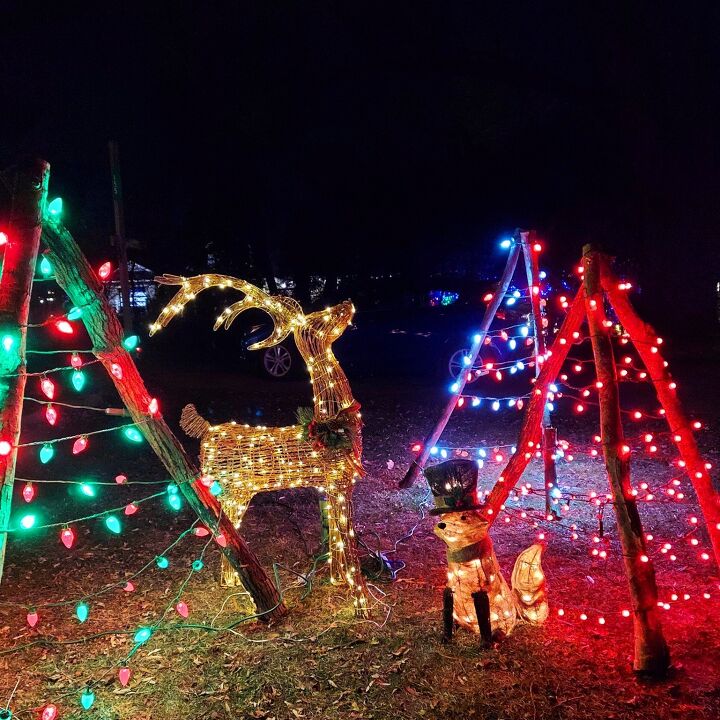
Since we already had a reindeer made of twigs and a winter light up fox it seemed logical to add them to the 3 trees for a rustic winter scene.
I really like that the trees can be folded up and stored to take up very little space. Maybe next year if we have more downed trees we can make more because it was certainly cheap- $2 or less for the hardware plus whatever lights you need if you don't already have lights.


Frequently asked questions
Have a question about this project?