


Christmas Holiday "Flour Sacks" DIY Decor
My spin on a Christmas holiday themed "flour sack" for your home decor. Just as traditional flour sacks, the idea is budget friendly!
From the 1800’s to the 1950’s, flour sacks were a common household find. actually, you can even say they were a necessity of daily life in american homes, as they packaged a wide variety of dry goods – like flour, sugar, corn meal, etc. Through the years, these sacks could be found by the truckloads and they became quite plentiful. So plentiful, that in-fact, during the great depression era (1929 – early 1940’s), women found a variety of resourceful purposes for them – including dish towels, quilt pieces, curtains, pillowcases, dresses, and even cloth diapers!
Manufactures began noticing this trend and soon began to offer decorative designs and patterns on their sacks. The designs only continued to become more and more unique over the years – as hard times had fallen on america’s economy. It was a great marketing strategy by companies to get housewives interested in buying their products. History stories often mention that nearly 3.5 million women and children wore flour sack clothing during the great depression years!
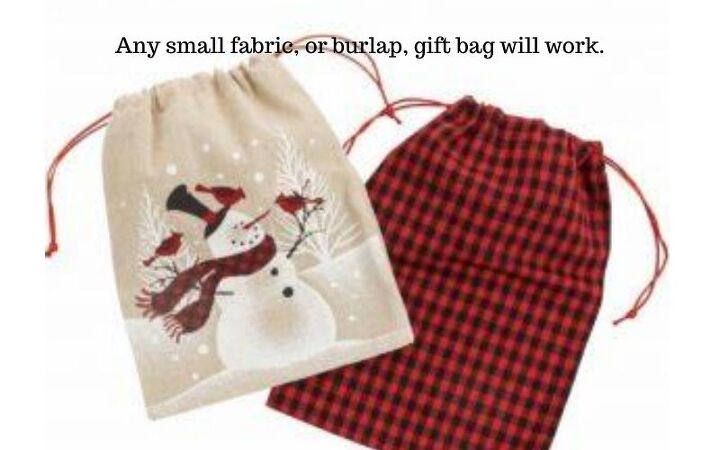
If you know me, you know I love decorating with items that have stories – a history – or a connection with family. Unfortunately, I don’t own any authentic flour sacks, but when I stumbled across these ‘mini gift bags’ in the holiday section at dollar general this season, they immediately reminded me of a few family stories from “simpler times” that I have read/heard about from my grandparents. So, for this Christmas craft, I decided to take these gift bags and do my ‘spin’ on decorative flour sacks! …and to honor the history of true flour sacks – this project is very budget-friendly… costing less than $5 total.
Supply List
– Small Burlap Gift Bag Set (Dollar General)
Scissors
– Dried Beans
– Crinkle Paper Shreds
– Hot Glue or Fabric Glue
– Seasonal Potpourri (optional)
Step–By–Step Directions
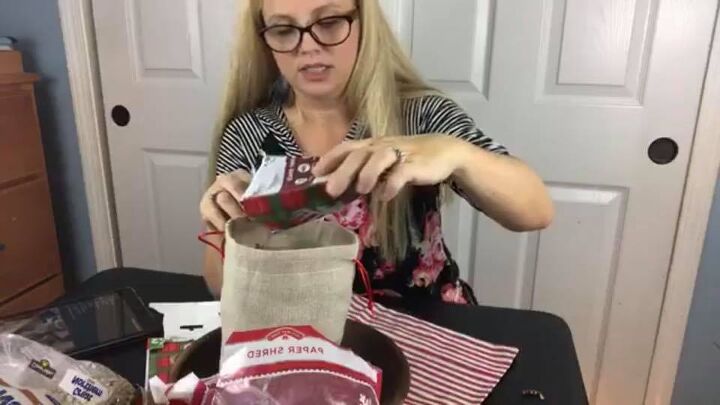
1. Fill the bag with approx. 2 cups of dried beans
(this provides some weight to the bottom of the bags and will help them sit upright in your vignette displays)
2. Pack the remaining empty space of the bag with the crinkled paper shreds
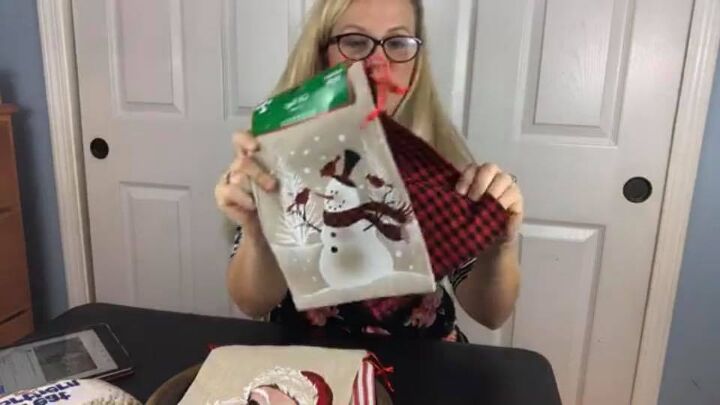
3. Remove the drawstring from the top of the gift bag
4. Sprinkle in your choice of pellet-type potpourri (this step is optional)
5. seal the top of the sack with hot glue – or a fabric glue, heat tape, etc.
6. Repeat the process with your second bag from the set, so that you have a coordinated pair of holiday flour sacks for your Christmas vignette display!
Any burlap or fabric drawstring-style gift bag will work perfect! I found these in sets of two from the Dollar General Store... and they're the perfect size to replicate the size of vintage flour sacks!

Begin by filling the bags with beans, then fill to the top with paper shreds/crinkled gift bag filler. The beans are perfect for adding weight to the "flour sacks" and give them a base to better display them. The paper shreds help the "flour sacks" to stand tall and retain their shape so that the entire printed design on the bag can be seen clearly.
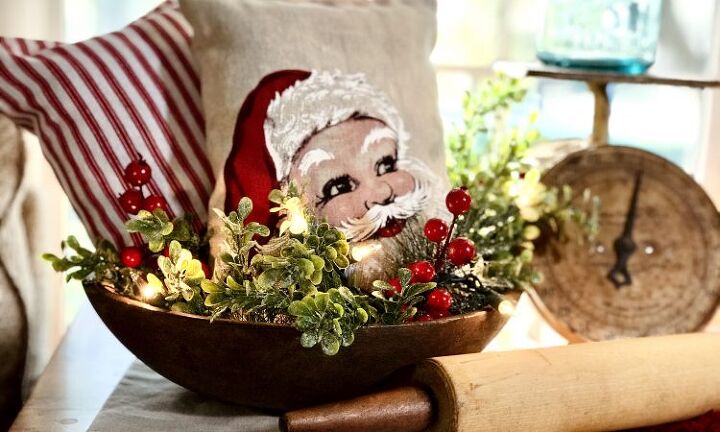
Optional... I added scented potpourri to my bags to take them to the "next level" for my decor! I love the smell of holiday spice, cinnamon, etc. around the holidays. When you nestle these "flour sacks" down in an arrangement with a string of holiday lights, the scent fills the air and helps your home smell amazing!!

I love pairing my flour sacks with a bed of holiday greenery, nestled down in a vintage wooden bowl. Add a string of white Christmas lights and a few other antique kitchen tools for a coordinated little vignette for your holiday home decor.
Christmas is my favorite time of the year, so naturally I love decorating for the holiday. If you’re like me, I invite you to follow my Facebook page, where I share home decor, DIY crafts, and a variety of ‘homemade’ inspiration for ladies that enjoy creating beautiful homes.
Like this project? Want to get more home decor & crafting ideas sent straight to your inbox?
Then, CLICK HERE to sign-up for my Extra Sweet Decor Email!
My promise to you... no spam, ever!!! Only great ideas to make your home even sweeter than before!
See you next time, sweet friend!
~Tracey
Resources for this project:
See all materials


Frequently asked questions
Have a question about this project?