


Christmas Napkin Rings
This project started because I was invited to participate in a Christmas Challenge where I was required to make something new out of something old. I thought long and hard. The easy option would be to go and buy a garment at a second hand store and remake it into something Christmas themed. But, if you know me at all then you know that I never take the easy road.
If you like this project and would like to see more, please visit the Create Section of my website.

Enter The Shampoo Bottle
I was in the shower when it hit me!
Why not make an old plastic bottle into something new? That’s the height of recycling, right?
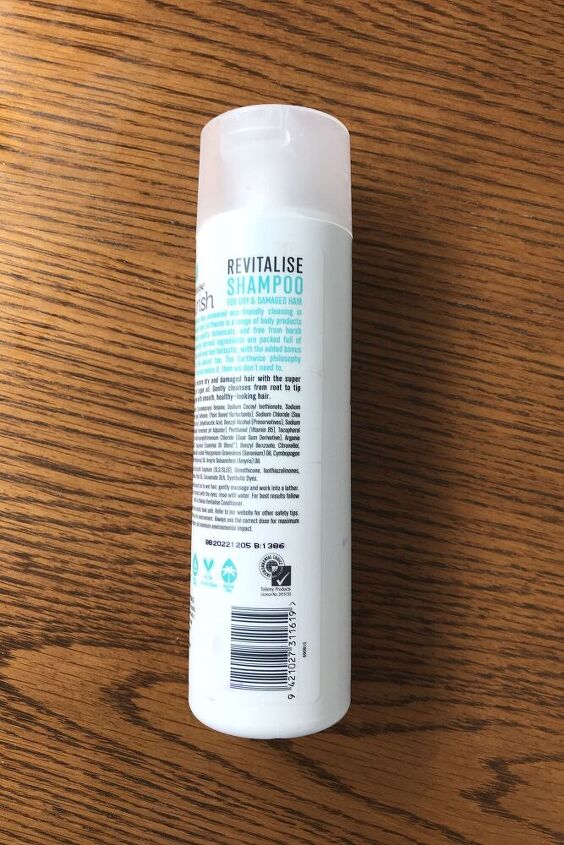
So, while I stood there looking at the bottle, I hatched a plan. Do you do that in the shower? I come up with some of my best ideas in there!
Want to see what I made?
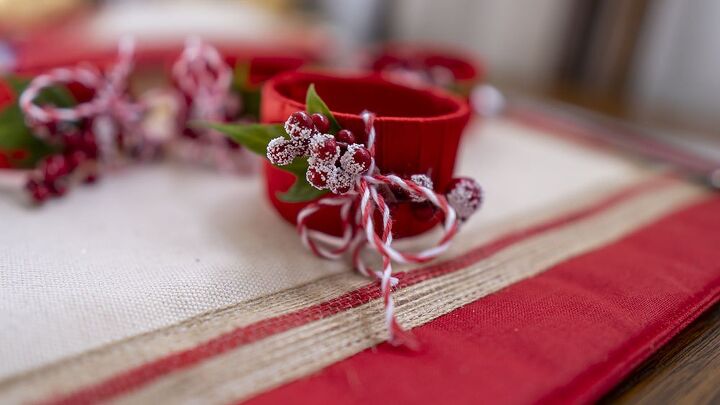
Christmas Themed Napkin Rings
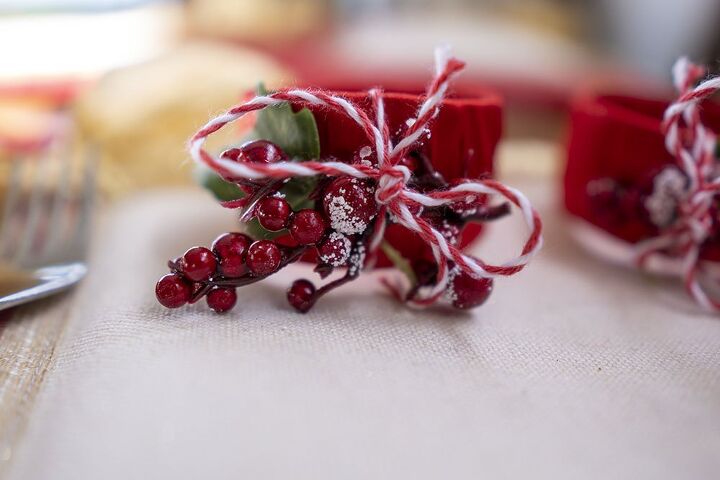
Why not make some napkin rings!
I didn’t have any Christmas napkin rings and it seemed like a really good idea.
These turned out to be really fun to make and also really quick, but they pack a punch.
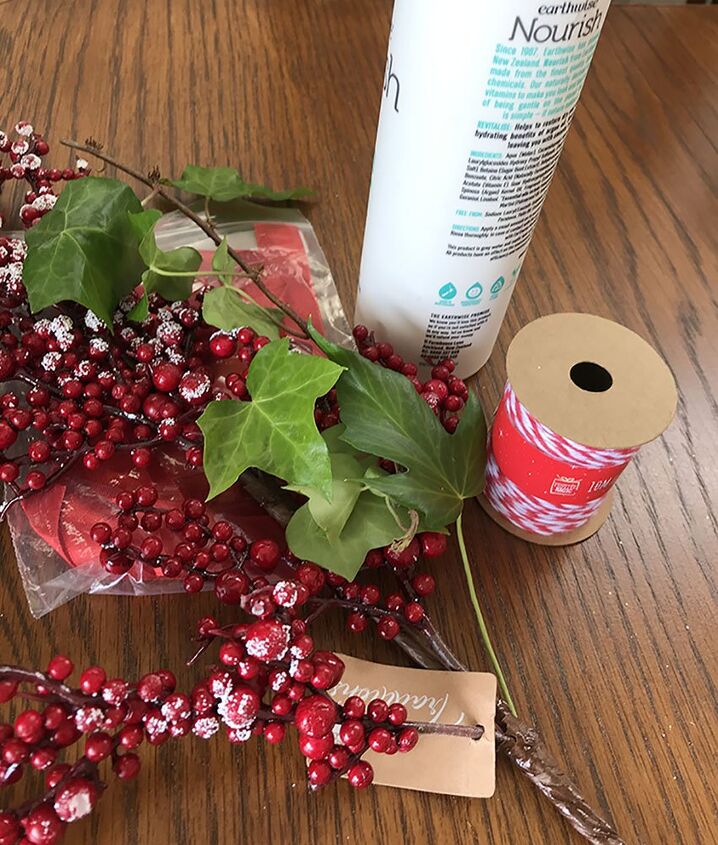
Here’s What I Used
To make four napkin rings you will need:
- Long thin plastic bottle
- Marker pen
- 2.5cm (1”) thick satin ribbon – about 8m (8 yards will do)
- Glue
- Red berries and green leaves (or whatever you choose to decorate with)
- Red and white twine
- Scissors
- Craft knife
- Clothespin
- Sandpaper
Want to see how I did it?
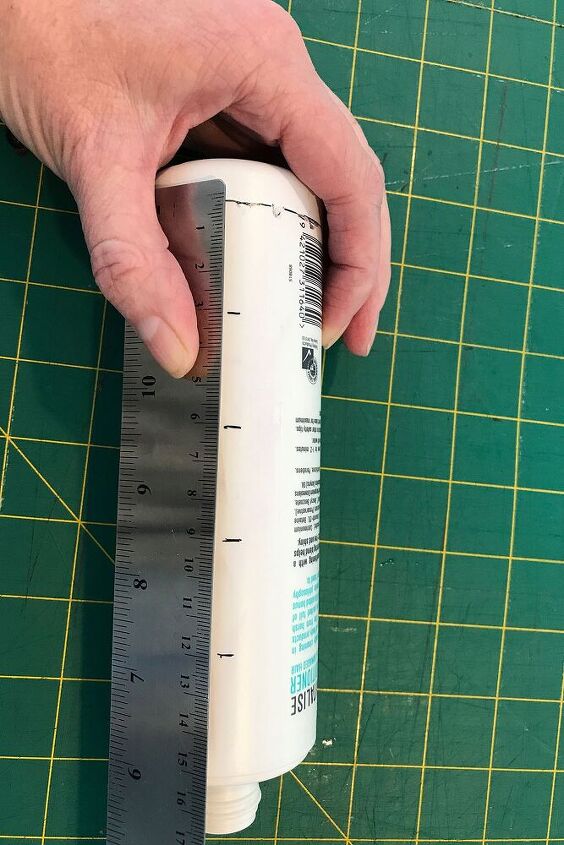
Instructions
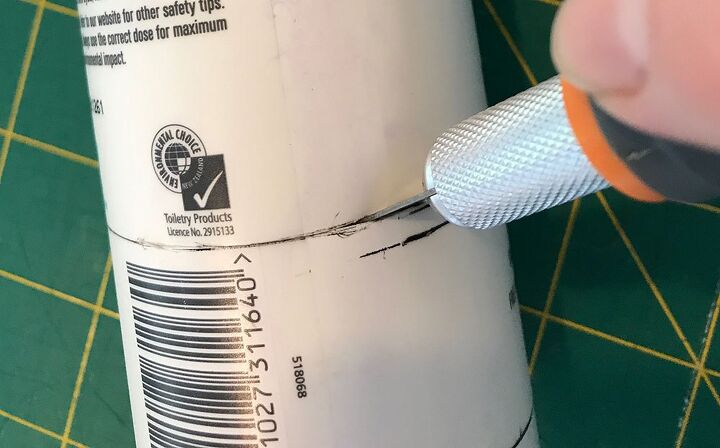
With my marker, I measured and marked every 3cm (1 ¼”) along the side of the bottle.Then I drew these lines all the way around the bottle.
Cut around those lines with the craft knife. It can be a bit tricky to get the lines straight as they plastic seems to have a mind of its own.
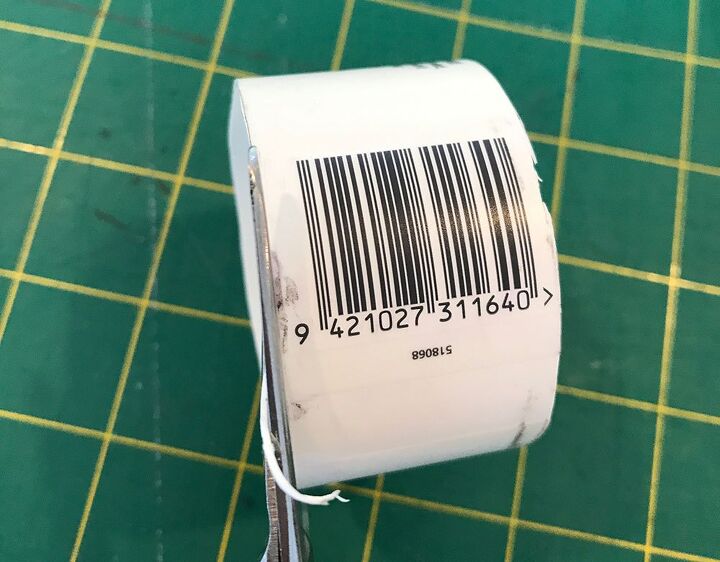
I evened up my cuts with some scissors, just to make sure there weren’t any really crooked bits.
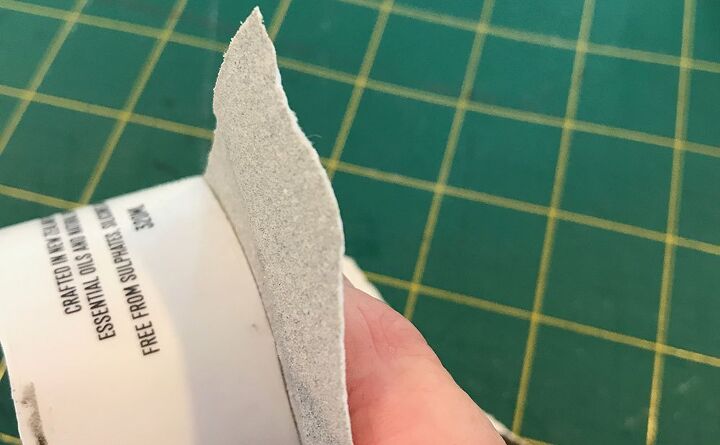
Use the sandpaper to lightly sand the edges to ensure there are no hard pointy bits. You really want it to be as smooth as possible.
Now the fun begins!
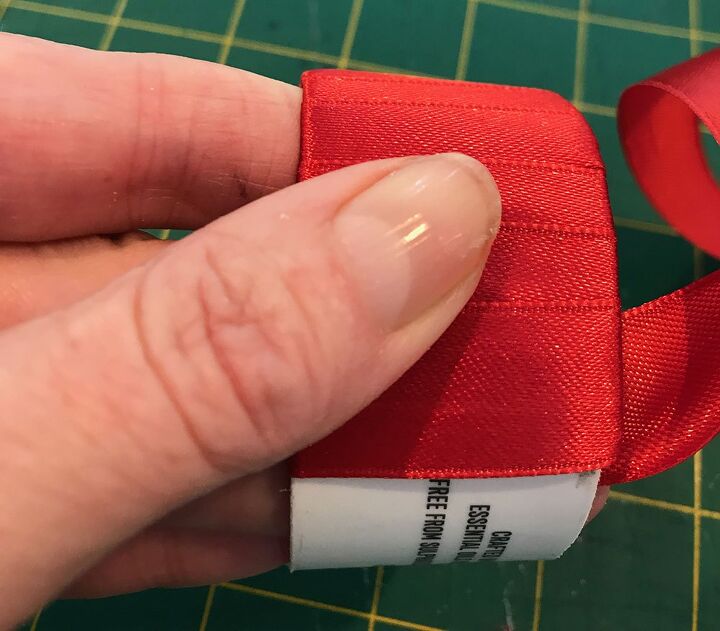
Place a dab of glue on the inside of the ring and place the end of the ribbon on top at right angles to the ring.
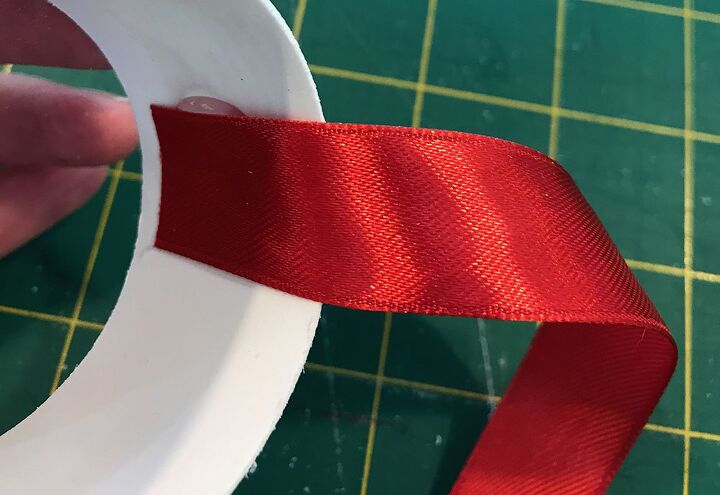
Hint: You may wish to cut about 1.5m (1.5 yards will do) off the length to make it easier to thread through.
Wrap the ribbon around the ring overlapping by about two thirds, until you have covered the entire thing. You will need to pull it as tight as possible to ensure that you don’t get any creases. If you are having difficulty, you may need to move your wraps closer together.
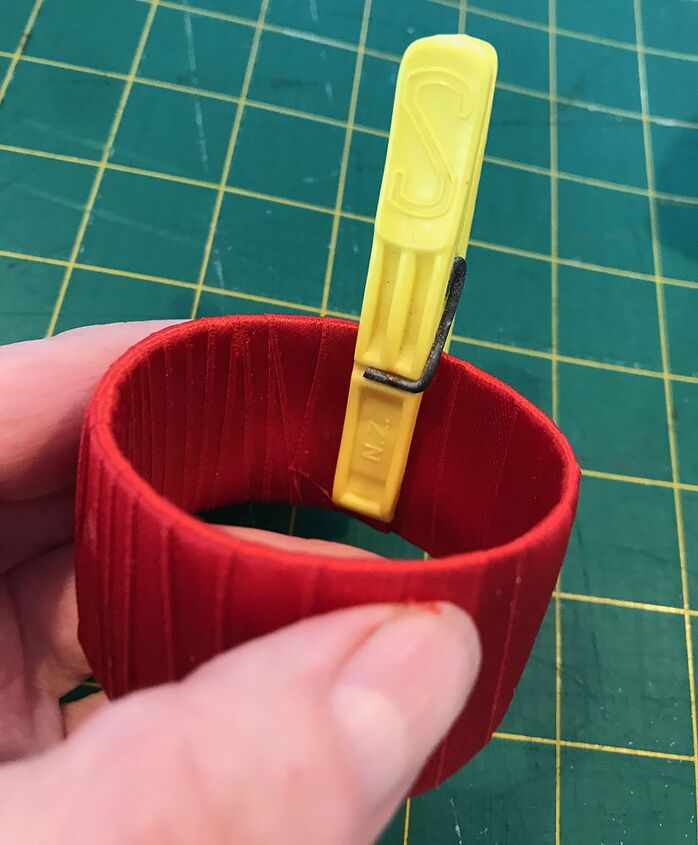
When you have completed the wrapping, glue the end in place and put a clothes pin on it to hold it while the glue dries.
Decorating The Napkin Ring
Now, if you’ve had fun so far, you’re gonna love this bit. You get to decorate!
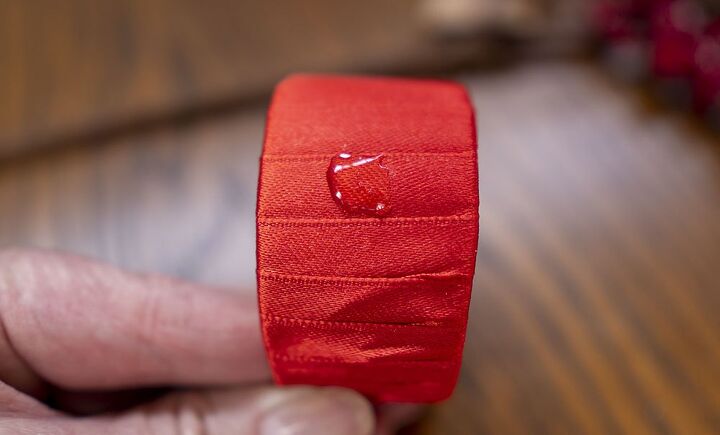
Place a dab of glue on the outside of the wrapped ring.
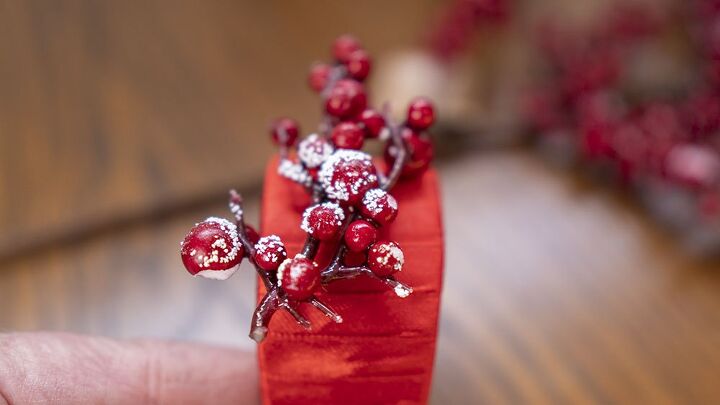
Cut off one leaf and press onto the glue.
Select a sprig of berries and repeat. Press down firmly and hold until the glue sets a little.
Cut a piece of the twine approximately 25cm (10”) long.
Tie it around the ring and the decorations. Secure tightly with a knot.
Now tie a bow. I made a double bow so that it wouldn’t come undone.
Trim the ends.
You’re done!
I really hope that you have enjoyed this challenge project. You still have time to whip some up before Christmas. They are so easy and cute.
If you liked this project, please leave me a comment below and pin and share.
Visit the my website to see more projects like this one.
Resources for this project:
See all materials


Frequently asked questions
Have a question about this project?