


Clay Christmas Mugs

Organic and rustic style mugs - for decoration only, not safe for use! These are a bit harder than the clay candle holders I made previously.
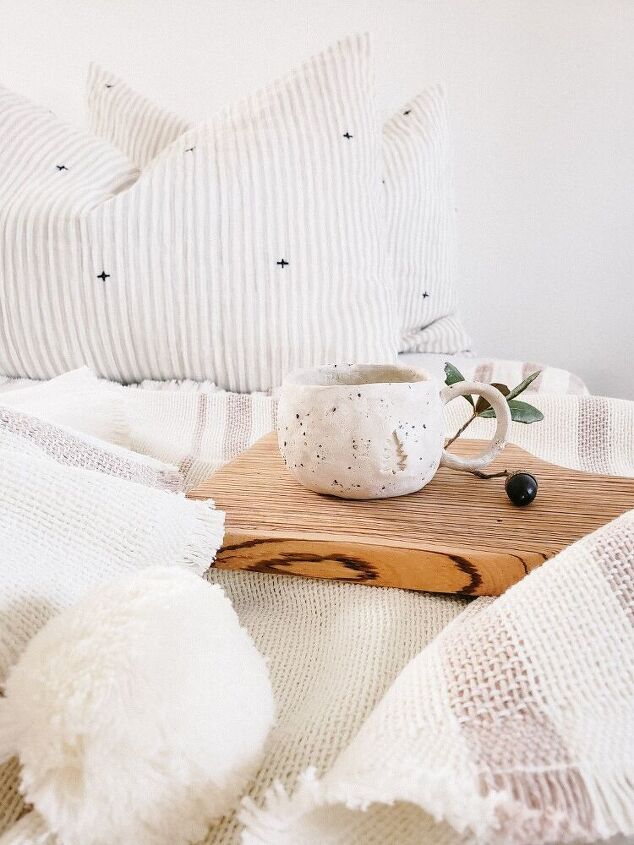
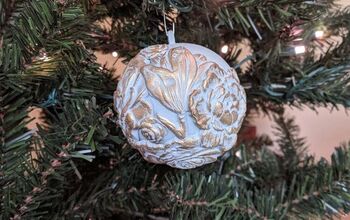
Finished mug!
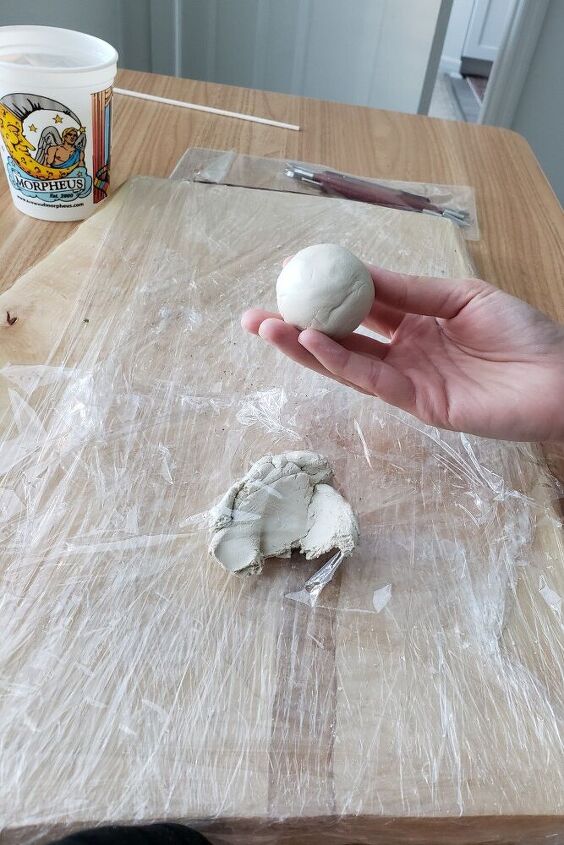
Setup: always have a cup of water and extra plastic wrap to keep clay pieces that you aren't working with moist.
Shape clay into a ball by rolling it between your palms.
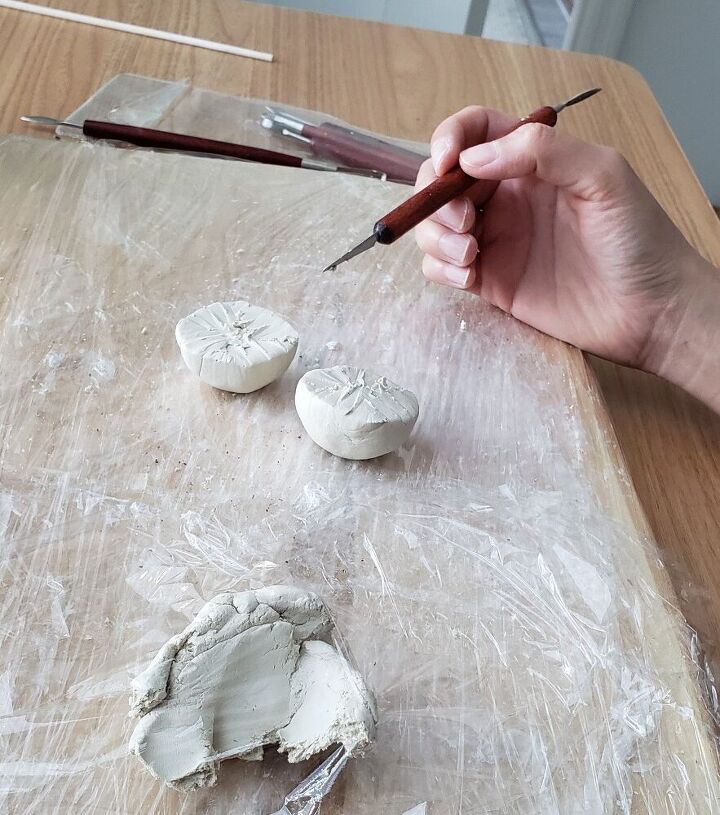
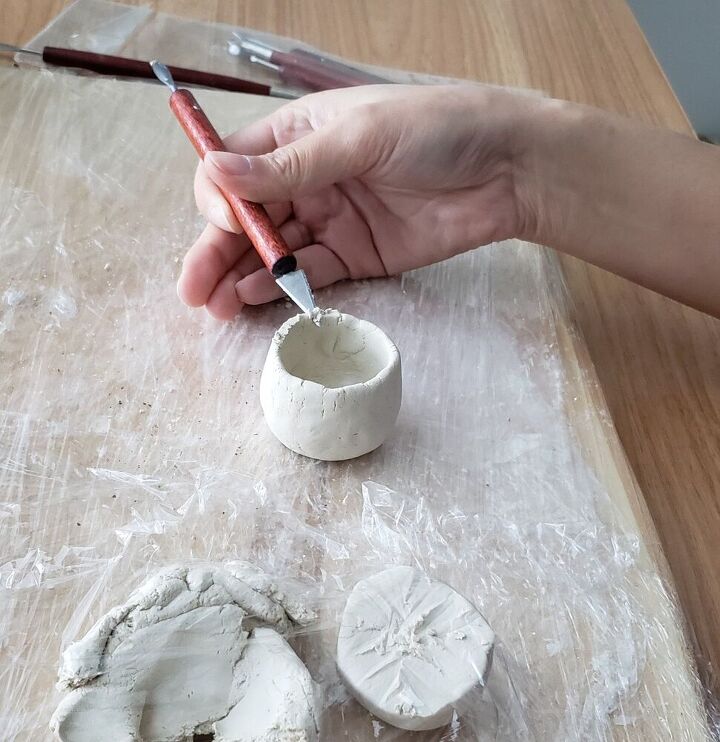
Cut the ball of clay in half with your sculpting tool. Put half under plastic wrap to keep it from hardening
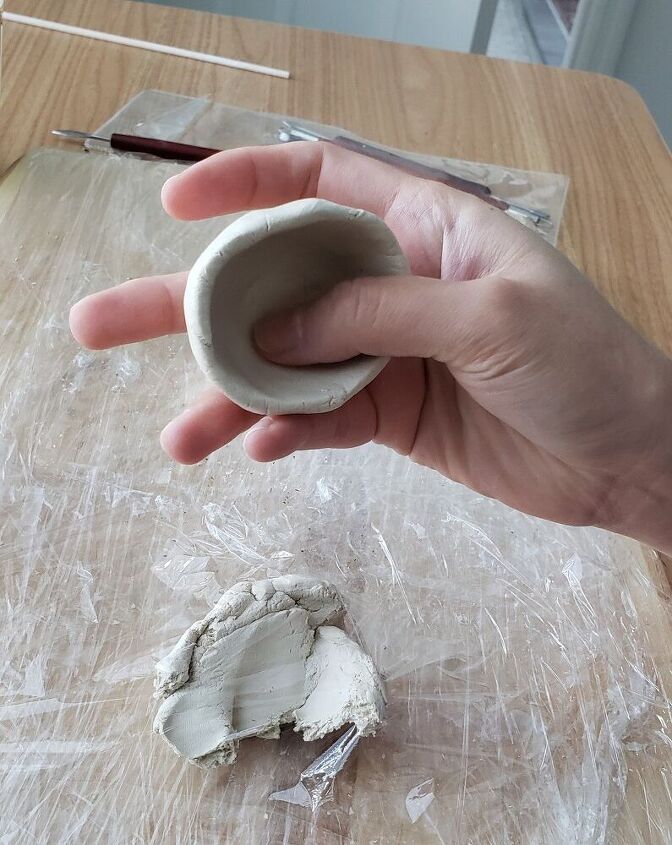
Hollow out the sphere
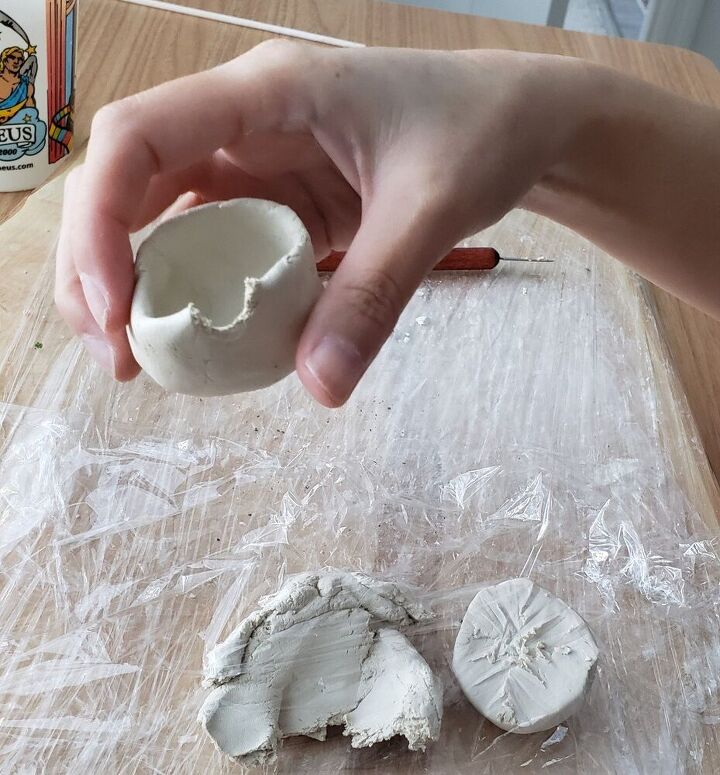
The mouth is pretty wide when you hollow out the center, so to narrow it, tear out bits of clay on the mouth then close the gap
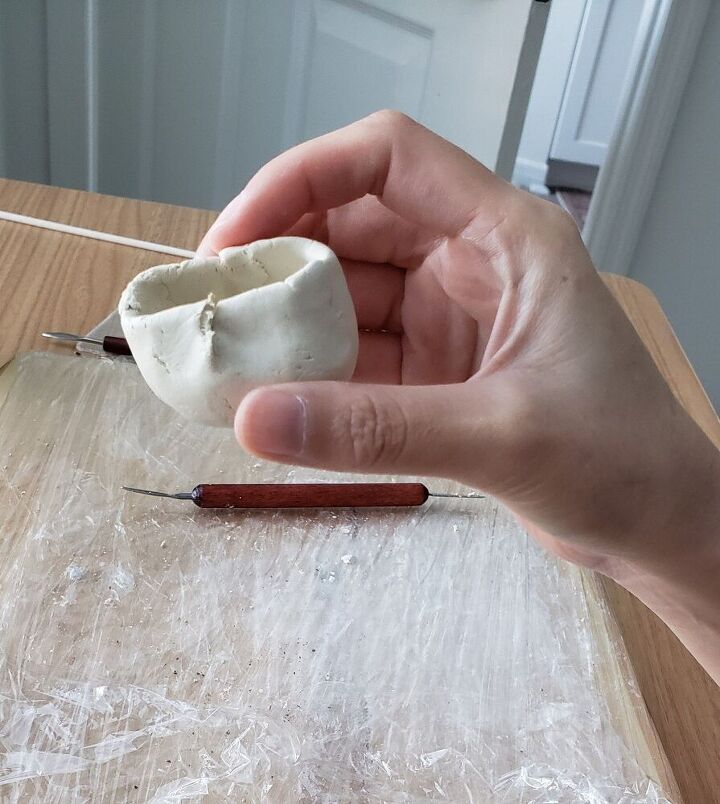
Overlap the clay to close the gap and smooth out. Repeat until you're happy with the width of the mug rim
The rim is pretty uneven at this point but don't worry!
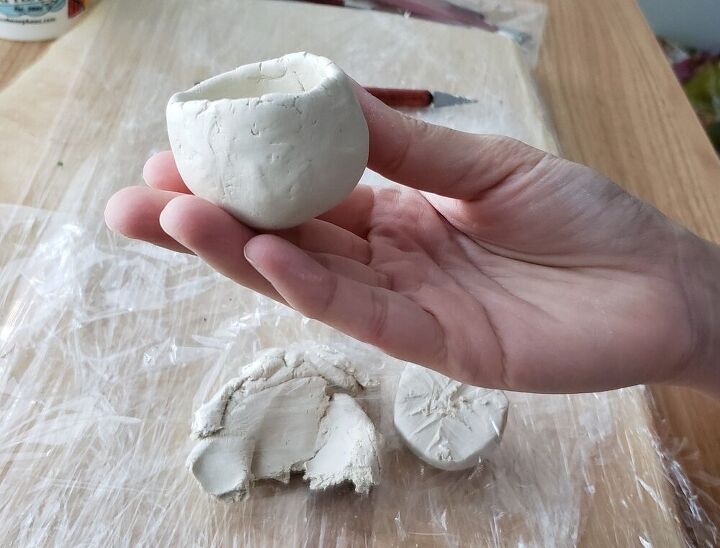
Cut off the taller parts to even it out to your liking. Push aside the need to make it perfect, or you'll drive yourself nuts!
After you cut it down, dip your finger in some water to smooth out the rim.
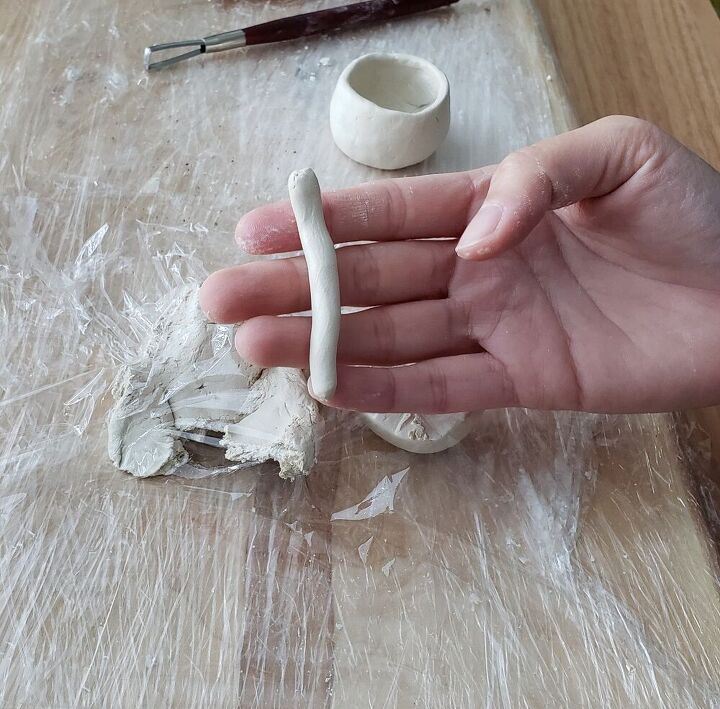
This part is the hardest - make the handle. You can start by rolling the clay but flatten it out at some parts, cause it looks weird perfectly rolled like the photo.
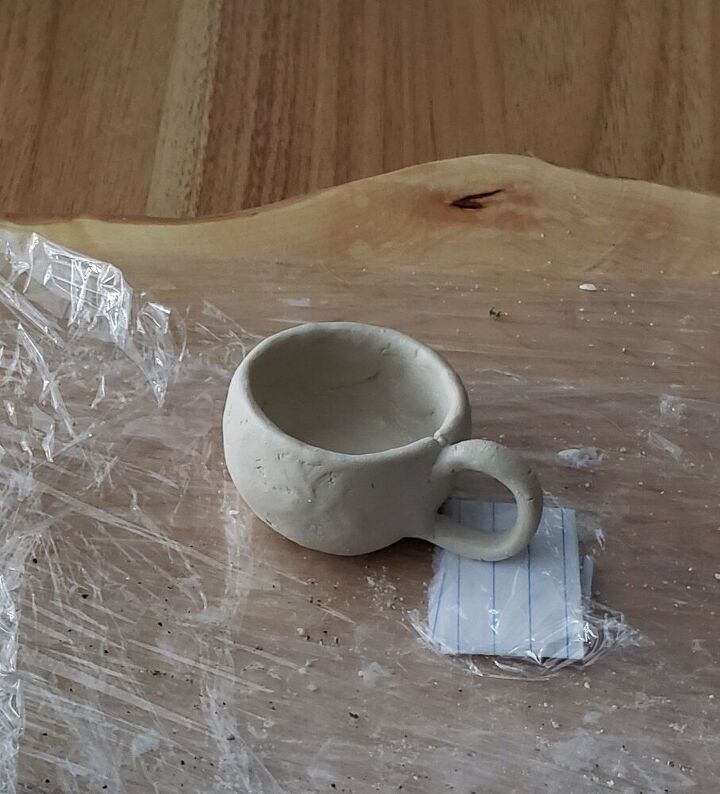
Attach the handle to the mug. I propped the handle up with folded paper under plastic wrap for an hour while it dried.

Add some freshly ground pepper to add texture.
For the tree, I made my own stencil by drawing a tree on cardstock, cutting it out, and using that to "stamp" it on the mug, while the clay was still moist.
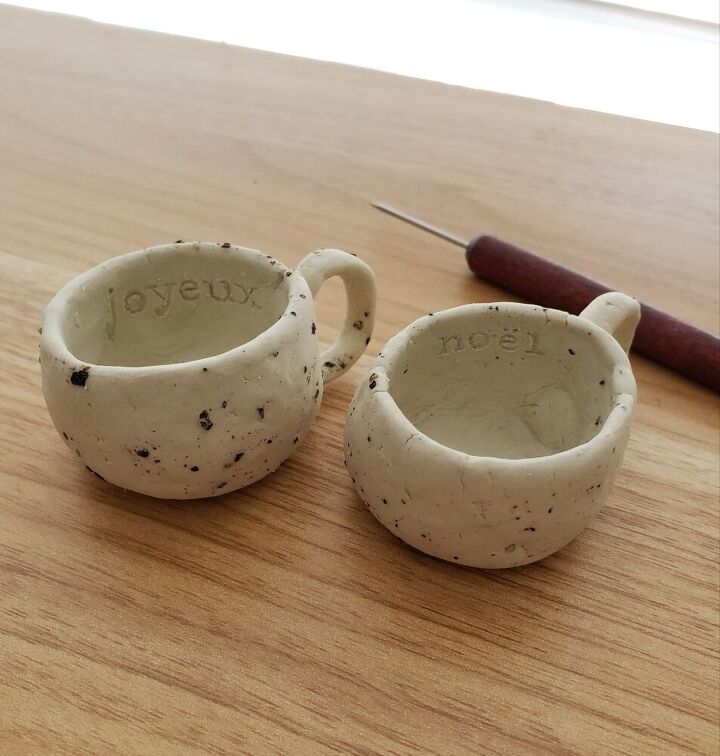
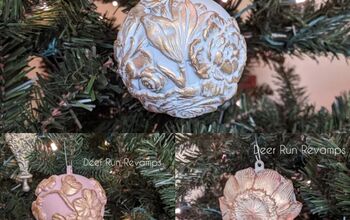
For the 2 smaller mugs, I let them dry under plastic wrap overnight. The next day, when the clay had dried and hardened a bit, I wrote "joyeux noel" (because it's shorter than "merry christmas").
I considered using letter stamps, but it probably would be hard to maneuver with the rim curving inward.
Tip: Dry these pieces slowly by loosely covering them with plastic wrap or they will crack!
These are still drying. I will update with another photo when they are fully dry. (The first photo is how the mugs will look when finished.)


Frequently asked questions
Have a question about this project?
What type of sealer would you need to use if you wanted to use it for a planter?