


Cone Shaped Christmas Trees Made From Cereal Boxes

by
Donna Powell
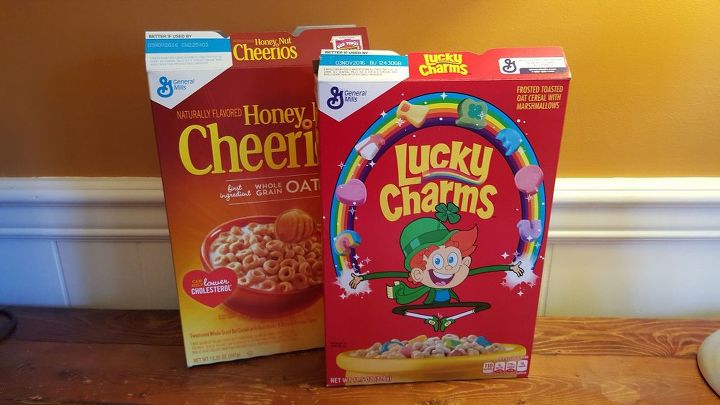
In an effort to create a new Christmas themed mantel display for my home, I decided to try making my own modern cone trees using recycled cereal boxes.

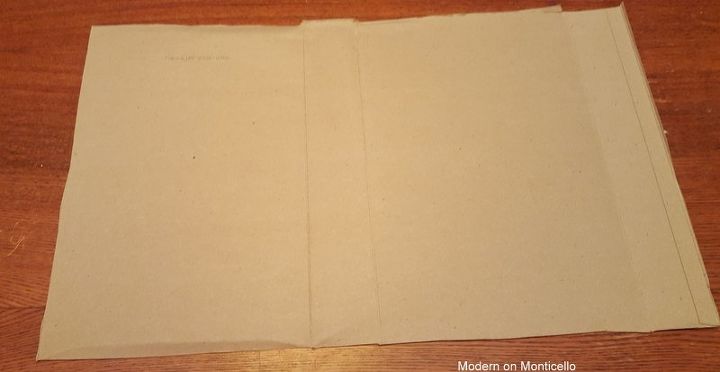
To make the cone shape, cut off the end pieces of the cereal box and cut along the inner seam to be able to lay the box flat.
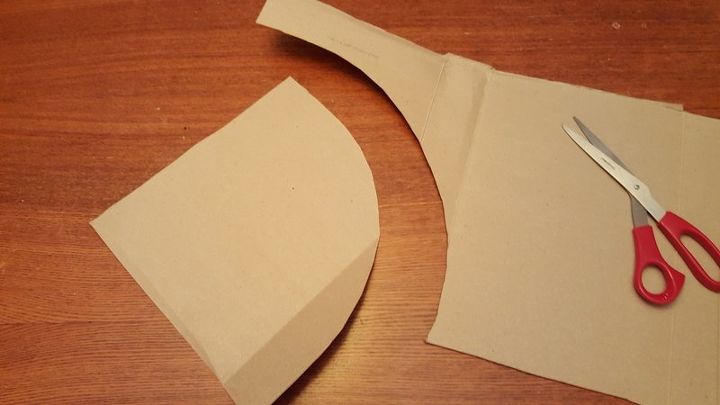
Then you cut the cone shape by leaving two sides straight, and cutting the third side in a rounded arch to form the bottom of the cone.
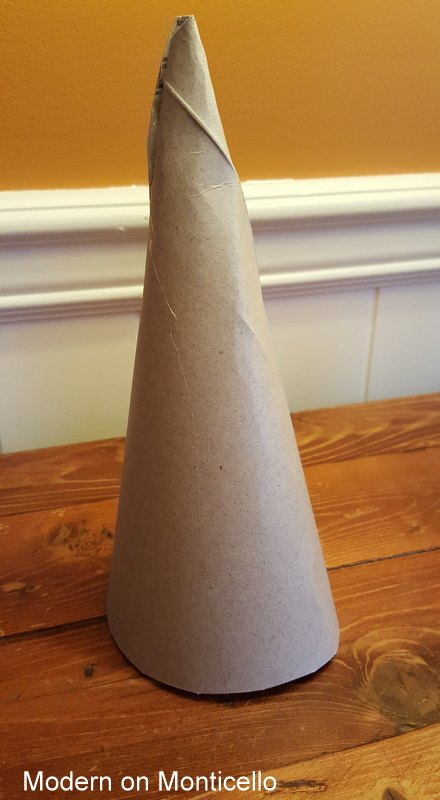
Bring the two straight edges together and secure with hot glue. This should form a rounded bottom and a sharp point at the top.
These cone shapes can then be covered in so many different materials to create your own unique cone Christmas trees. I covered mine in puzzle pieces, Christmas ribbon, burlap, fabric swatches, and colorful variegated yarn. Most of these items I already had on hand in my craft supplies.
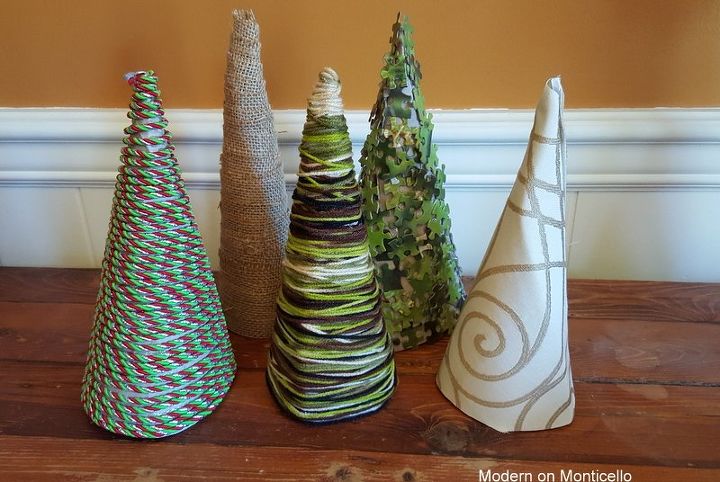
The creative possibilities are endless with what you can use to cover the cereal box cones. And the best part, they are free so make as many as you want.
Want more details about this and other DIY projects? Check out my blog post!
Comments
Join the conversation
2 of 4 comments
-
Thanks Amy and Hannah. I had some problems with two of them, the puzzles didn't work out too well on a rounded surface, and the Christmas ribbon wanted to roll up and leave gaps between the rings, but I can always turn the worse looking sides to the back of the mantel and no one will notice.
-
hey i tried some of these i did mine out of card stock and duct tape and glitter they r a little lopsided all of them different Everyone liked them over the holidays i might keep them out for awhile thanks yours look good too.


Frequently asked questions
Have a question about this project?