


DIY Advent Calendar
This is such a simple project but it was so much fun to make! My family always does an activity advent calendar for the Christmas season, and this year I made one that should hopefully last us year after year. You can see the more information, along with a list of all of the activities we'll be doing throughout the month, on the full blog post.
I started off with this old frame from Ikea. There used to be a mirror inside (I believe it came with a dresser), but I pulled the mirror out to leave the frame. If you don't have a large frame lying around, check your local Goodwill or thrift store for something pretty and large.
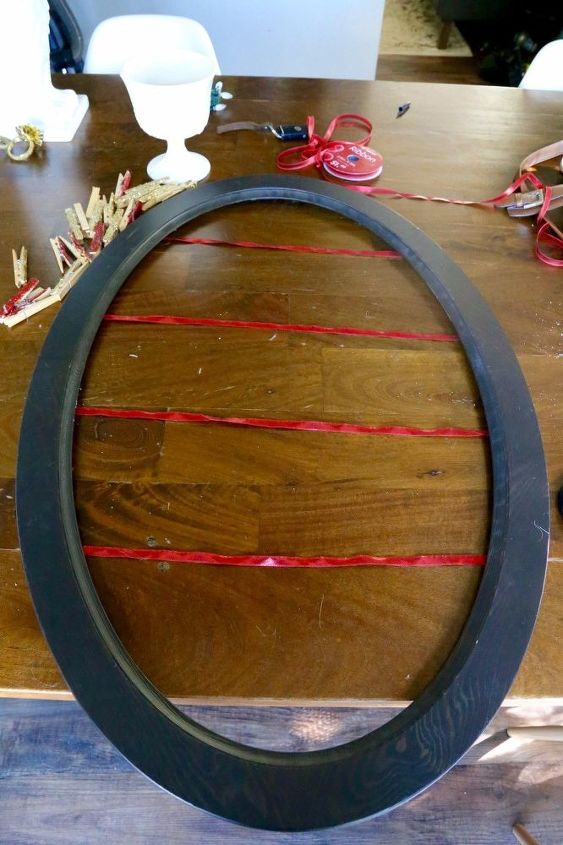
I took some red ribbon and used hot glue to attach strips of it to the back of the frame.
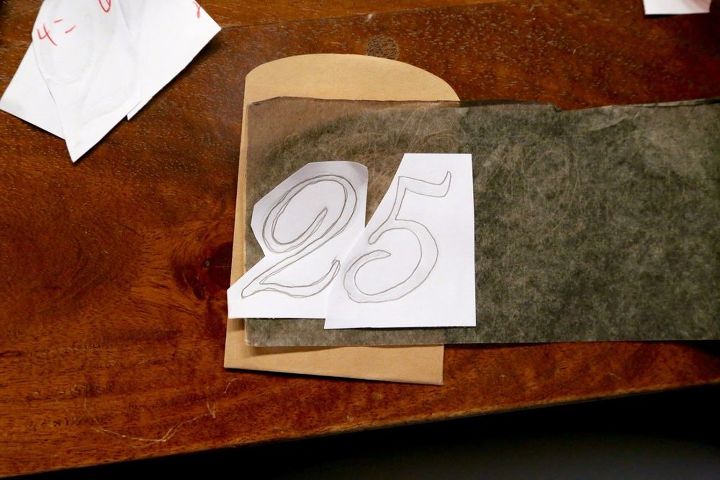
Then, I took some small kraft paper envelopes and small cards (both bought at Hobby Lobby) for my activities. With the envelopes, I used some graphite transfer paper to trace the numbers - you can read the full post for more details on how I printed out and traced the numbers. Once I had them traced with the graphite paper, I used a Sharpie to outline and fill in the numbers on each card.
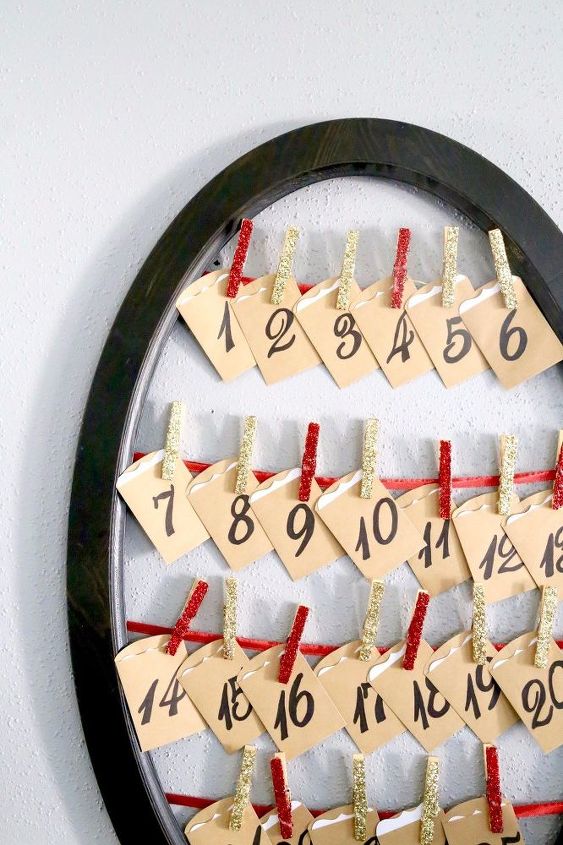
Then, I took the cards and wrote our activities on them, and popped them in the envelopes! I used glitter-covered clothespins to attach them to the ribbon, and that's it!
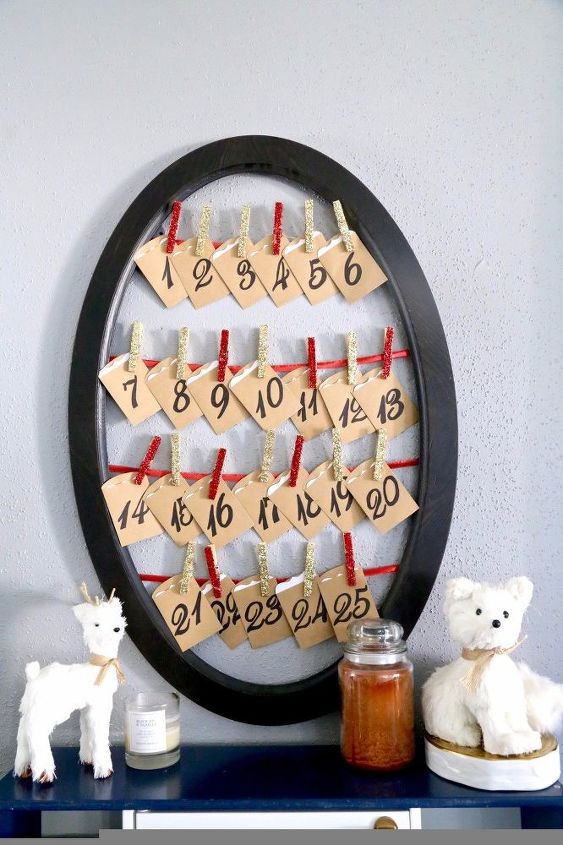
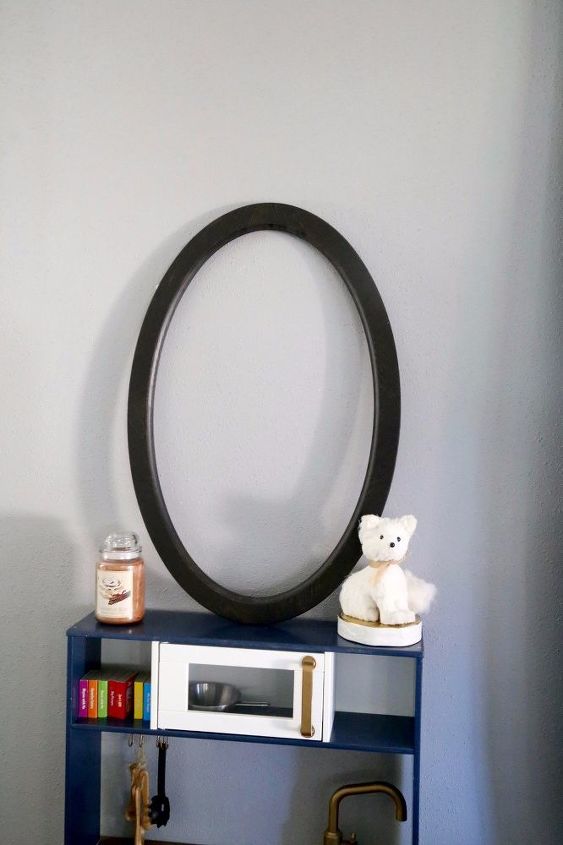
I used a single nail to hang up the calendar, and each day we pull of an envelope and do the activity inside. It's a really fun way to celebrate the holiday, and our toddler is having a blast with it! You can read more details (and see some more photos of the calendar in action) on my blog.

Want more details about this and other DIY projects? Check out my blog post!


Frequently asked questions
Have a question about this project?