


DIY Brilliant LED Christmas Tree Wall Decor

by
Anika Gandhi
5 Materials
A super easy and fun Christmas tree that shines with LEDs! It fits right in with any rustic or modern decor and can be used mounted on a wall, on a table and even in a window!

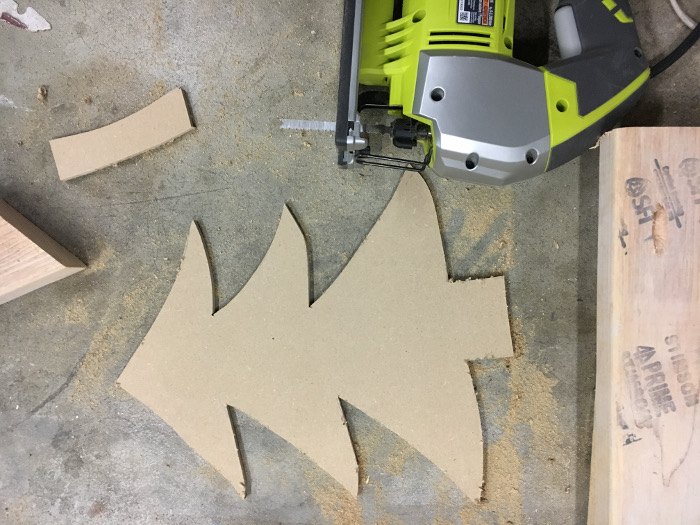
Start by drawing the Christmas tree shape on 1/4″ MDF and cut it out using a jigsaw. Make sure to sand the edges to make them smooth.
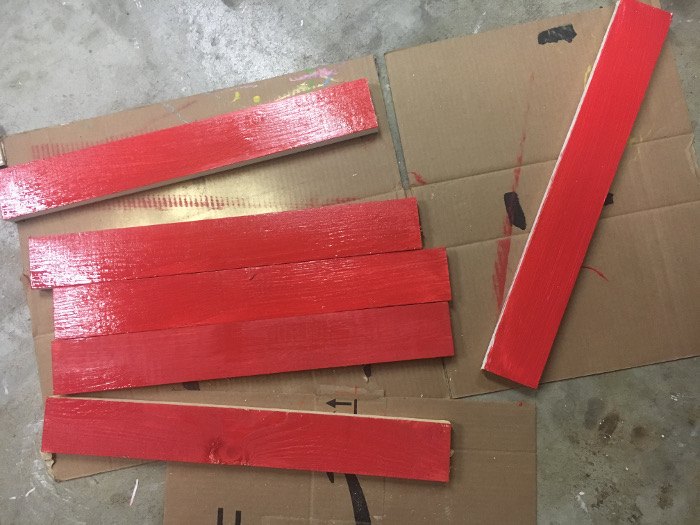
Cut the 1 x 3 boards to the size you need. I used the Christmas tree cut out to eyeball the size of boards I needed. Paint them red. I also painted the Christmas tree green and added a layer of sparkle modpodge on it.
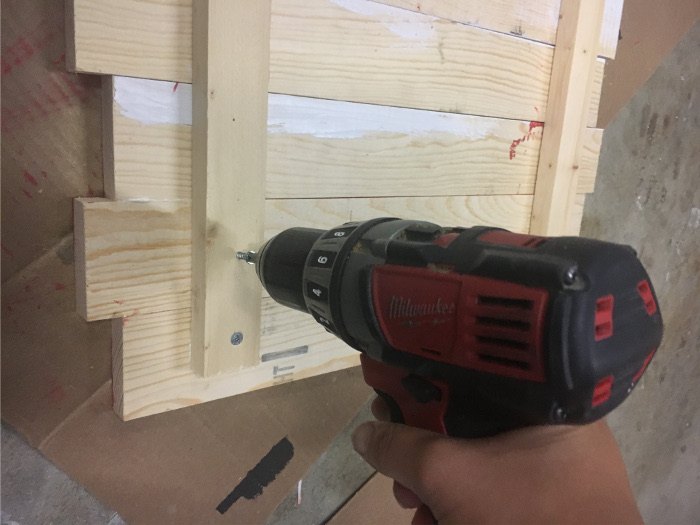
Attach the boards together by screwing in two 1 x2 boards from the back using the 1 1/4″ screws.
Add wire nails about 1 inch apart all around the edges of the Christmas tree. Drill a hole big enough for the (affiliate) micro LED string lights to pass through in the 1 x3 boards at a location which is hidden under the tree. Wrap the LED wires around the wire nails! (more detailed pictures and tutorial on my blog)
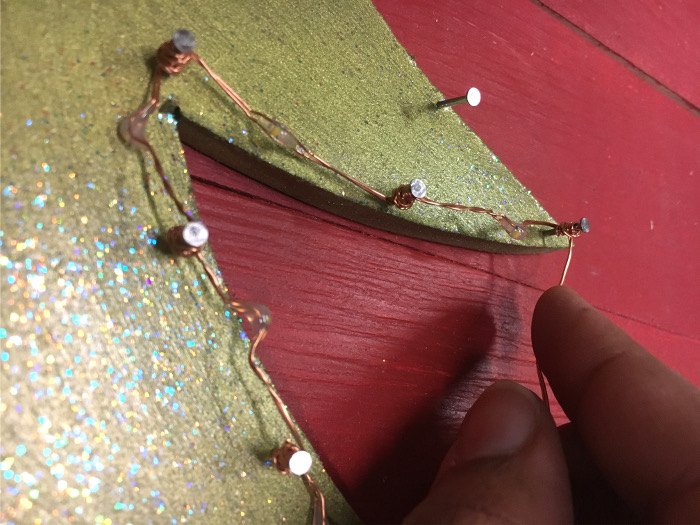
I ended up using 2 strings of LEDs. The extra LEDs wrapped around the back of the board to act as a backlight. Tape down the switches for the LEDs. Thats it! Love the shiny bright Christmas tree! And if you are missing the smells of fresh cut pine trees, be sure to check out how I did that!

Want more details about this and other DIY projects? Check out my blog post!


Frequently asked questions
Have a question about this project?