


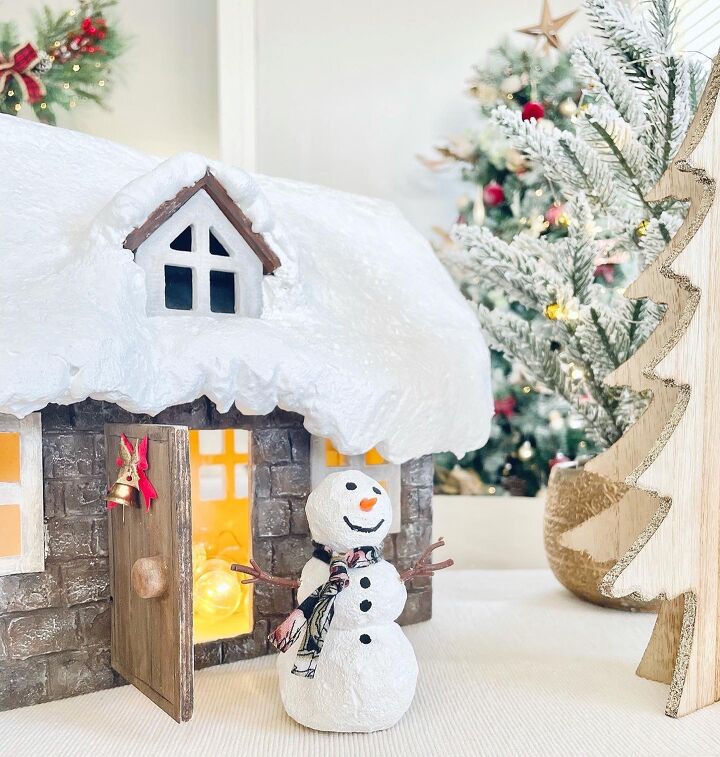
DIY Christmas Cottage Dollhouse

I love Christmas and really enjoy decorating for it every year, it brings me so much joy. ❤️
Ive always dreamt of one day having a Christmas village display, so this year I thought I’d start on my first piece, by converting a small dollhouse into a wintery Christmas cottage. ⛄️❄️

I started with a small dollhouse I purchased from my local Kmart (in Australia) that cost me just $22 AUD.
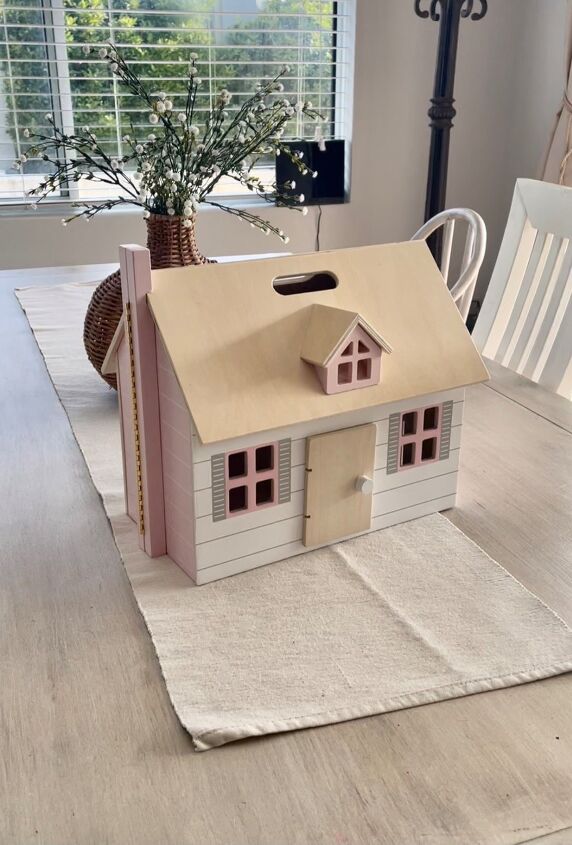
I removed the front door and then gave the whole house a light sand.
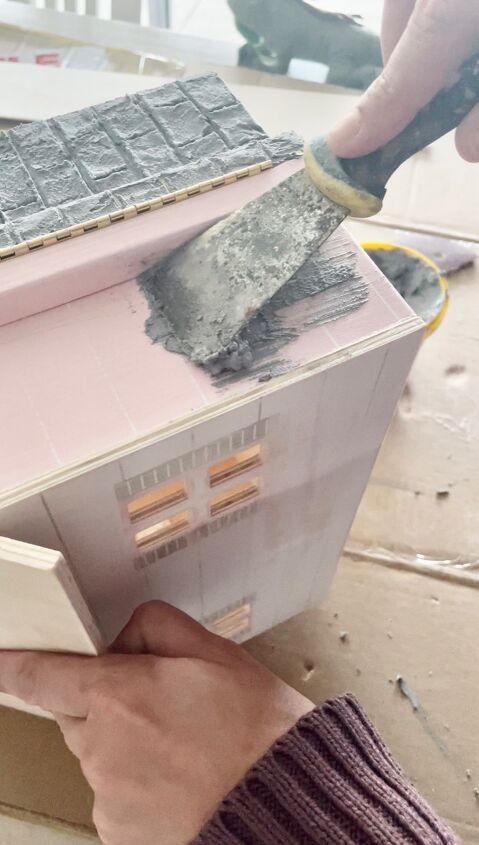
I then used a scraper to apply a mansory filler paste (used to fill holes in bricks) on to the sides. I did one side at a time.
Once I had one side done, I used a butter knife to form lines into it in the shapes of bricks.
I left it to completely dry before starting the next side so that I wouldn’t smudge it at all.
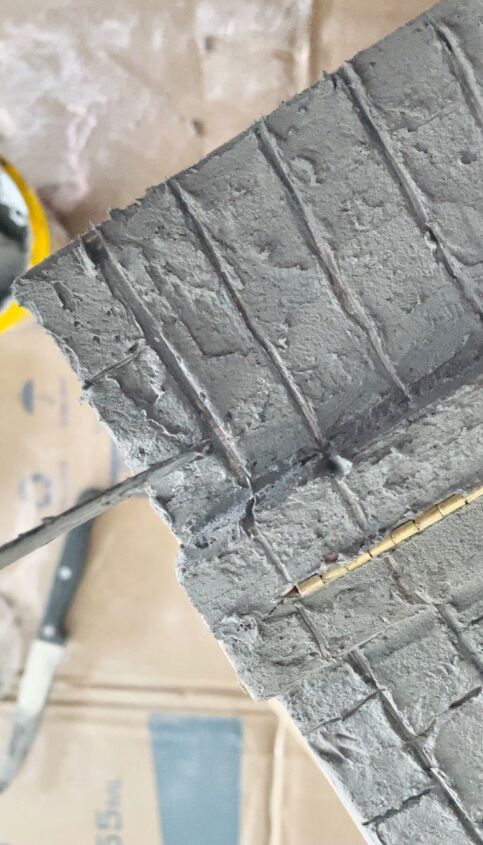
Once I had finished all 4 sides, I left to completely dry & harden.
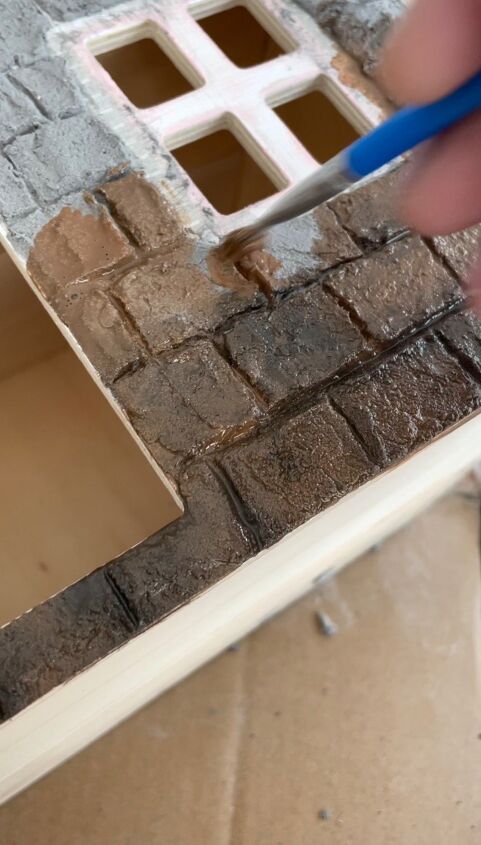
Next I used a mix of brown, black & white paint to paint the bricks. I watered down each paint, applying the brown on first, then going over it roughly with black (to get that old brick look) and lastly I lightly dabbed some white on top to give it a little more character.
Next I started on the roof.
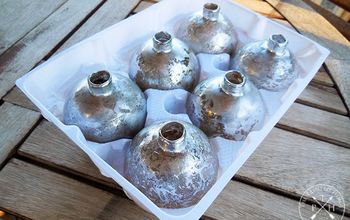
Originally I was going to make a paste from bi carb, glue & paint to make snow but after experimenting a bit, I couldn’t get the texture how I wanted it, so I decided to experiment with expanding foam filler instead.
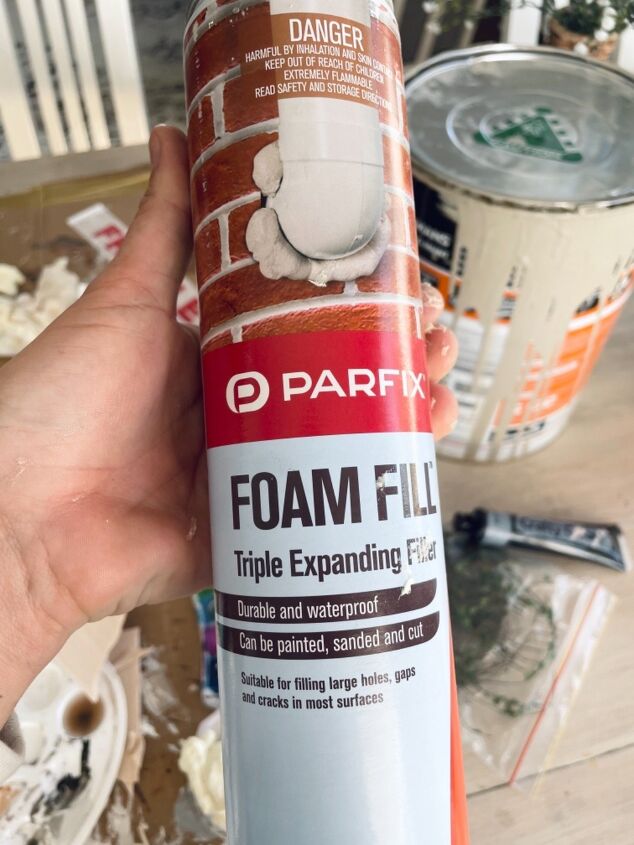
I practised on some cardboard first as I really didn’t want to ruin the project. Once I was happy with it, I then sprayed it onto the roof. As the foam can be cut, sanded & painted once dry, I wasn’t too concerned about putting too much on as I could always fix it up later.
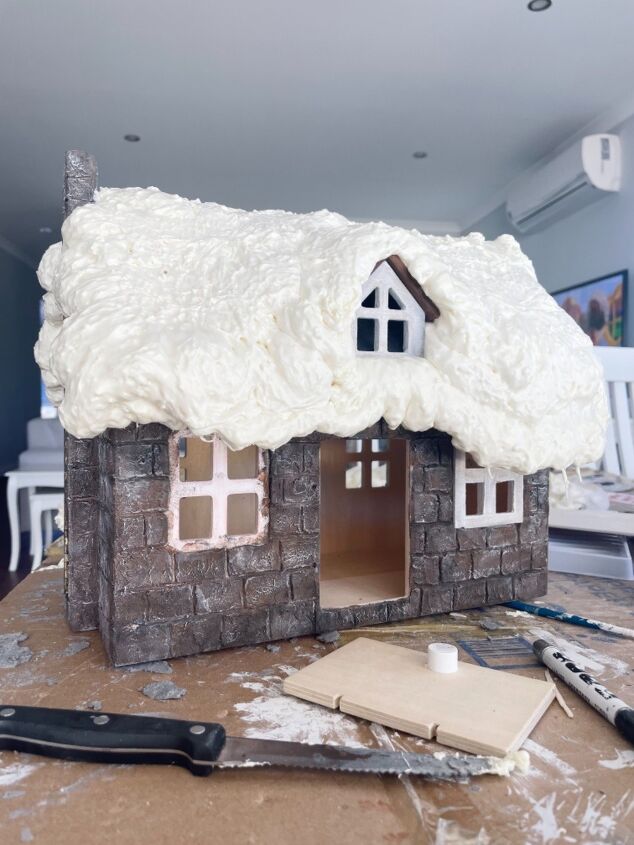
Once the foam had completely dried, I used a spare blade from a Stanley knife to start cutting the excess foam and shaping it to be less bumpy.
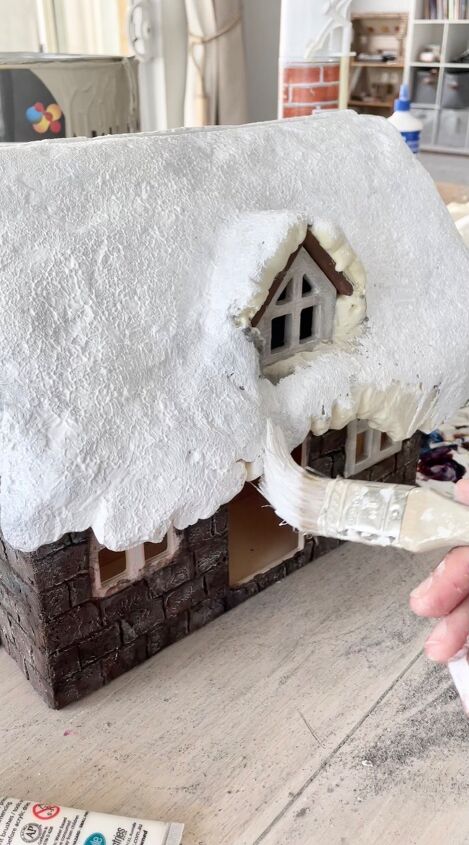
I then sanded it smooth, but left a few bumps here and there as I wanted it to look realistic.
Next I painted it white, I did 3 coats of gloss white acrylic, leaving a few hours inbetween each coat.
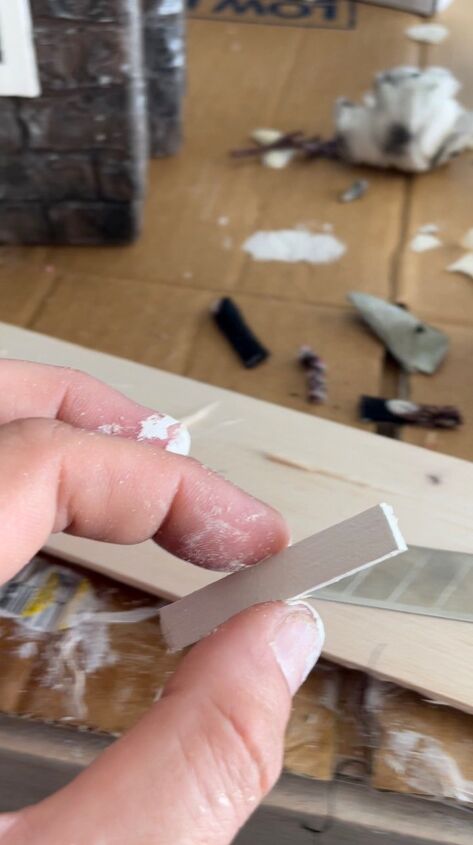
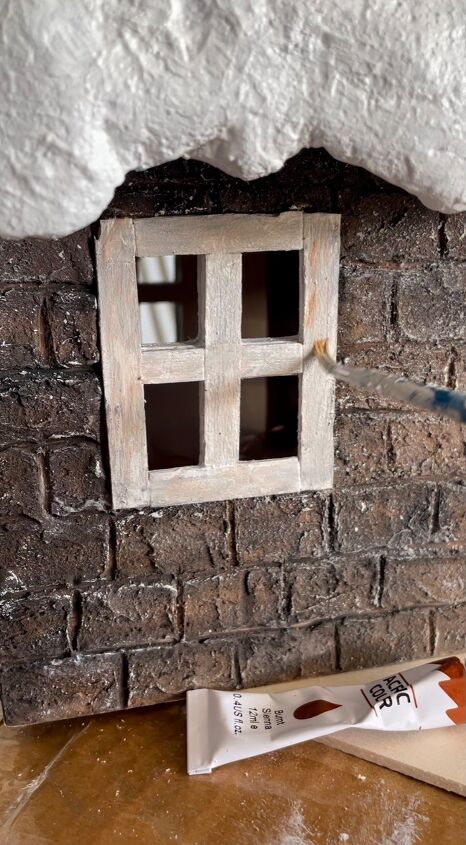
Once the roof was done, I then cut some thin balsa wood up with a Stanley knife to make frames for the windows.
I painted them white first and then glued onto the windows with wood glue.
I wasn’t a fan of how “clean” they looked being plain white, so I then used some water down black & brown acrylic paint and very lightly went over them to give it more of a “weathered” look to suit the bricks.
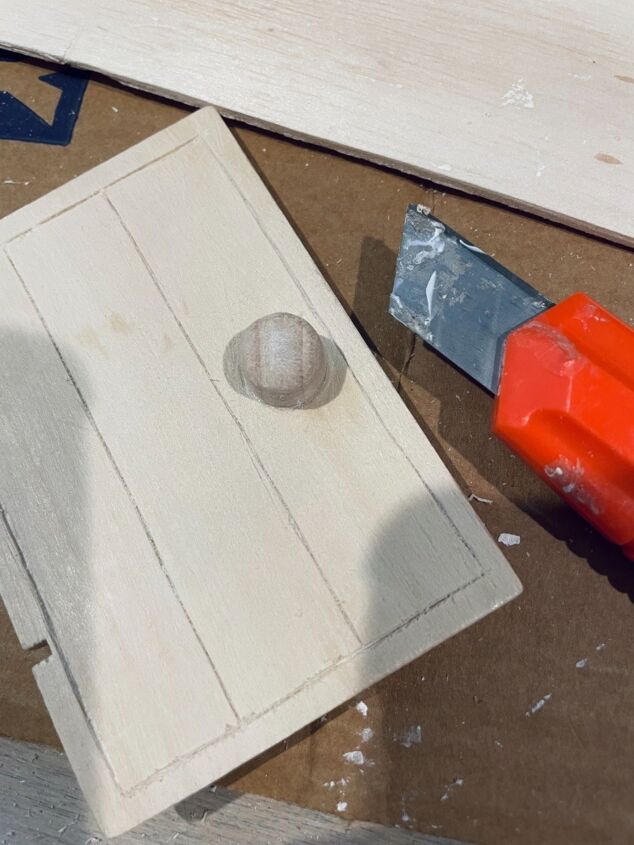
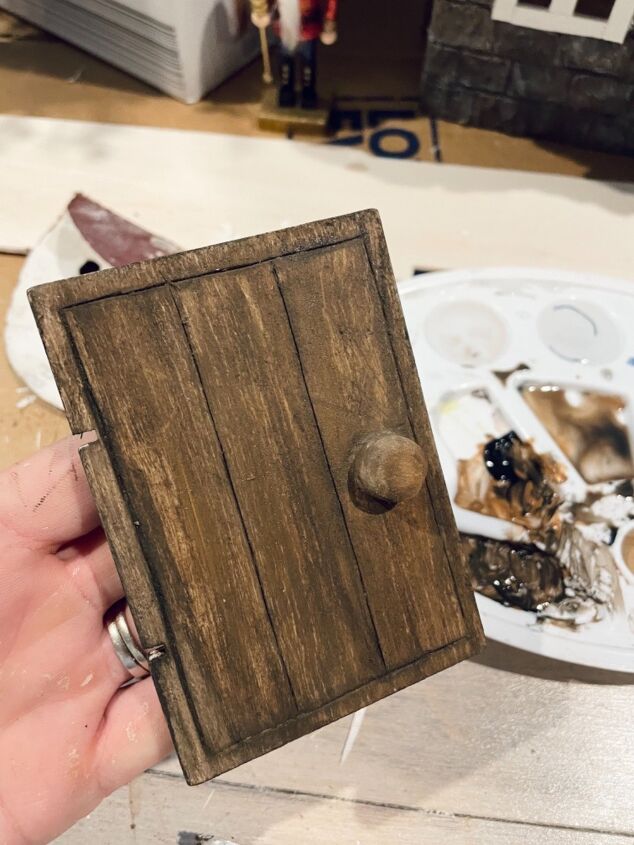
Lastly, I used a Stanley knife to carve some detail into the plain wooden door, and then I used watered down black & brown acrylic paint to paint it. Again I was very rough with this as I wanted it to look “weathered” to suit the rest of the exterior.
I also rounded the door handle with some sand paper as it was cylinder shaped before.
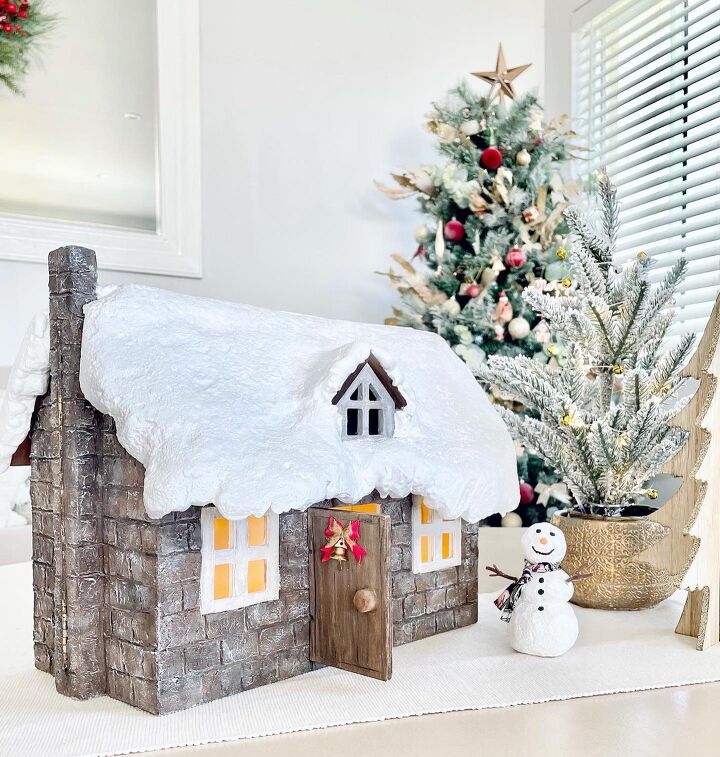
I then put the door back onto the house and added a little bow I had from my craft supplies to finish it off.
I also put a string of battery powered lights for something extra.
And that’s it, she was finished!
This was such a fun little project, and also a new challenge for me as I hadn’t worked with mansory or foam in projects before.
For more of my projects please check out my Instagram page @_prettyliving
Comments
Join the conversation
-
Wow that is just so cute …. I love it…I have a doll house still in the box I need to get out and try this ….you did a fantastic job.. thanks for sharing
-
Beautiful job!!


Frequently asked questions
Have a question about this project?