


DIY Christmas Tree Cones
$10
1 Hour
Easy
I'm not a fan of spending a bunch of money on Christmas decorations. So, when I can make my own, I go for it. These easy-to-make Christmas tree cones were a simple craft project that cost me next to nothing. Using just yarn, fabric and hot glue, I transformed styrofoam cones into cute decor. I love how they turned out!
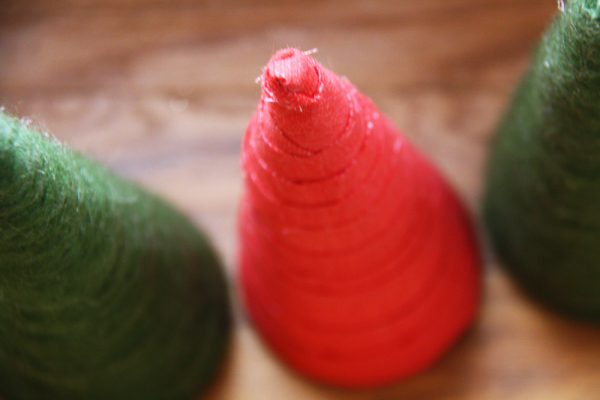
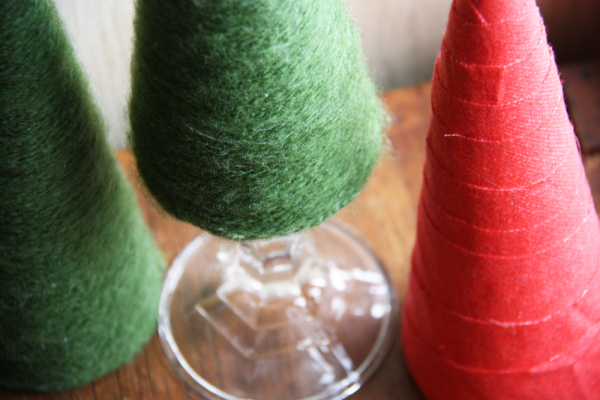
I made these adorable Christmas trees using just styrofoam cones, leftover fabric, yarn and hot glue!
Follow my step-by-step instructions to make your own crafty Christmas tree cones.
I made two different cones. One wrapped with yarn and one wrapped with fabric. Here are the supplies you'll need for both.
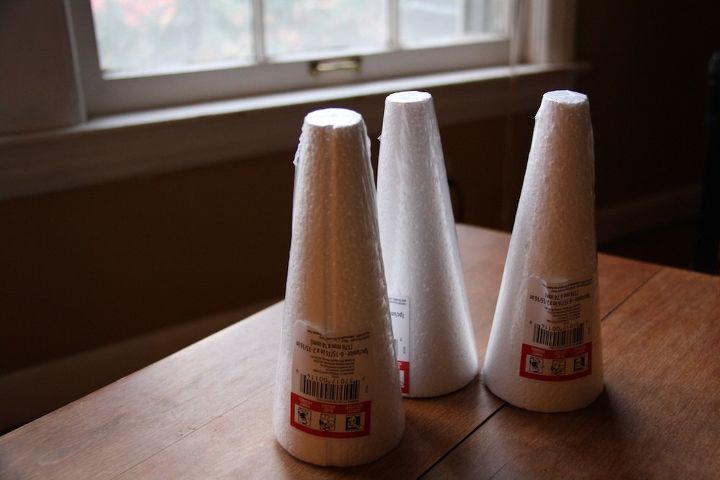
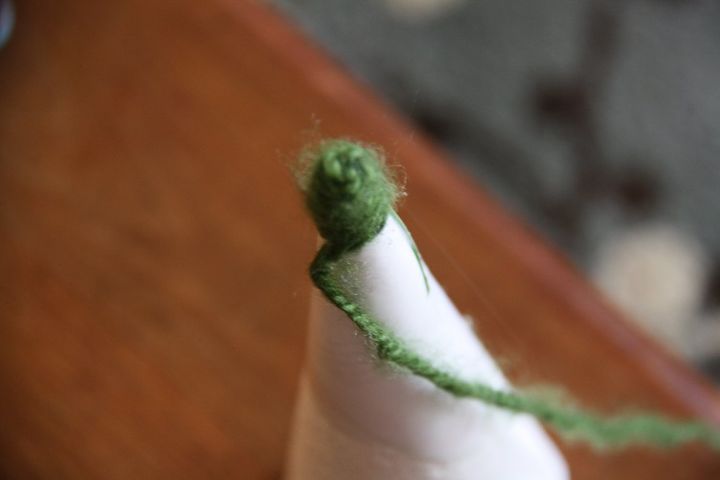
The cones I purchased didn’t have pointy tips. I wanted them to actually resemble Christmas trees, so I had to create my own tips.
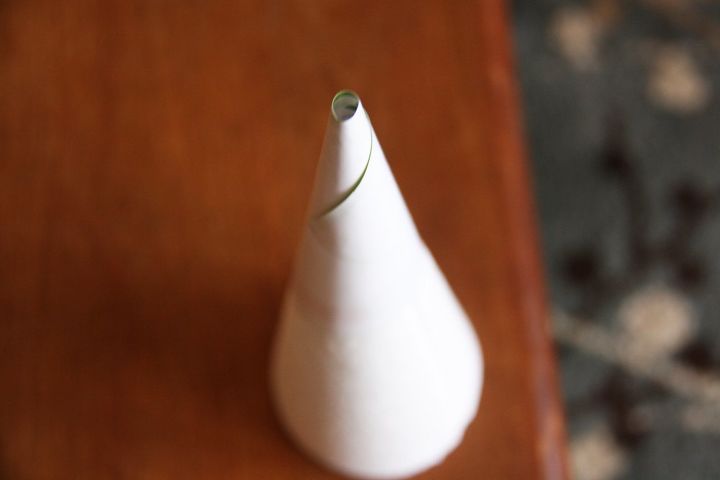
To make a pointy tip, I rolled a small square of thick paper into a cone shape. Then, I used hot glue to stick the paper on top of the cone. This part doesn’t need to be perfect because you’ll be covering it with yarn or fabric. I just wanted a true cone shape.

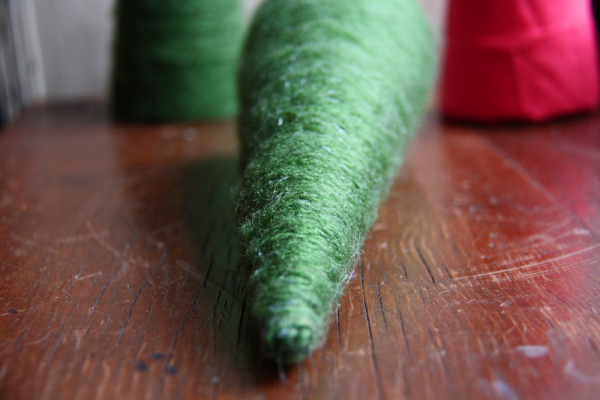
If you’re making a yarn cone, start by sticking the end of the yarn into the little opening on the tip of your cone. Then, start wrapping the yarn in a circle and securing it using hot glue. Make sure to cover all of the cone.
Keep wrapping and glueing. Make sure to use tiny dabs of glue, so the glue doesn’t smush out everywhere when you press the yarn to it. I used one dab of glue per rotation at first, then increased it as I went down the cone. There’s no secret formula. Just make sure the yarn stays tight and secure. Wrap until your cone is covered.
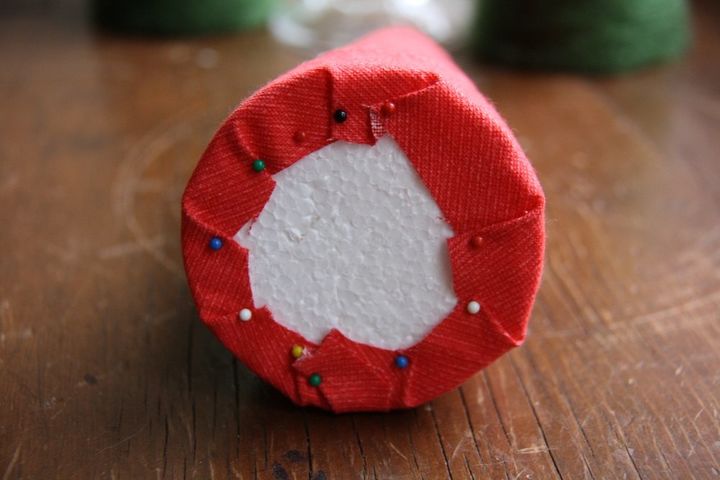
For a fabric cone, I simply cut several 1-inch thick strips of fabric and hot glued them to the cone starting at the top. I knew I wanted my fabric cone to look rustic, so I didn’t care if the strips of fabric weren’t perfectly even or that the edges showed. I don’t even care if they fray a little.
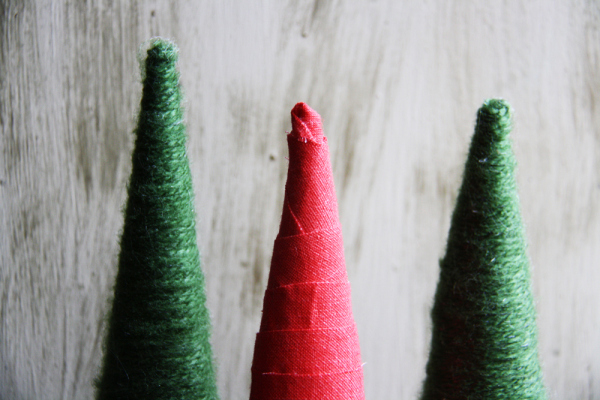
I think they turned out as good as any store-bought Christmas decoration!

Want more details about this and other DIY projects? Check out my blog post!
Comments
Join the conversation
2 comments
-
How neat are these? Love the look!


Frequently asked questions
Have a question about this project?