


DIY Christmas Tree Shelf!

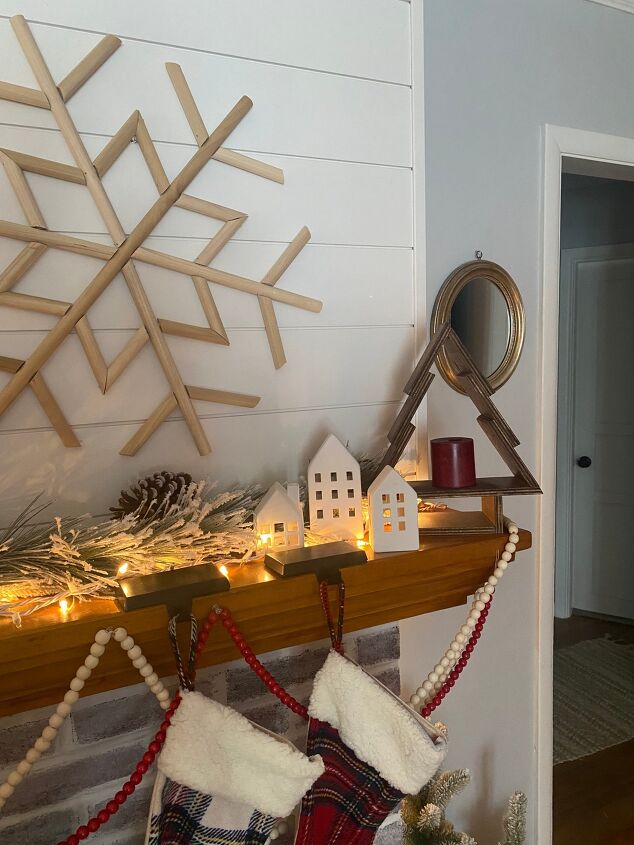
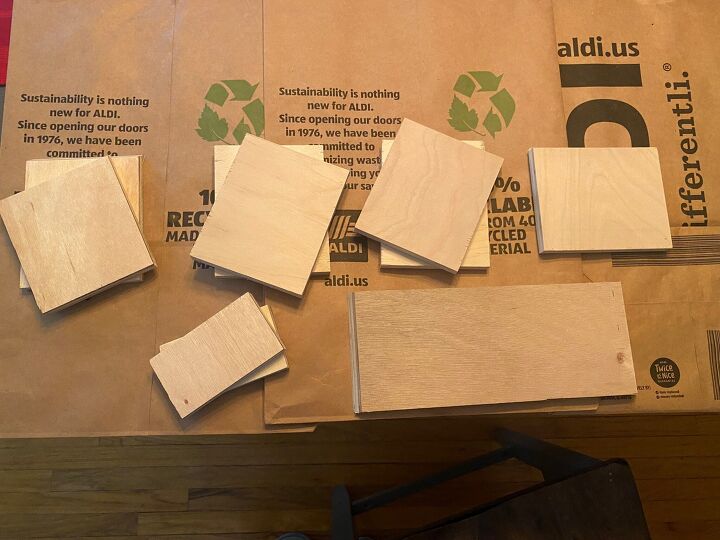
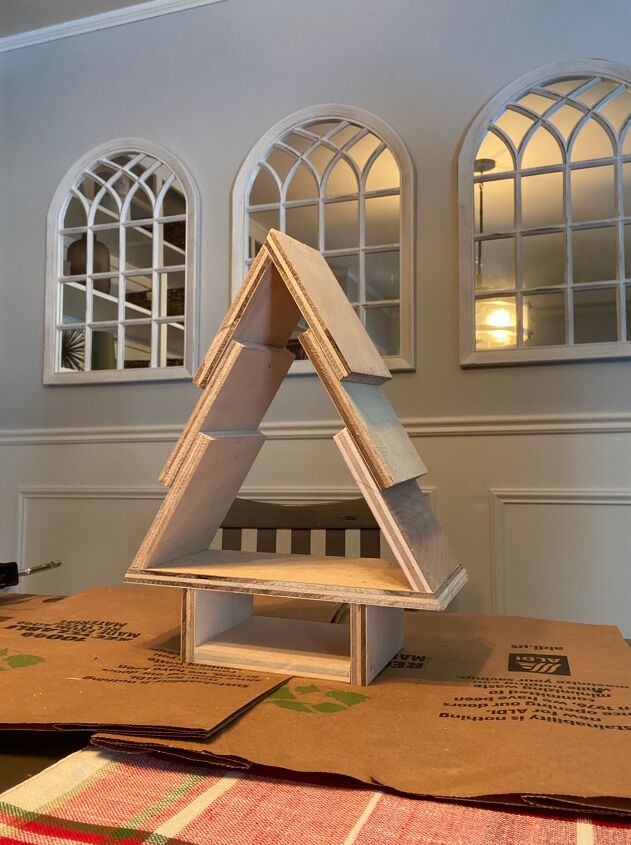
Last year I saw a picture of a Christmas Tree shelf while scrolling on my phone and loved it immediately but couldn’t find one like it anywhere to buy! So then I thought it can’t be that hard to make right? So I gave it a try! I bought a large sheet of 1/2in plywood and played around with different cuts and sizes for the tree. Here is how the tree turned out below… then I will walk you through step by step on how I made it!
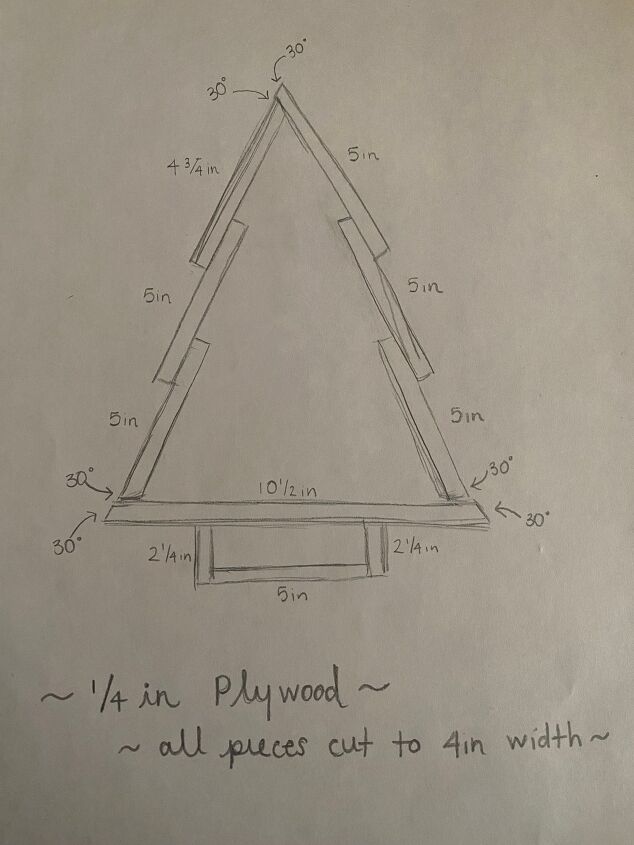
To start you will need to cut your 1/2in plywood into 4in strips. This is the width of the tree, and the width of all of the pieces. You then will be making a total of 10 pieces to put the tree together with. Below is a sketch to better explain the cuts for reference.
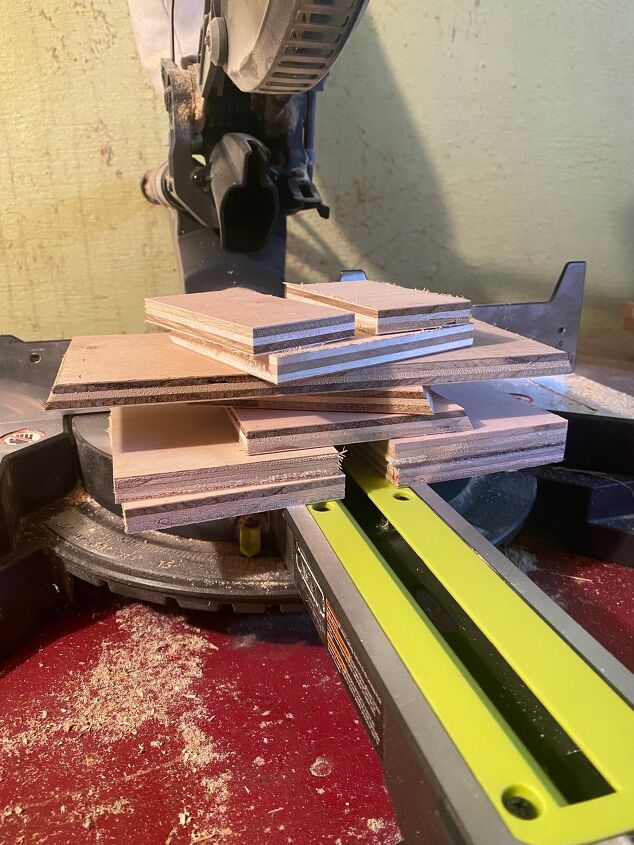
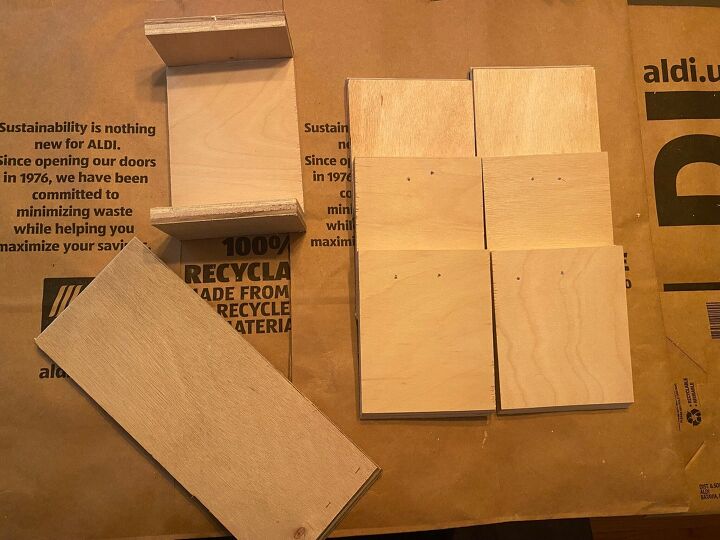
Once you make the above cuts using your miter saw you will have a pile of pieces similar to this…
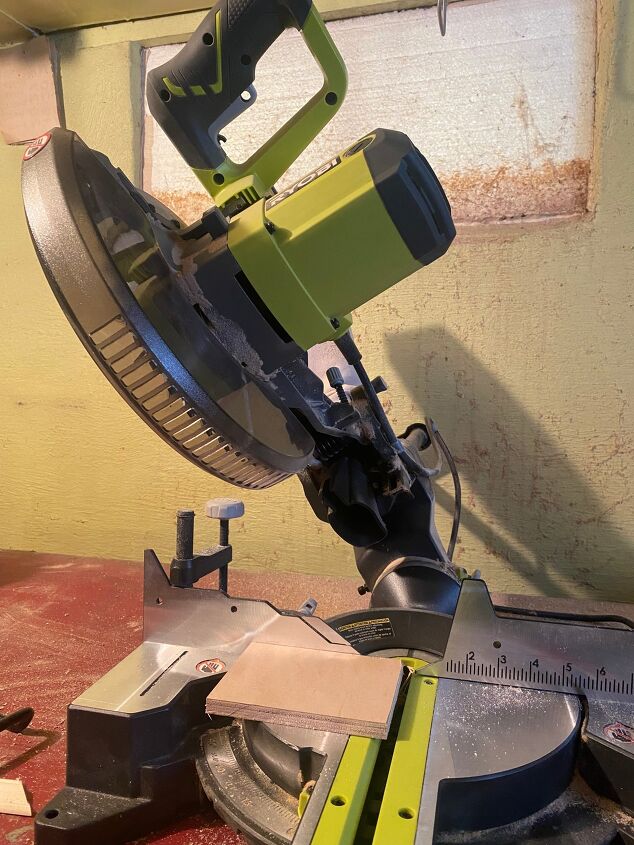
For the 30 degreed angle pieces I set my miter saw up like this (pictured below)…
After all of the pieces are cut to size, I gave them a light sand with 120 grit sandpaper to smooth them out. Then you are ready to assemble.
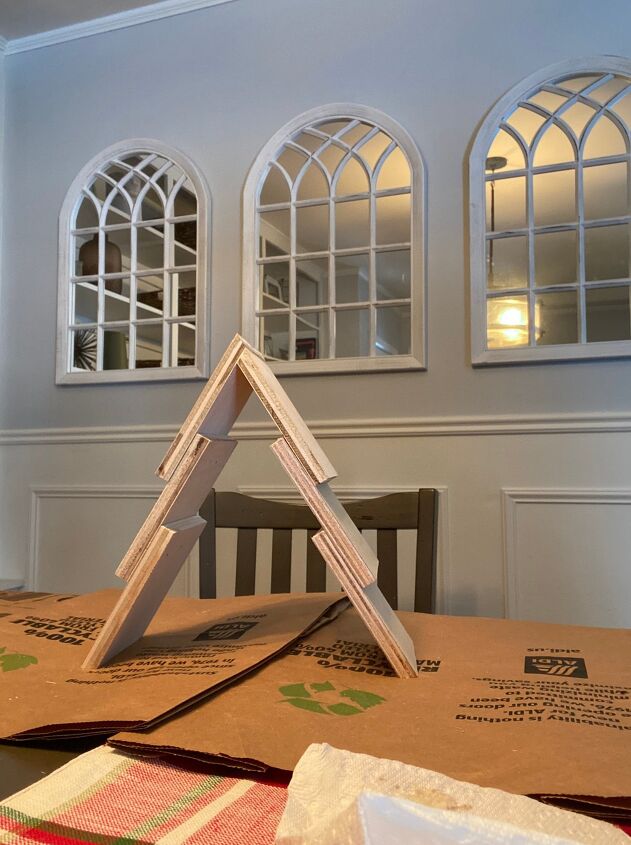
I started by assembling each side of the tree individually. I used a small amount of liquid nails, then 0.5in brad nails and my brad nail gun to secure into place. You will notice that one side of the tree is going to be slightly shorter than the other side. This is because of how the tree is made and to account for the tree to be even and equal once assembled.
The top piece of the tree on one side is 5in, where as on the other side is 4 3/4in because the shorter side will lay, and be nailed into place, underneath the longer side when assembling. Reference back to the picture if you are confused here.
I then began assembling my base… Again using liquid nails and 05.in nails to secure into place.
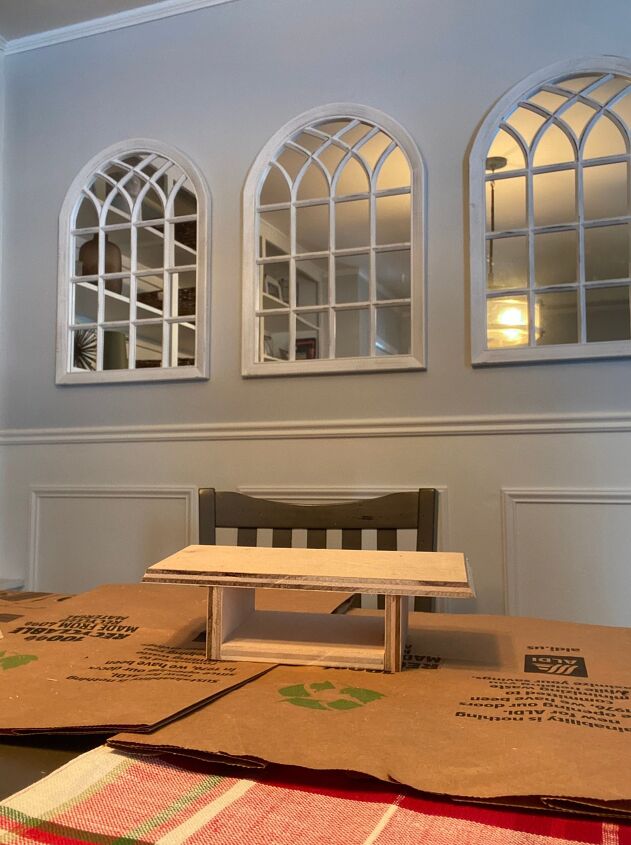
I then simply attached the base to the tree top by again using liquid nails and 0.5in brad nails and my brad nail gun to secure the two pieces into place.
And done! Then I just stained mine! I have made several of these little Christmas tree stands since and have used both Early American and Mocha stain colors in Miniwax oil based stain. The Early American is a lighter tone, whereas the Mocha is darker! They are the perfect gift idea if you are looking to give something handmade and special, but are also super fun to make for yourself if you’re looking for a statement piece this holiday season!

Just place a candle on the shelf, and tada! Follow along my page for more DIYs and be sure to tag me on Instagram if you make a Christmas Tree Shelf! I would love to see!
Comments
Join the conversation
-
This is so adorable. I am sure that we all have a bunch of scrap wood hanging around wanting to be used for such a great project. Paint them or stain them and add a bit of batting to the tree. Before putting the top on one could add a hanging snowflake, bell or small ornament. So much to do with these trees. LOVE IT.
-
Oh my gosh!!!! I love this! I try to make something each year for my 3 grown kids. This will be done over the summer for next Christmas. I am a woman of seasoned years, lol, so I take my time! But, they love everything I make for them! Thank you, and Merry Christmas!


Frequently asked questions
Have a question about this project?
Definitely love this and will try it! But really love the snowflake. How did you make it?
Very clever. But are you sure you used 1/4" plywood? It looks from the pbotos that each piece has 3 layers, which seems to indicate that it's a lot thicker than 1/4". Or did I miss something?