


DIY Dried Orange Garland

A dried orange garland with small white pom poms. This garland is simple to make and adds a little rustic feel to your holiday decor.
Dried orange garlands have such a sweet and pretty look. They are rustic, simple and a perfect addition to holiday decor. Also a plus that they are really easy to make.
Oranges have a bit of holiday history. Along with candies and stocking stuffers, oranges are put in stockings not just for an easy stocking stuffer option, but for a little deeper meaning.
The story goes like this; St. Nicolas a.k.a Santa Claus gave a poor man three sacks of gold. These sacks of gold helped this man pay for his daughter’s wedding.
Santa; what a guy!
Santa Claus traveled to his house and tossed three sacks of gold down the chimney. The oranges that are put in stockings today are supposed to represent the gold.
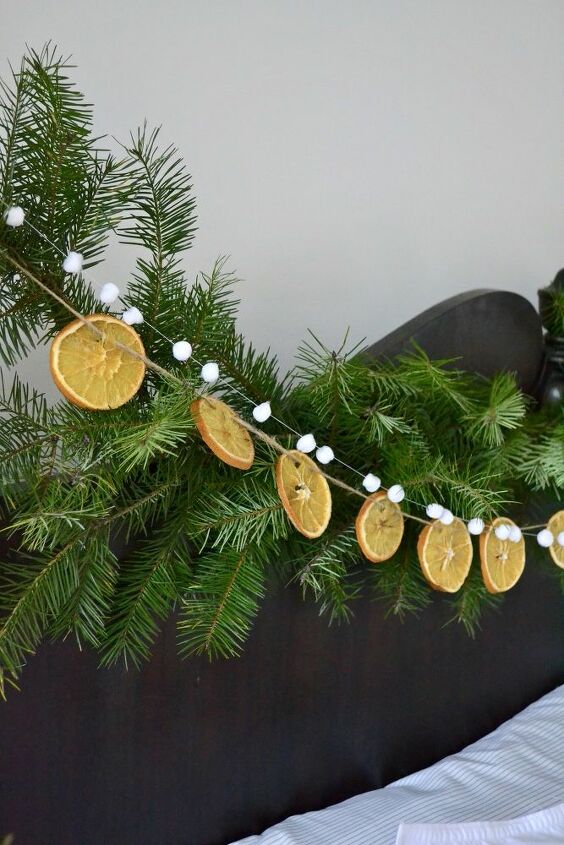
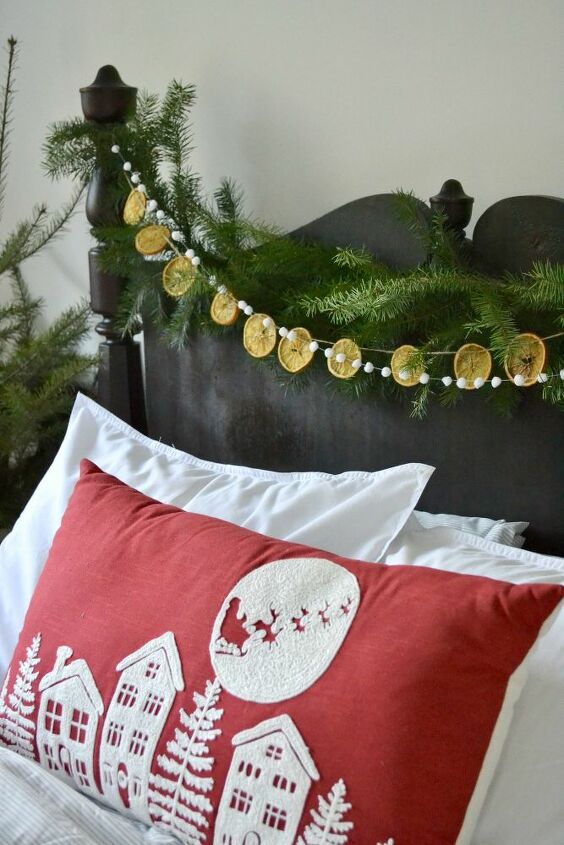
Orange and Christmas just go together and this garland represents that. Also, how beautiful is the color of the oranges against the green garland? I also love how easy it is to add a little more flair, like the second garland of small white pom poms.

First step is to dry the oranges. This is a perfect project for a day that you are working around the house because they do need to bake for a few hours.
Cut thin orange slices and place on a baking sheet lined with parchment paper. Bake at 200 degrees for 3-4 hours flipping halfway through.
- Two medium oranges will make about 15-20 slices.
- Cut them thin, but not too thin. I cut mine about 1/4 – 1/2 inch thick. If you cut them too thin they will burn.
- Low and slow is the way to go! I baked mine at 200 degrees for a little over three hours. Check them about halfway through and flip the oranges so both sides get an even bake.
- Allow the oranges to cool completely before stringing them. You can store them in a plastic bag if you are not going to use them right away.
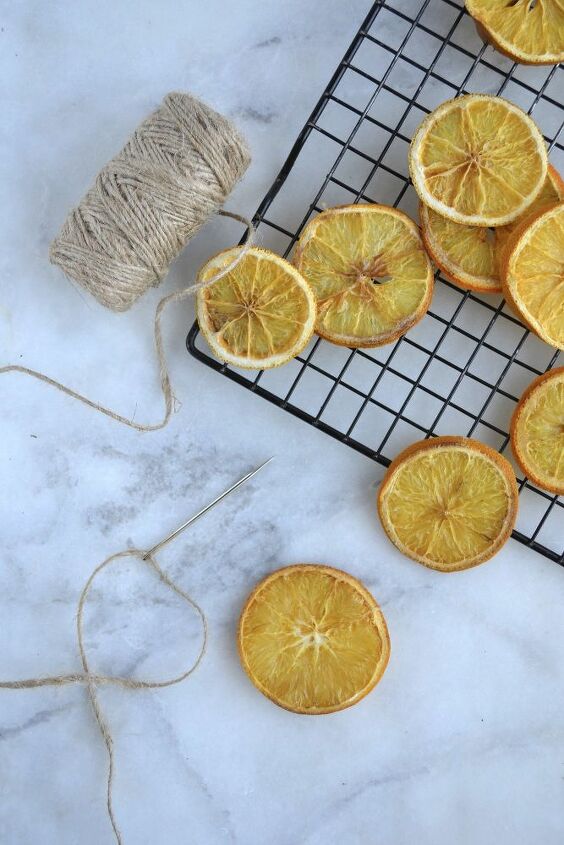
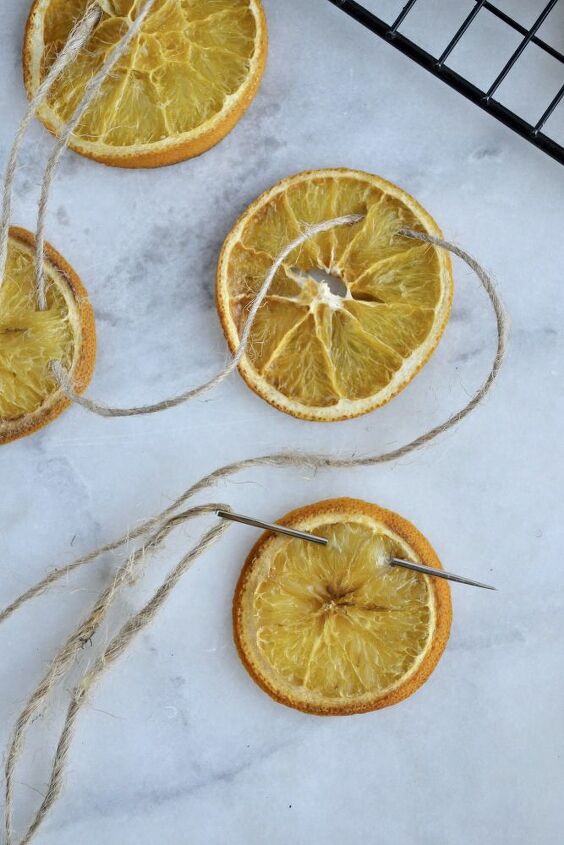
Next, string the oranges. I used brown twine, but you could use thick thread or yarn. Using a yarn needle and twine, thread the needle and starting at the front of the orange slice, thread it through to the back and then back through to the front.
This will make it so the oranges always lay flat on the twine and face forward. If you want them to hang sideways, thread the needle through once.
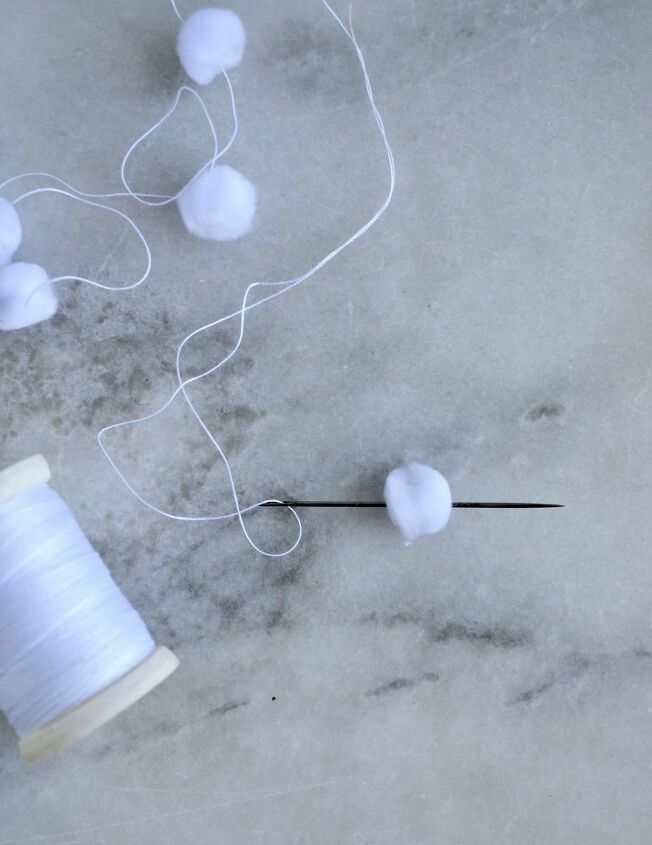
Using a thread needle and white thread, push the needle through the center of the pom pom. The center will be the only place on the pom pom that is firm enough to hold the thread.
I used about 50 pom poms, but the great thing is that you can use as many or as little pom poms as you would like.
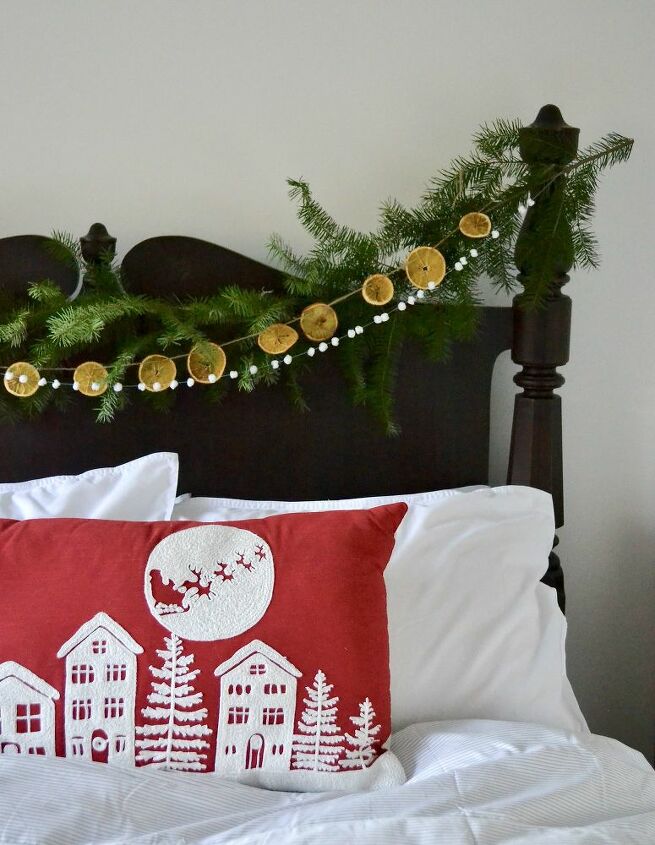
Tie the ends of the pom pom garland and the orange slice garland to make it one garland.
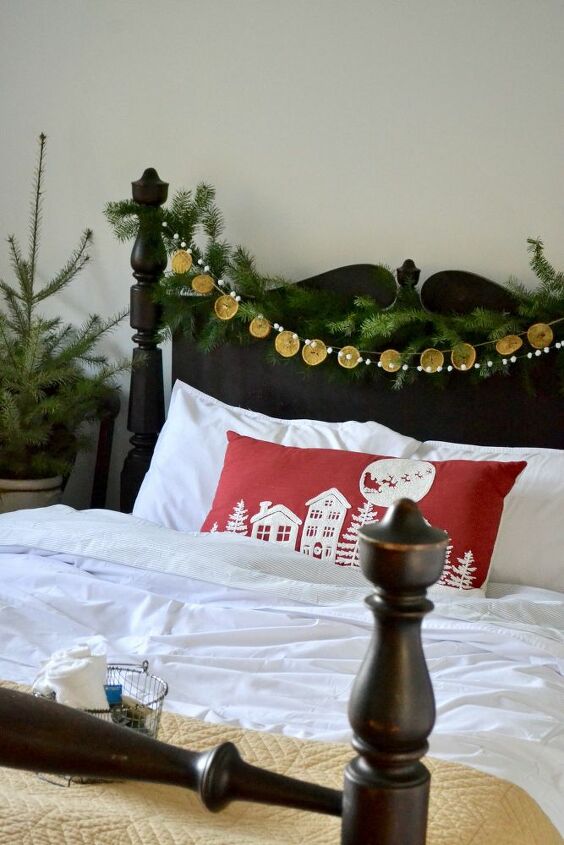
Hang the garland by tying the ends of the garland to a railing, window frame or a bedpost like I did. If you want it to be on a wall or in free space, try using these removable hooks.
This garland goes so well with a pine garland, faux or real. It also looks so sweet on its own.
Comments
Join the conversation
-
I bet you can used a dehydrator for the oranges.
-
What a great idea! Bet it smells awesome!


Frequently asked questions
Have a question about this project?