


How to DIY a Mini Christmas Tree Skirt; No Sewing Needed
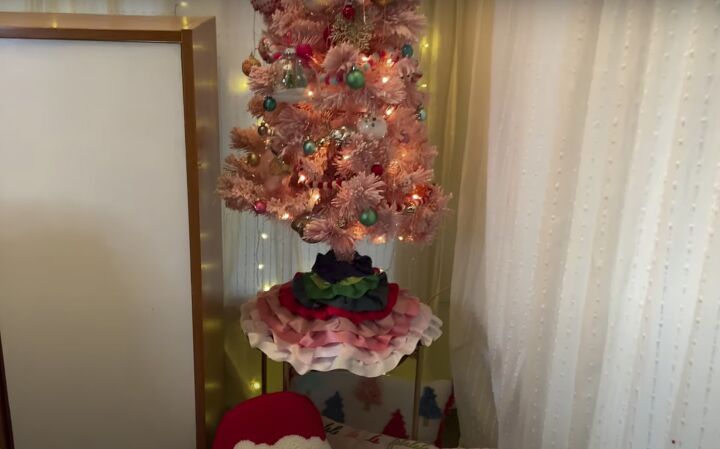
In my office, I have the cutest pink Christmas tree that needed a skirt to hide the ugly stand. I found the perfect tree collar online, but it cost $325. I was not going to pay that much, so I devised a plan B: I would DIY a mini Christmas tree skirt for a fraction of the price and tailor it to the exact colors I desired.
For even more ideas, see Hometalk's ultimate guide to DIY Christmas decor here.
This post was transcribed by a member of the Hometalk editorial team from the original HometalkTV episode.
This simple Christmas tree skirt idea will be made by adhering ribbon to material in layers. The end result is a stunning ruffled ribbon tree skirt. There will be a slit on one side for easy placement over the base of the tree.
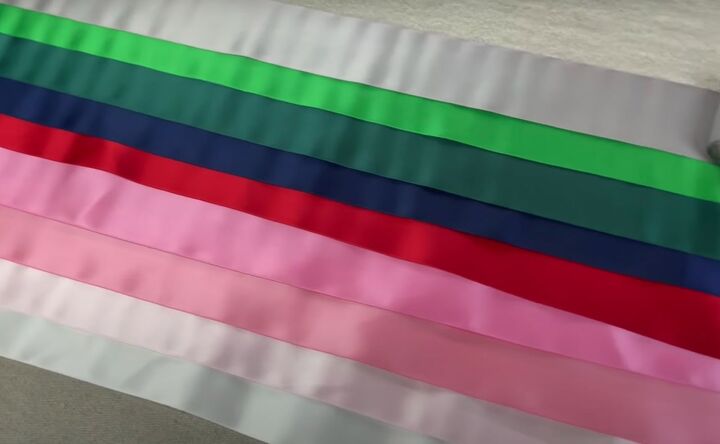
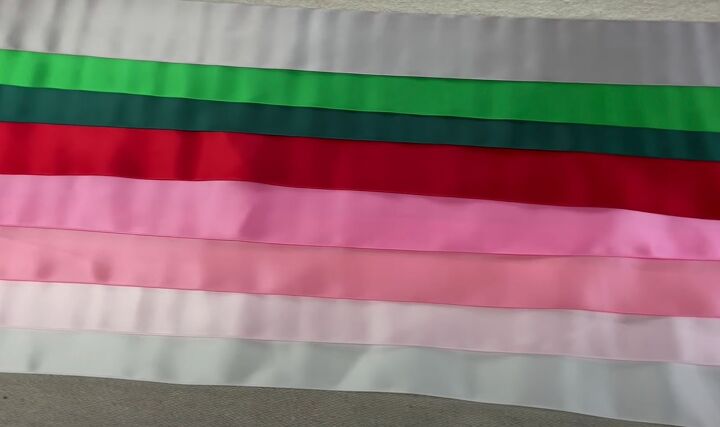
To make this easy, no-sew DIY Christmas tree skirt, I gathered some old felt and ribbon. You can use whatever materials you have available.
I recommend that you find ribbon that matches your home decor and experiment with the layers until you are happy with the result.

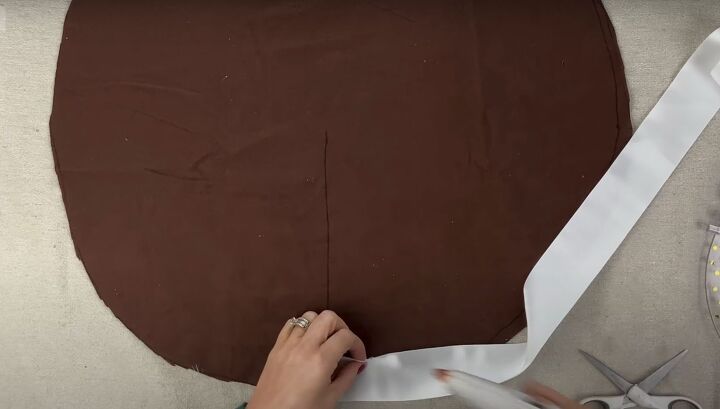
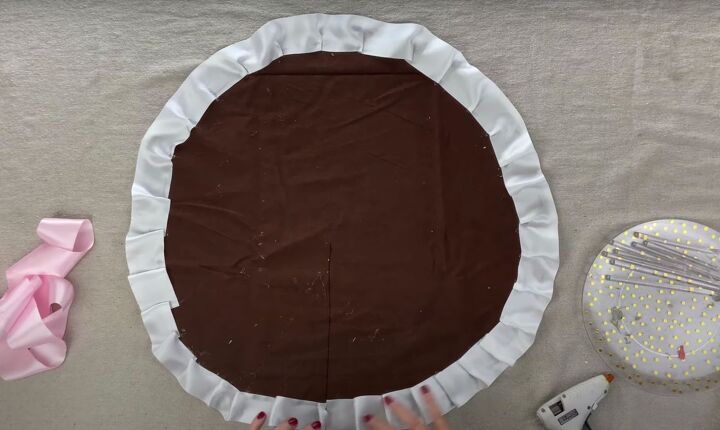
1. Cut a piece of material into a circle
After measuring my tree, I traced a circle on the piece of felt and cut it out. I also drew a line through the circle where I intend to cut a slit.
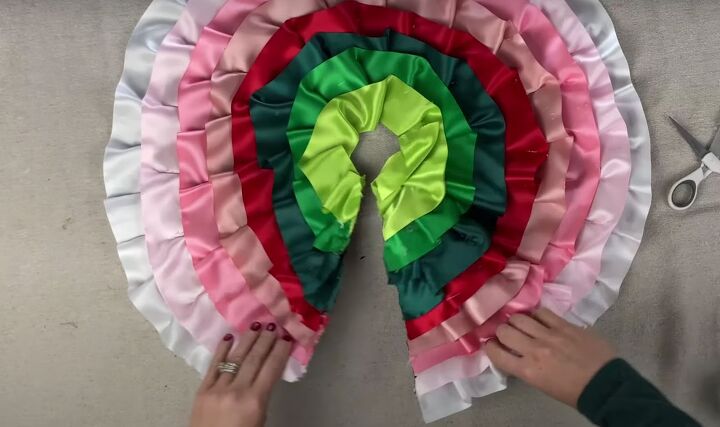
2. Glue the ribbon onto the material in layers
Once I had my circle ready, it was time to start hot gluing the ribbon. I did lay it out beforehand so that I had an idea of the order I wanted to go in.
The process of creating the ruffled ribbon look is pretty repetitive.
Make sure that each layer of ribbon starts on the straight line drawn at the start. This is where we will cut the slit at the end, and starting each layer on this line will make your tree collar look uniform.
Begin by gluing down an inch and a half of ribbon.
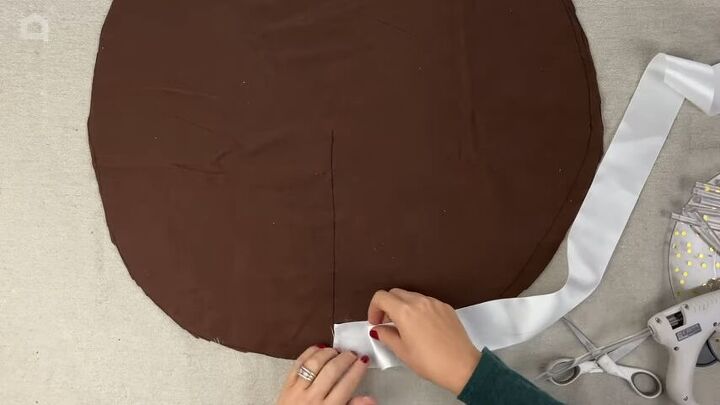
Then, to create a ruffled look, you are going to fold the ribbon back on itself and glue the section down.
I kept repeating this process all the way around the DIY tree skirt.

I started each new ribbon layer directly above the beginning of the last layer and overlapped it about a half inch on top of the previous ribbon.
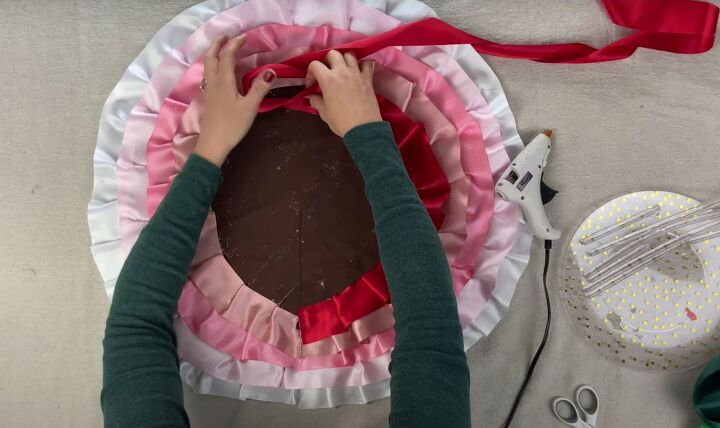
This skirt is going to be all bunched up under my tree, so it doesn't have to be perfect. Don't overthink it; simply continue gluing each ribbon color around the circle.
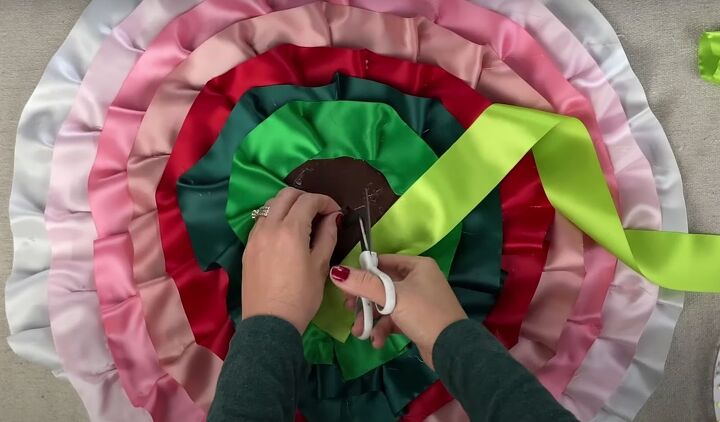
3. Cut a hole for the tree trunk
As I was finishing up the colors, I cut a hole in the center of the mini tree skirt for the trunk.
Then I was able to go right over the edge with the last color to finish it off.
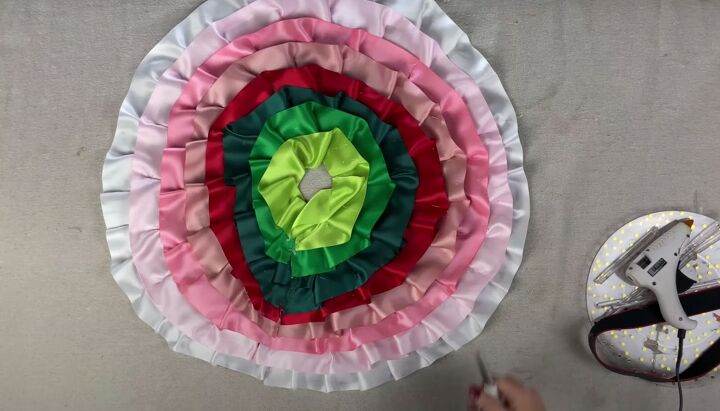
4. Cut a slit
Once I had all of the ribbons in place I cut the slit with my scissors. You could finish the edges of the skirt with some ribbon to give it a finished look, but I just left mine as is because it will be scrunched up under the tree.
Layered ribbon Christmas tree skirt step-by-step tutorial
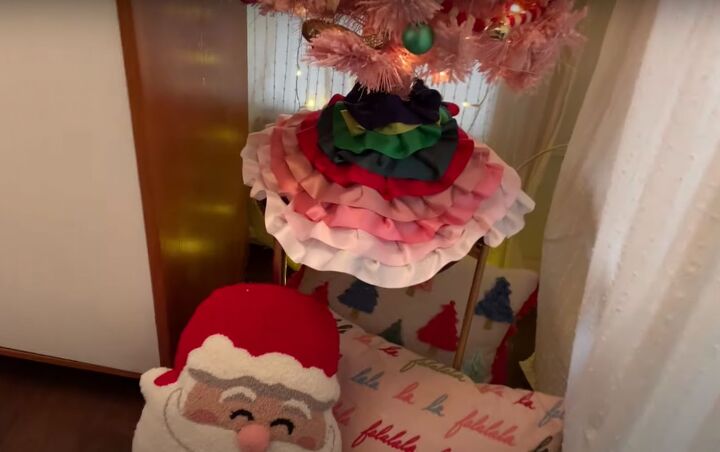
The no sew Christmas tree skirt looks perfect covering the trunk of my mini Christmas tree. I am so glad I made a mini tree collar instead of buying one because it allowed me to customize the colors to match the decor in my home office.
More Christmas decor ideas
I can't believe how much money I saved by making my own DIY mini Christmas tree skirt. It was a super easy project that did not require a sewing machine, which was a huge bonus!
I would love to hear what you think of my project in the comments below.
Wishing everyone a very merry Christmas and holiday season!


Frequently asked questions
Have a question about this project?