


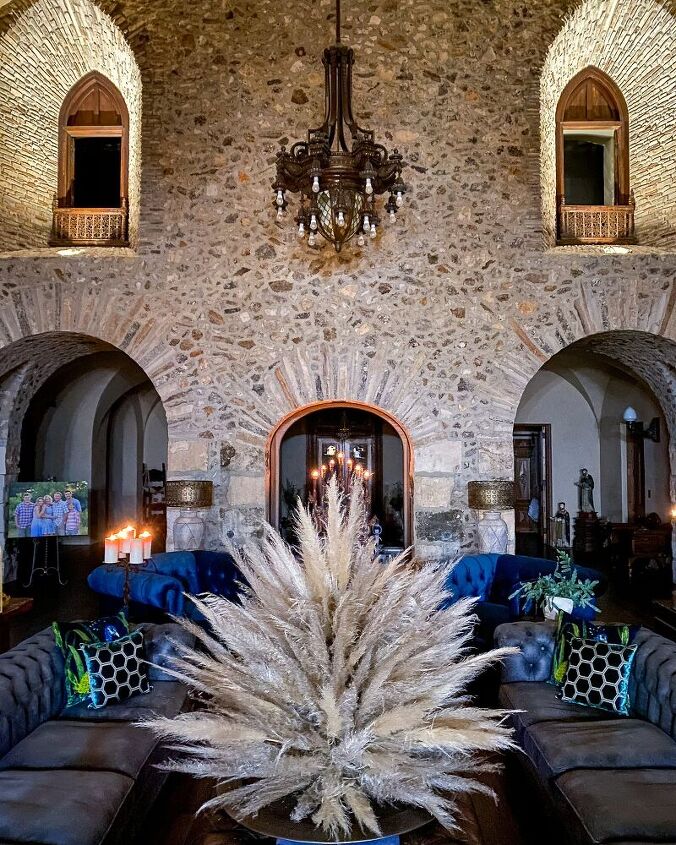
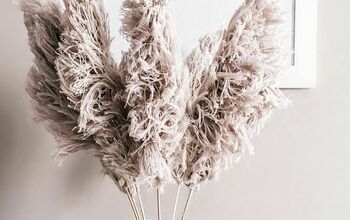
DIY Pampas Grass Christmas Tree
My DIY Pampas Grass Christmas Tree Tutorial was a total experiment.
It came about one day in early December when I was scrolling through IG.
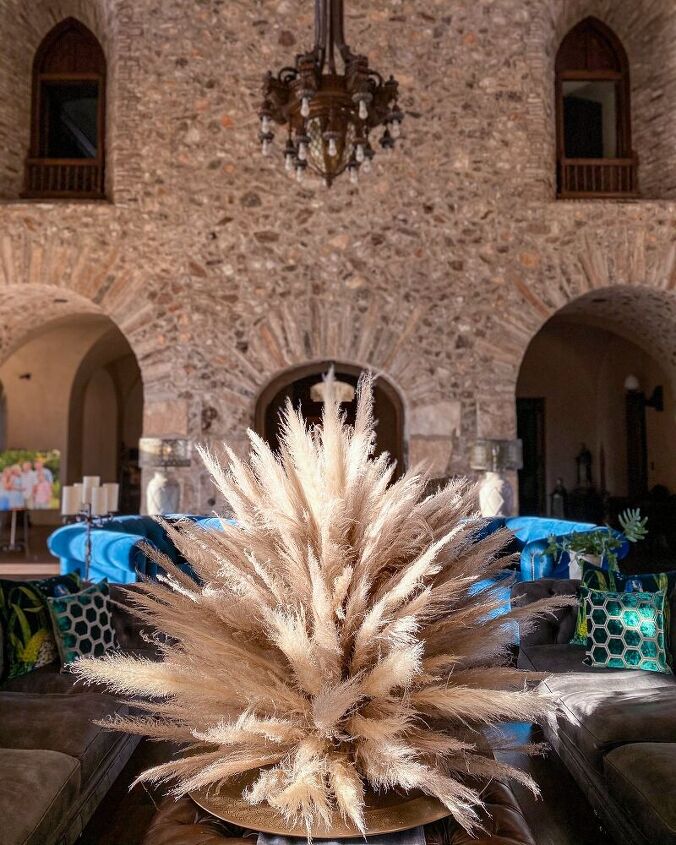
That is when I saw a life size Christmas tree made completely out of pampas grass. STUNNING is not even accurate.
I had major pampas grass envy.
I immediately went to Pinterest. NOTHING.
I googled “How to Make A Pampas Grass Christmas Tree”…….NADA
And, so there I was.
I could not stop thinking about that tree.
So, at 3 am one December morning, I got out of bed and decided to give it a go.
Supplies
- Cone (Mine is 5.75 inches diameter by 24 inches height)
- pampas grass stems
- sharp scissors (that you don’t mind being extremely dull after this project)
- glue gun
- A full can of hair spray (if you make a smaller tree, you probably won’t need as much hair spray).
Directions
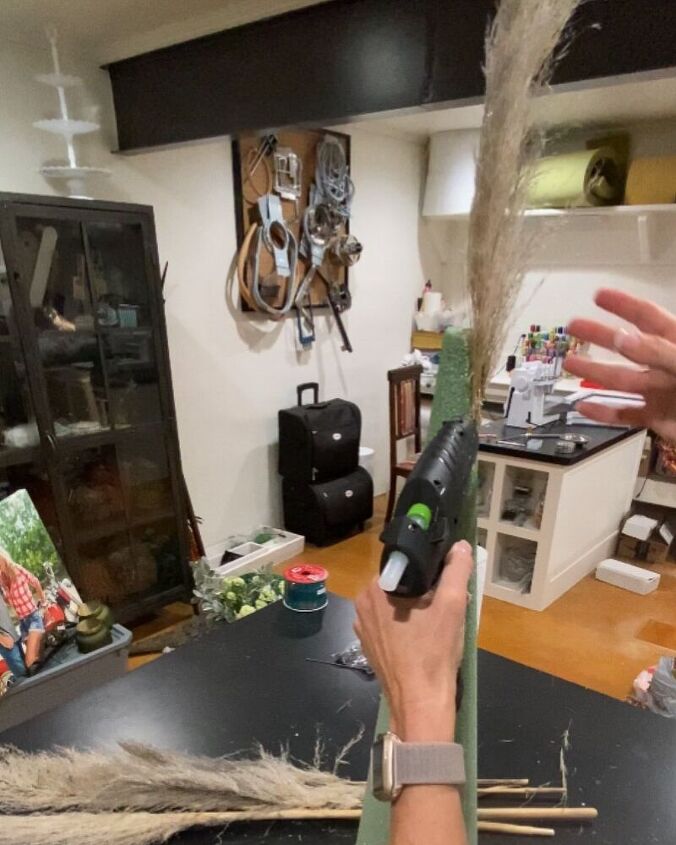
- Remove the plastic from your cone.
- I started at the top of my cone. Because the top is very narrow and small in diameter, I chose to glue the short pampas grass stems around the top. I did this instead of piercing the cone which could have weakened it or broken it.
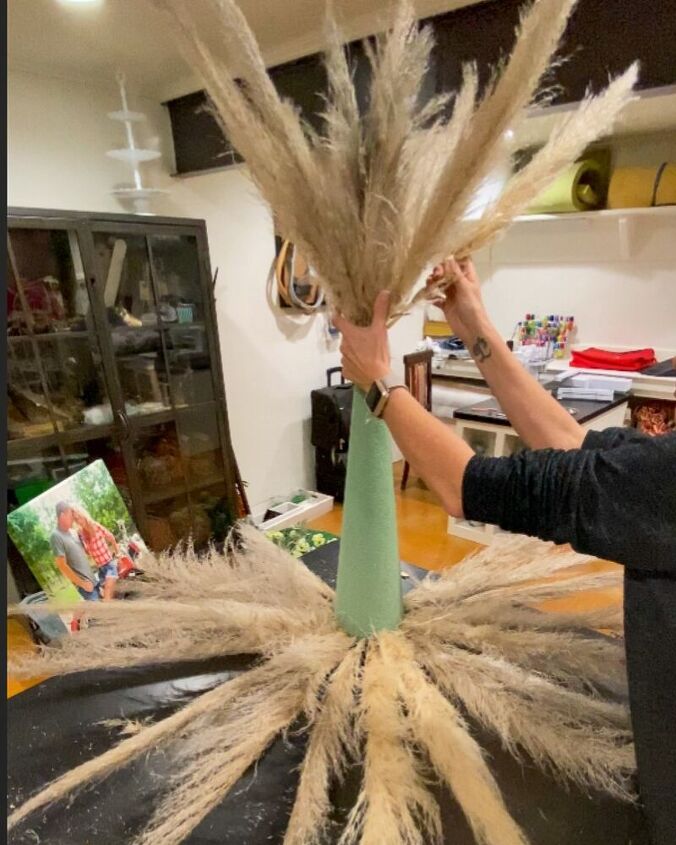
- Once, I worked approximately 4 inches down the cone, I began sticking the stems directly into the cone.
- In order to do this, you will want to cut your stems on the diagonal.
- Once you make the cut, there may be layers of “paper” type bark that will peel off the stem. That is okay. You are just looking for the sharp end that will be underneath.
- I worked between the very top and the very bottom of the cone in the beginning.
- When I was working at the bottom, I pierced the cone with pampas grass stems horizontally.
- When I was working at the top, I pierced the cone diagnonally.
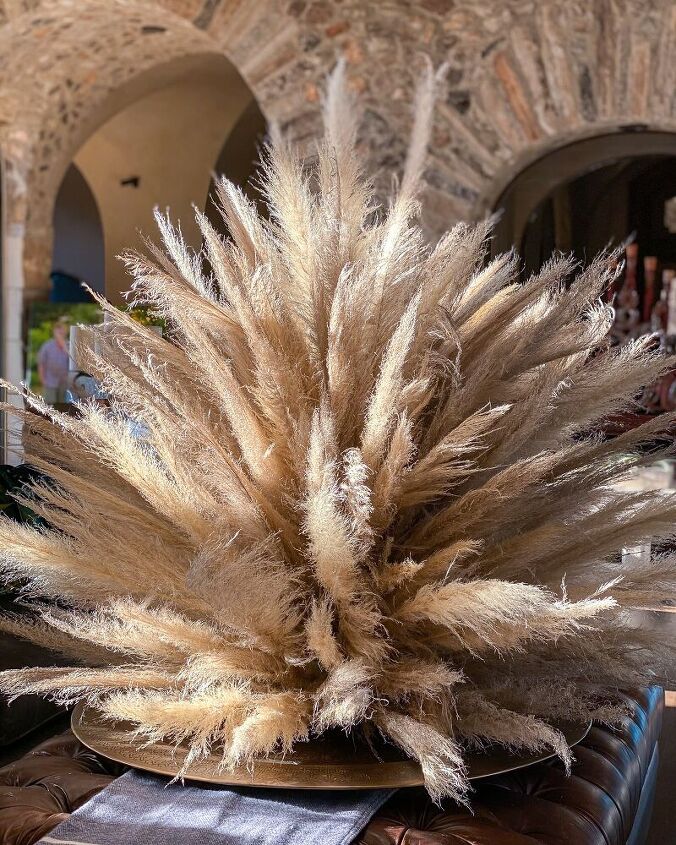
- I used longer stems at the bottom and shorter stems at the top, following the natural Christmas tree shape of the cone.
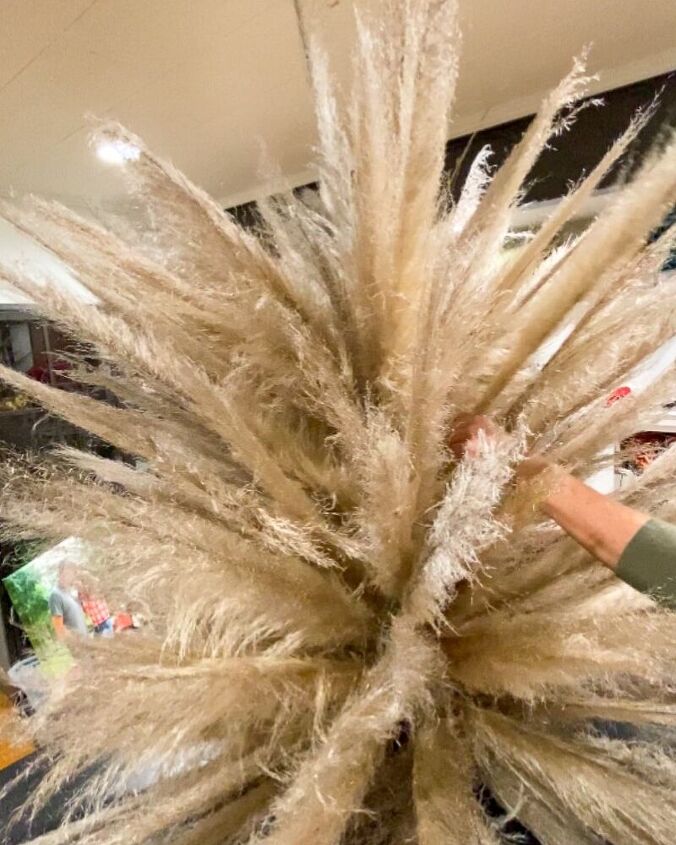
- Once I felt comfortable with the shape I had created, I began piercing the cone all over in random areas to finish creating the shape.
- Then, I filled in as needed to hide the green part of the cone.
- After I had completely filled in the cone with grass and was happy with the shape, I sprayed the grass heavily with a can of hair spray. I used the entire can of hairspray to minimize shedding.
Resources for this project:
See all materials


Comments
Join the conversation
-
This came out wonderfully thank you for sharing Jennifer. I was thinking that if you want this on a side table that is up against a wall you can make this a one sided piece. Pin or glue a triangle of fabric or felt to the back of the cone to cover its back surface.
-
Definitely a great idea and you can also go with a really small almost tiny cone and keep your pampas stems much shorter. I was shocked at how big this one got because the cone is technically not that big.


Frequently asked questions
Have a question about this project?