


DIY Tassle Christmas Tree Sign

We officially got our first real snow where I live, and that kind of weather definitely calls for some holiday crafting!
I have seen several different versions of these adorable tassel Christmas trees and I just knew I had to make one.
I love to add little holiday touches throughout our home and this one turned out perfect for my daughter’s room!
Read below to find out how you can make this quick and adorable DIY.
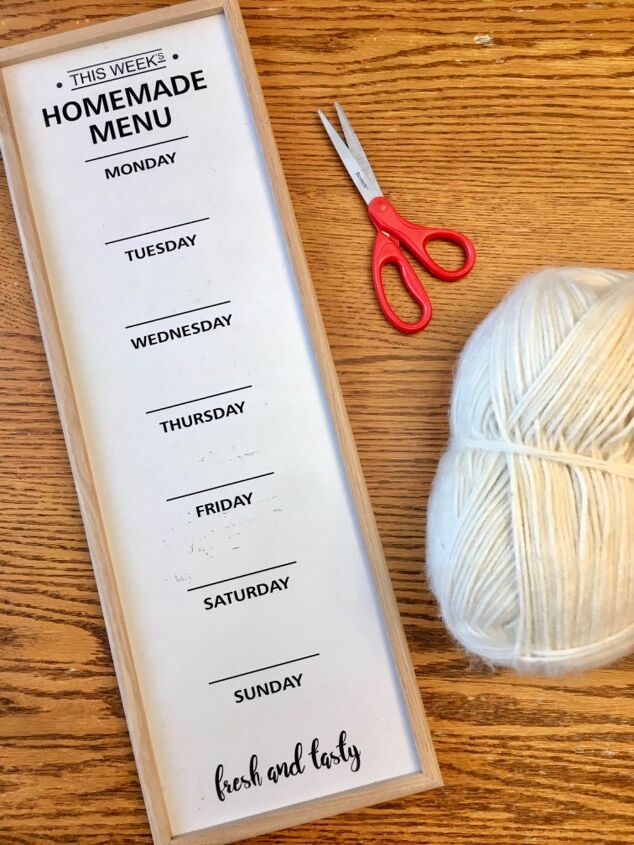
For this project you will need a small piece of cardboard, yarn, paint, a glue gun, a pair of scissors, and an old frame. I used this menu board that I purchased from the dollar store years ago, it was the perfect size and desperately needed a makeover. You can use any frame you like just be sure to carefully remove and discard the glass if needed.
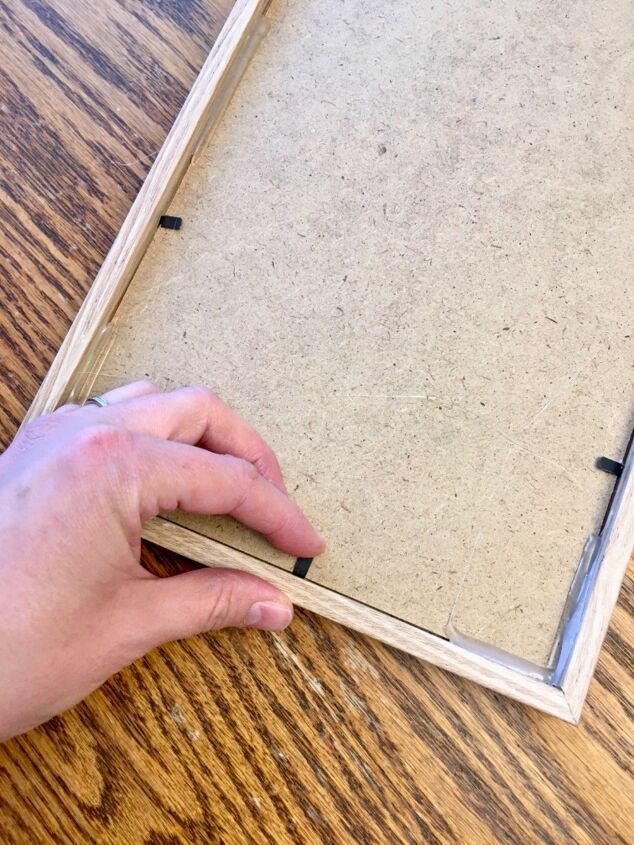
The first thing I did was remove the backing from the frame. The backing was in very good condition and a completely smooth surface so I decided to use that as my background.
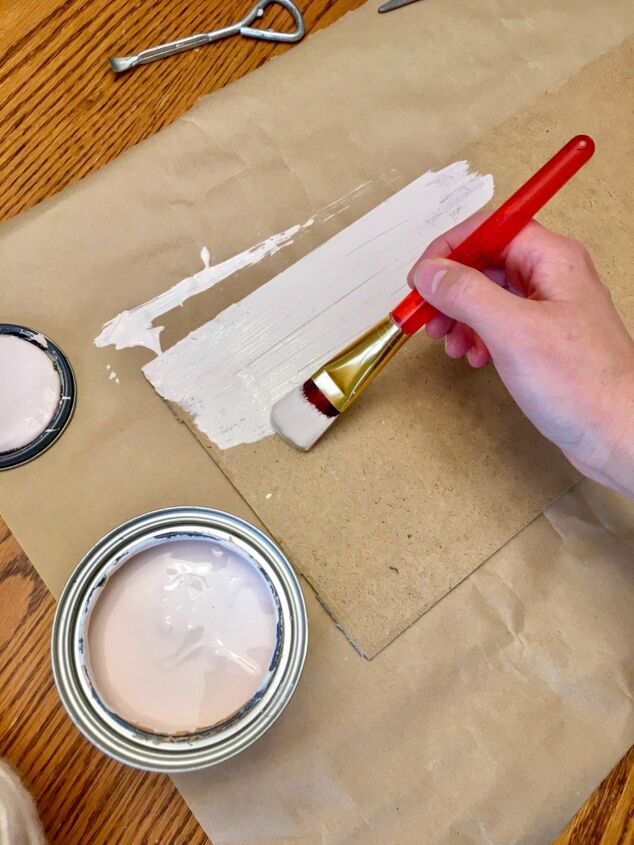
I painted the background a very light pink colour. Since this was going in my daughters room it seemed fitting and matched the other accents that are in there.
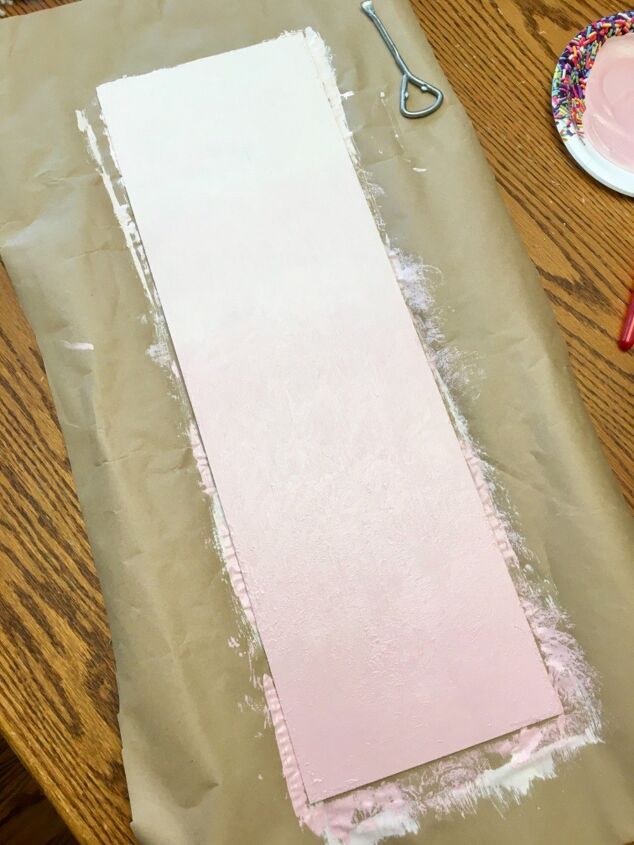
I wanted to add a little more interest to the background so I decided to do a subtle ombré effect. To do this I simply kept adding small amounts of dark pink paint to the base colour as I worked my way down in sections. To blend the shades together I used a damp sponge and gently dabbed the areas where I started a new colour.

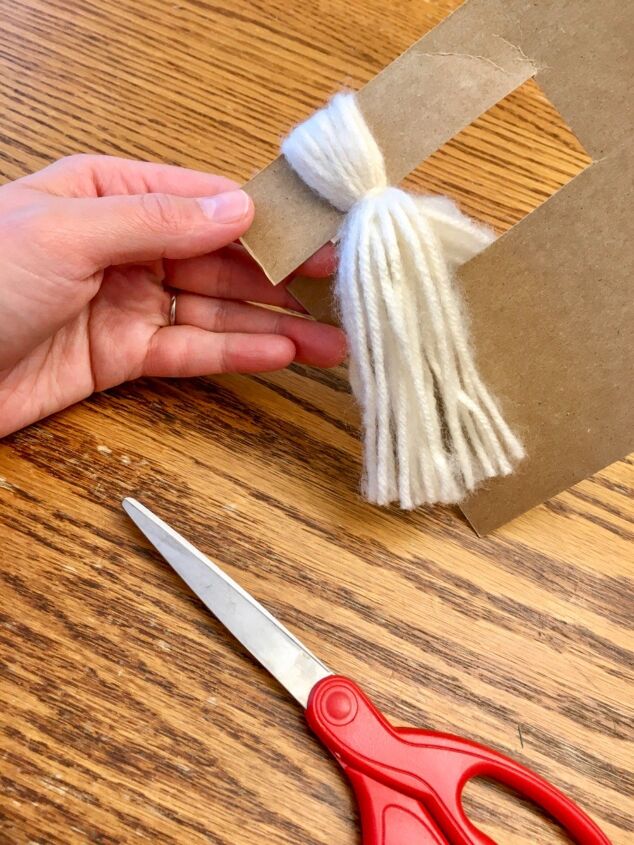
While the paint was drying I got to work on making the tassels. Making the tassels is very simple. Determine the length you want your tassels to be ( this will be different for ever project depending on the size of your frame). Cut a square of cardboard the height you determined. Next cut a rectangle in the top middle portion of the cardboard square.
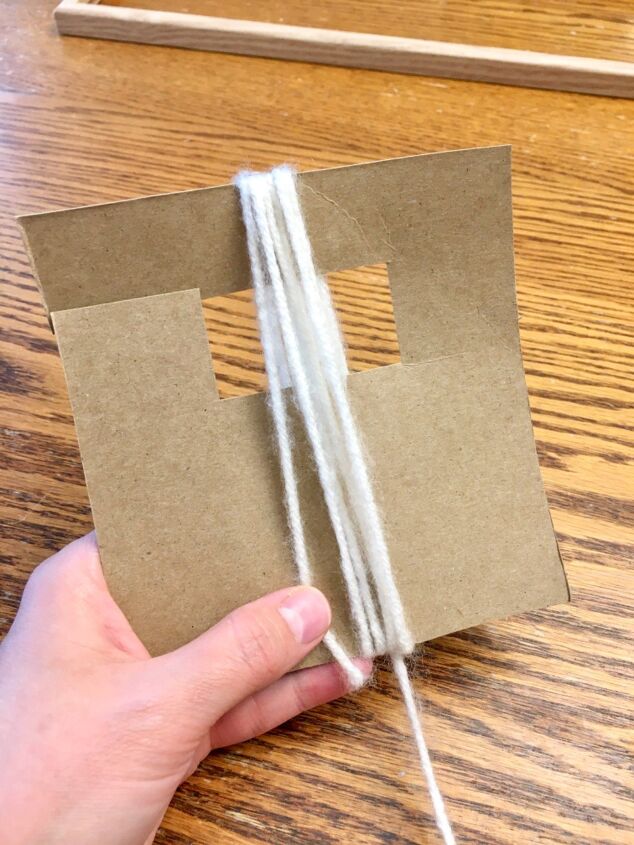
Very loosely wrap the yarn around the cardboard square 30-50 times depending on the thickness of your yarn. To keep the consistency of the tassels the same make sure you wrap each one the same amount of times.
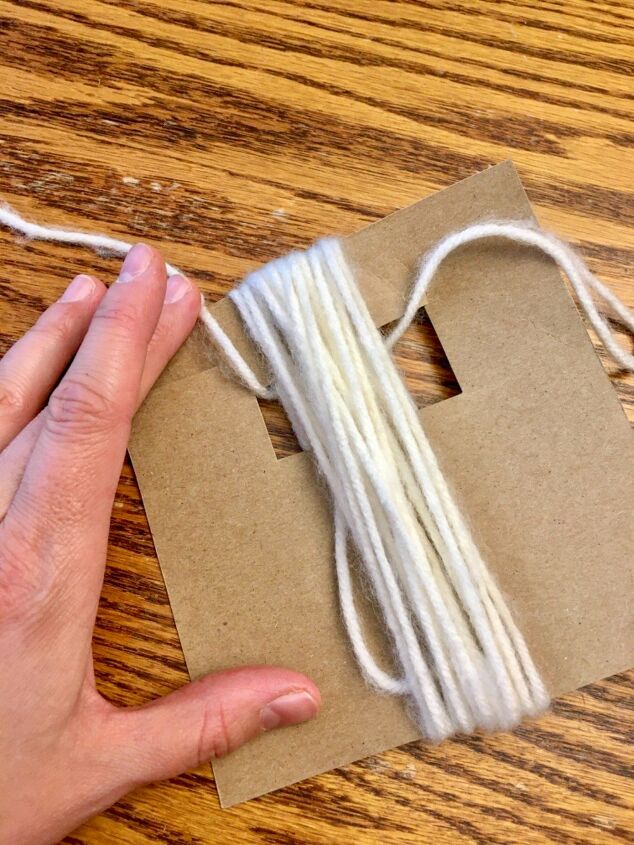
Once you have finished wrapping the yarn, take a new piece of yarn and thread it through the rectangle cutout and behind the wrapped yarn.
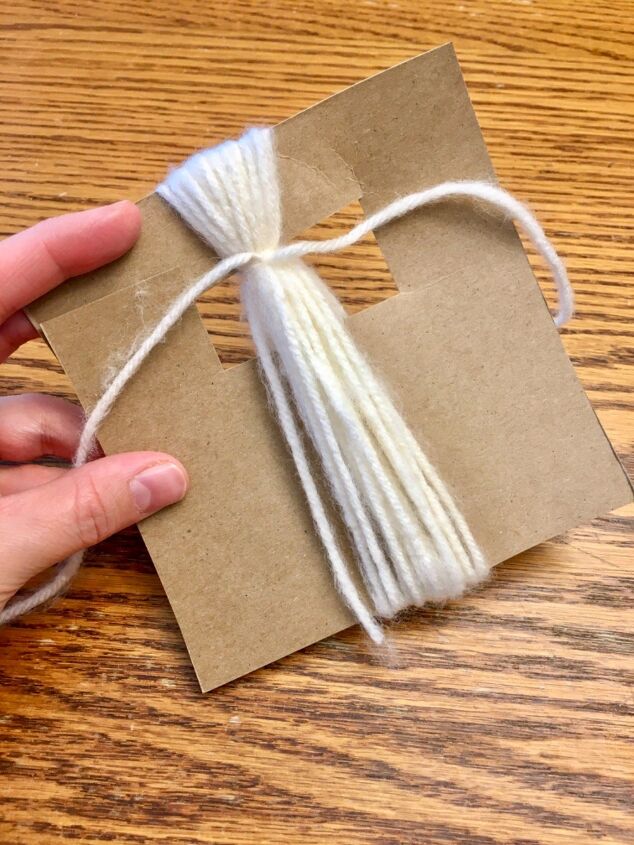
Tie the yarn with a few knots as tightly as you can. You want the tassels to be nice and secure.
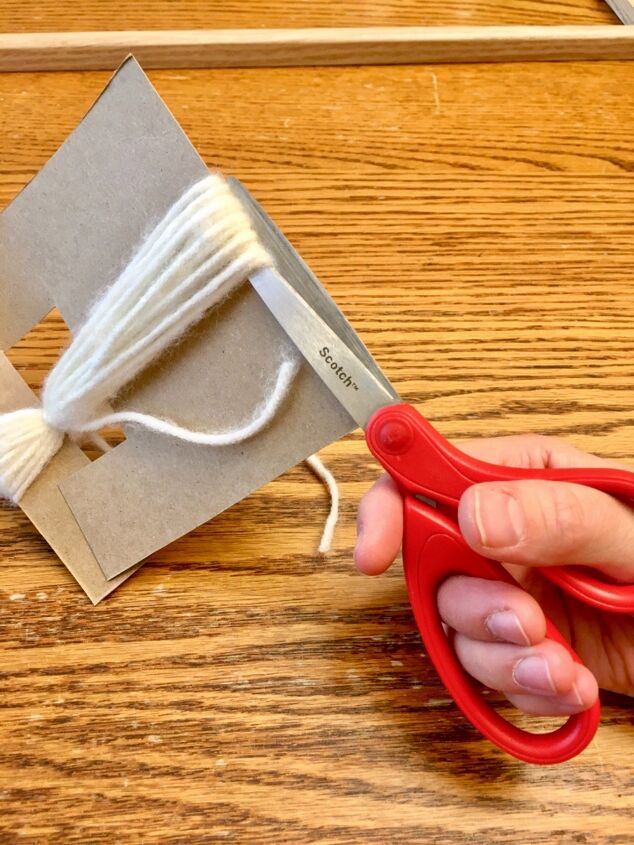
Next you want to cut the yarn loops at the bottom of the tassel.
Slide the top of the tassel of off the cardboard.
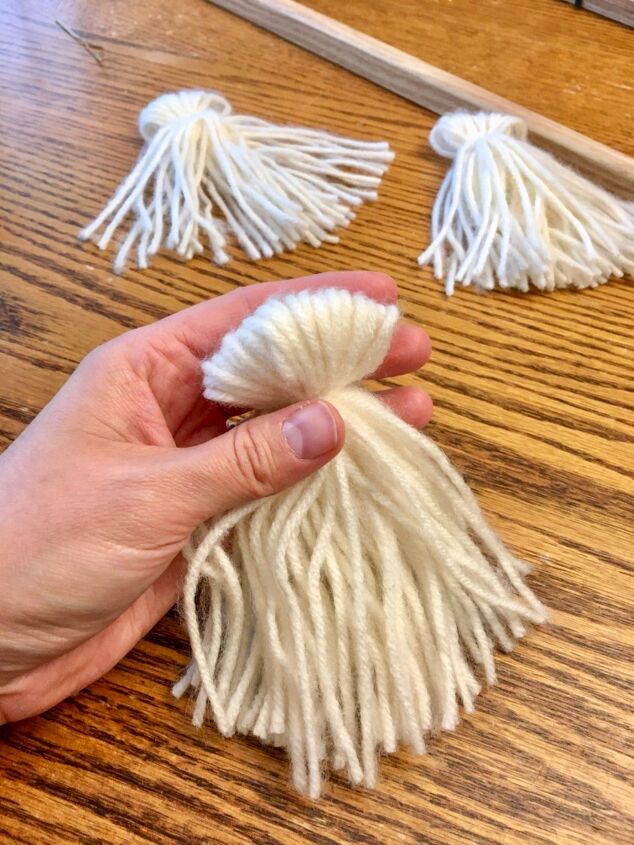
Make as many tassels as you need to complete the tree. For this project I needed nine tassels total.
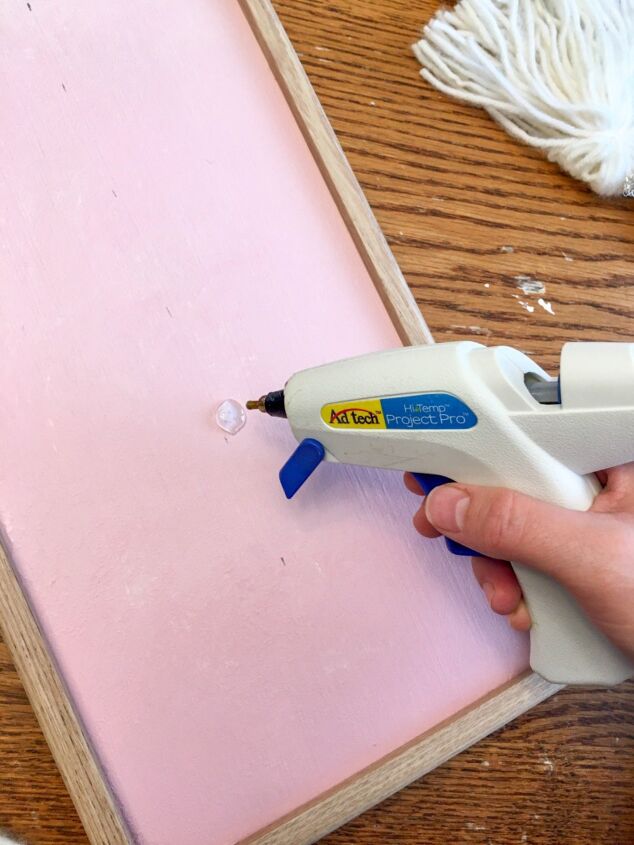
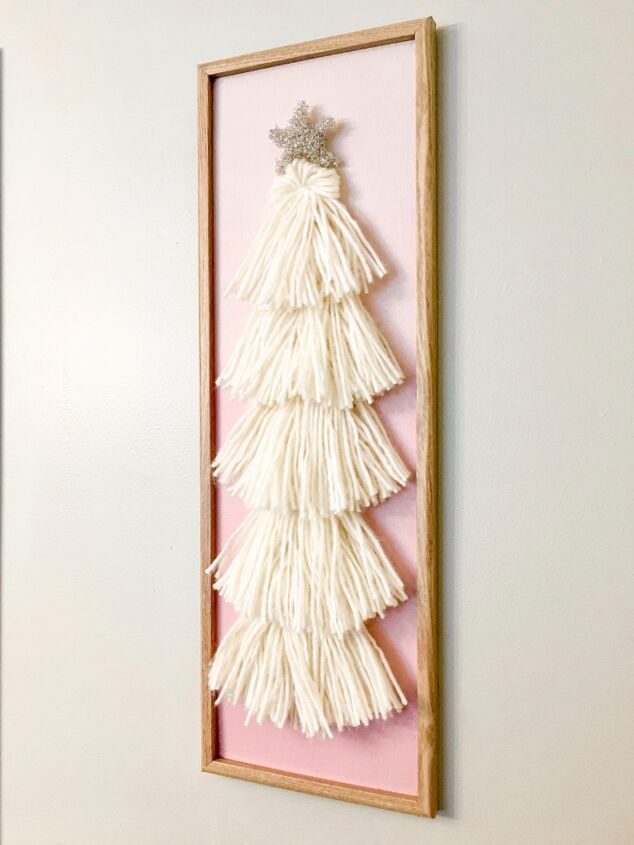
By the time I was done making all of the tassels the paint was dry. I placed the backing back into the frame and secured it in place. Using a glue gun to hold the tassels in place I began assembling the tree.
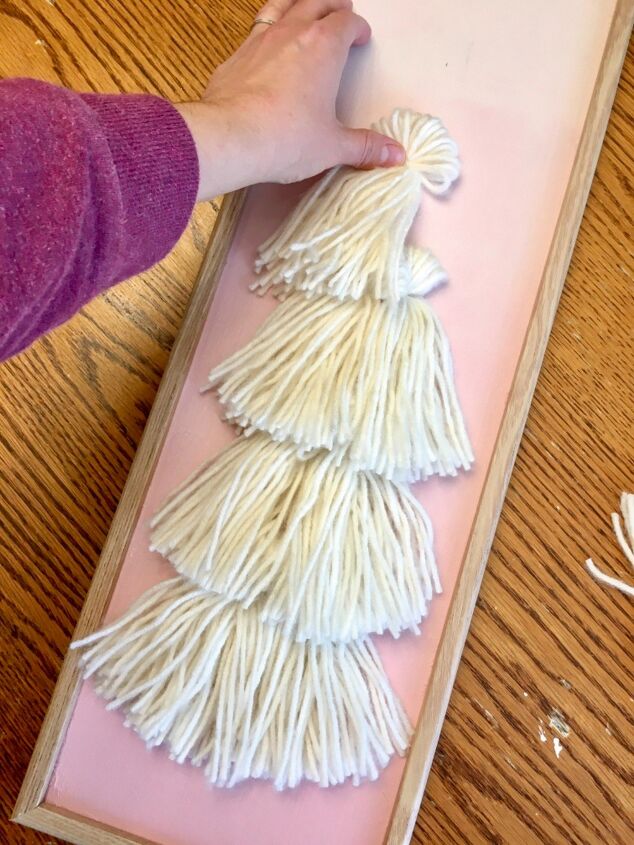
Starting at the bottom I worked my way up glueing the tassels in place. Each row has two tassels and I used one for the very top of the tree. It’s helpful to arrange the tassels on the frame before securing them, to make sure everything is placed correctly.
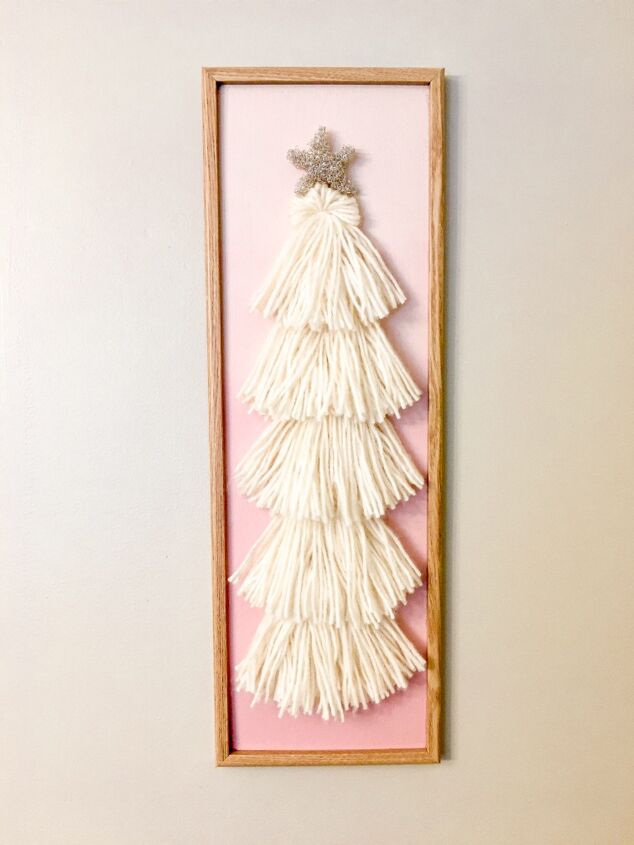
I used an old Christmas ornament for the star at the top of the tree.
Once you have everything glued, hang up the frame and give the tree a little fluffing to make sure the tassels hang where you want them to.
I love how this cute little diy turned out, and how I could be creative and use items I already had on hand.
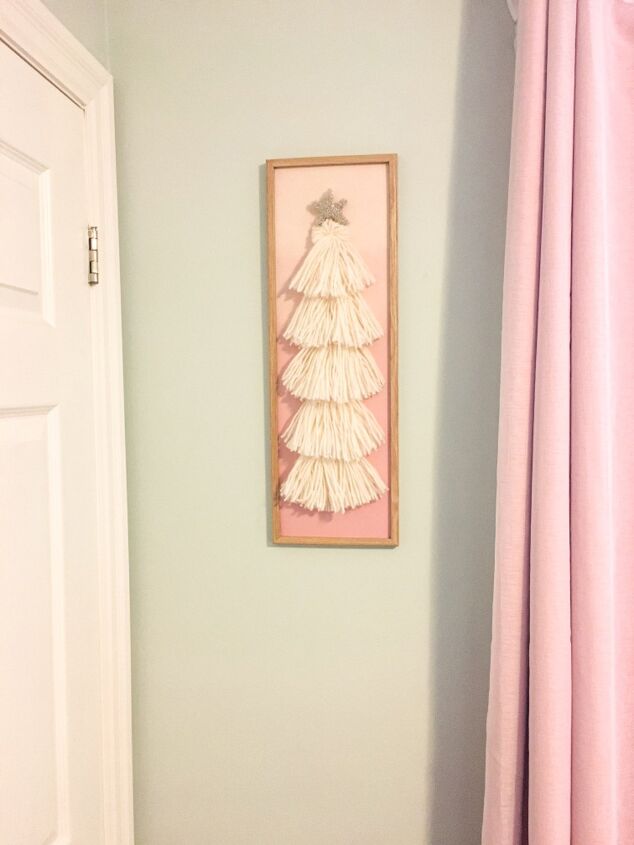
This little piece adds the perfect festive touch to my daughters room and matches her other decor perfectly!
Comments
Join the conversation
-
Wow, really pretty!
-
Super cute!


Frequently asked questions
Have a question about this project?