


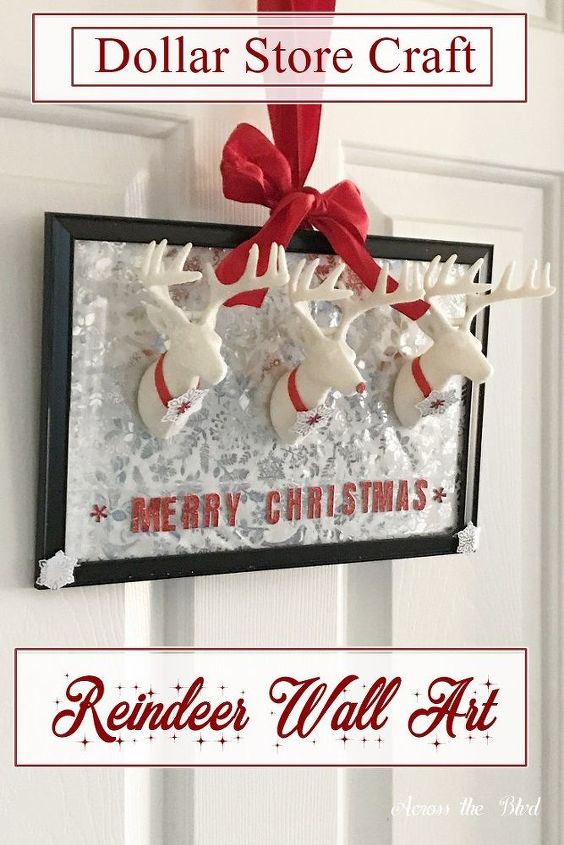
Dollar Store Craft: Reindeer Wall Art
6 Materials
$6
15 Minutes
Easy
I always enjoy creating crafts from dollar store items. It’s always fun to use several items and create a decor piece that fits in with my other decor. This Reindeer Wall Art is clicks all those boxes
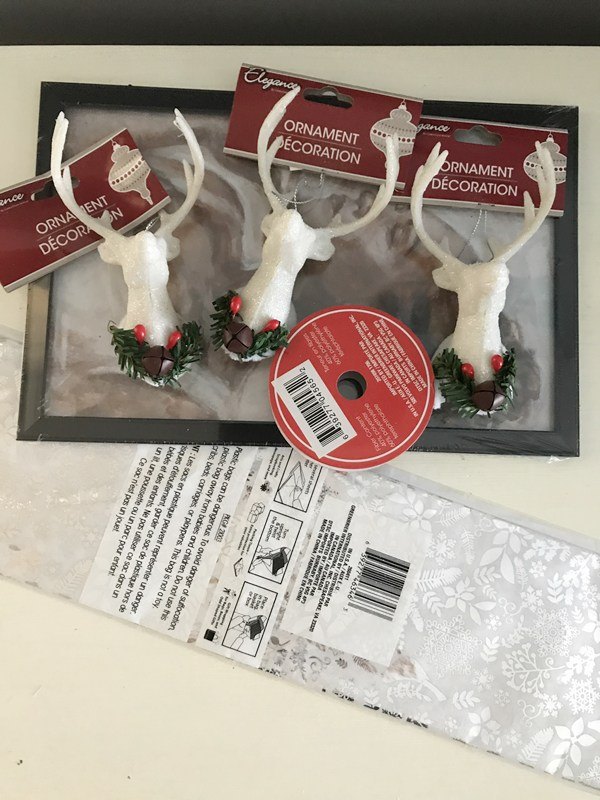
The first thing I spotted that had potential was the white reindeer head ornament. They are made to mimic a mounted head, so it was easy to envision having a few of them mounted for some holiday wall art. I stopped by the frame section of the store and found just what I needed. I also purchased some shimmery tissue paper and ribbon. The total purchase price was $6.00.
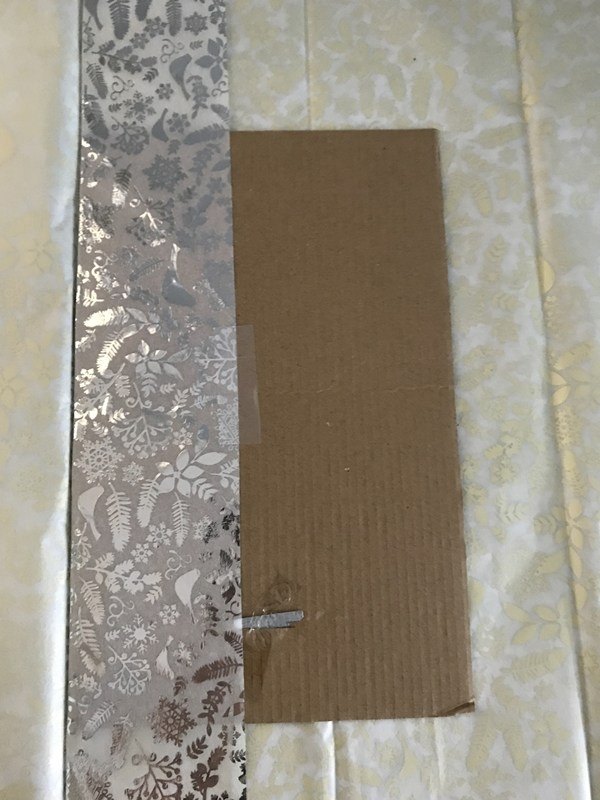
I removed the cardboard filler from the frame and wrapped the tissue paper over it the way I would wrap a present.
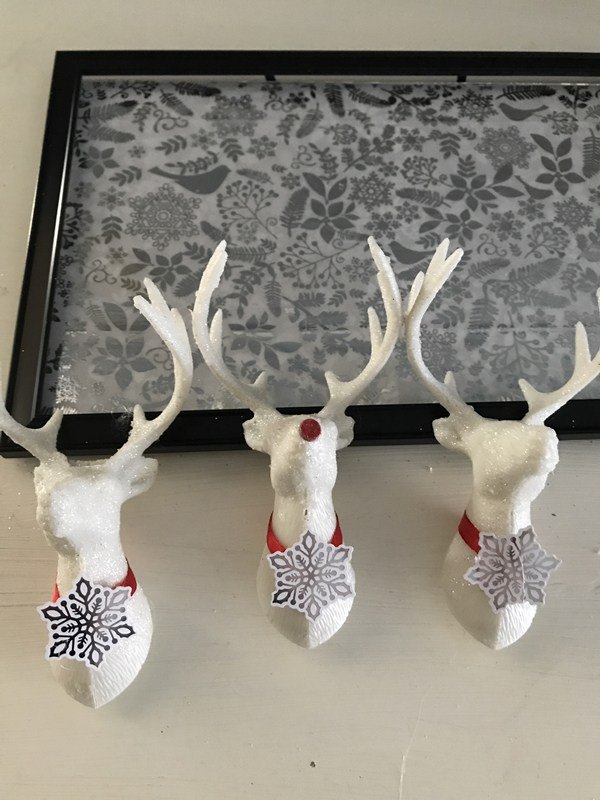
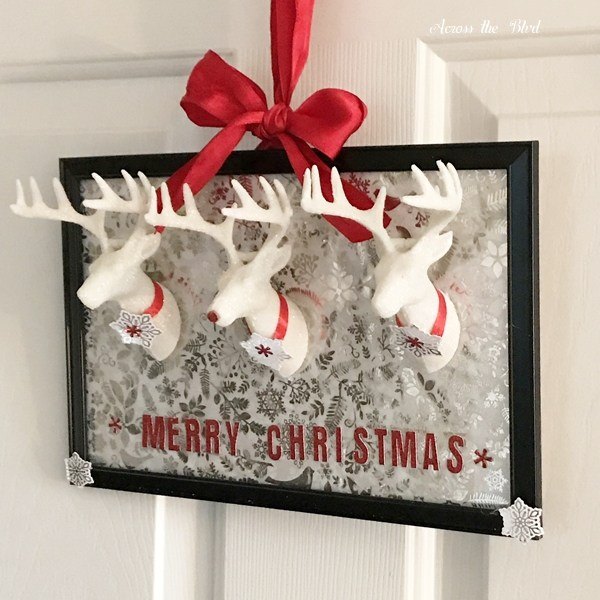
I love the glitter on the reindeer, but I didn’t care for the greenery around the neck. It pulled off easily using jewelry pliers. I replaced the greenery with red ribbon. It’s hot glued in place. I added a snowflake sticker that I had in my craft stash to each ribbon. I used a tiny dot of hot glue for those, too. Whenever several reindeer get together, one of them is bound to be Rudolph! So, the center reindeer was given a shiny, glittery red nose. The dot is a punctuation period from some adhesive letters I have
After placing the cardboard wrapped piece back into the frame, the reindeer were hot glued to the glass. I used glittery adhesive letters to add Merry Christmas.
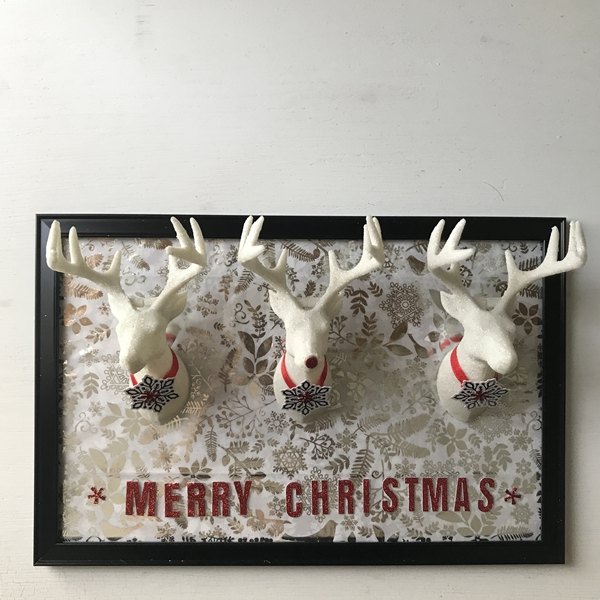
I also added tiny red snowflake stickers to the larger snowflakes and a couple of snowflakes to the frame.
I hot glued a red ribbon to the back of the frame and made a loop for hanging, then tied another piece of the ribbon to make a bow.
Not only was this dollar store craft inexpensive, it was quick and easy to put together!
For more thrifty Christmas decor ideas, please visit the link below.
Resources for this project:
See all materials


Any price and availability information displayed on [relevant Amazon Site(s), as applicable] at the time of purchase will apply to the purchase of this product.
Hometalk may collect a small share of sales from the links on this page.More info

Want more details about this and other DIY projects? Check out my blog post!
Comments
Join the conversation
4 of 16 comments
-
Really cute. I'm so glad you included Rudolph!
-
THAT is adorable!! I love it & can't wait to make one up for myself or, um, maybe for a gift to someone else


Frequently asked questions
Have a question about this project?