


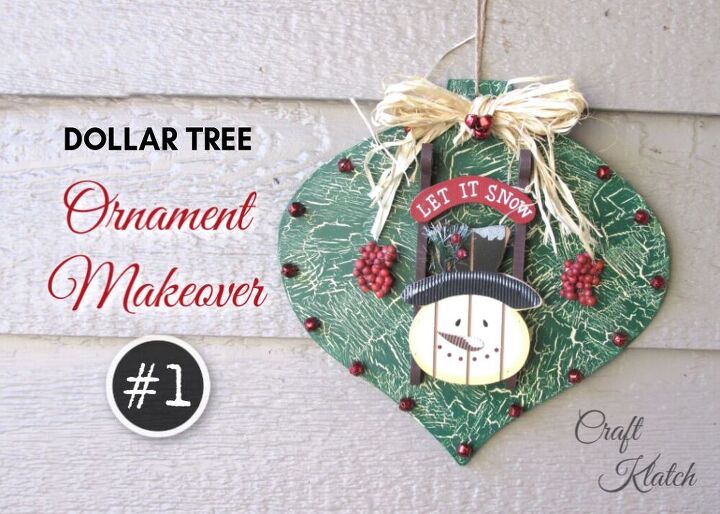
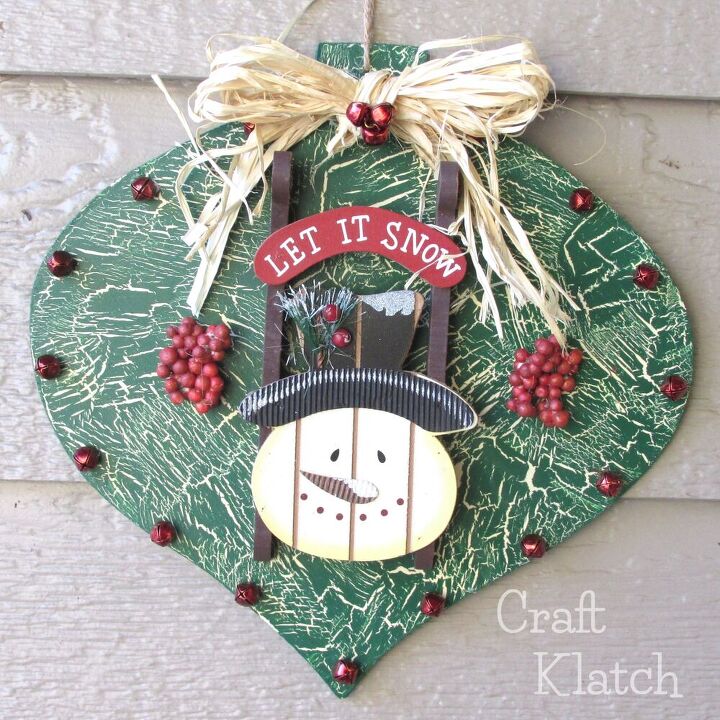
Dollar Tree Ornament Makeover 1: Rustic Snowman
I found this ornament at Dollar Tree, in fact I found four! I decided I would style the ornament four different ways! This is the first and I'm going for a Rustic Snowman Christmas Ornament DIY! Dollar store crafts are a great way to decorate on a budget and customize your Christmas decorations to reflect your personal style and home decor ideas! For more pics and more directions, go to my blog post HERE!
Here is the video tutorial, so you can see exactly how I made it!
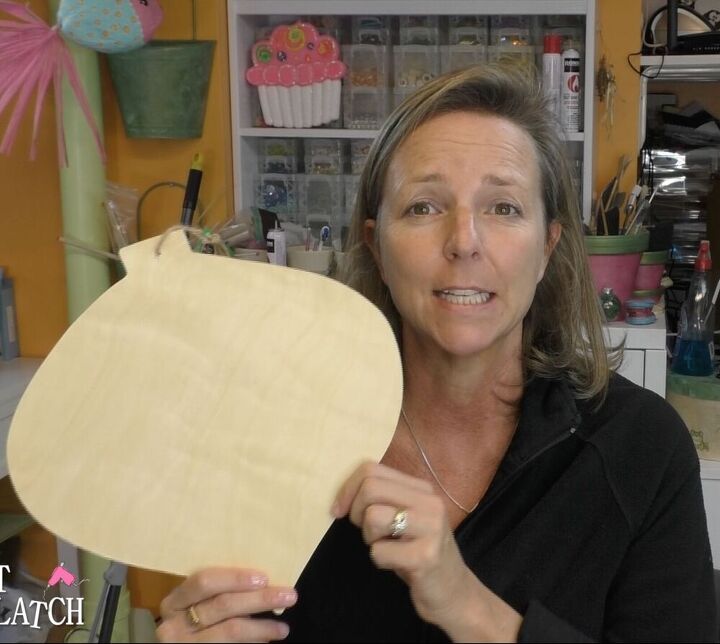
I found this big blank ornament at the Dollar Tree, but you can find all kinds of shapes and sizes online or in craft stores. I did not buy only one, but I bought four and decided to do a series of four very different styles. This one is the first of four.
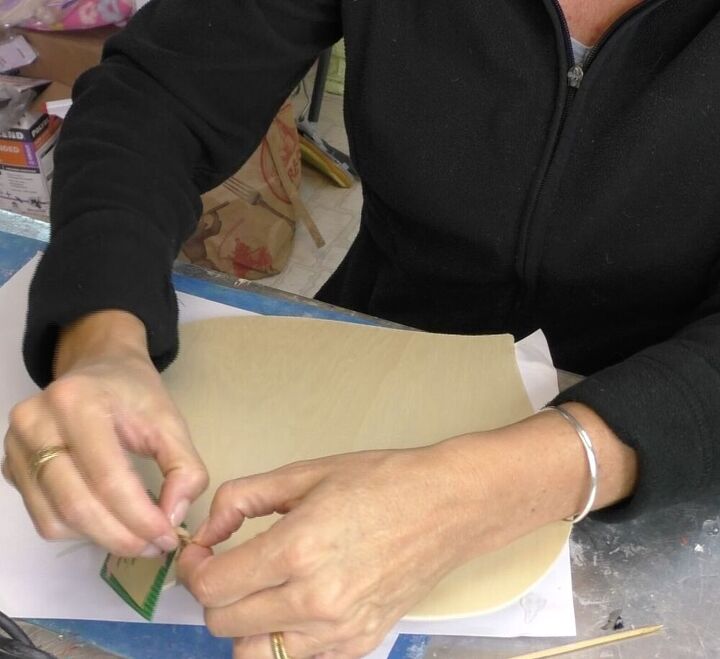
I took the blank ornament and removed the string. This first one is going to have a rustic flair and with the exception of the glue, paint and crackle medium, all the other elements came from Dollar Tree. Again, you can find all types of things online, in discount stores or craft stores too!
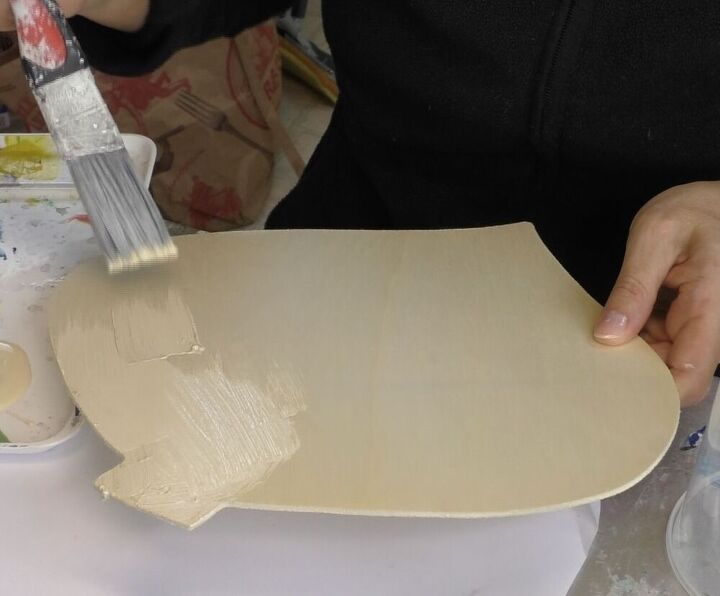
I painted the base coat an off white/cream color.
Once dried, I brushed a crackle medium over it.

It goes on clear and you just have to wait for it to dry.
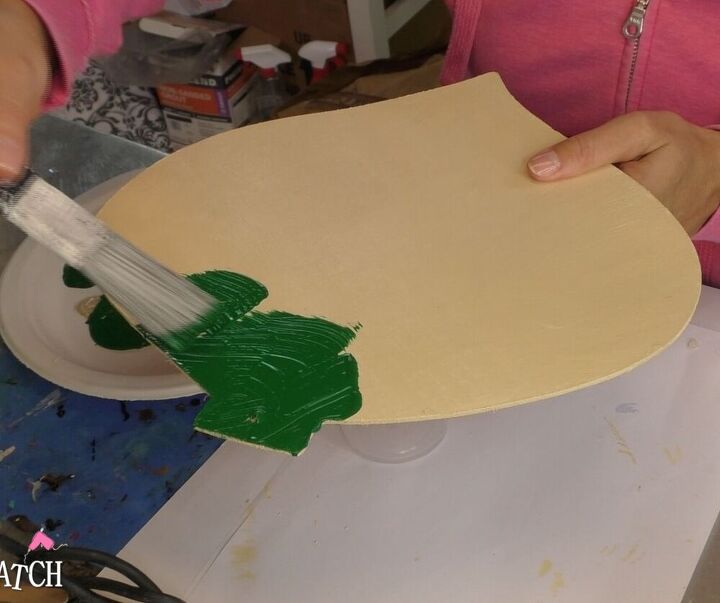
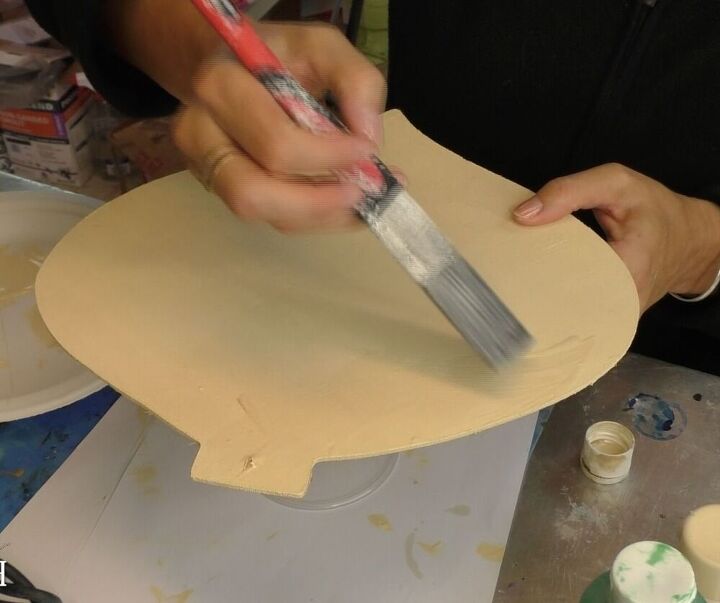
Once dry, I brushed on a green acrylic paint.
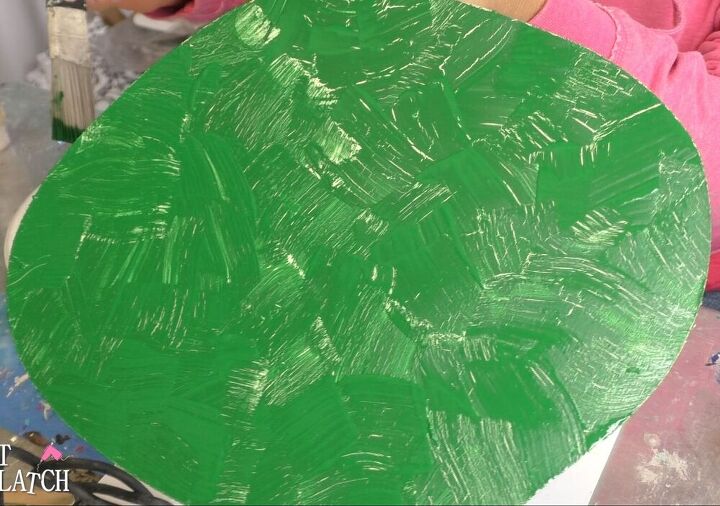
It doesn't take long before it starts to crackle. It starts crackling as it is drying.
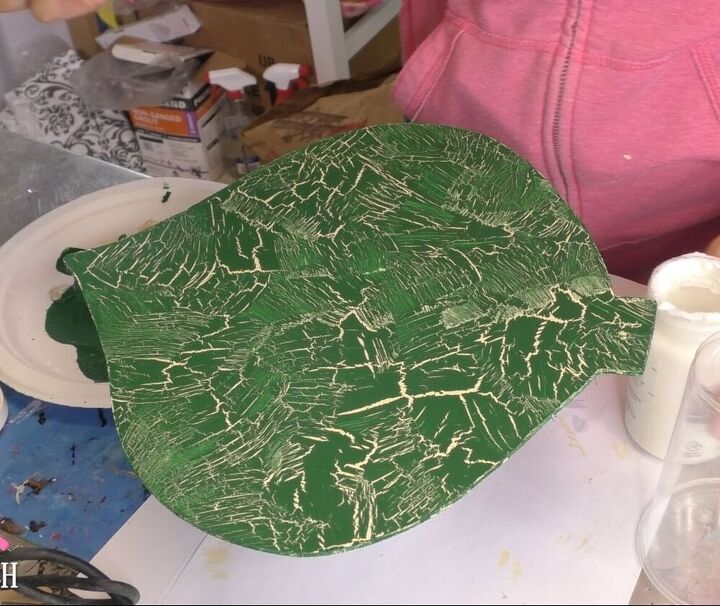
Here is the crackle all dry. It gives nice random cracks.
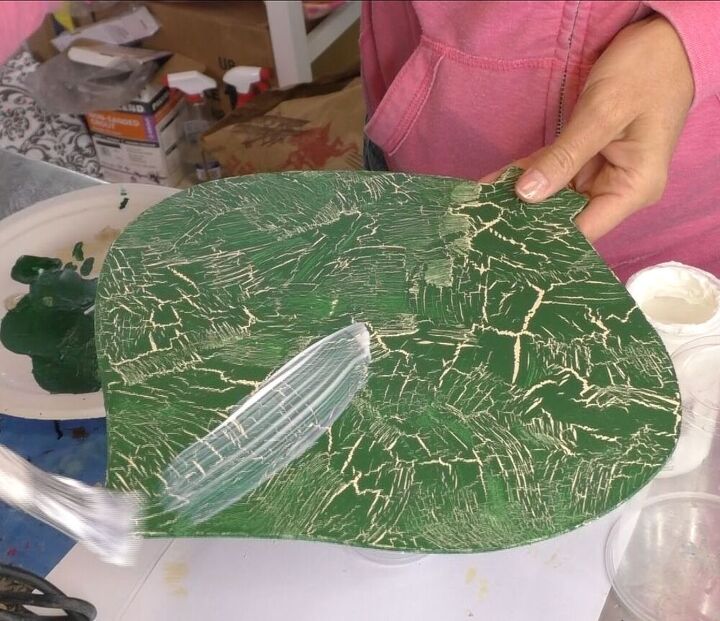
I sealed the piece, so it will last.
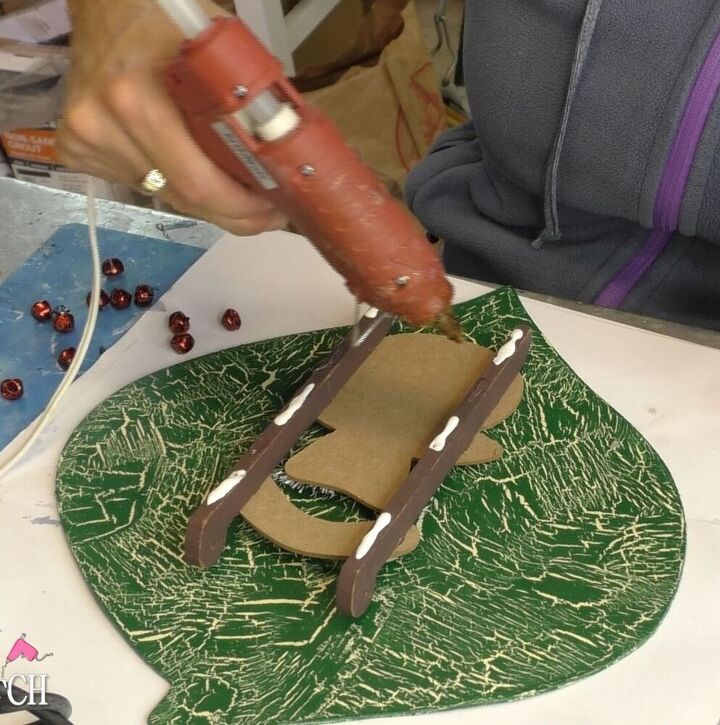
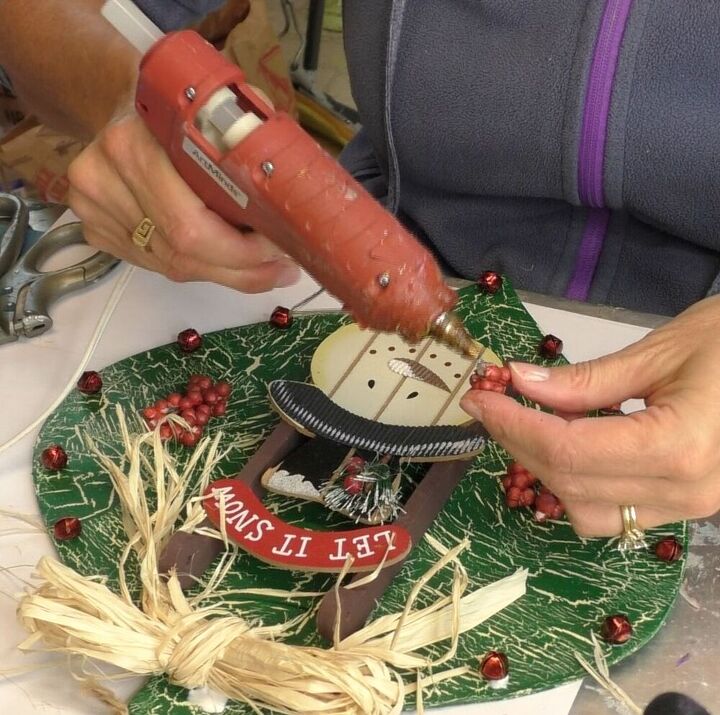
I found a snowman sleigh and glued that on. I like to do a glue combo, when I am crafting. I use a liquid glue and hot glue. The hot glue holds the items in place, while the other glue dries. I always make sure the glue dries clear.
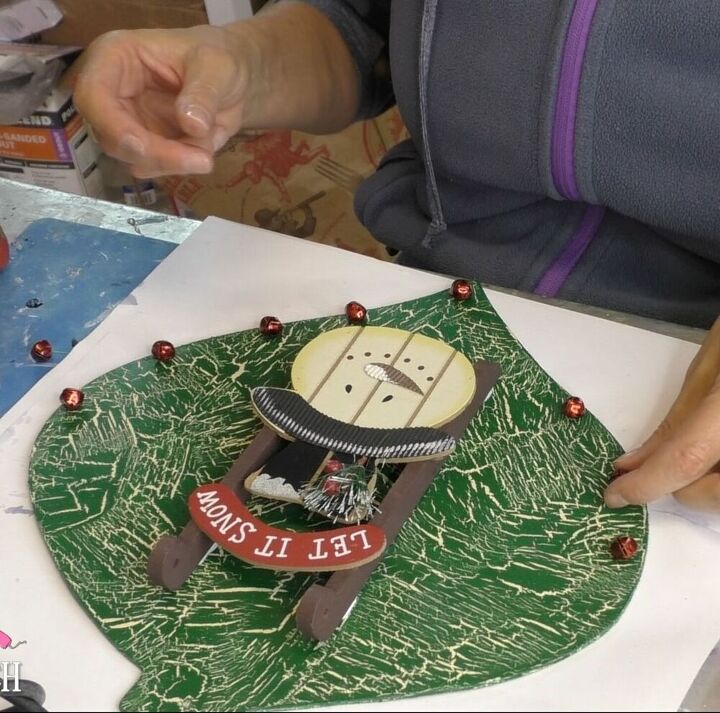
I then took small jingle bells and spaced them around the ornament.
I glued them into place.

I took some raffia and tied a bow.
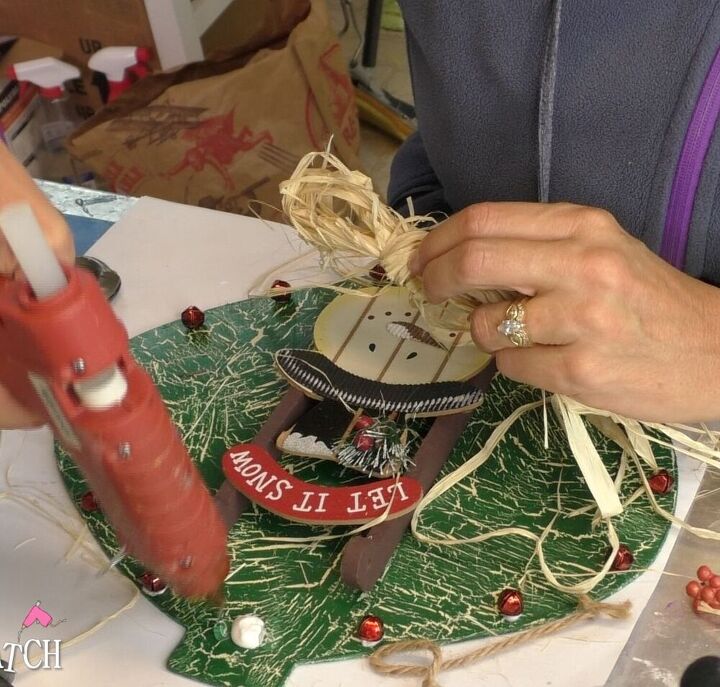
I glued that to the top of the piece.
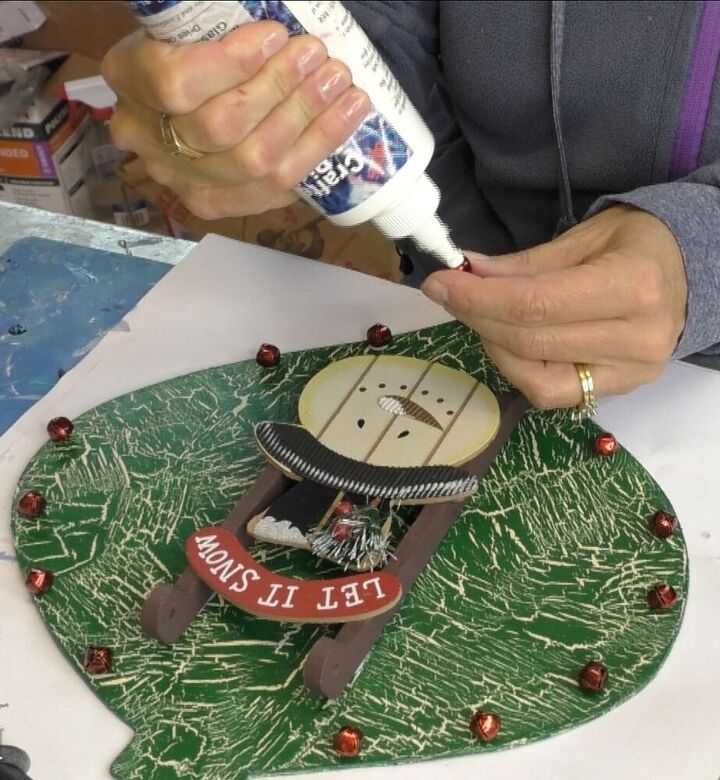
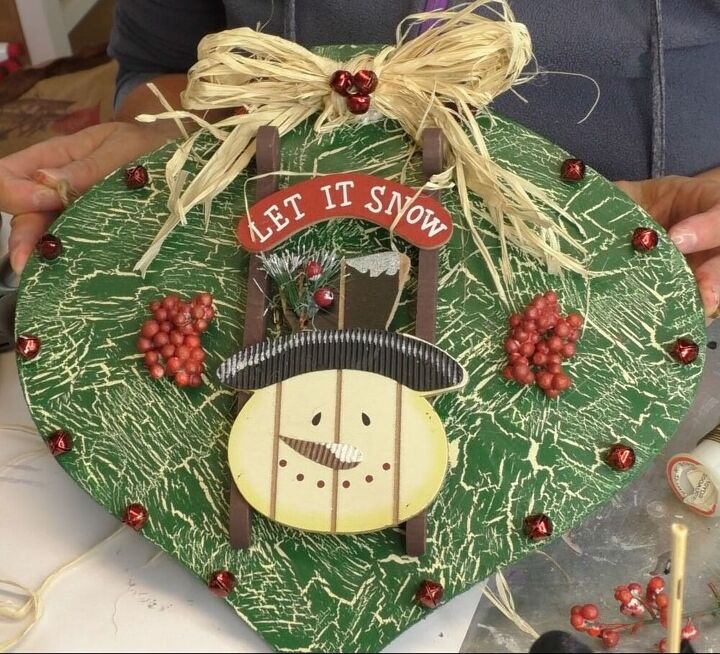
I then took some berries and glued them on both sides of the sleigh.
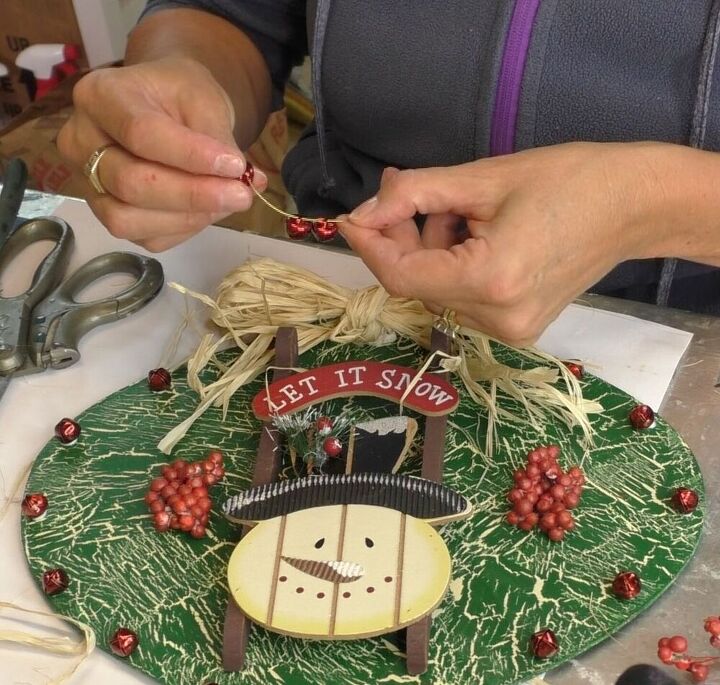
One final touch! I took a wire and strung three little jingle bells onto it and attached it to the raffia bow.
I put the original string back on, to hang it. Now it's ready to be displayed! It has a very traditional feel to it!
Thanks for stopping by! You can find hundreds of other free crafts and the other three ornament makeovers at CraftKlatch.com
Resources for this project:
See all materials


Frequently asked questions
Have a question about this project?