


Fun With Cutting Edge Stencils...even When Its Not Your Best Work

by
Lisa Cain
2 Materials
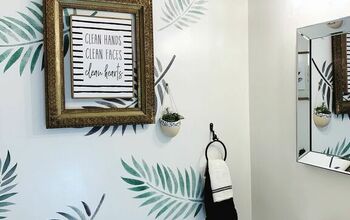
I was lucky to get a challenge from Hometalk and Cutting Edge Stencils. I was to use a stencil they sent me, and post about the outcome. Now first of all, let me tell you, I've USED Cutting Edge stencils before and loved them. Easy to use, and my first project (see pic below) turned out awesome! And...then I did this challenge...
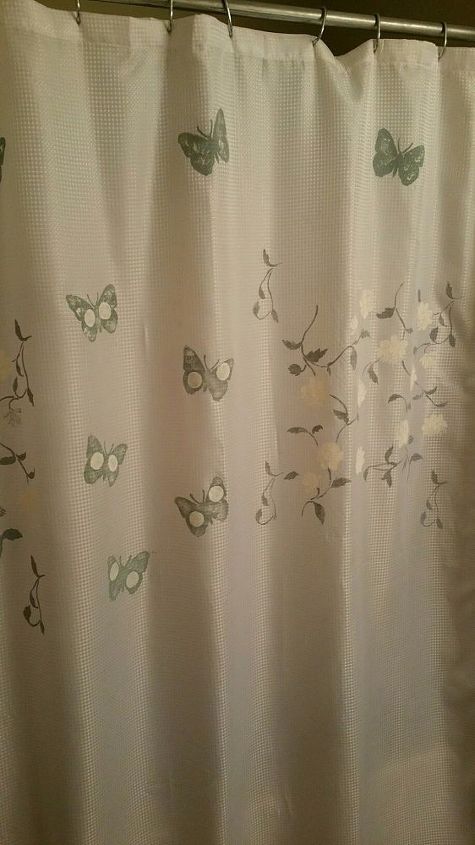
This was my first project with some stencils I got from Cutting Edge Stencils. I did my shower curtain, and man oh man, it's STILL beautiful and being used today. But I digress, so lets move on...shall we.
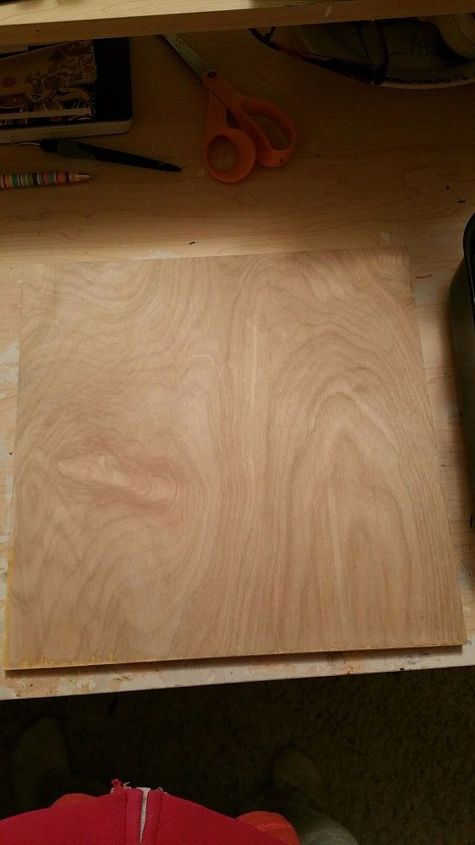
I decided to do the stencil I received on a piece of wood. I love using wood for projects and do many projects using it.
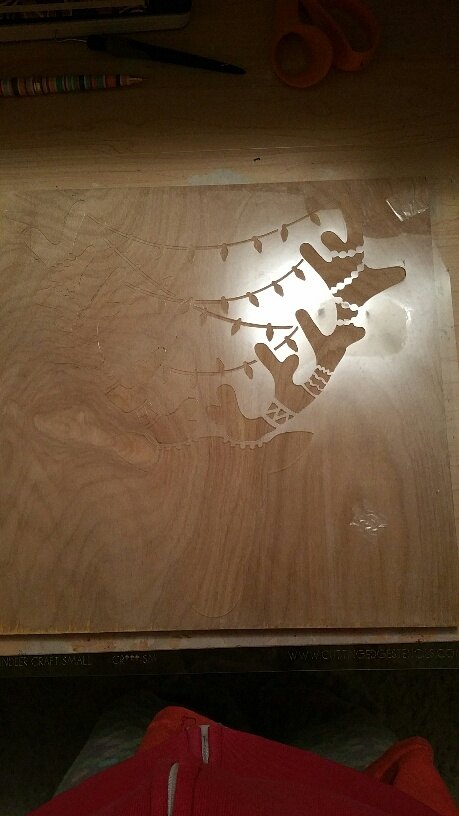
First I laid the stencil on the wood and taped the UNDERSIDE of the stencil, since it was bigger then my wood piece was. Otherwise I would have taped the sides down.
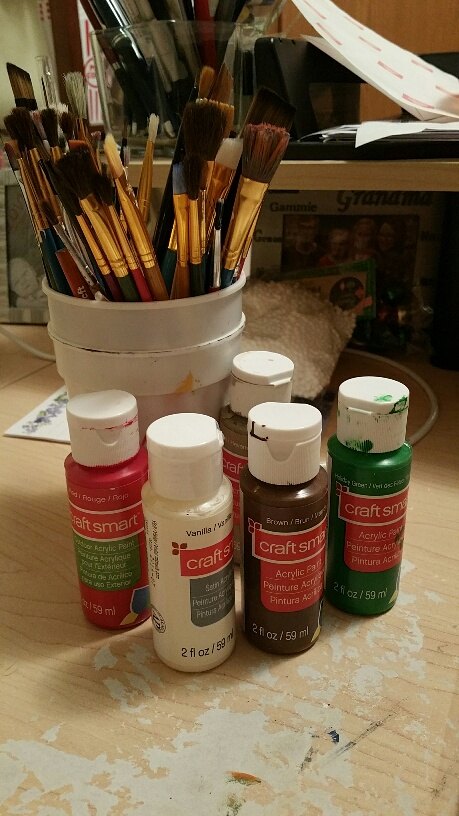
I found my colors of acrylics that I wanted to use, and got my paint brushes ready.
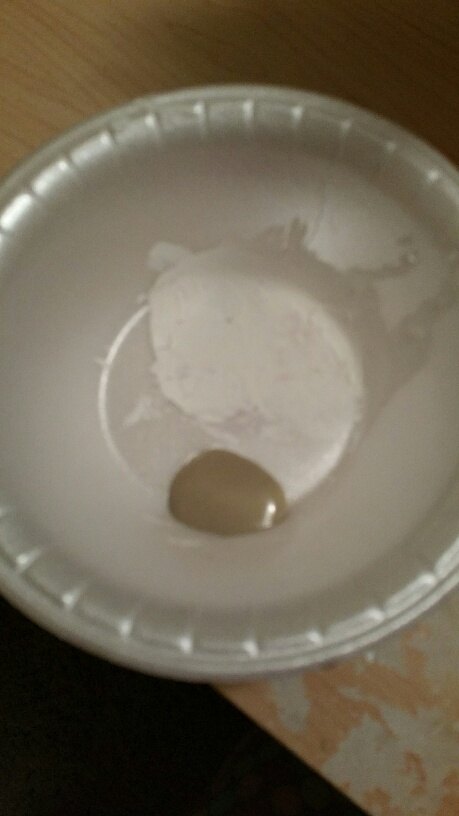
I put a small amount of color into a bowl and decided to try using my dabber brush instead of a roller, because there were many different colors and small areas on this stencil. When I did my shower curtain before, I used a roller.
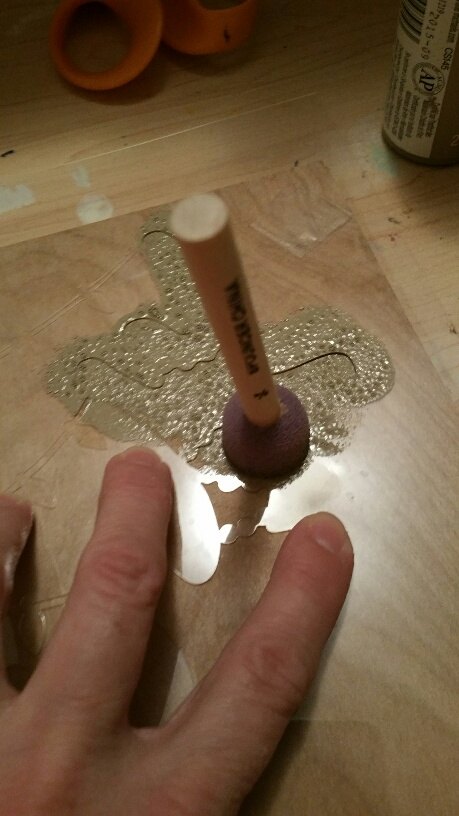
I held down the stencil for extra support and started dabbing.
This is what it looked like.
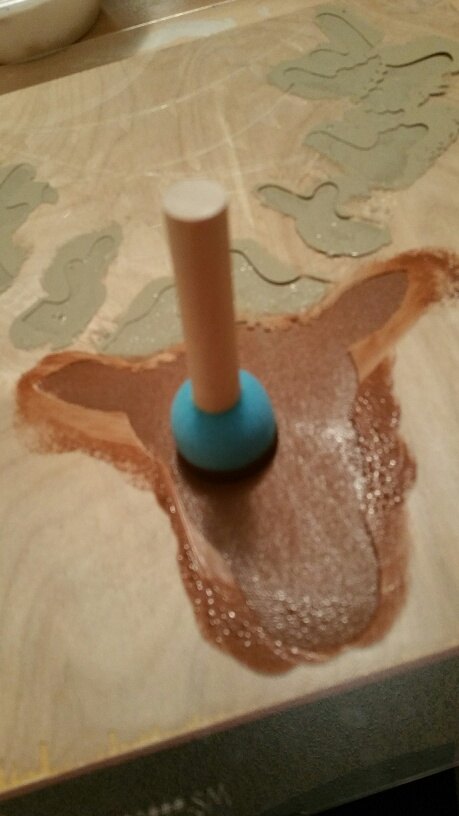
I used a bit bigger dabber for the reindeer head since the area was bigger.
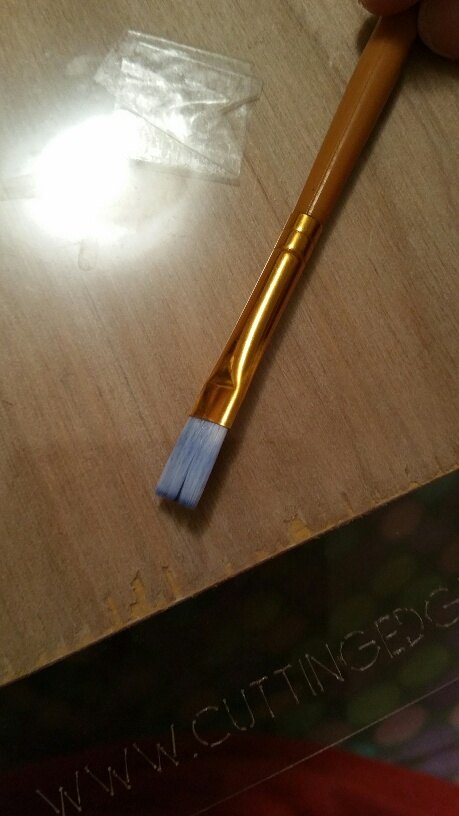
I used a smaller, flatter brush to brush over the lights and other small areas. I think though I should have used a smaller and finer brush, as the lines would have been crisper....
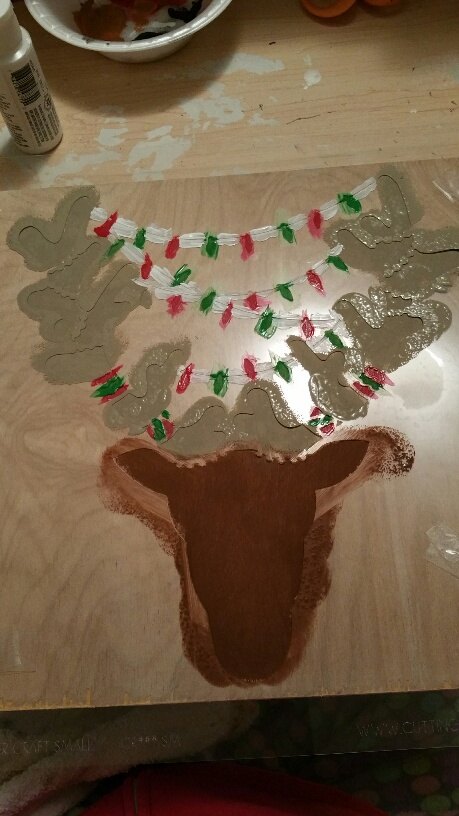
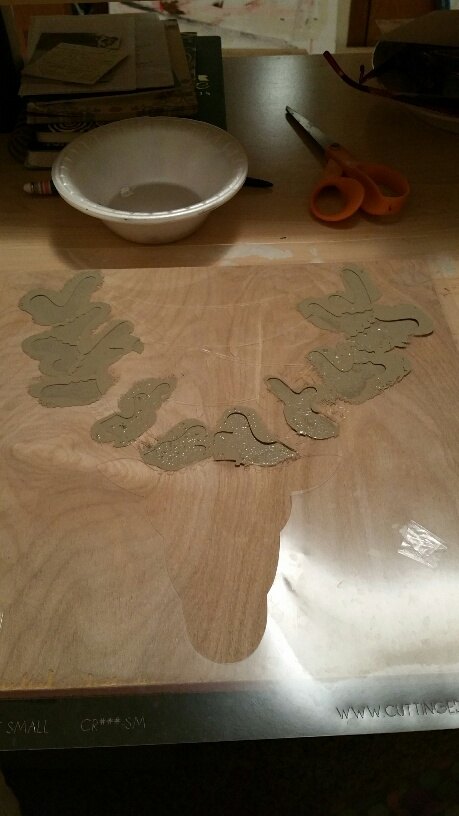
This is what the Cutting Edge Stencil looked like all painted and still on the board.
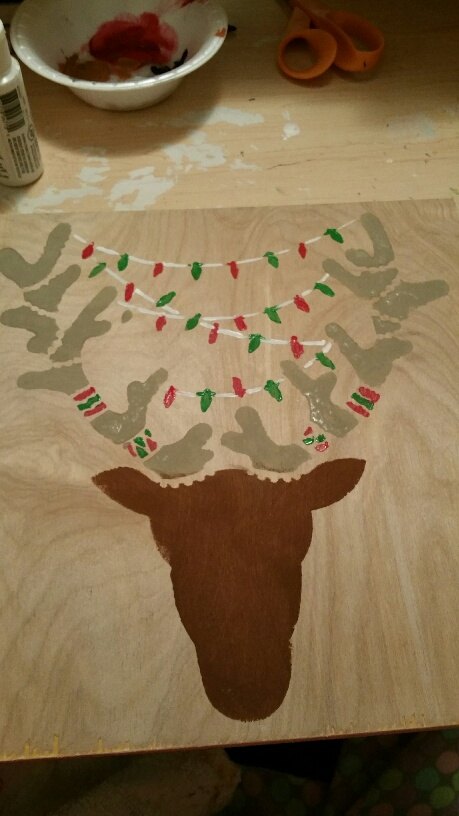
this is what it looked like after. As you can see the lines were not real crisp and I did have to go over some of it with a fine paint brush just to even it out and make the lines nicer. But, the good part of all this is the lesson learned for myself anyways. That the roller method seems to work better then the brush or dabbing method on wood. Aha...now I know. That's why I love stencils, because if one thing doesn't work, you can wipe them clean and try it again. Hence, the time got away and I didn't get to do another one today using a roller, but that doesn't mean I couldn't have fun with the one I did right.........
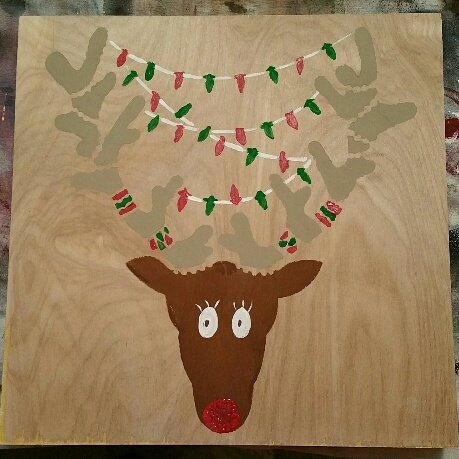
So I cleaned up the lines a bit, added some eyes and a nose to make him look more like Rudolph. Moral of the story is: CUTTING EDGE STENCILS are GREAT, easy and fun to use...so don't be scared to try different methods of painting on them. You can always try on a smaller area first, and then proceed to bigger areas once you like what your doing. Enjoy, Create and don't be scared to mess up, everyone does, but with stencils like these, just wipe clean and begin again. Thanks again to Cutting Edge Stencils and Hometalk!
Comments
Join the conversation
4 comments
-
Oh I love it!! Thanks for the tips about the brushes to use- I've struggled with that so many time!
-
Super adorable!! And great tutorial, thanks Lisa!


Frequently asked questions
Have a question about this project?