


How to Make a Cute DIY Felt Banner
Have some extra felt laying around? Use it to make a cute and easy DIY felt banner!
This is a great project that only requires a few supplies and is is mostly kid friendly – my seven-year-old helped me.
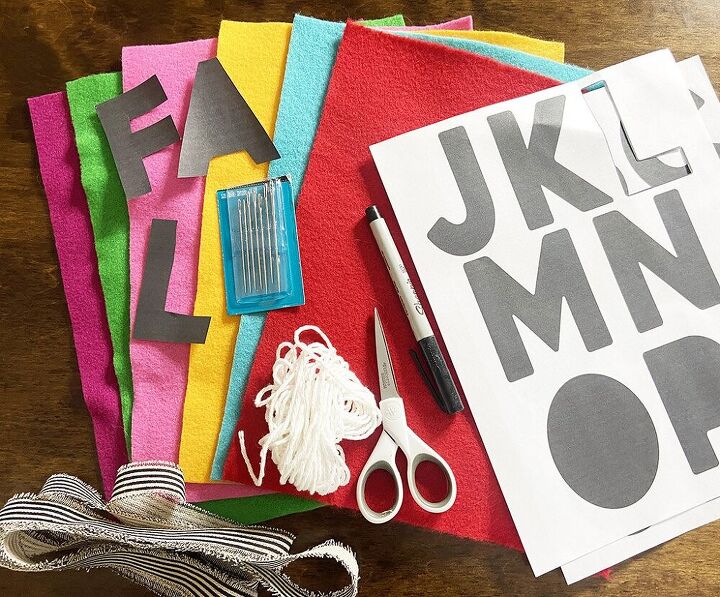
Supplies
Felt in various coordinating colors
Sharp scissors
Pom pons (optional)
Large needle
Yarn or thick string (or ribbon)
My free lettering template (optional)
Marker or pen
A link to all supplies can be found here.
If you’re more of a video person, here’s the felt banner video tutorial I put together with all the steps:
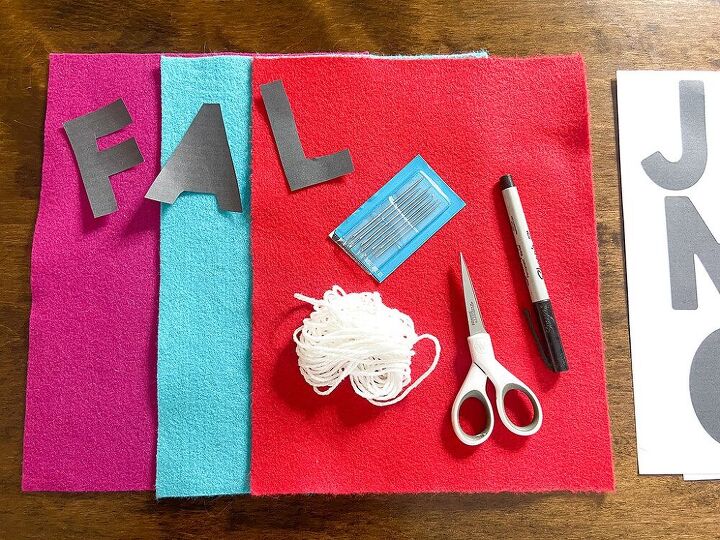
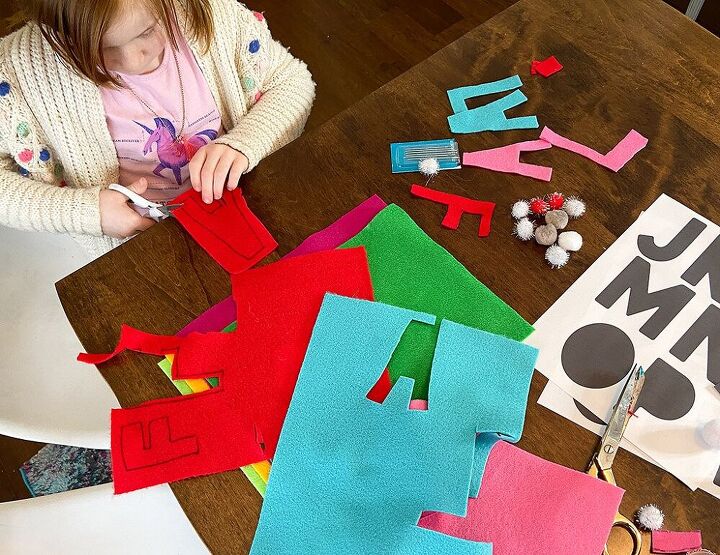
Decide what color of felt you want to use – I’m going to go with three colors.
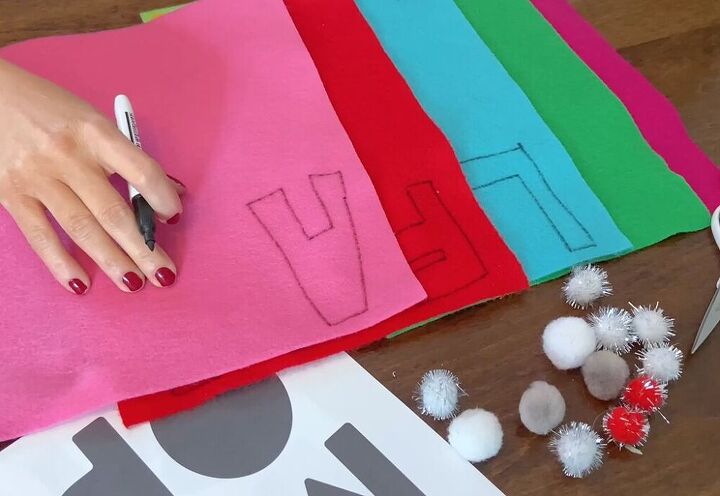
Next, take a marker and either hand draw your letters or you can use my free template if you prefer.
If you choose to use my free template, simply cut out and trace your desired letters.

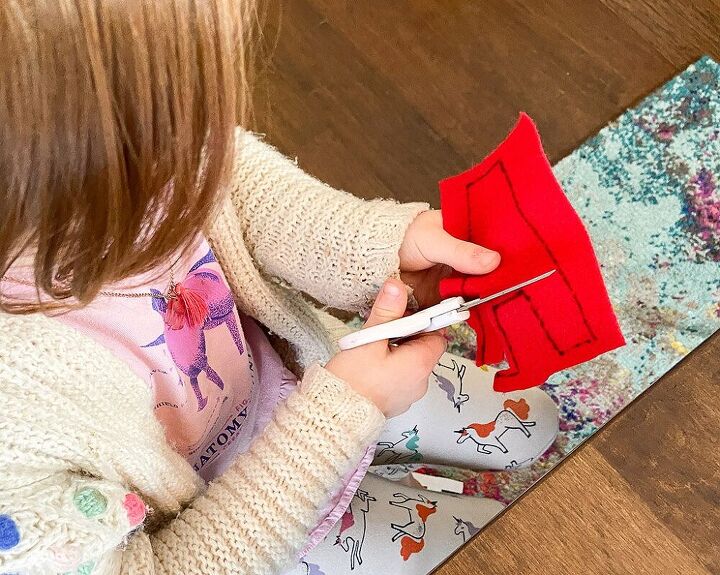
I chose to freehand my DIY felt banner for more of an organic look.
Once all letters are drawn, take your sharp scissors and cut slightly inside of each letter outline.
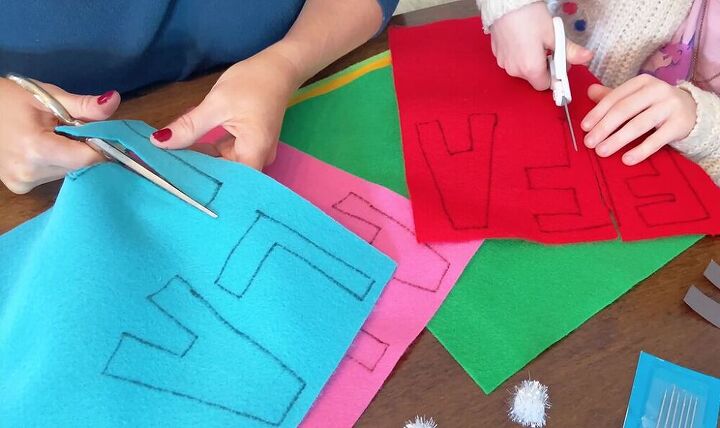
Vivi loved helping me with this part of the project!
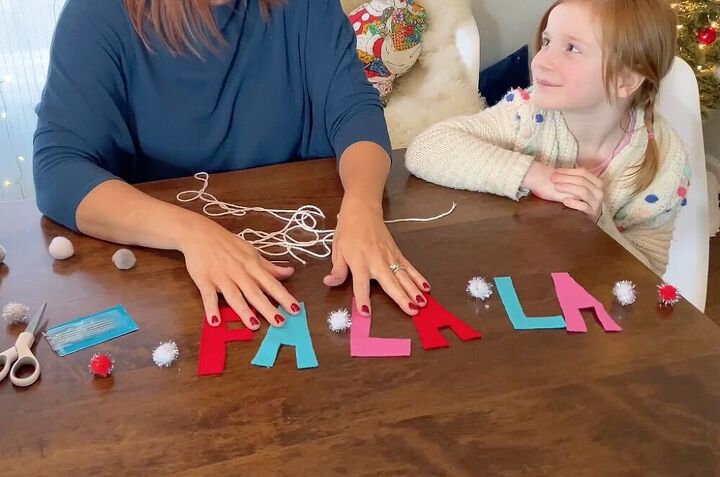
Set all your letters out in order, and add your pom poms in if you choose to use them.
Grab your yarn, string, or ribbon.
If you choose to use ribbon, you can simply hot glue each letter on top of the ribbon and skip the needle and thread step.
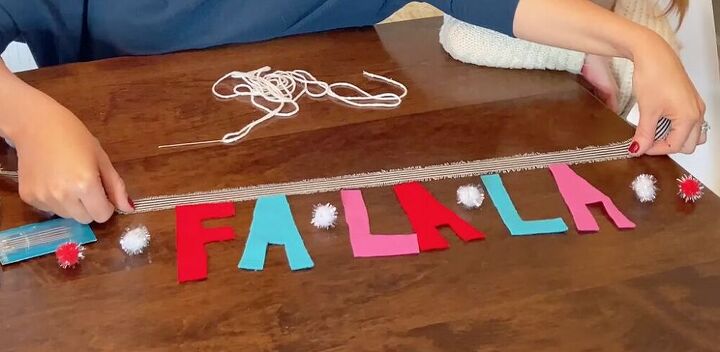
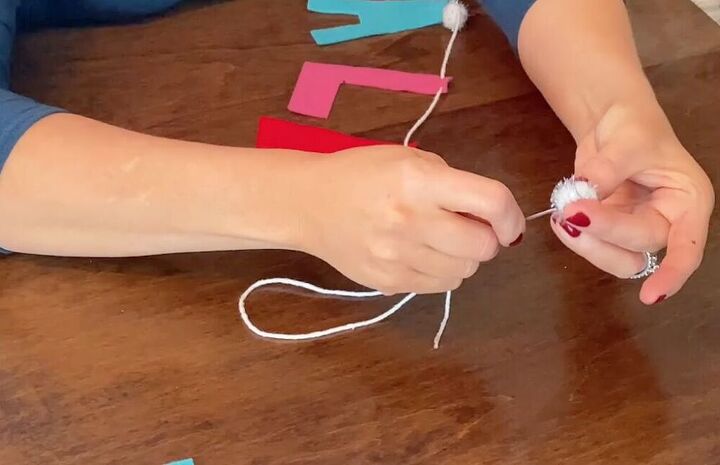
I chose to go the needle and thread route, which required a thick needle with an opening large enough to fit the thicker yarn through.
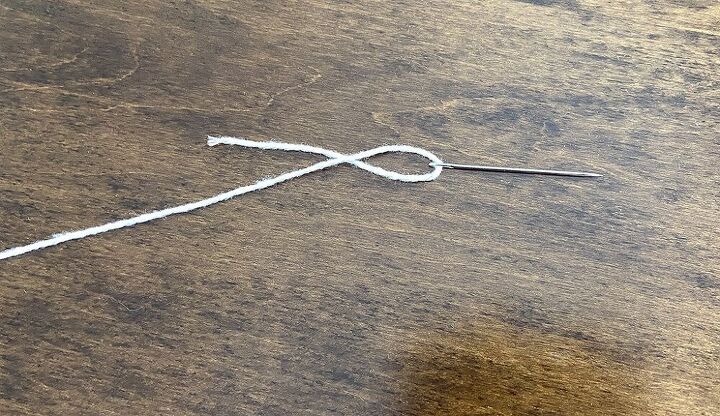
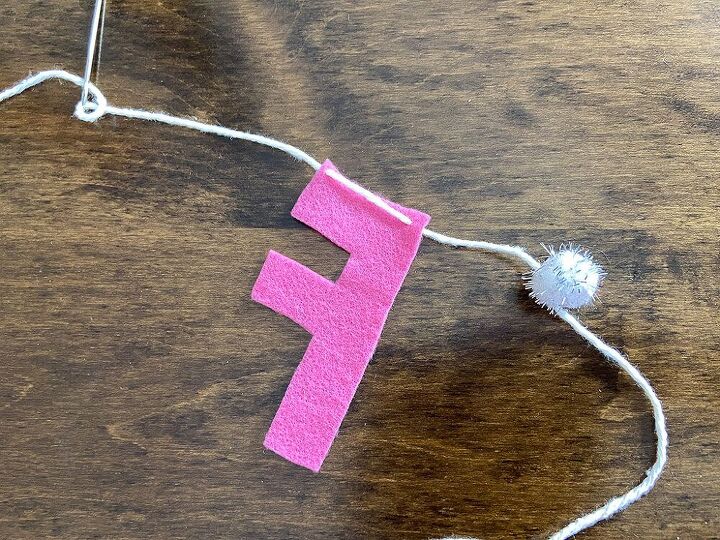
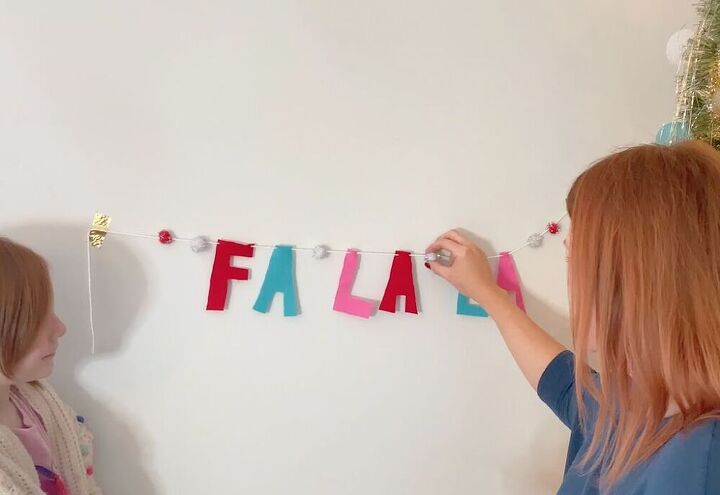
Grab the item you want to appear first (on the far left) of your banner, and simply string your needle and yarn all the way through it.
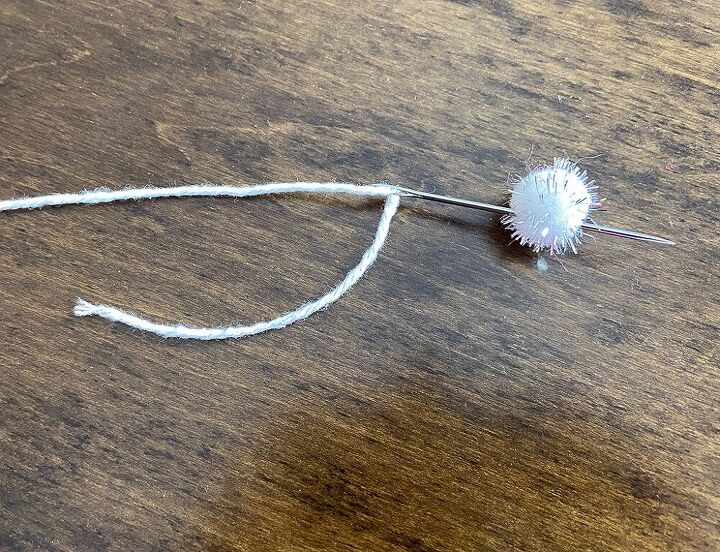
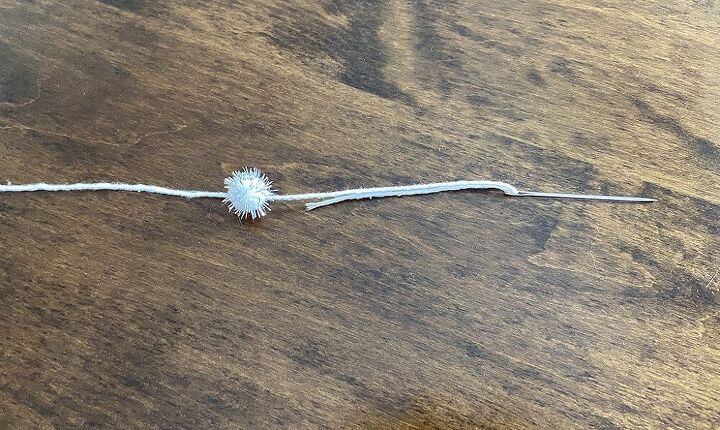
Pull the yarn through the pom pom, and move onto your next item.
When you’re ready to start threading your letter make sure you always go through the front of the letter for a clean look.
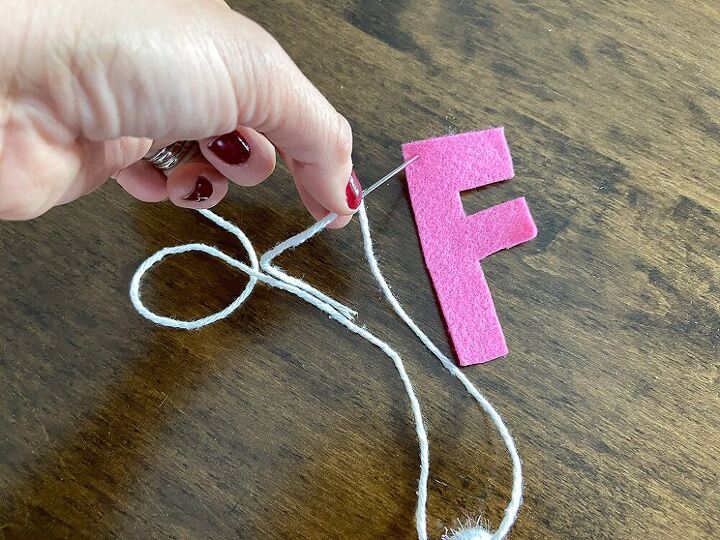
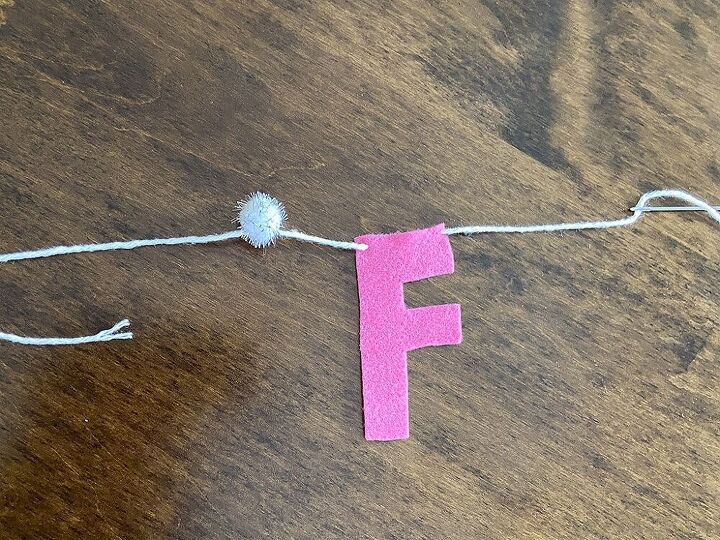
You’ll pull the thread through and bring it back through to the front.

Then simply pull the yarn all the way through.
Flip your letter over and admire.
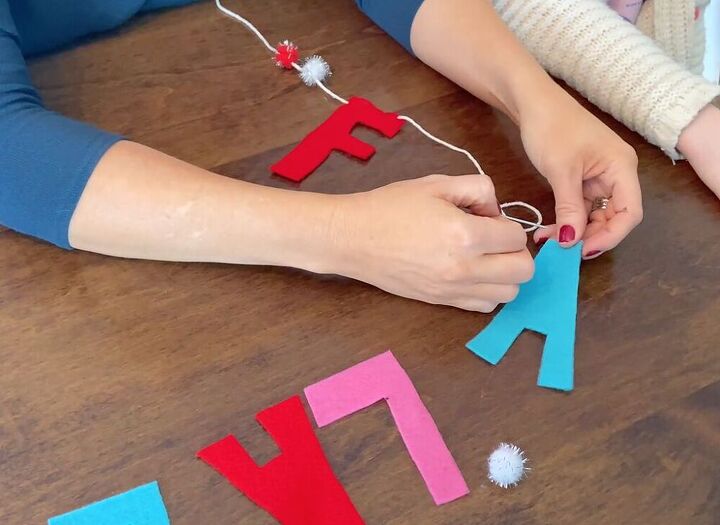
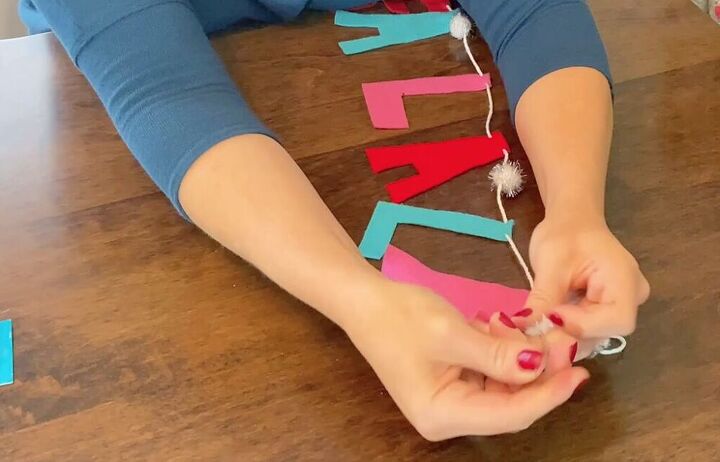
Repeat this step on all letters and pom poms in order as the letters should appear. I chose to quickly change my “F” color to red.
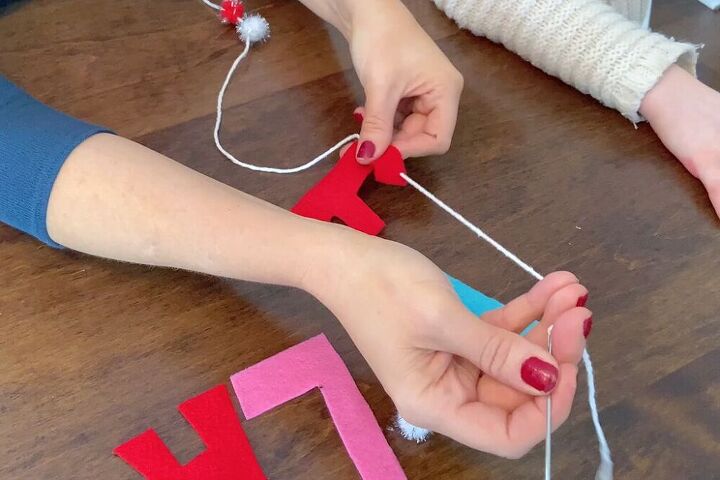
This step moves very quickly after you knock complete one letter.
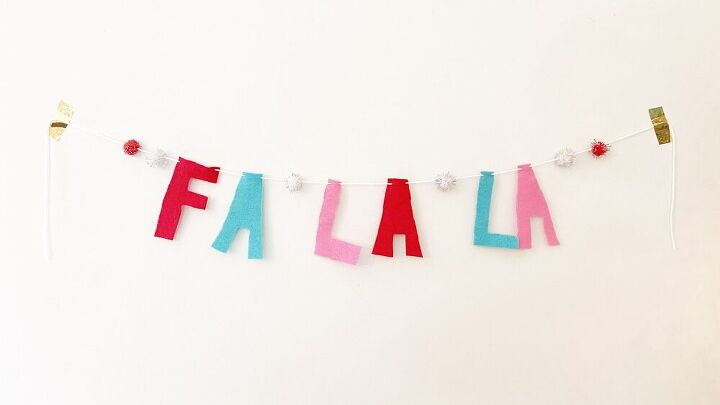
Finish up your felt banner with your final pom pom!
You’ll want to make sure you leave about 10-12″ of excess string on both sides for hanging.
These steps took me about three minutes – so easy!
Grab any kind of tape, a tack, command hook, or anything you want to use to hang, and simply add the yarn to the wall.
I chose to use some gold foil duct tape that I cut into smaller strips.
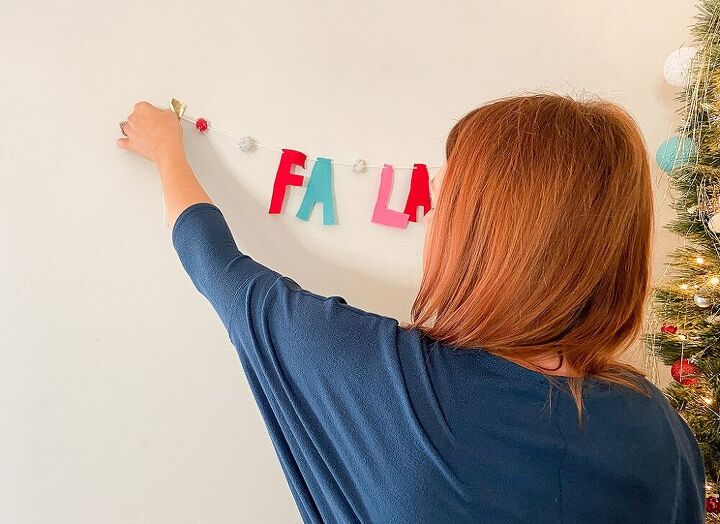
It’s really easy to move your letters and pom poms after they are strung, and I love that you aren’t stuck with any placement!
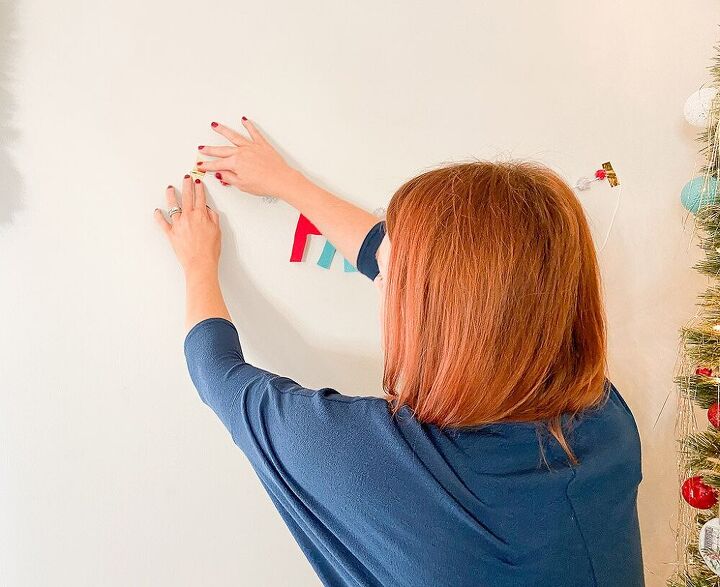
Step back and admire your super cute and fun DIY felt banner!

It looks so festive my the tree in our dining room.
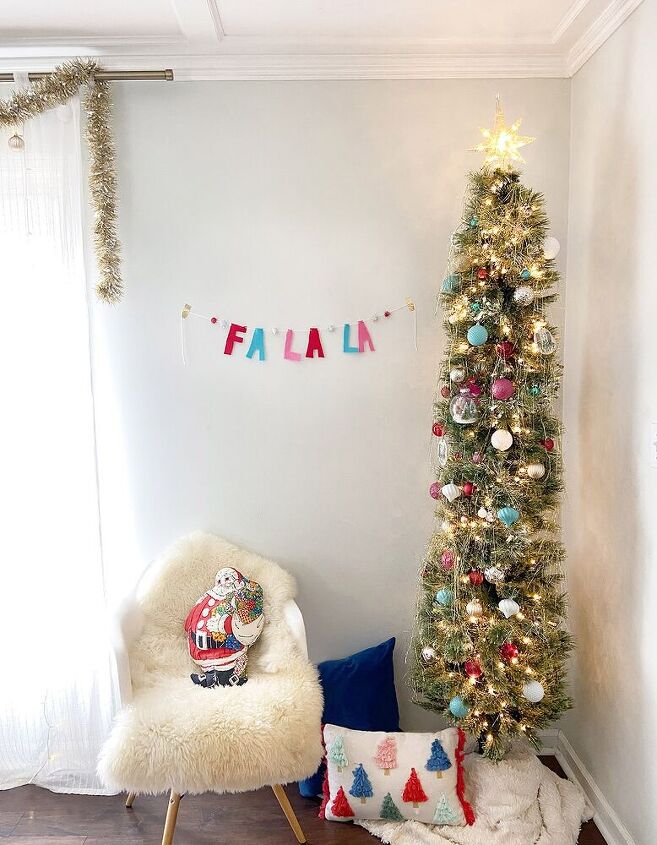
What do you think, pretty easy right?
Resources for this project:
See all materials


Comments
Join the conversation
-
Very cool and lovely. Great project to do with the kids.


Frequently asked questions
Have a question about this project?