


How to Make a DIY Christmas Lantern
I am just loving this little DIY Christmas Lantern, it’s so cute! Of course, I am excited to share it with you. First, I want to remind you that there is an option to view the quick video of this DIY. You are able to watch it by clicking the link below. Now, let’s get you a supply list!
Watch the replay here: https://fb.watch/93Z0EnTNXA/
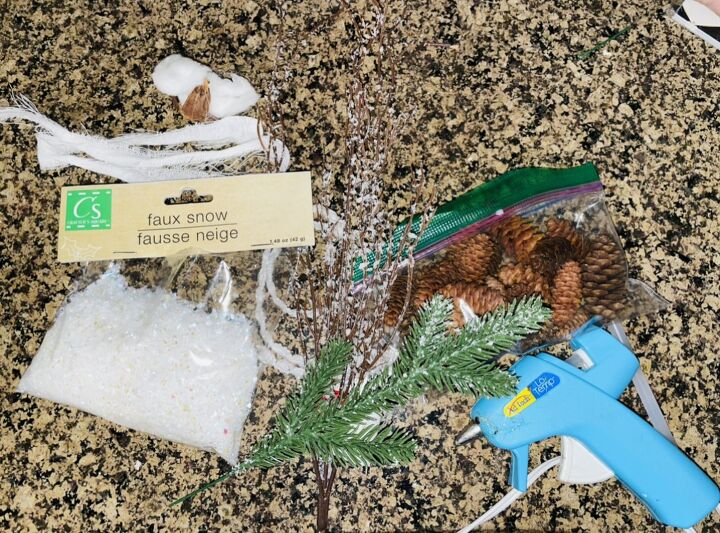
Firstly, here is what you’ll need:
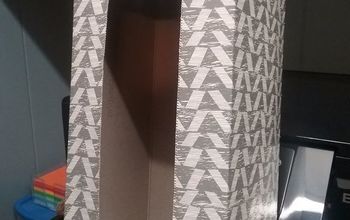
- Lantern Box
- Lights
- Mini Church
- Figurines
- Faux snow
- Greenery/Pine trees
- Hot glue gun
- Pine cones and cotton
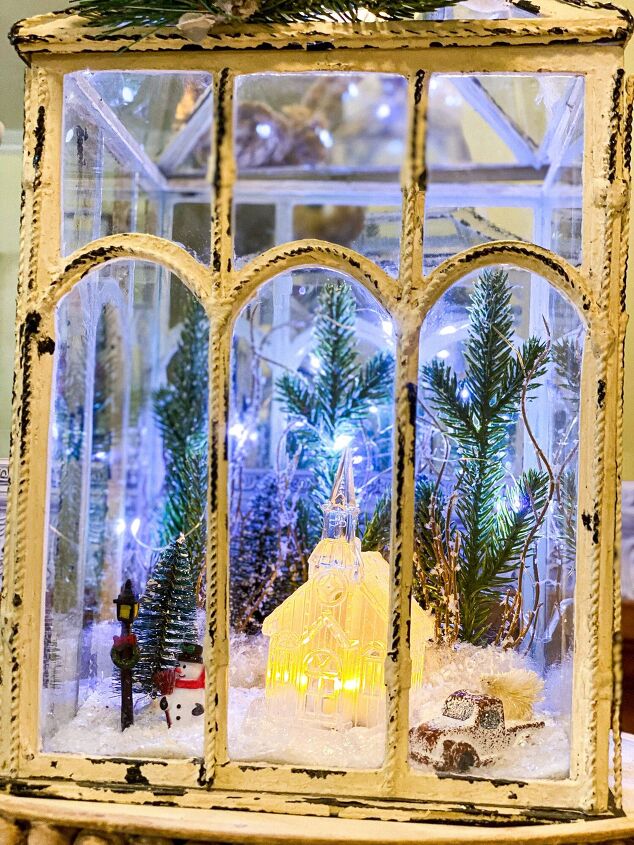

Secondly, let’s get the inside of this Christmas Lantern decorated! You’ll want to first glue your pine trees and greenery to foam board. I did this because it helps keep the greenery up right in the background. Afterwards, I placed the church in and added my figurines surrounding it. The figurines I used were a snowman, light post, and truck but you can switch it up how you see fit.

Thirdly, I added some greenery, pine cones and cotton to the lid of the Christmas Lantern. I think it gave the Christmas Lantern such a wintery feel, but this step it optional. Since the lantern has a lid, it makes it really easy to take off and add items inside and to the top. Moreover, I added a bow to the top as well. And I did this by tearing some scrap fabric and tying it into a cute shabby chic bow.
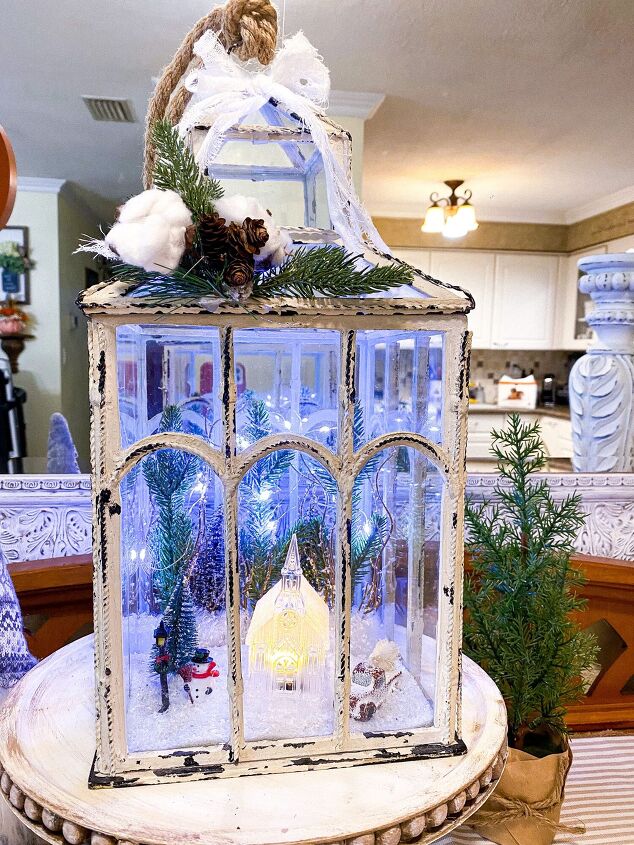
Finally, you have a super cute Christmas Lantern! I absolutely adore this DIY, not only is it budget friendly, but it’s also perfect for home decor. I hope you love it as much as I do, please check out the blog for more DIYs like this one!


Frequently asked questions
Have a question about this project?