


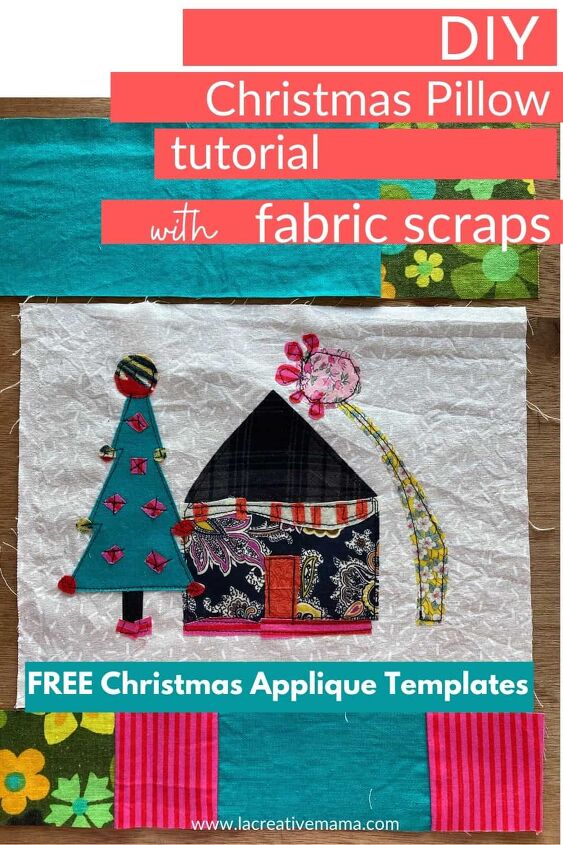
How to Make a DIY Christmas Pillow {super Cute}
Hi Creative Mamas! I have been busy for the last few weeks designing and making little special fabric crafts to decorate our home for Christmas. I have had so much fun! One of my favorite things is this DIY Christmas pillow.
I followed the same idea of using fabric scraps in combination with applique as I did in the Christmas Fabric Advent Calendar. It was so easy to make and super fun too! I can’t wait to share this step by step tutorial on how to make this super easy and quick DIY Christmas pillow!

There are a few things to consider when using fabric applique in combination with fabric scraps. For this project I will use iron fusible paper for the appliques so make sure you follow these steps before you start your project:
- Be sure to use 100% cotton scraps. If you are not sure what type of fiber your fabric is check out how to do a quick fabric burn test here.
- Be sure to pre wash all your fabric scraps. This will ensure there are no chemical residues in the fabric that will prevent the fusing process. from working properly.
Making a pillow is actually very easy! I love making envelope pillow covers because you don’t need to worry abou zips or any other notions. In the post (How to make an envelope pillow cover Tutorial) I show you exactly how to make a beautiful pillow cover.
The tutorial below will show you how to make the top of the pillow and I will then direct to to the mentioned post to finisgh the envelope pillow.
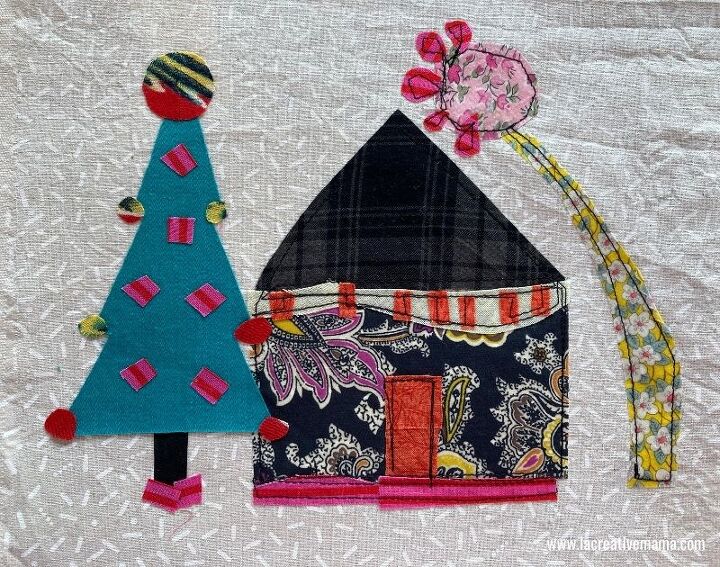
For this Christmas pillow tutorial I have chosen to make a fabric collage using applique fabric scraps and creating a DIY Christmas tree pillow that I know all my friends and family will absolutely love!!!!!
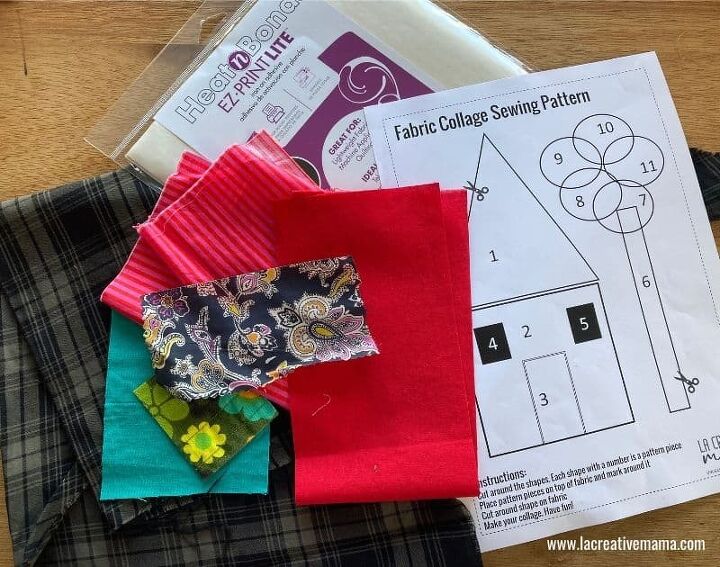
I will be using a combination of fabric scraps to create the fabric collage. The Christmas Fabric Collage Applique Patterns are free for you to download from the Free Resource Library.
This post contains affiliate links, which means I receive a small commission, at no extra cost to you, if you make a purchase using this link. Please see my disclosure for more details.
- Sewing Machine
- Iron
- Fabric scraps for the pillow cover base and for the fabric collage design. (Make sure that they are 100% cotton and that they are pre- washed)
- Christmas Fabric Collage Applique Patterns (available in my FREE RESOURCE LIBRARY— get the password for free by filling out the form below)
- Iron on fusing sheets (I am using HEAT & BOND lite)
- Cutting mat
- Rotary cutter
- Fabric scissors
- Quilting Ruler
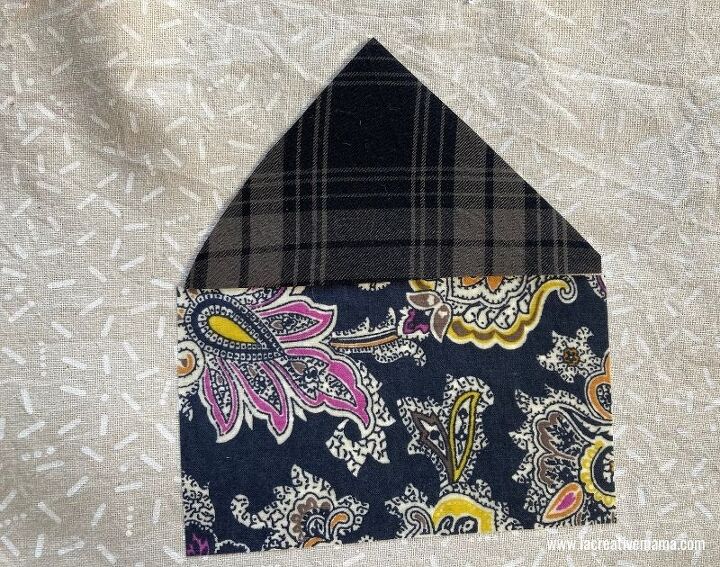
Cut your base fabric piece (100% cotton) which needs to be 11 inches by 8 inches , but you can choose your own measurements depending on your requirements.
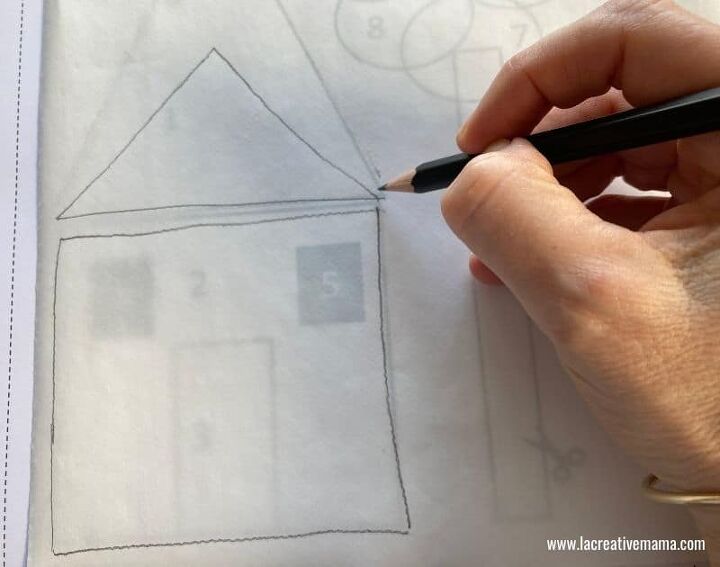
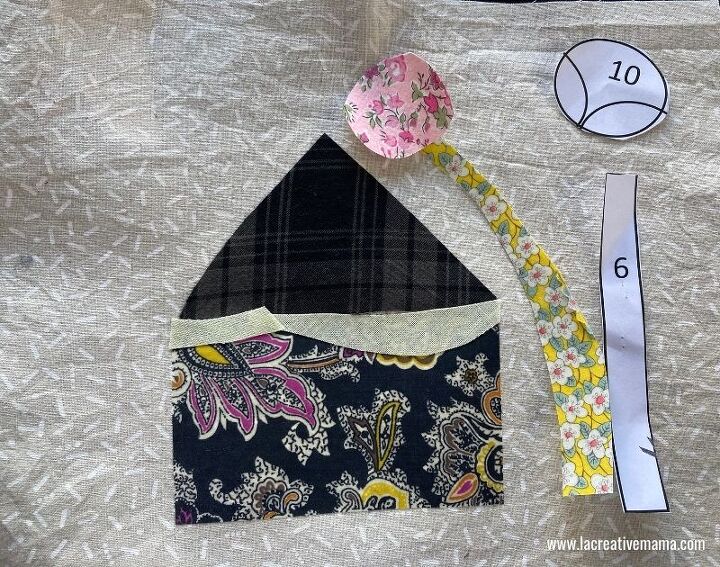
Download your Fabric Collage Applique Patterns from the Free Resource Library. these templates are the excat size that I used in this tutorial.
Print the templates and gather the iron on fusing sheets and your fabric scraps. Have lots of fun choosing fabrics that you feel inspire the feeling of Christmas.
In order to do this I went for the safe colors: green and red 🙂
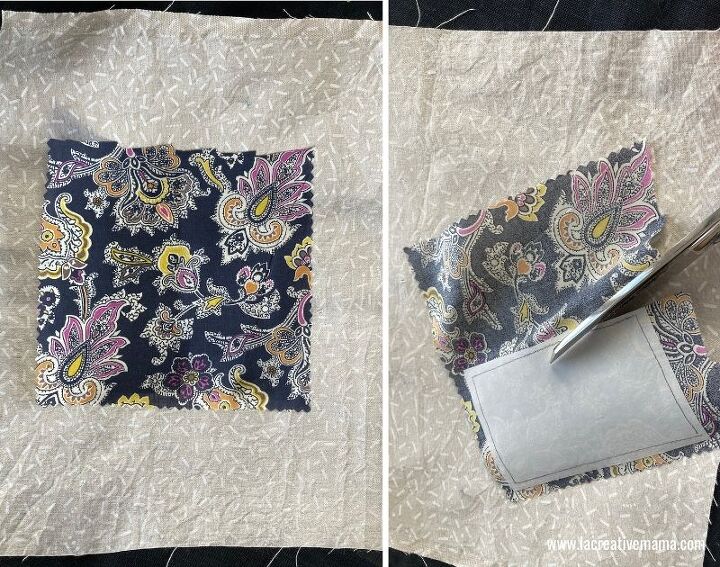
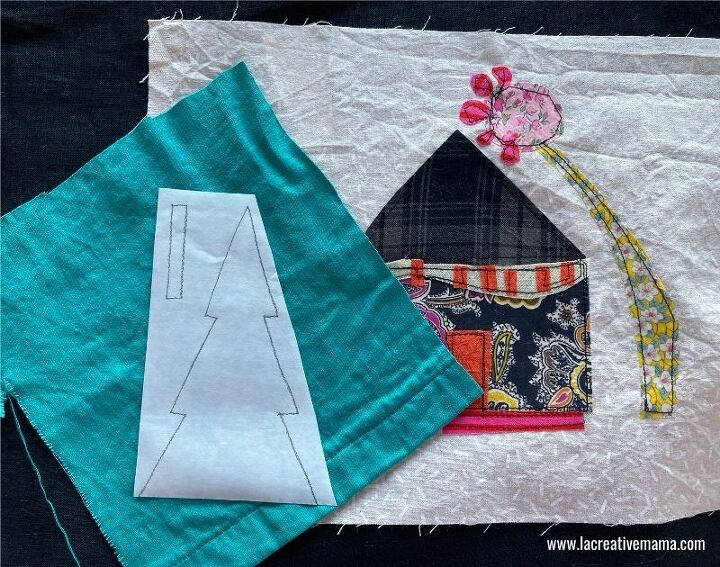
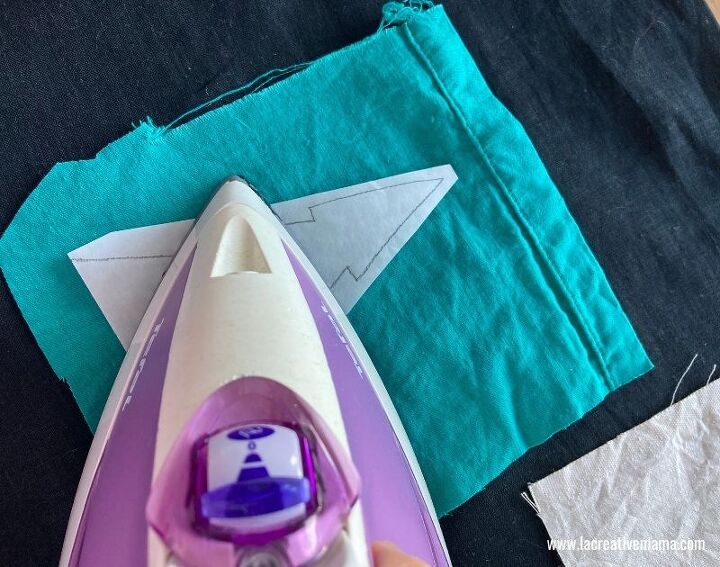
Trace the Christmas Fabric Collage Applique patterns to the iron on fusing sheets. Trace on the paper side of the sheets. We are using the lite quality fusing so that it doesn’t create any stiffness or changes the texture of the fabric.
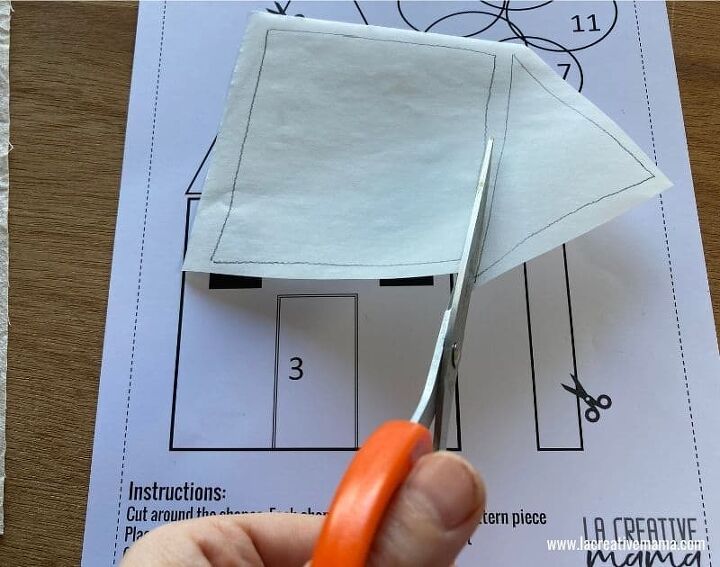
Cut around the traced lines leaving 1/4 inch around it. The patterns are numbered to help you keep track of where things go once you get to place the fabric pieces on the pillow cover.
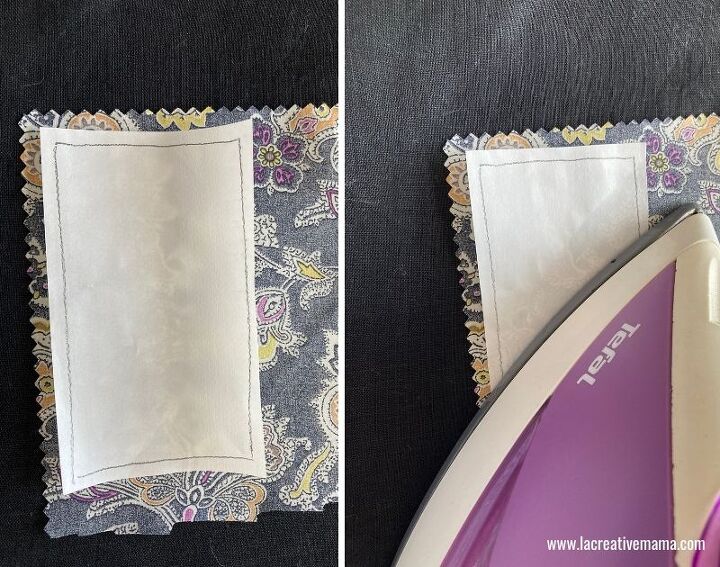
Once you have traced around all the different parts on the paper side of the fusing sheets, it’s time to fuse them onto the fabric.
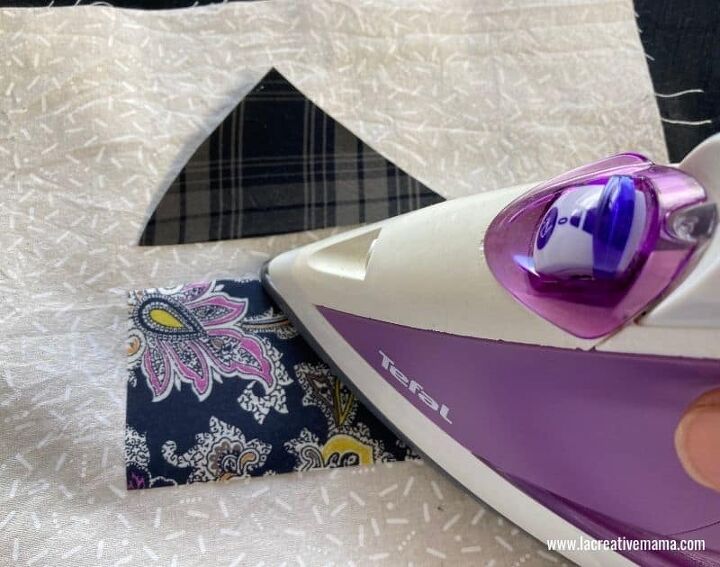
Place the iron on fusing cut out on top of the wrong side of the fabric. Press with a very hot non steamy iron. Press for 4 seconds and release. Repeat until the template is completely stuck to the wrong side of the fabric.
Once this is done your fabric will look quite stiff. this is ok. Now cut around the iron on fusing following the traced lines.
Repeat this process with the different parts of the Christmas pillow fabric collage design.
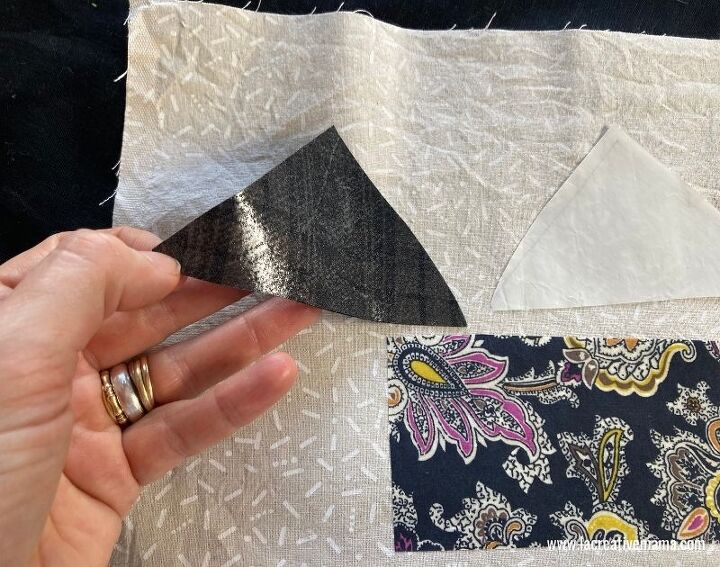
Once you have cut all the different parts you need to place them on the backing fabric. This is great fun because you can place them in different ways and you can get really creative! I have chosen to use a contrasting neutral color for my backing fabric and it worked really well.
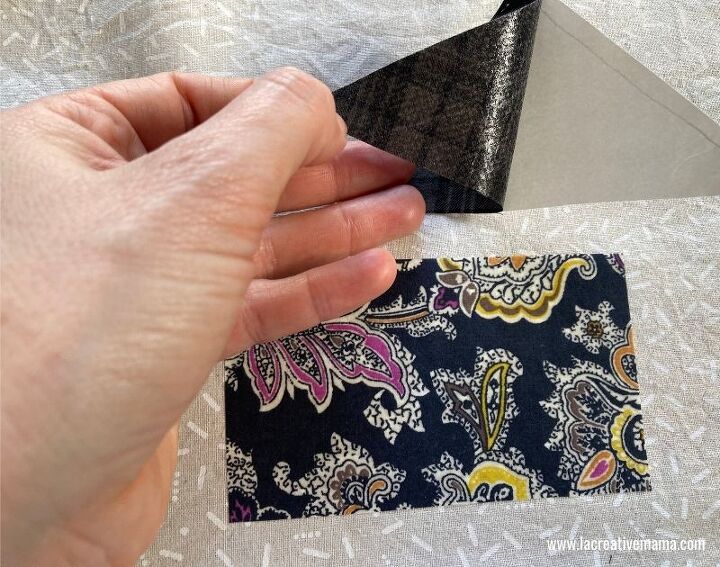
Once you are happy with the placement of the parts you need to peel off the fabric away from the fusing sheet. I started with the base of the house.
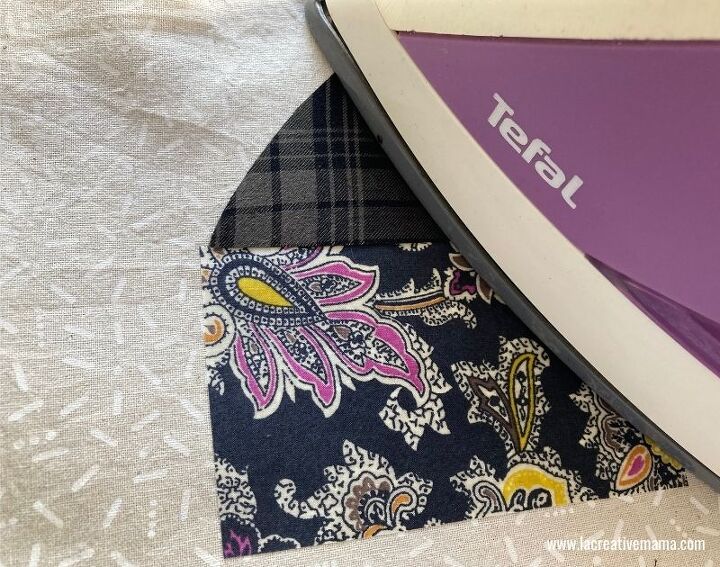
This will leave a glue residue. Press the fabric piece to the pillow base with a hot iron. Press for 6 seconds and release. Repeat until the shape its fully fused and stuck to the base fabric.
Repeat the same process for all the components of your design. I fused the roof straight after the base of the house.
Feel free to play around with the order in which you want to place the pieces. There are no rules!
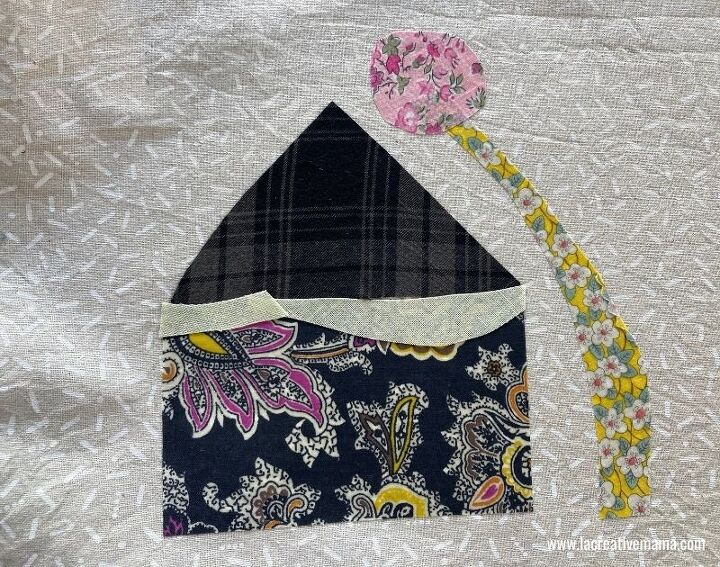
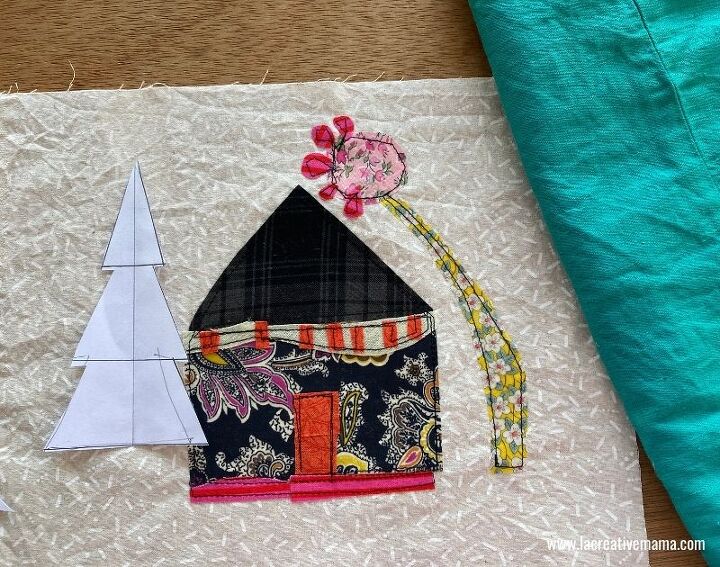
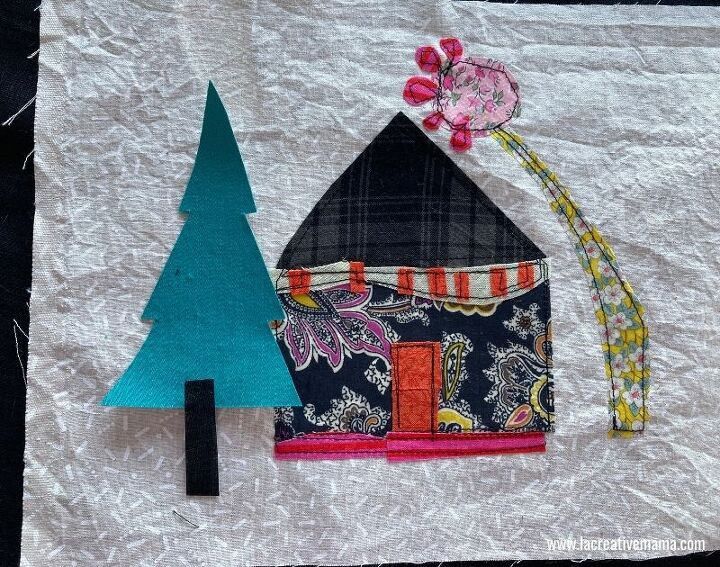
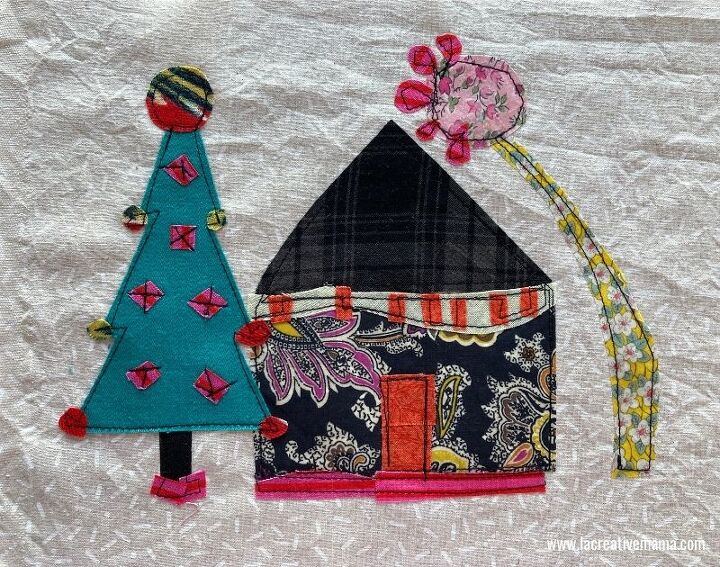
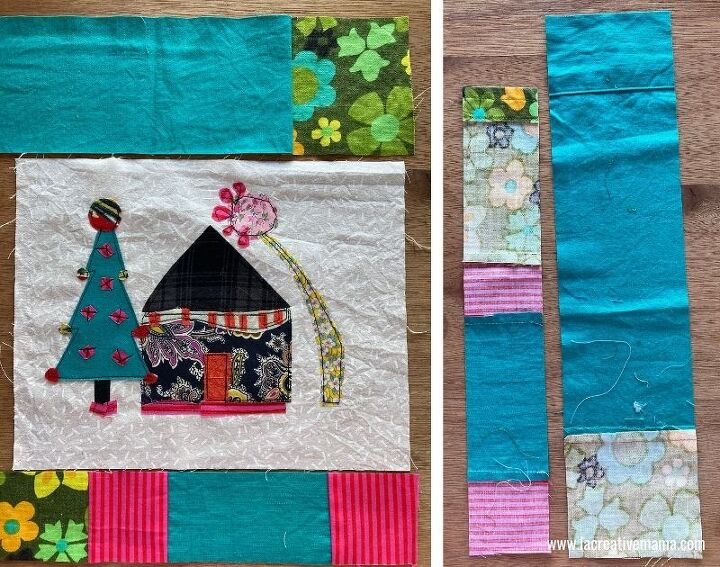
This is the complete fused house as a starting point to my DIY Christmas pillow 🙂 Now the fun starts!
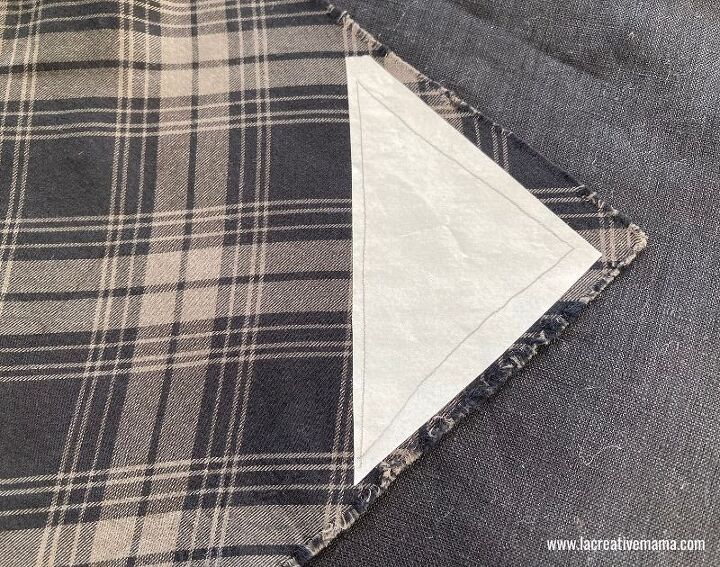
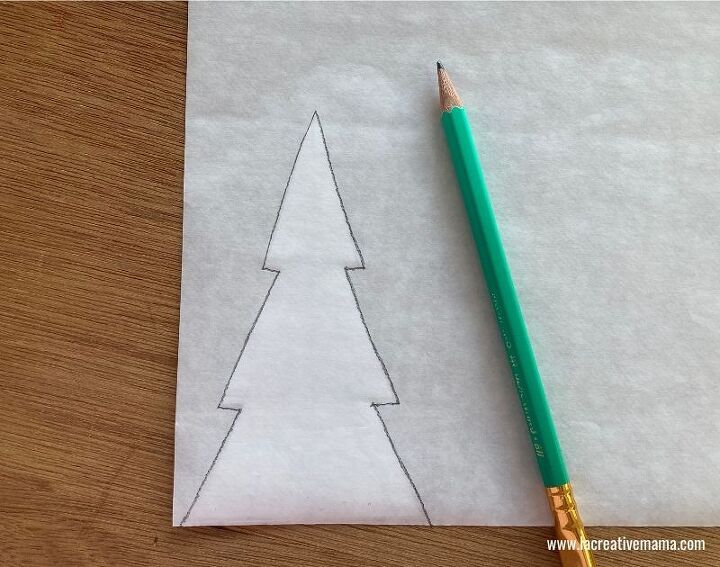
Play around with the tree template and feel free to twist the tree trunk if you like.
Fuse it in place.
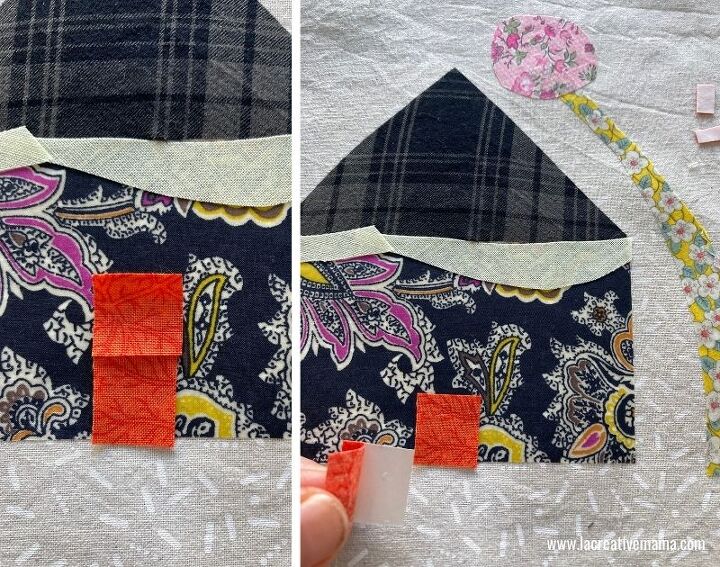
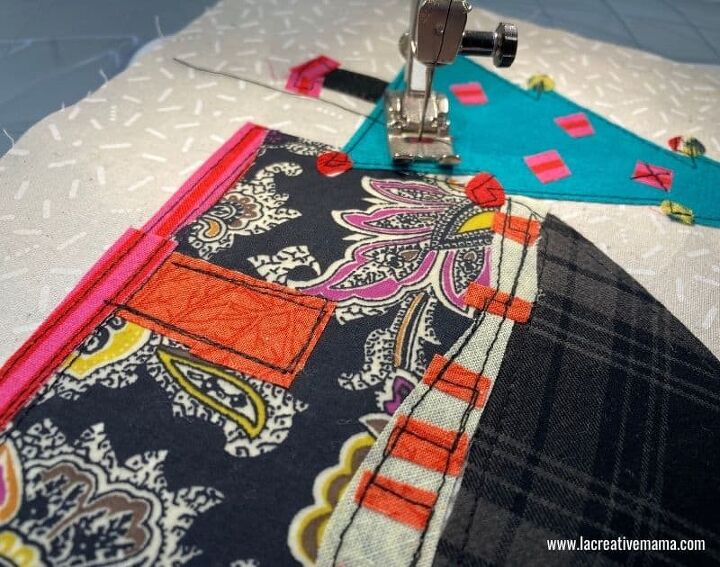
Also have fun adding the door, the windows and any roof details that you may want.
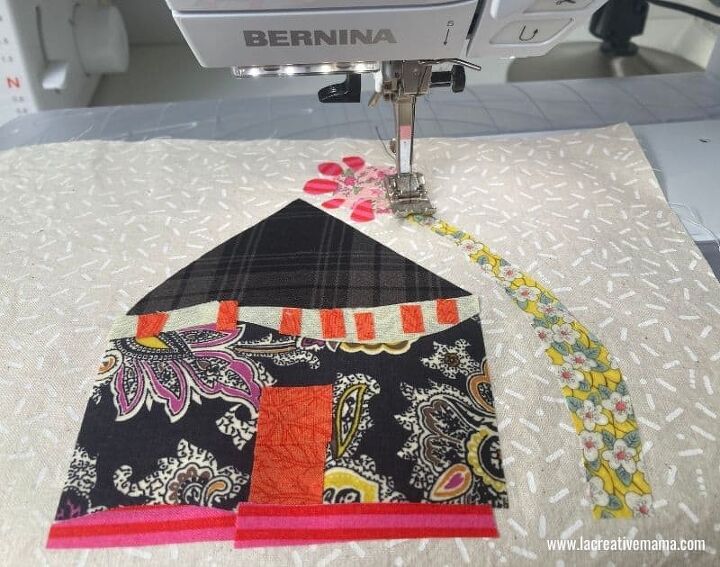
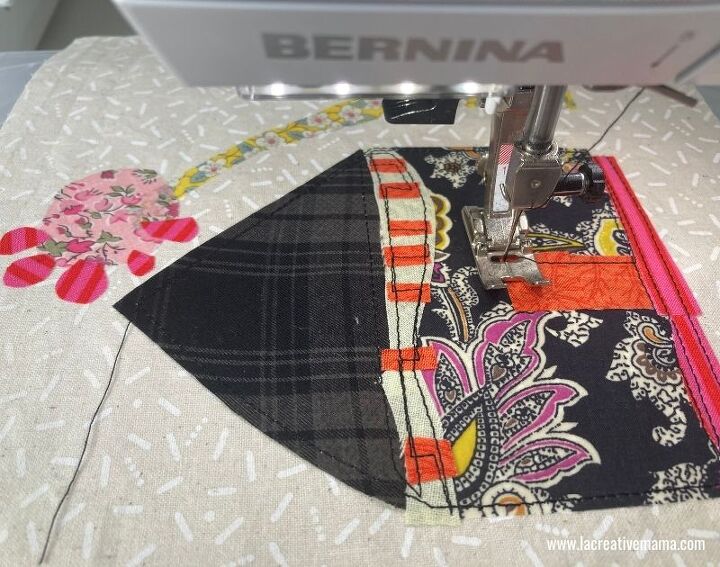
At this stage I like to sew the house and the little tree before I get to my Christmas tree but you can also leave it to the end of the project.
Using a regular stitch length sew around the edges of the applique.
Up to this stage our fabric collage was not really a Christmas one. You can apply everything up to this step to make fun fabric collage pillows any time of the year.
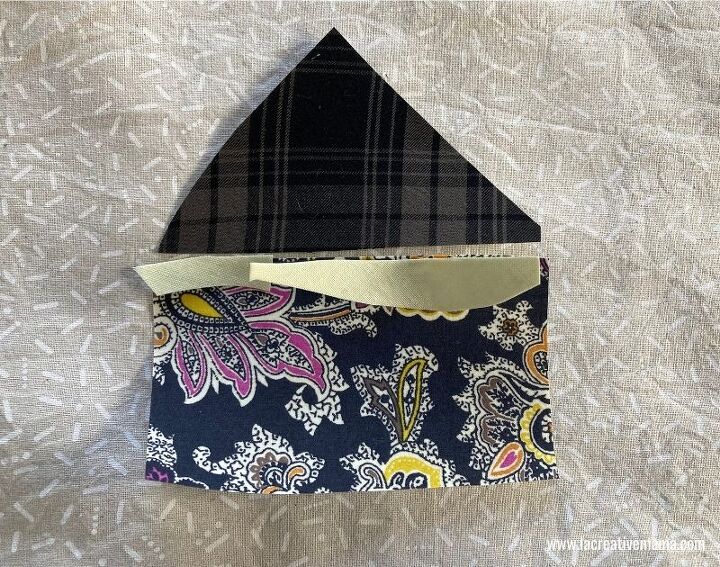
But I am now going to show you how to infuse some Christmas spirit and personality into this DIY pillow cover 🙂 Let’s start by choosing some green and red fabric that we can use for the tree and for the trims around the edges.
Once again, trace around the template on the iron on fusing sheet (on the paper side).
Cut around the traced area leaving a 1/4 inch space all around at least.
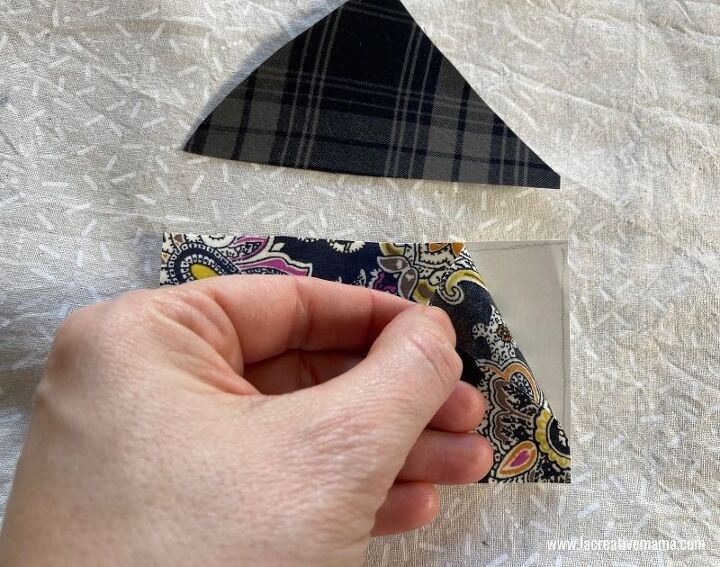
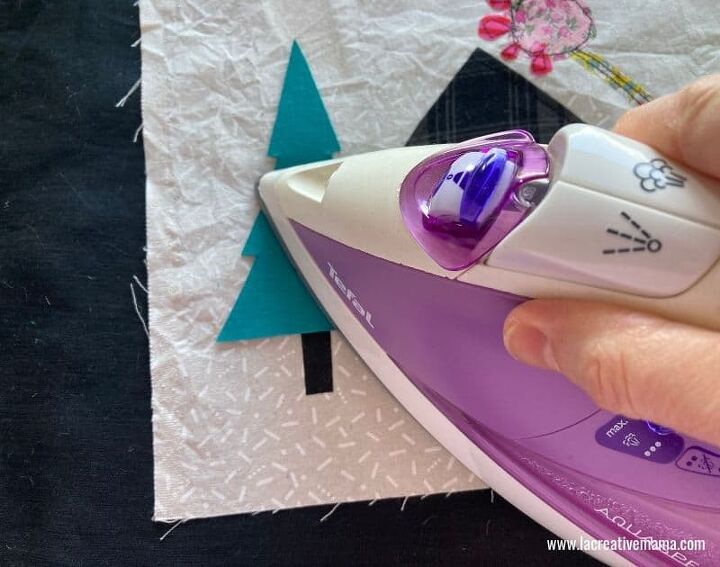
Fuse Christmas tree template on the wrong side of the fabric as in the previous steps.
Cut around the fused shapes following the traced lines. Place the tree and the tree trunk in the desired position within the fabric collage.
Fuse onto base pillow fabric.
Also make sure you decorate the Christmas tree. For this step I simply fused a little bit of the pink and red fabrics on the wrong side and then I cut little pieces, peeled the fusing paper off and fused them onto the Christmas tree. EASY!
Sew around the Christmas tree and the little ornaments. For these I sewed little crosses to keep them in place and to add another layer of decoration. .
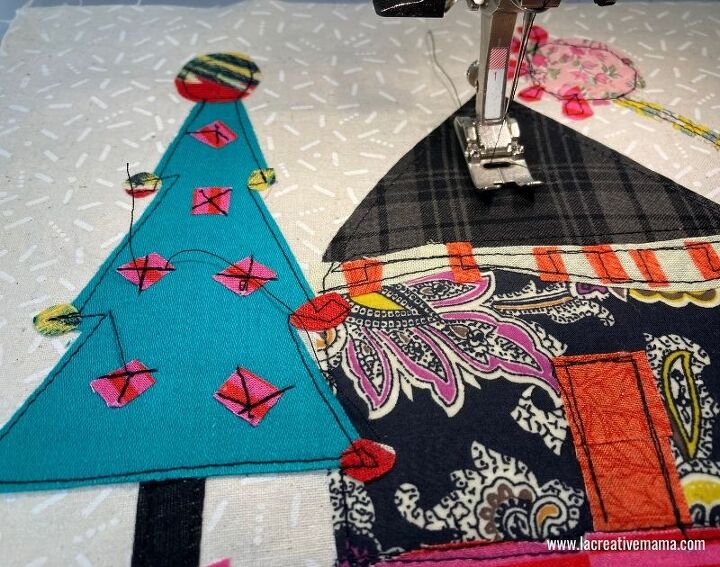
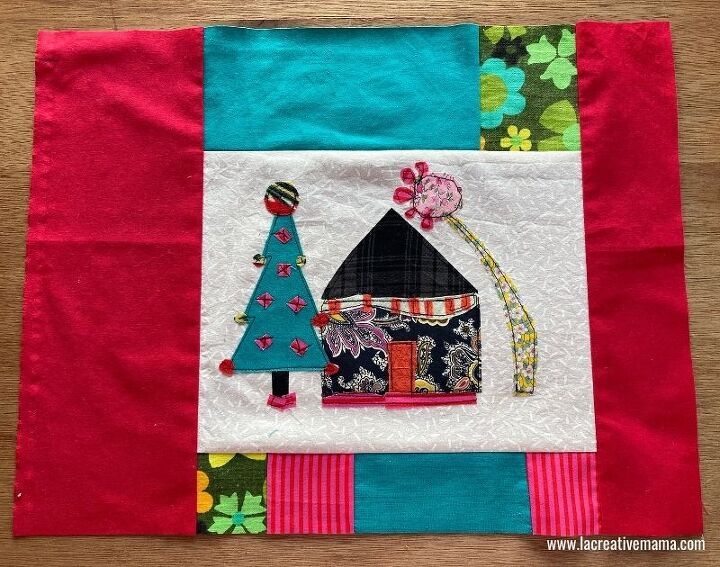
Voila!!! Christmas Tree Completed!!!!!
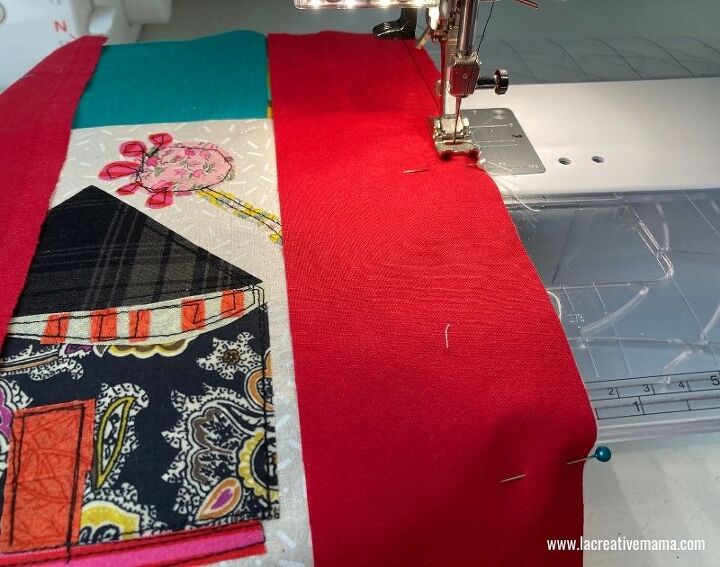
ok, so let’s give our Christmas a really nice frame! So I have collected a few different fabrics to create a nice edge for the little Christmas Fabric Collage that we have created. Go ahead and sew the scraps together.
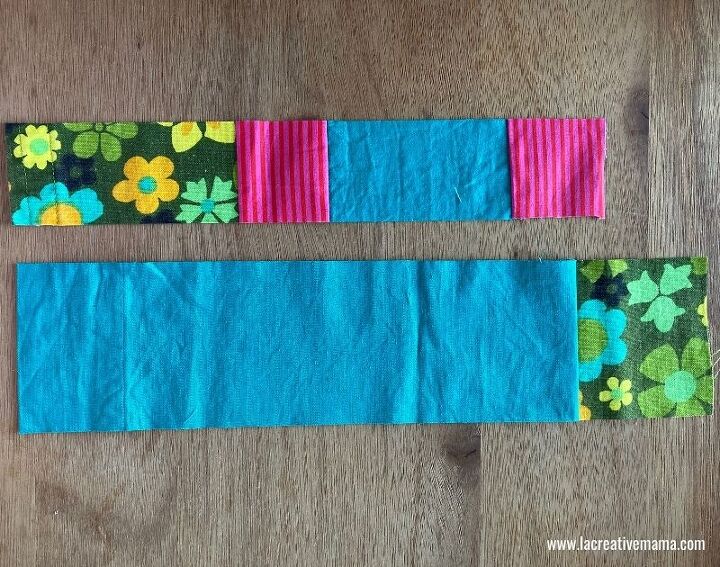
Be sure to press the seam on the fabric edge pieces. I pressed them to one side.
Pin the strips to the top and bottom edges of the pillow and sew in place.
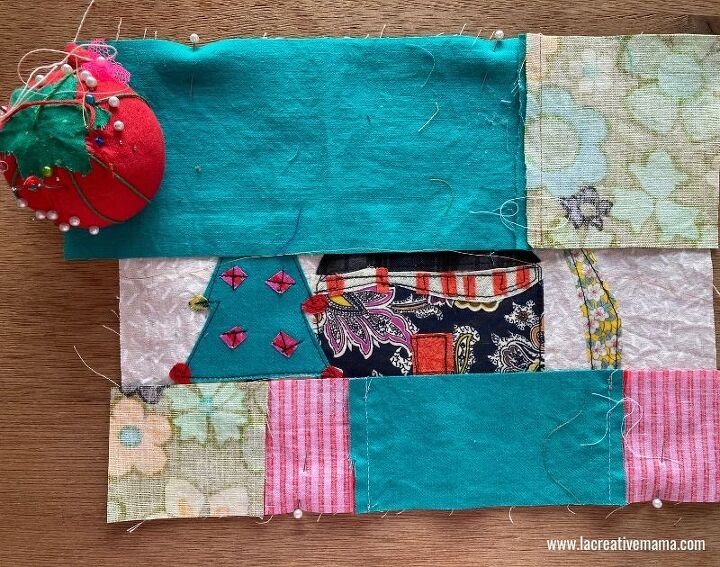
Add a two more strips to the left and right sides of the pillow. I chose a red cotton to make it feel like Christmas.
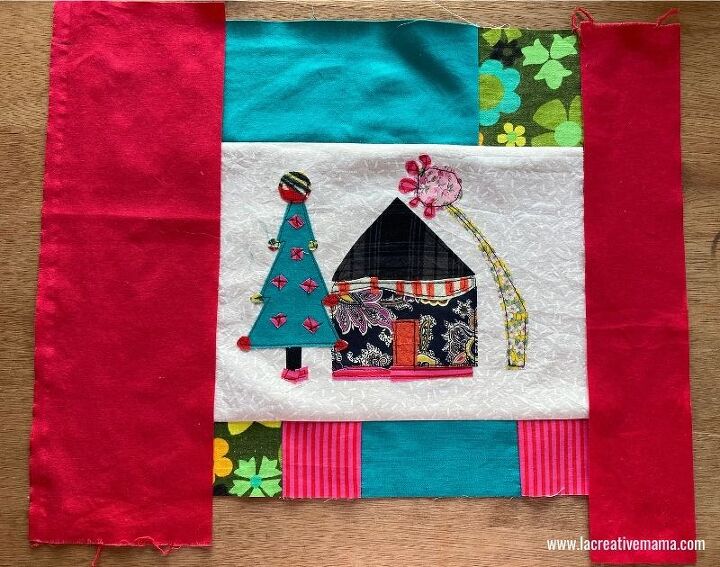
Sew in place.
Voila! your pillow cover top is done! The final size of this pillow is 13.5 inches by 17.5 inches. The final size will depend on the size of the strips that you sew at each edge. Have fun playing around with different sizes.
Note: If you want to super size this Christmas Pillow you can print out the collage templates at A3 size and make a big collage. That will make for an oversized Christmas pillow which could be super fun in a children’s playroom or in a family TV room.
Making an envelope pillow is super easy. You don’t need any zips or buttons at all. Please follow this tutorial to finish the pillow.


Frequently asked questions
Have a question about this project?