


How to Make a Festive Gnome Treat Jar
Christmas Gnomes continues to be one of the hottest trends this holiday season! They are everywhere - looking so adorable and cute! And they're the perfect addition to any festive holiday decor!
While you might not be able to host a regular family get-together this year due to the pandemic, you can make your at-home celebration feel extra special with a few decorative touches - especially those handmade like a festive gnome treat jar. And the best part, you probably have everything you need in your craft room and elsewhere in your home to make one. Sounds like fun, right!
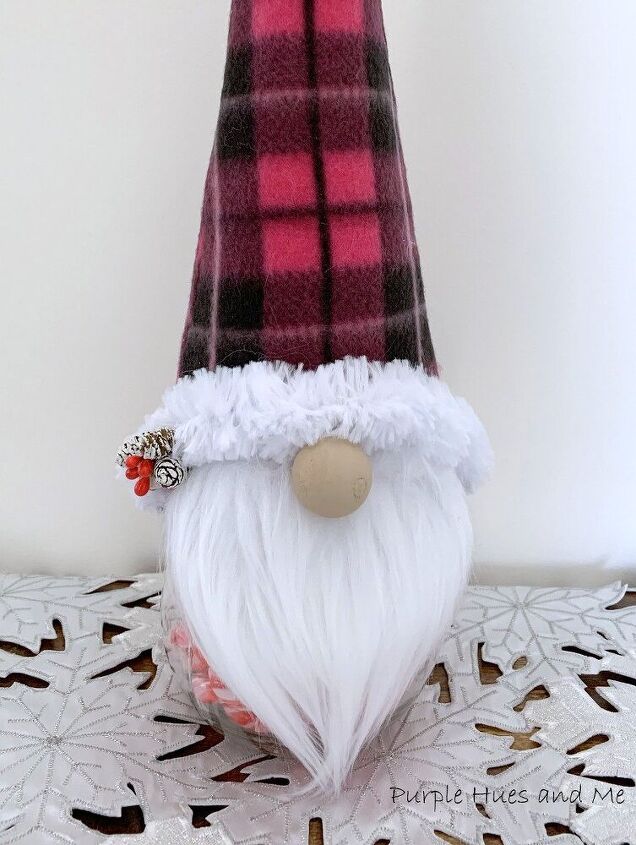
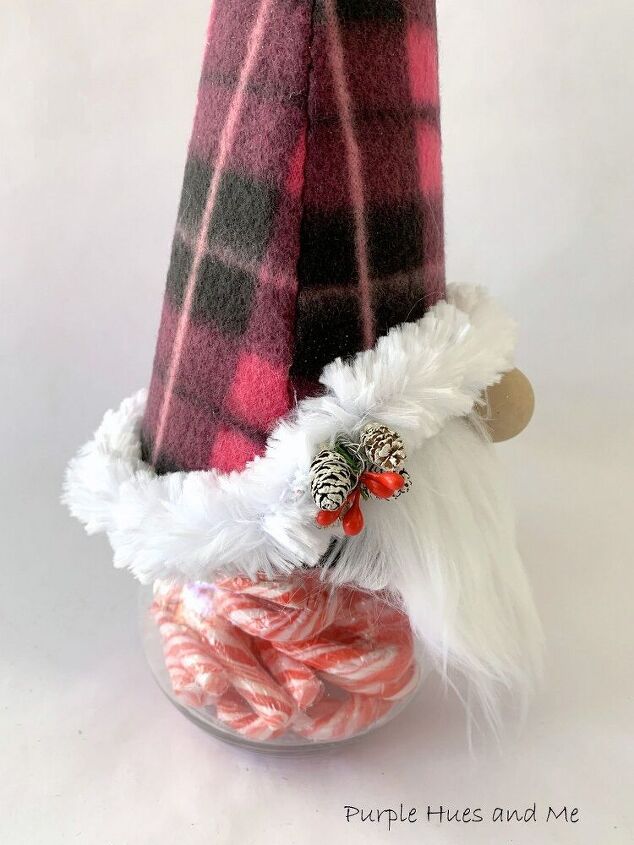
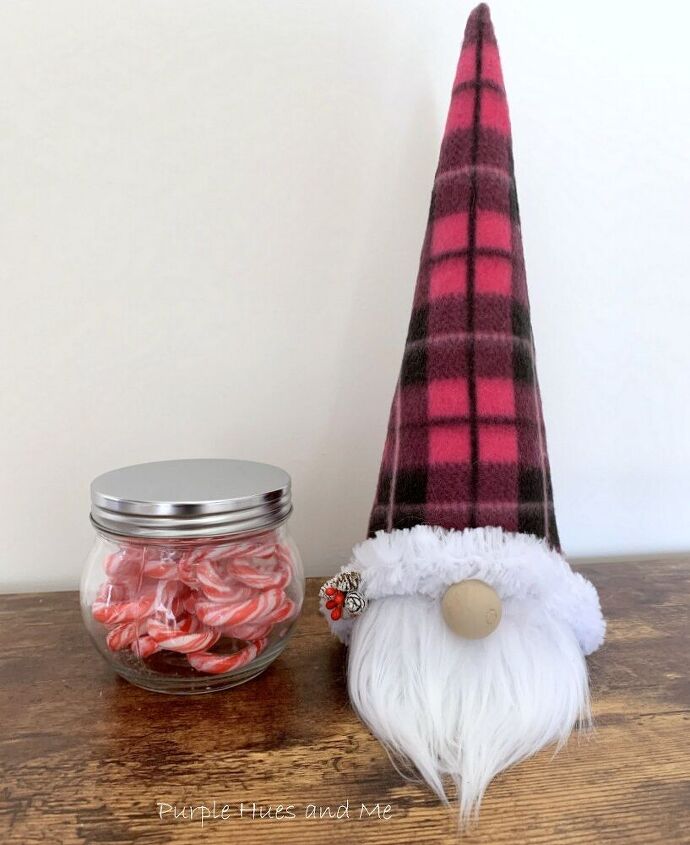
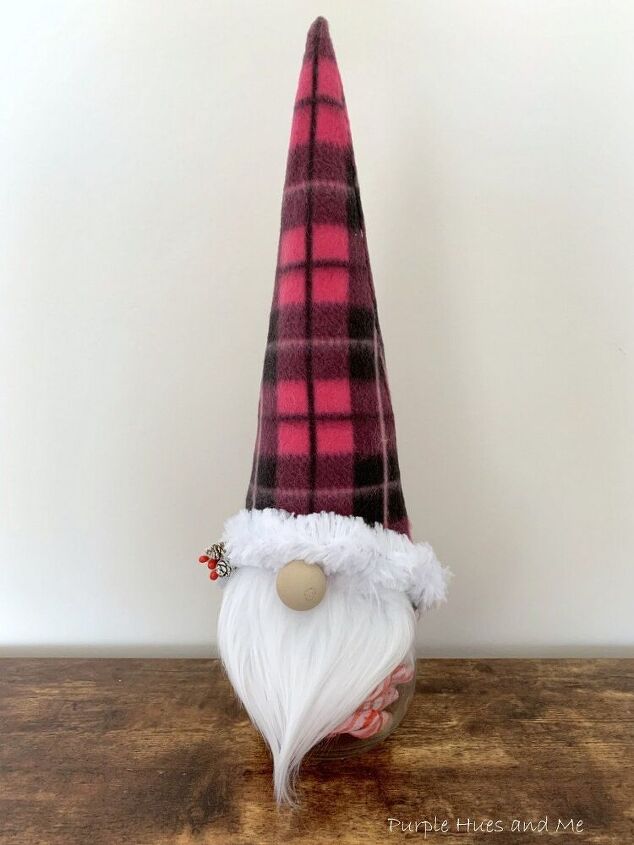
The festive gnome treat jar is handmade including a cone-shaped hat made out of poster board covered with a dollar store plaid neck wrap and trimmed with a jumbo chenille stem - made to fit around a glass jar. It's completely made out of items from my stash! The gnome measures about 16 inches tall which includes a jar with an air-tight lid so you can easily store your favorite holiday treats in it!
How to Make a Cone Shape Gnome Hat:
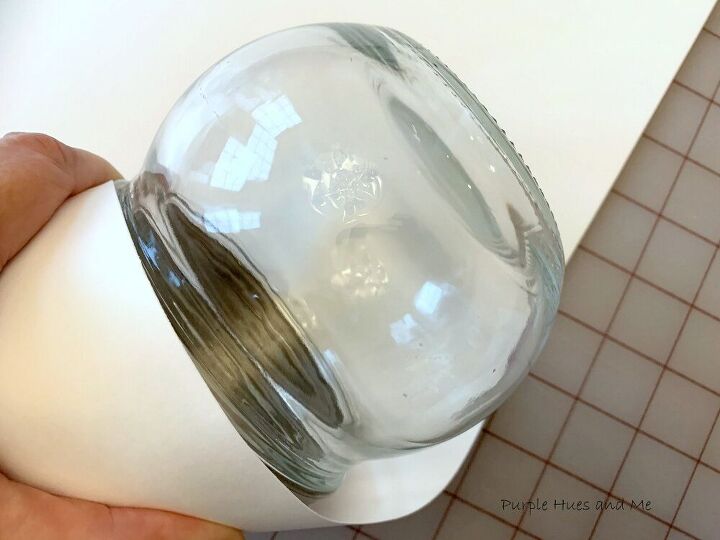
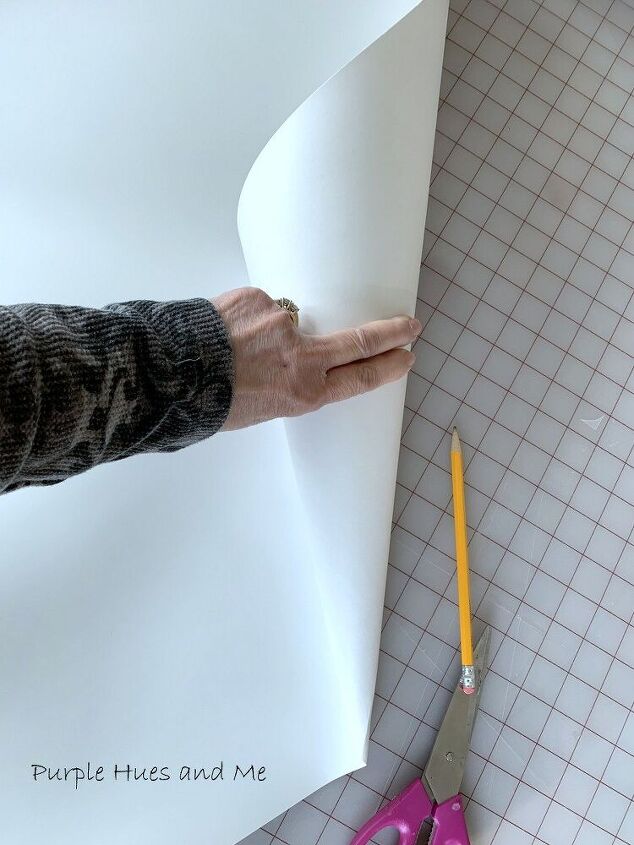
Begin by laying a sheet of poster board on your work surface. Starting near a corner on the poster board paper, place the jar down sideways and begin rolling the paper into a cone shape. Use the top of the jar (lid) to determine the size of the opening as you roll the poster board tightly around it.
Once you have the cone shape, mark a line for the edge using a pencil and cut off the excess paper.
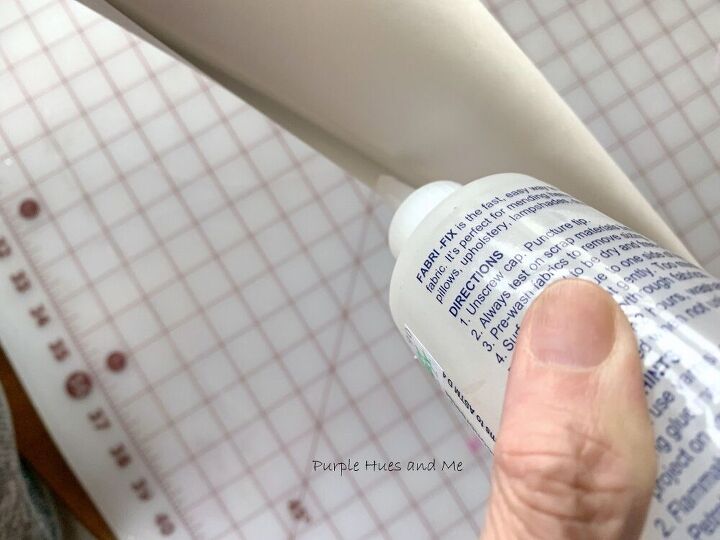
Continue holding the cone together tightly while you add glue along the edge to close.
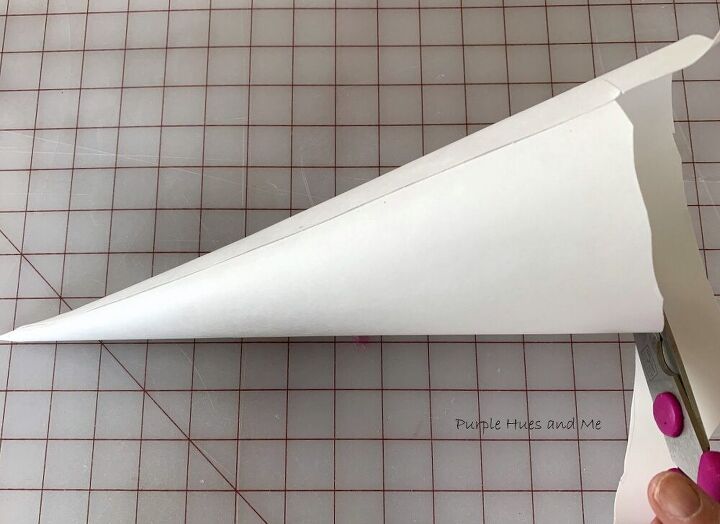
Once the edge is sealed, trim the bottom to adjust the fit on the jar. Measure around the bottom of the cone and cut an even line around.
How to Cover the Cone Hat:
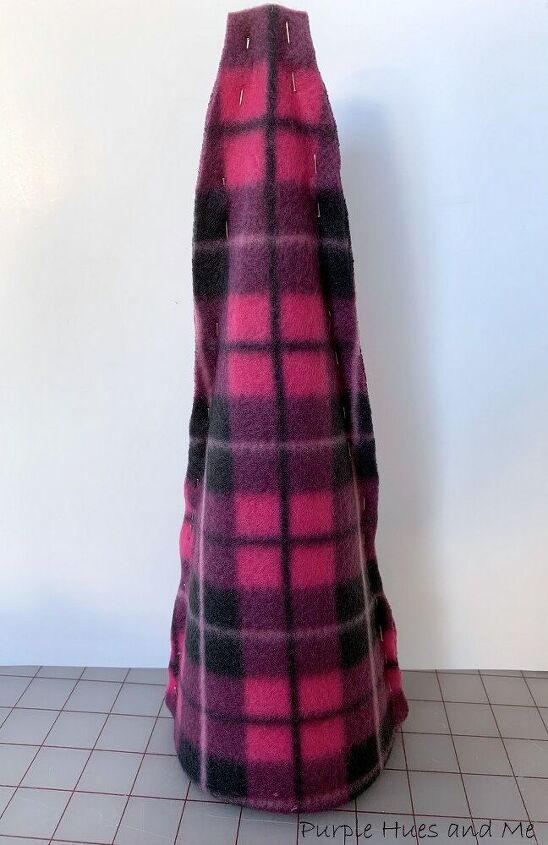
I picked up an infinity neck scarf from the Dollar Tree at the end of summer when they were just getting their fall items in. I got it because of the plaid design, thinking I could use it for a future project like this one. Plaid is hot right now! Since the neck scarf was not wide enough to cover the cone . . . the seam was opened and the fabric draped over the cone matching the design lines. Then, pin the sides together - close to the cone shape.
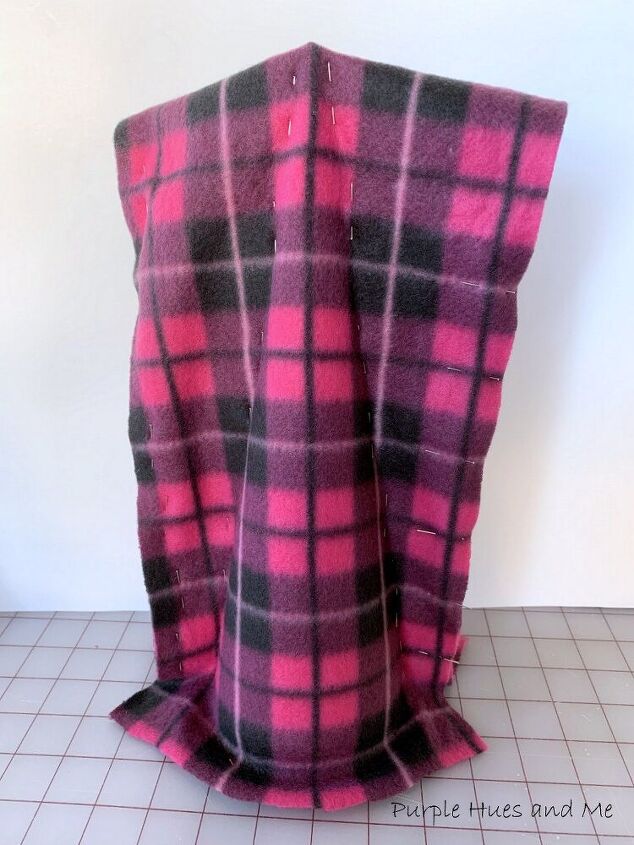
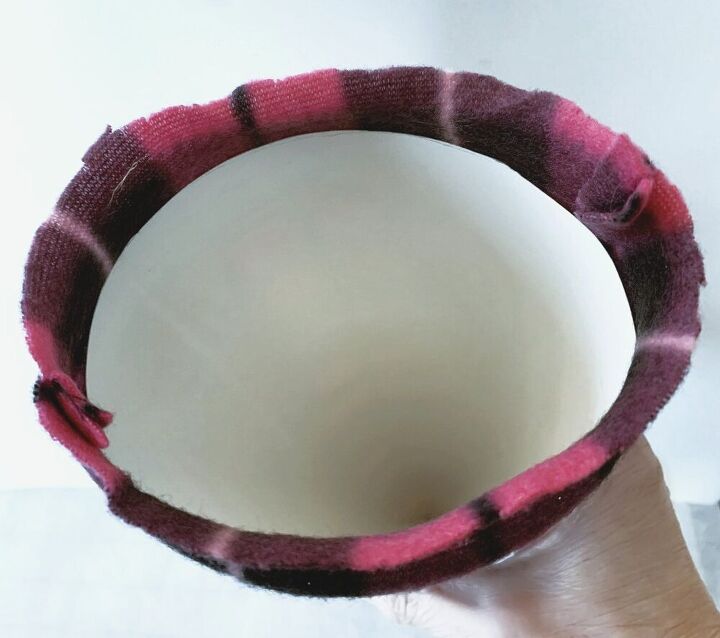
Once the fabric was pinned nice and tight to the cone, the excess fabric was cut off. Next, sew the fabric together along the line of the pins and turn inside out when finish.
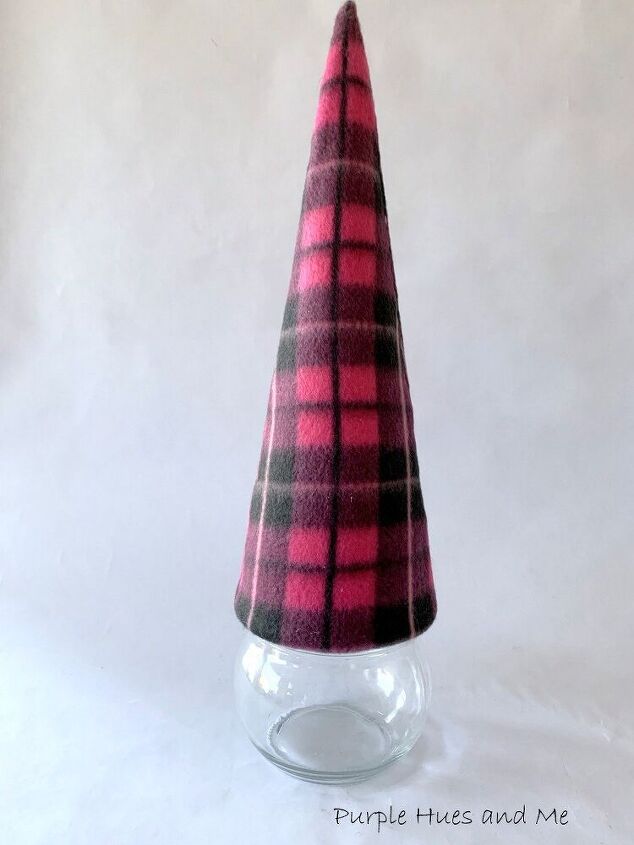
Then, place the stitched fabric over the cone shape poster board, cutting off excess fabric on the bottom. Glue the fabric to the bottom of the cone to seal
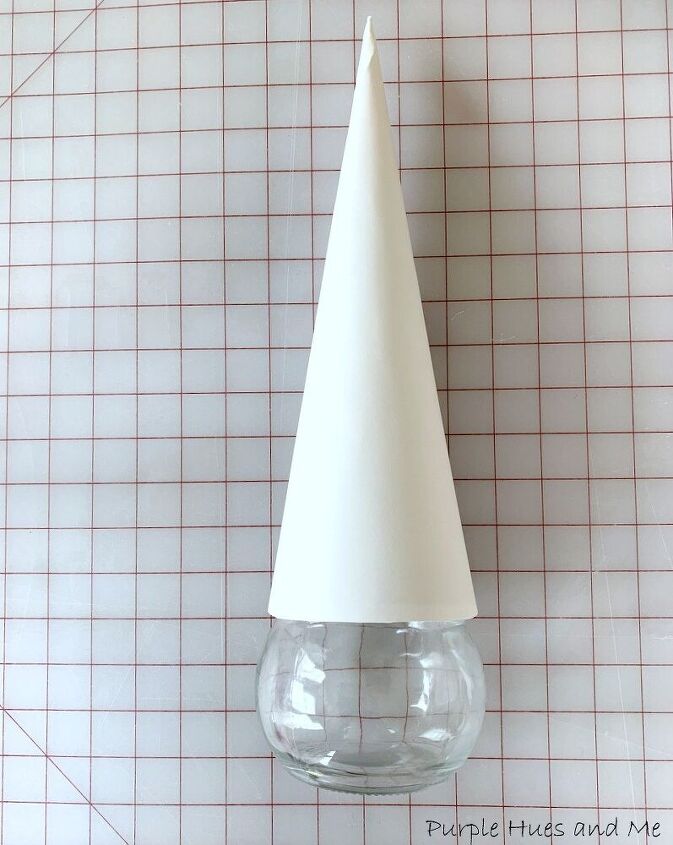
And finally, place the cone hat over the jar for fit. How cool does this look!
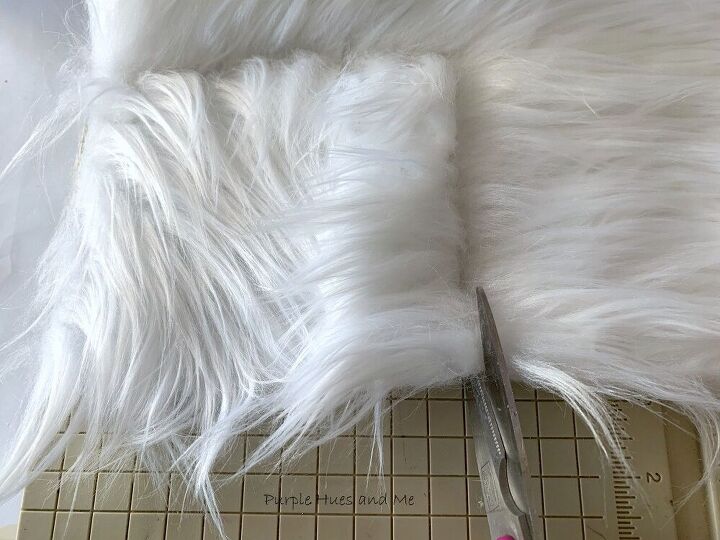
Next, measure a scrap of faux fur for the beard around the base of the hat to the bottom of the jar. Separate the fibers of the fur to cut out.
Then glue beard on cone along the bottom edge.
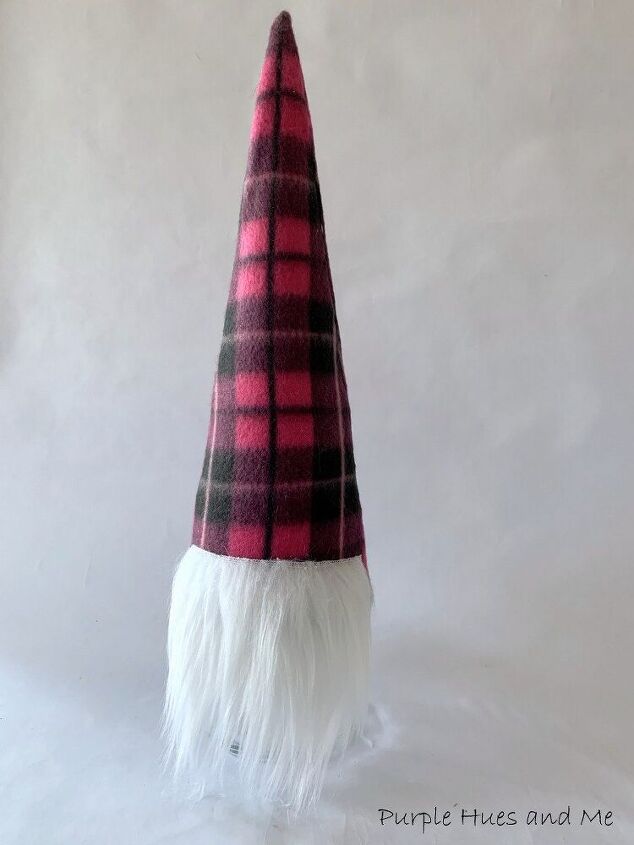
Attach the chenille stem around the base of the hat for trim and center the wood ball under the trim for the nose.
Looks perfect to show off your favorite holiday treats or give as a gift for family & friends!
DIY Christmas Decorations
Resources for this project:
See all materials


Comments
Join the conversation
-
Great idea! Thank you.
-
That is the cutest!! How clever are YOU?!


Frequently asked questions
Have a question about this project?