


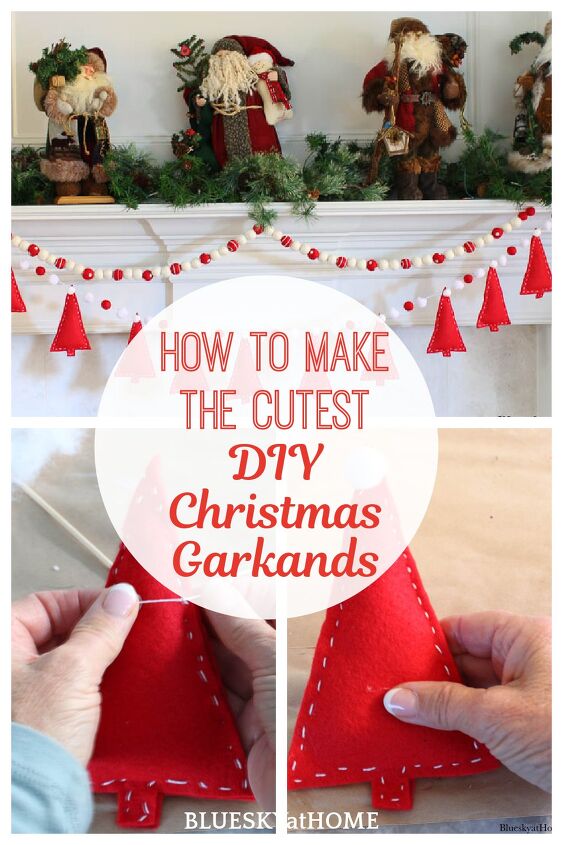
How to Make the Cutest DIY Christmas Garlands

Garland doesn’t always look like green branches, It can be all colors, materials, shapes, and sizes. I’m going to show you how to make the cutest DIY Christmas garlands.
The idea for these DIY Christmas garlands came from one tiny little thing ~ felt balls. Then the idea grew to felt and embroidery thread. The idea for creating cute garlands grew and grew.
Have you ever worked with felt and felt balls? They are such easy materials to use and readily available online or at your local craft stores.
I actually created my first garland using felt last Valentine’s day when I made a heart garland. If you can make a heart garland, then why not a Christmas tree garland?
Cutest DIY Christmas Garlands: Mix and Match
What do I love about these Christmas garlands? You can change them up, mix them up, or hang them together or separately.
You can change the colors to match your Christmas color theme. Mix up the patterns. The possibilities are endless.
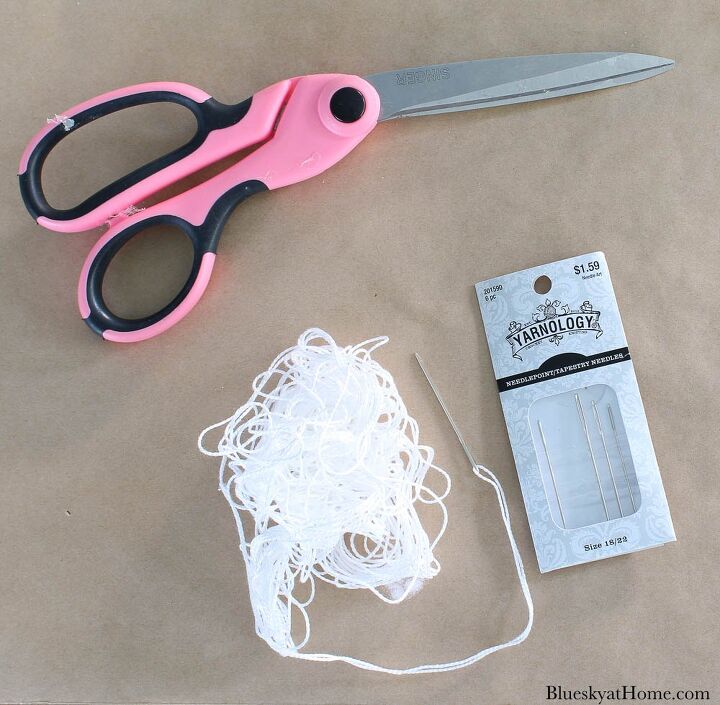
SUPPLIES FOR 2 DIY CHRISTMAS GARLANDS WITH FELT AND FELT BALLS
This post contains affiliate links to products used in this project. If you should order anything from this site, I may receive compensation, but you don’t pay a penny more.
These two cute DIY Christmas garlands would be used on our living room mantel. You could also use them on a banister, mirror, or across a chest, a bookcase or headboard.
First, I measured the width of the mantel. You want to know the approximate width of where you are going to put your garland as you are making it.
The great thing about felt and felt balls is that they come in dozens of colors. Felt balls come in different sizes, too.
My color theme for Christmas this year is red and white, so I ordered the cutest red felt balls with designs from Etsy. Red felt is available online and at your local craft stores.
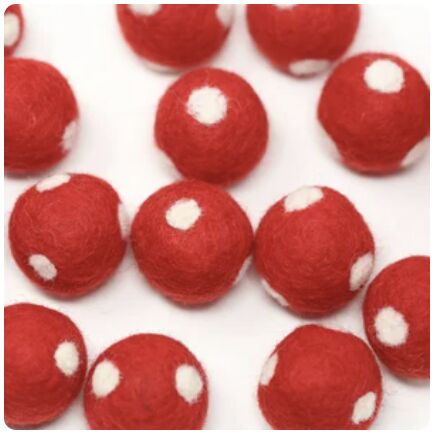
- two batches of felt balls in your design of choice ~ these felt balls were red in polka dots and swirls
- felt balls in secondary color ~ mine was white; I also ordered a package of red felt balls.
- felt in your color of choice* ~ mine was red
- embroidery thread* ~ I used white
- l large darning needle*
- sharp sewing scissors*
- cardstock or cardboard to make tree template*
- glue* ~ can be fabric glue, but any good glue will do
*denotes items I already had on hand
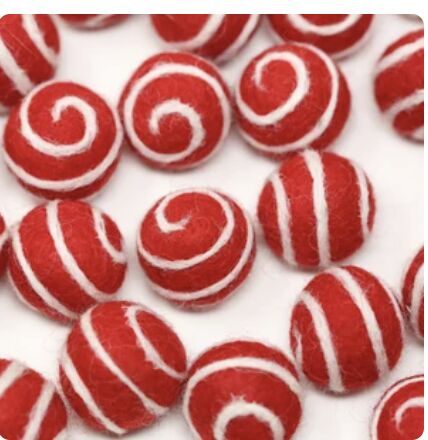
Red felt balls with white swirls.
MAKING THE FELT BALL GARLAND
Step 1 ~ Gather your supplies. I put the three felt balls ~ polka dots, swirls, and solid white ~ in different bowls.
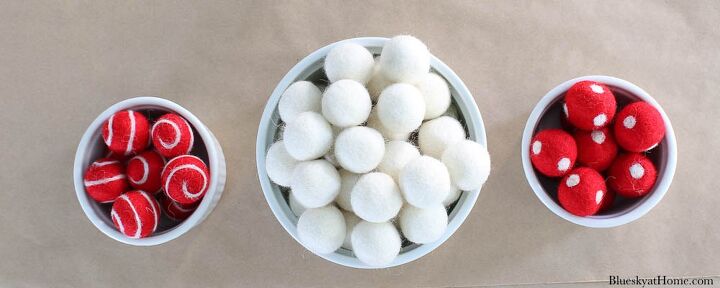
Step 2 ~Decide the pattern you want for your felt balls. I had 60 white felt balls and 10 each of the polka~dot and swirl felt balls. I decided to use two felt balls between one of the polka~dot and swirl red balls.
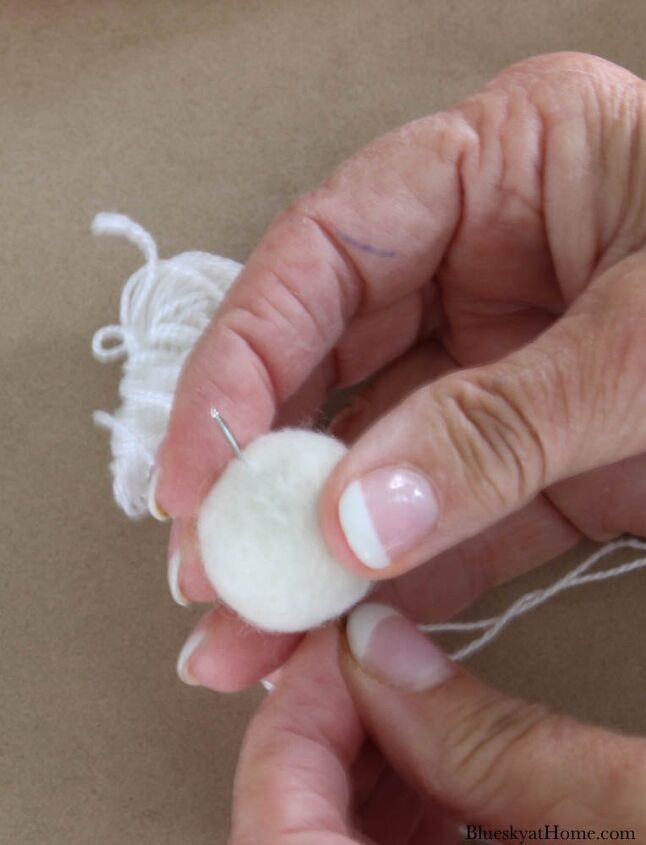
Step 3 ~ Thread your embroidery thread through your large darning needle. Don’t cut any thread. You will continue adding felt balls onto the thread until you have the length you need.
Step 4 ~ Start your garland by pushing the needle through the center of your first felt ball. I started with two white felt balls. You may have to push a bit to get the needle through the felt ball, but it actually is very easy.
Pull the needle and thread through the felt ball and push it back a foot or two. You want to have plenty of slack for adding more balls.
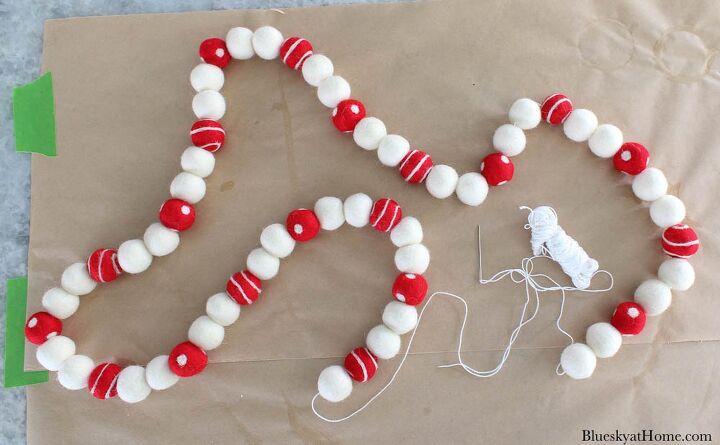
Step 5 ~ Keeping the pattern that you want in mind, continue threading the needle through the felt balls. Slide them back toward your first ball as you go. My pattern was two white balls ~ one polka~dot ball ~ two white balls ~ one swirl ball.
I kept going until I used all my red felt balls. I used a total of 20 red felt balls and 42 white balls. (Yes, I know I’m one white felt ball short in this picture, but I did add it.)
This DIY Christmas garland was so easy. I made it one Sunday afternoon. It took me about 15 minutes.
Step 6 ~ Hang your cute DIY Christmas garland. Don’t cut off the embroidery thread until you know how much swag you want and the width of your mantel or wherever you are going to hang the garland.
TIP: It definitely helps to have another person hold up one end while you adjust the amount and swag and adjust the balls.
I’ll show you the finished garland after I show you how to make the Christmas tree garland.
HOW TO MAKE THE CHRISTMAS TREE GARLAND
Since I made a Valentine’s garland last February, I have wanted to make a Christmas tree garland. I estimated that I would need ten trees. That meant I needed 20 Christmas trees.
Instead of buying red felt, I decided to use felt I already had on hand. A few years ago, I made eight red felt placemats. I thought I would just use a couple of them to make the Christmas tree garland.
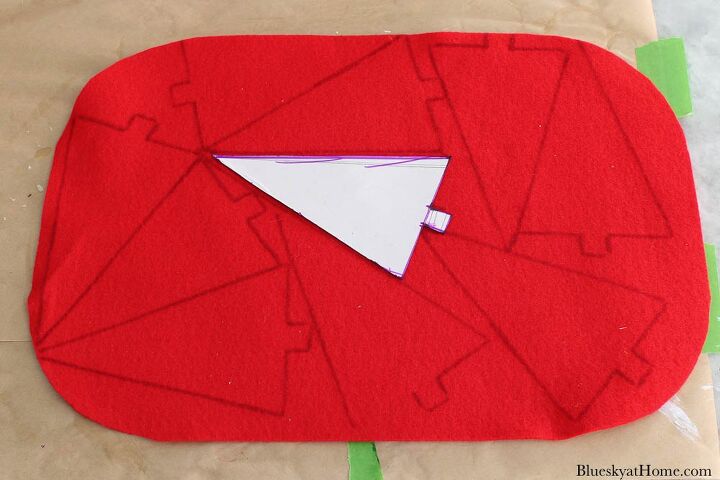
Step 1 ~ Using a piece of cardstock or cardboard, make a template for your Christmas tree. I used a ruler to measure about 7 inches on each long side. Two ends met to form a point.
Then I angled the lines to make a simple Christmas tree. I drew a line with the ruler across the bottom to make the shape of a tree. Then I made a small trunk by hand.
Step 2 ~ Lay your template on top of the felt, starting at an edge. Trace around the tree template. I used a Sharpie. Line each tree up against one another along the straight lines. I got 10 trees ~ barely on each plate mat.
Step 3 ~ Cut out each tree with sharp sewing scissors. They don’t have to be perfect. You can trim any extra felt when you place two felt trees together.
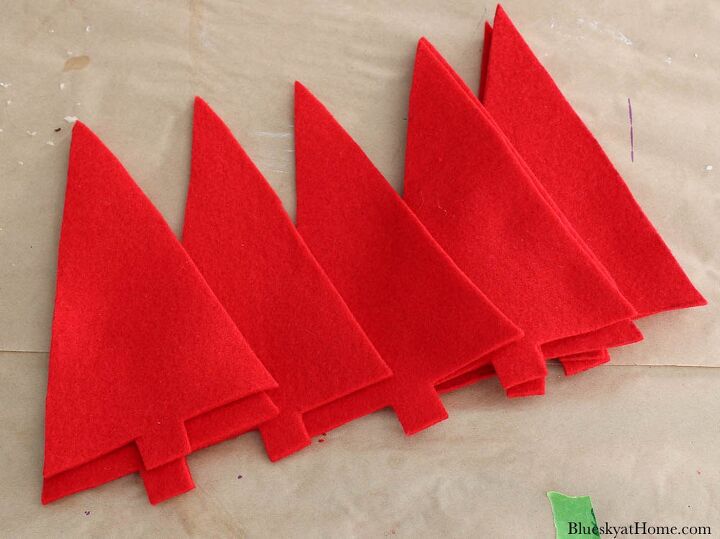
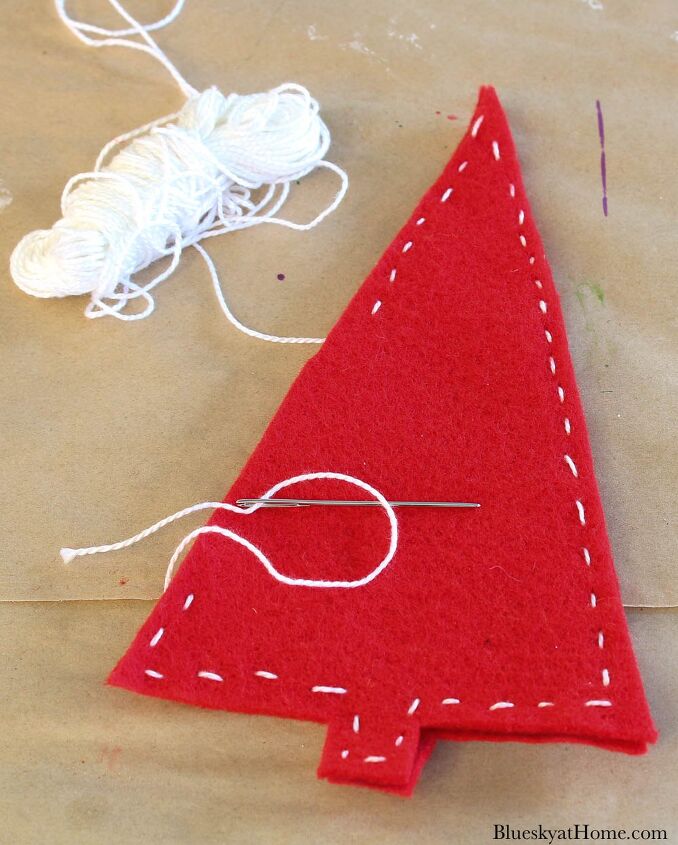
Step 4 ~ Thread your embroidery thread onto a darning needle. On the back side of the tree, start sewing the two pieces of felt together. You can use a smaller one than what you used for the felt balls. You could use a blanket stitch, but I just used a running 1/4~inch stitch. Again, it doesn’t have to be perfect.
Don’t cut the embroidery thread from the embroidery bundle.
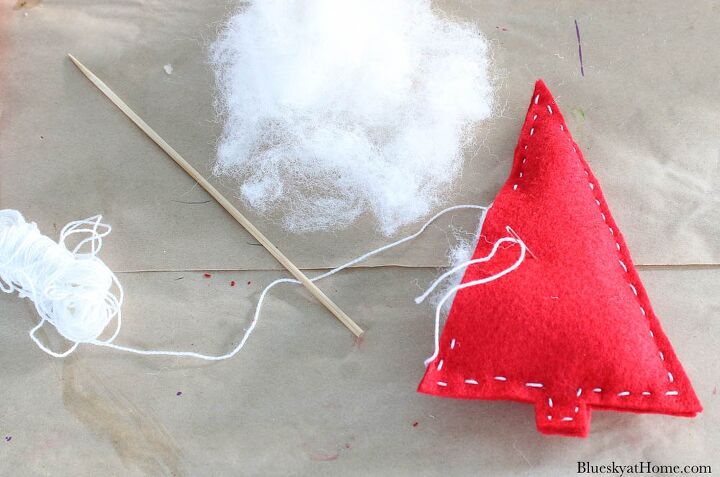
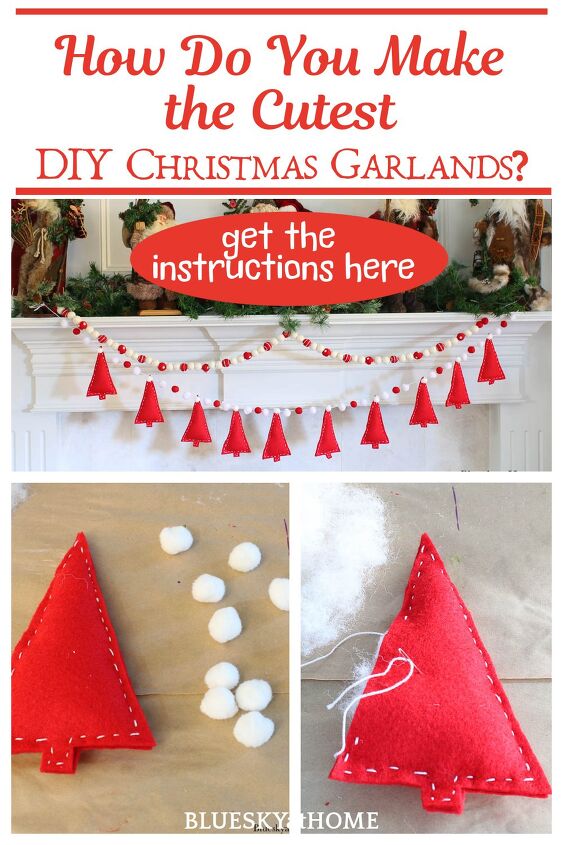
Step 5 ~ Stuff small pieces of batting into the felt Christmas tree, pushing it into the points. It helps to use the blunt end of a wood skewer.
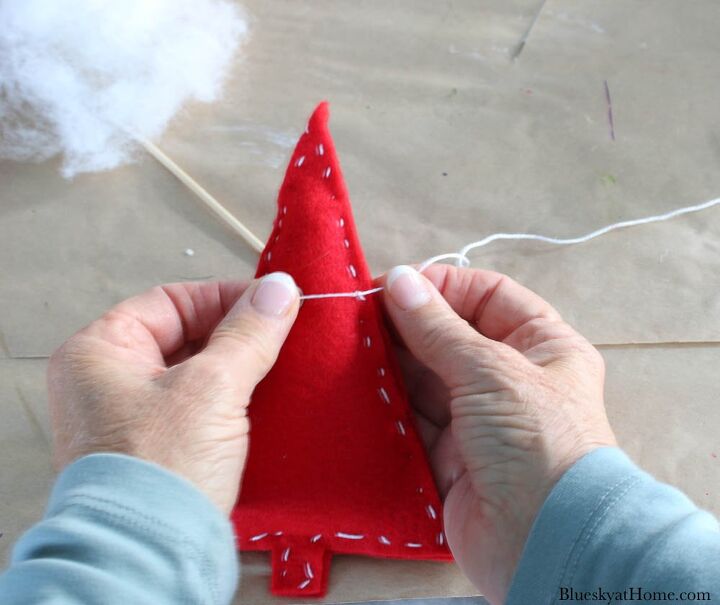
Step 6 ~ When you have finished stuffing, you can now tie off the thread on the back side. Cut off the excess thread.
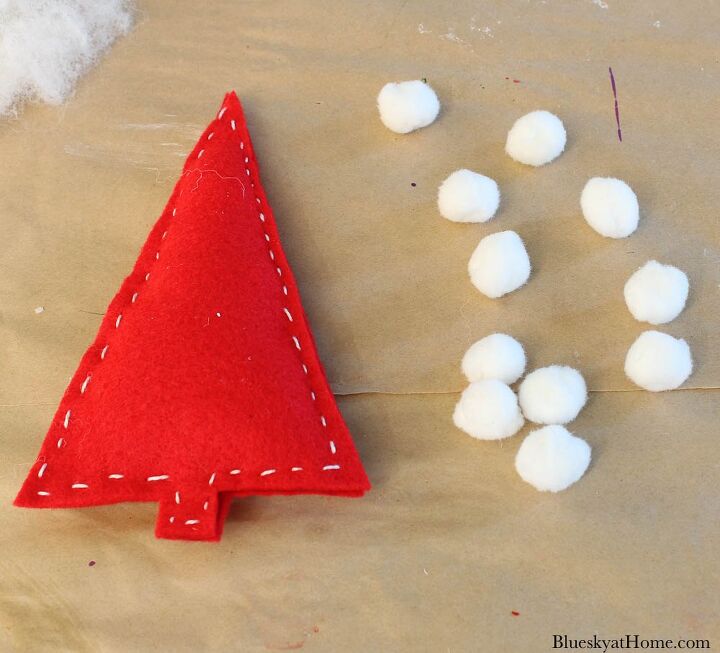
Step 7 ~ I wanted to use a little pom~pom as a star. I had some trim with white pop~poms on hand. I cut off ten pom~poms.
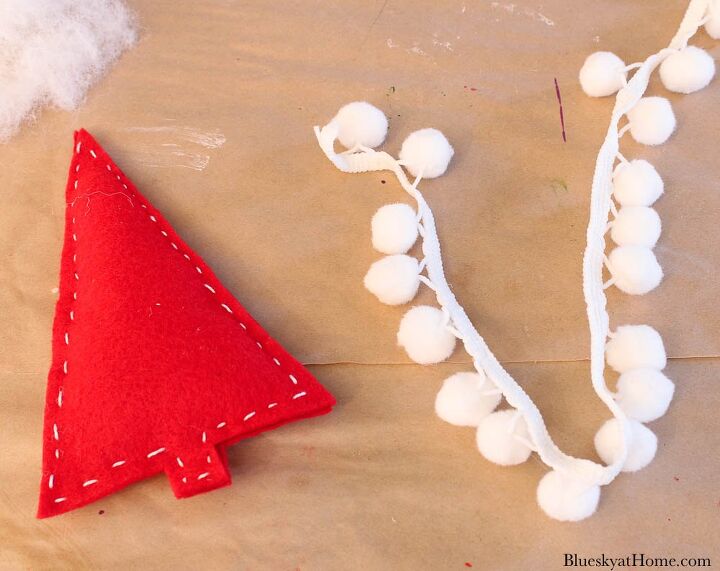
Felt Christmas tree with pom~pom trim.
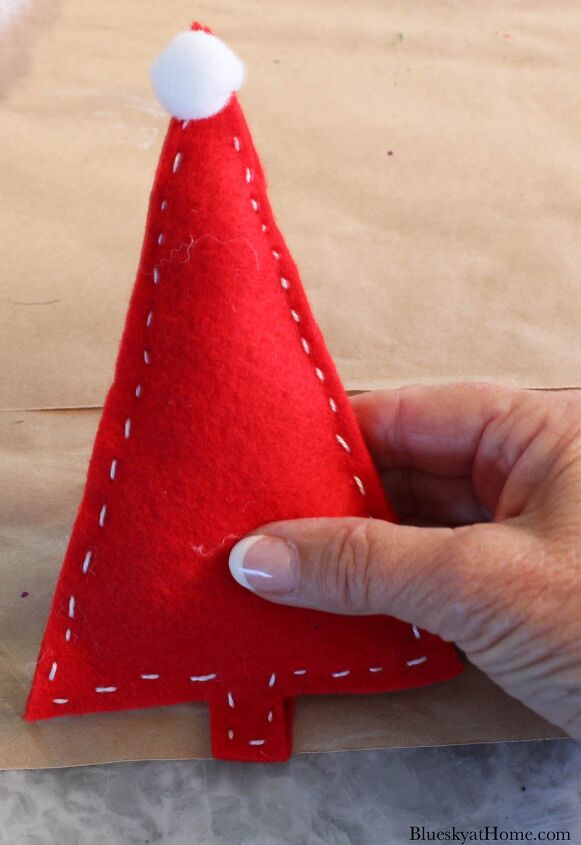
Step 8 ~ Use your glue to attach the pom~pom to the tip of the Christmas tree. You could use the felt Christmas trees in different ways, but we are going to make them into another Christmas garland.
Step 9 ~ Thread your large darning needle again but don’t cut off any length. Just as you did for the felt ball garland, decide how you want to mix in the red and white felt balls.
I used an alternating pattern ~ white, red white ~ between each felt Christmas tree.
Follow the same instructions for this garland as you did for the felt ball garland.
The embroidery thread will easily go through the top of the felt Christmas trees. I put my needle just below the white pom~pom.
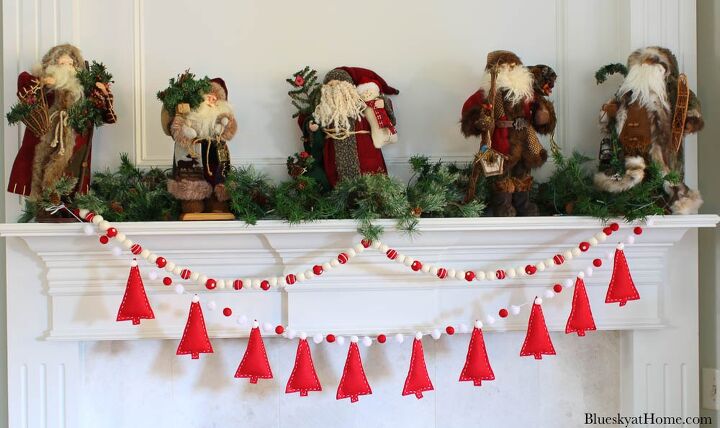
Step 10 ~ Either hang your Christmas tree garland separately or with the felt ball garland. I chose to combine both DIY Christmas garlands together on the mantel.
THE CUTEST CHRISTMAS GARLAND WITH FELT BALLS AND FELT CHRISTMAS TREES
Here is how our mantel turned out with the two garlands.
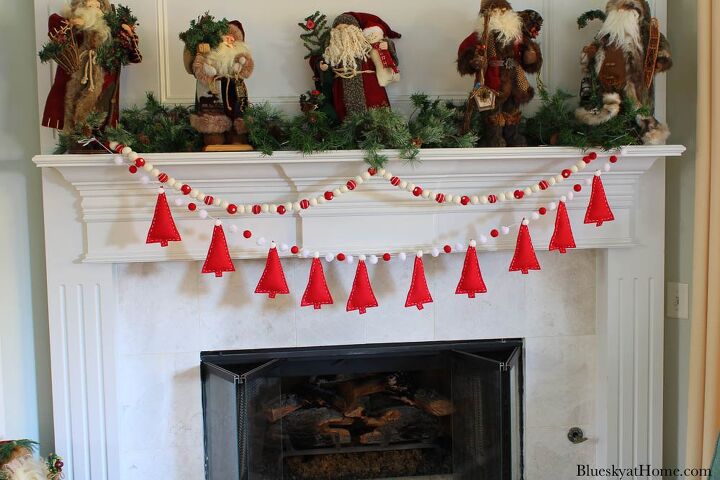
If I were doing this garland again, I would probably switch the order of the red and white balls between the Christmas trees. I still love the result. The red and white garland against the white of our fireplace surround adds a great pop of color for the holidays.
If you have kids you can trust with a needle, then this would be a great project for them. I hope you love how cheerful these DIY Christmas garlands look. Remember that you can use any colors you like.
Here are other Christmas projects:
- Dollar Tree Christmas Candles
- Dollar Tree Plaid Christmas Chargers
- How to Make Green Glitter Christmas Trees
- Ideas for a Red Plaid Christmas Table
If you have all your decorations for this year done, then please PIN this project on your Christmas boards for next year. You’ll be ahead of the game.

Comments
Join the conversation
-
Love the way you did this I’m gonna try it!!! Thanks for the tutorial
-
Love this! I’m not an experienced craft person at all, but can certainly use a needle & thread. Will definitely try this for Christmas! Making something at Christmastime always helps get me into the Joy of the Season! Thank you so much for this idea!


Frequently asked questions
Have a question about this project?