


How to Make Your Own Stencil & Flannel Christmas Sign
What better way to ring in the Christmas season than with an up-cycled plaid flannel sign? And it's easy when you know how to make your own stencils.
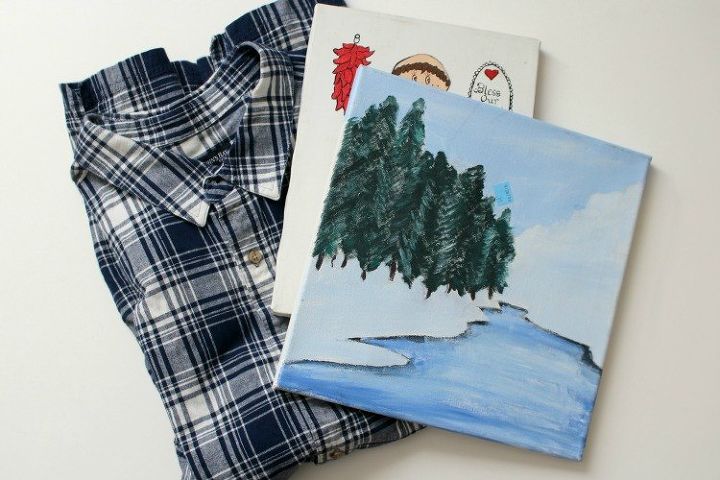
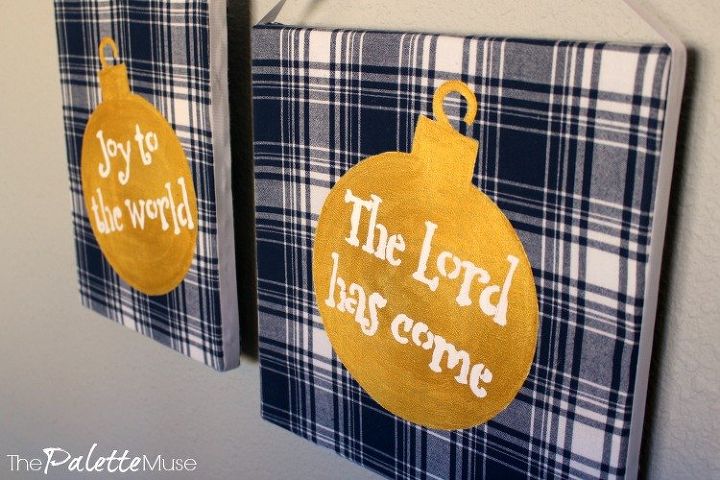
For the sign, you'll need a large plaid flannel shirt and two thrifted canvases or frames.
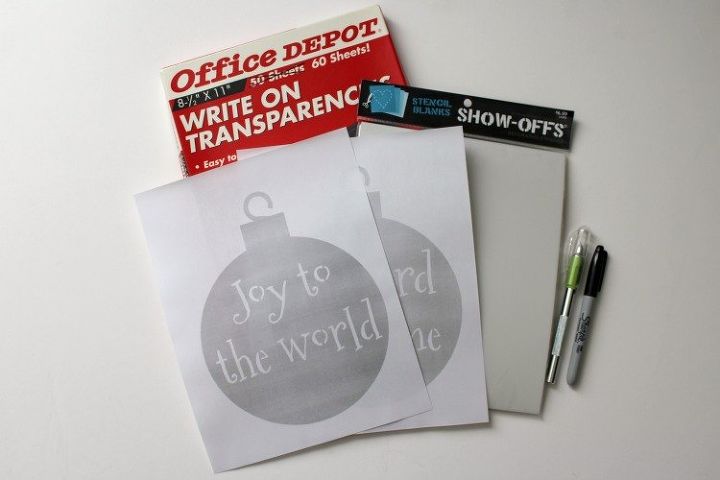
For the stencil, you'll need two transparencies or stencil blanks, a sharpie, a craft knife or X-Acto, and a design to trace.
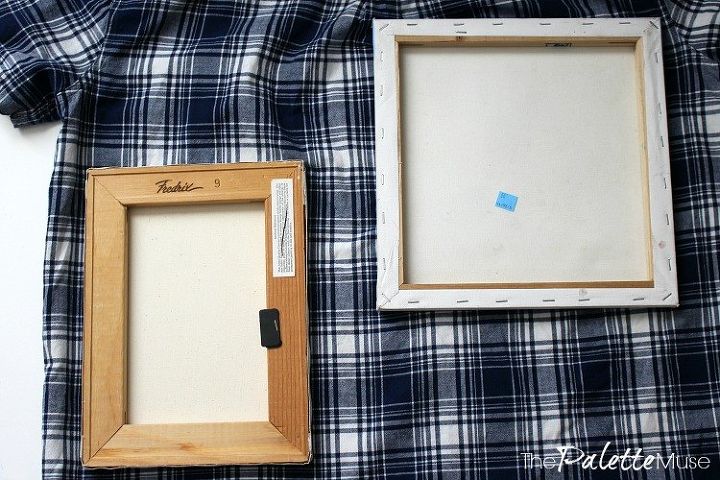
Make sure your flannel shirt is large enough to cut out the shapes of the canvases, plus two inches on each side.
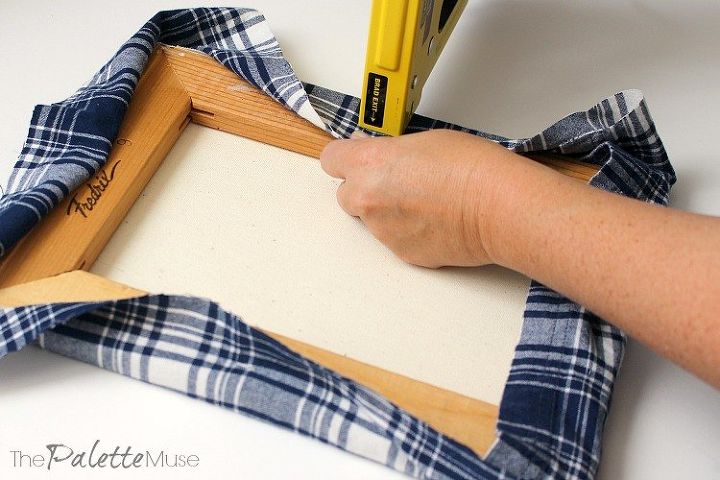
Use a staple gun or craft glue,to stretch the flannel on each canvas frame.
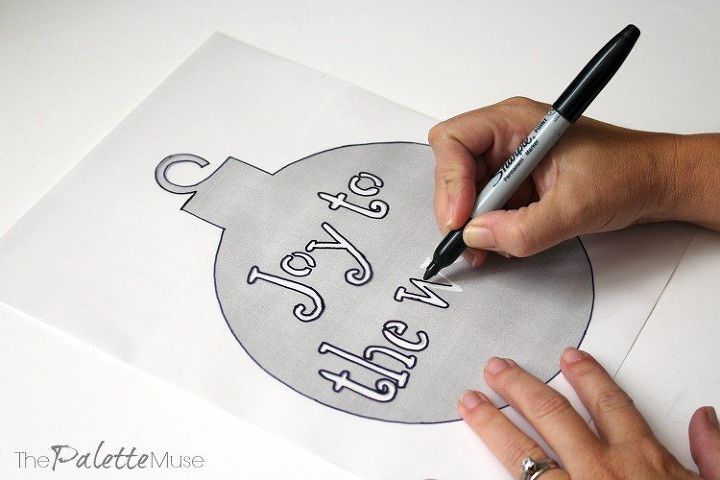
Trace your design on the transparency page with a sharpie. For the free printable of this project design, visit my blog post.
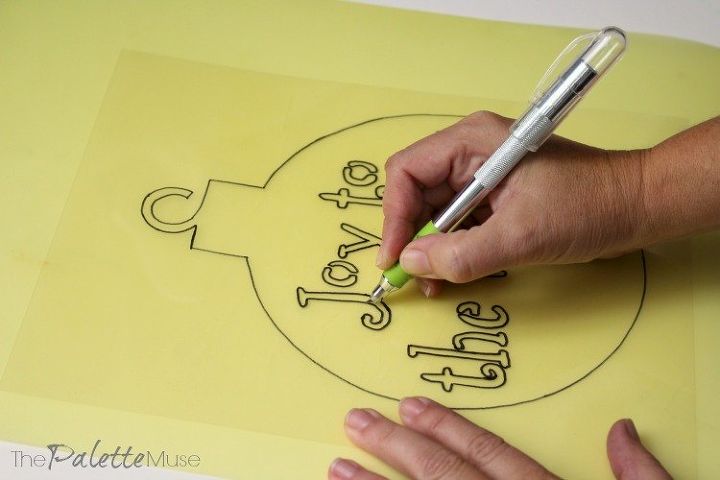
Using the craft knife, cut out the stencil design.
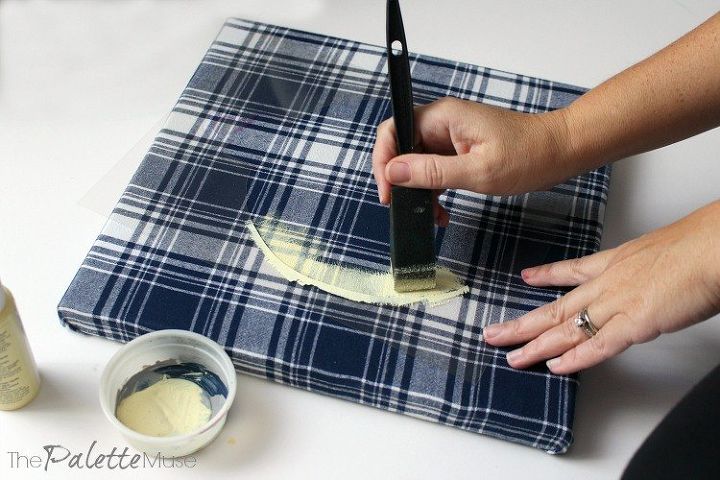
First stencil the background.
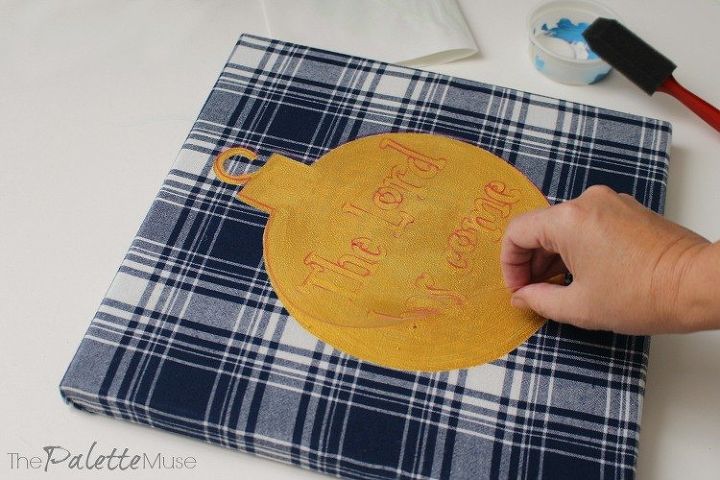
Then add the letters stencil on top in contrasting paint.
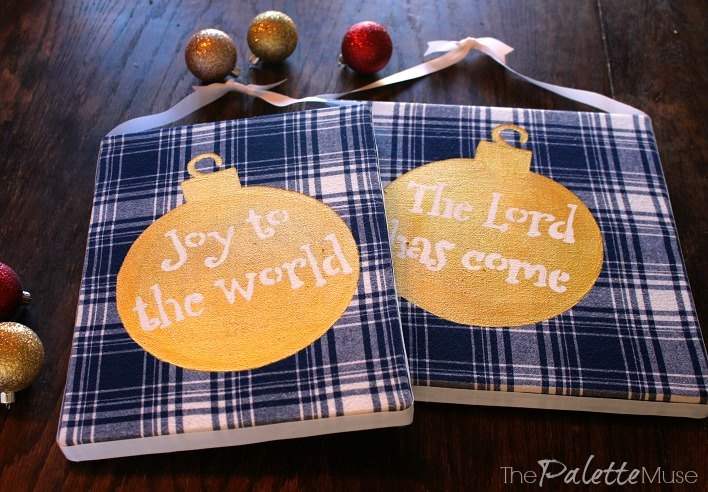
Add a ribbon around the edge of the frame for hanging on a hook, or simply hang from a nail on the wall.
For lots more tips and tricks on making the frames and the stencils, check out the full blog post.
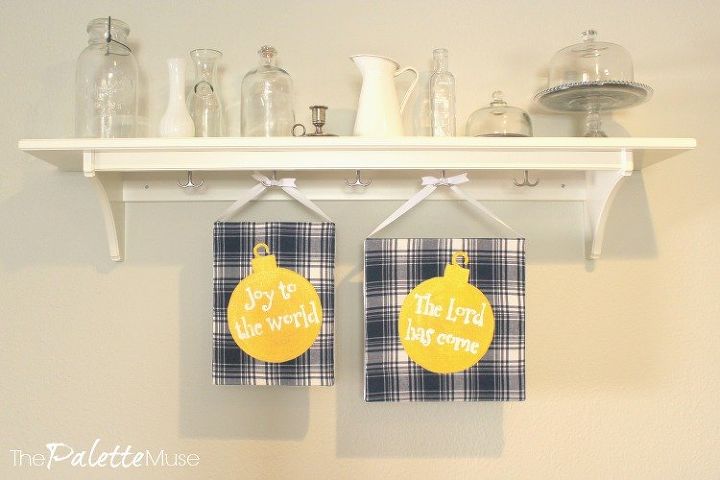
Add a little Christmas cheer to your home for less than $10!

Want more details about this and other DIY projects? Check out my blog post!
Comments
Join the conversation
2 of 35 comments
-
love it!
-
Hey this is great my teen son just grew out of his green patterned Flannel shirt, this would look cool with Christmas designs.


Frequently asked questions
Have a question about this project?