


Light Up Ornament Tree on Canvas

9 Materials
$50
4 Hours
Medium
I know a lot of people out there are allergic to pine and can't get real trees for Christmas, and yes I know there are a lot of great looking fake options, but why not try something different? If you have some spare ornaments lying around, this project is the perfect alternative! This tree made from ornaments not only lights up, but is set on a fancy framed canvas and can be placed anywhere around the house or even hung on the wall! This project is super simple and can be customized to the colors of your choice!
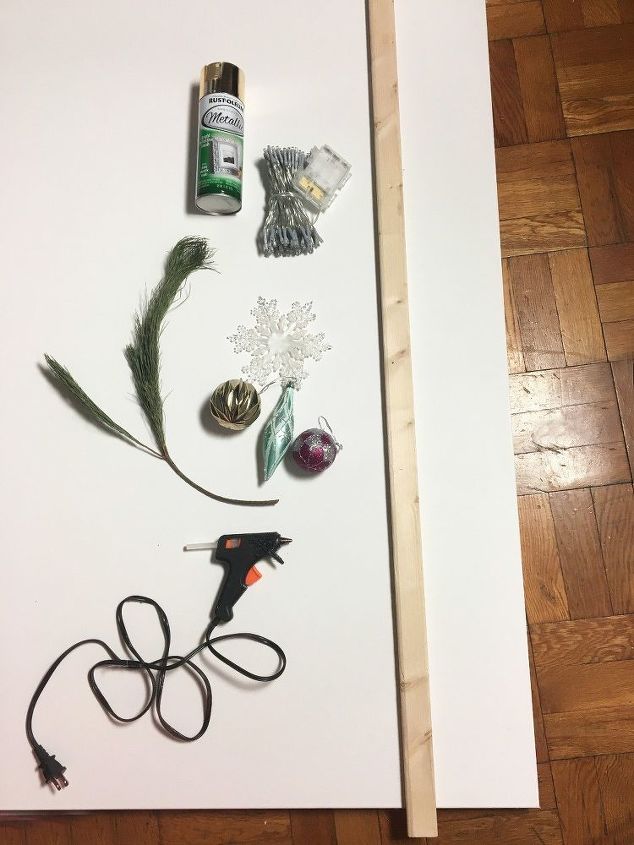
SUPPLIES: -Variety of Ornaments -Hot Glue -4-5 1"x2"x8' Wood Slabs -Battery Powered Mini Lights -Large Canvas -Screws -Plastic Wood (not pictured above) -Wood Glue
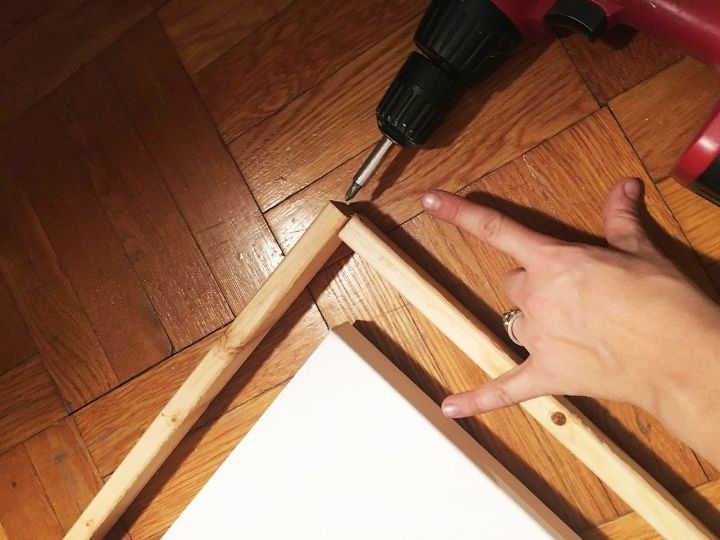
STEP 1: Build the canvas frame First we need to build the frame for the canvas. Initially you will need to cut out wood pieces to surround the canvas. The top and bottom can be cut to the exact width of the canvas while the sides need to be cut a good 1.5-2" longer than the length, so that the ends rest even with the wood of the top and bottom pieces. Once all your pieces are cut, place them around the canvas and make sure that they all fit snugly around the canvas. Screw the wooden pieces together at each corner.
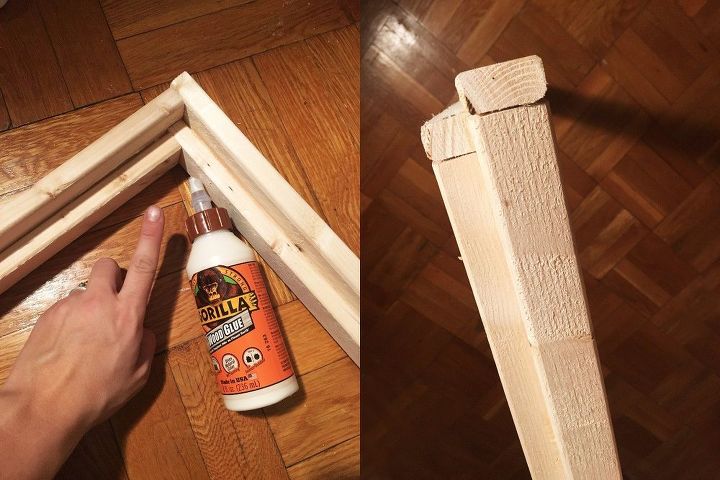
STEP 2(Optional): Build a second frame for a fancier look I wanted the frame to be a bit fancier so I decided I would cut out another 4 pieces of wood to frame the first frame I made. I cut each piece to fit snugly in the same manner as I made the first frame, but then offset the frame so it rested higher than the first. You will glue the second frame to the first about 1/4" off and then screw in each corner of the frame to secure it in place. (The picture on the right is what the frame will look like from the side as it is offset)
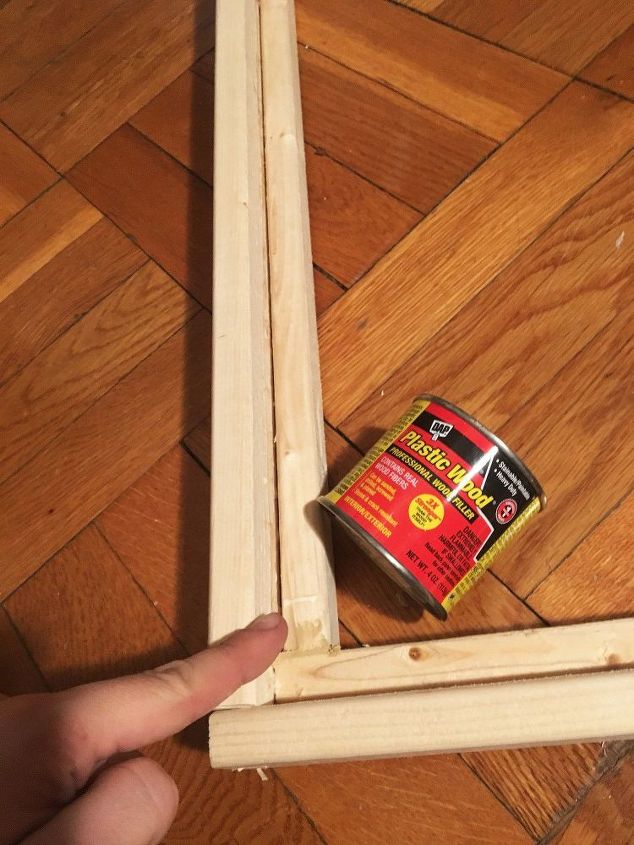
STEP 3: Fill in any cracks or visible screws When you are finished putting the frame together you can fill in any cracks or visible screws with some plastic wood. If you have never used this stuff you really should! It is crazy! It is like a putty and fills the wood in and looks so natural once it is dried and sanded.
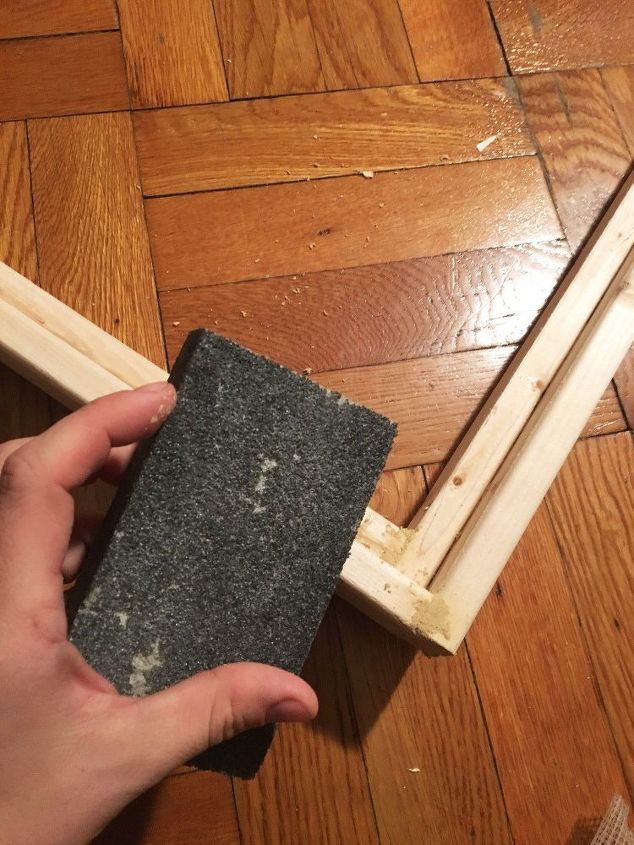
STEP 4: Sand all the rough edges Once the plastic wood has dried sand any roughness from it's surface.
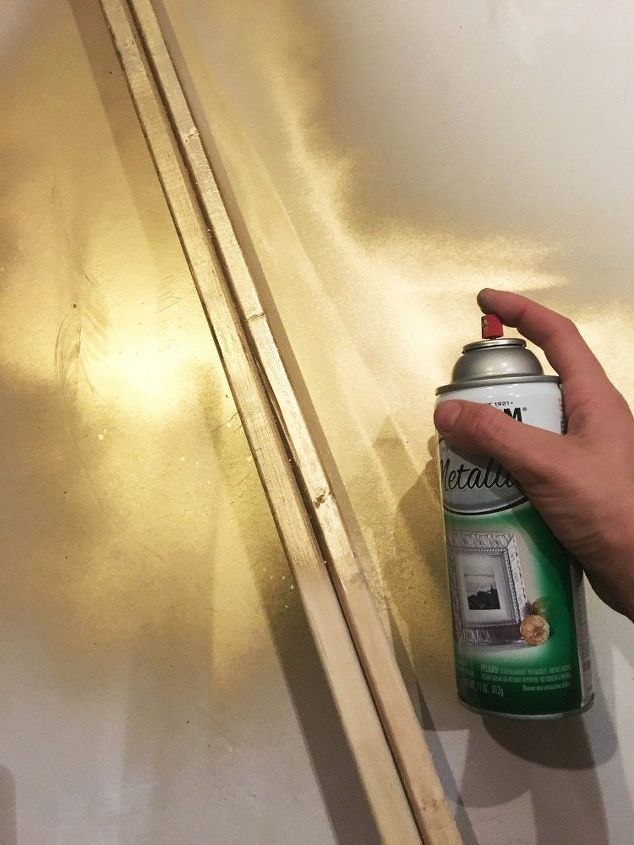
STEP 5: Spray paint your frame Now to dress the frame up just spray paint it in the color of your choice. I went with a nice Christmasy gold!

STEP 6: Fit your canvas Once the paint dries simply fit your canvas within! You can screw the canvas in place by drilling through the frame of the canvas and into the homemade frame. I decided to wait on screwing it into place, since I may reuse this frame, but it seems to be staying put just fine as the frame fits so well around the canvas.
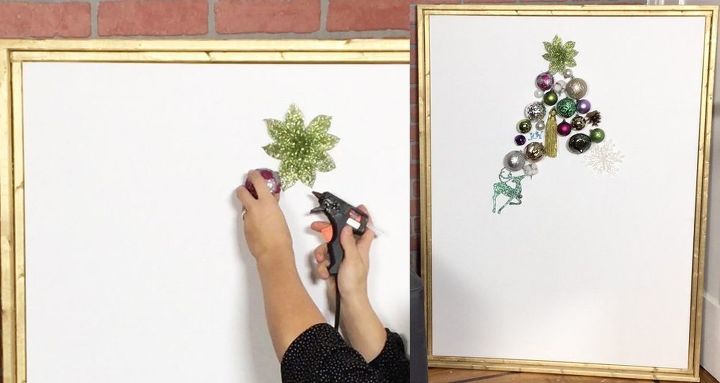
STEP 7: Decorate your canvas Now it is time to get decorating! Grab all your ornaments and start hot gluing them to the canvas from the top down. Remember to glue the ornaments in a tree shape as you go. If you need to draw a pencil triangle on as a reference guide beforehand, go for it!
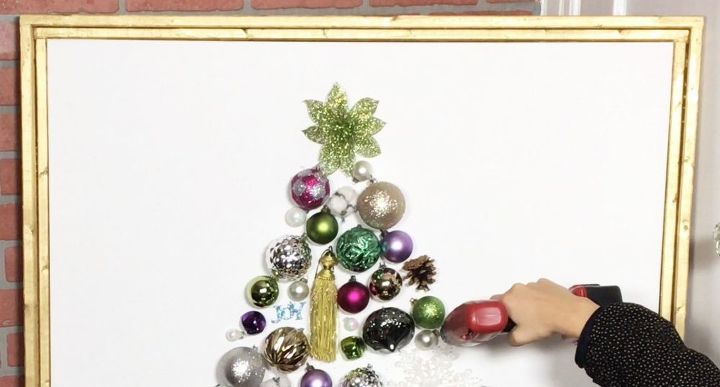
STEP 8: Drill holes between the ornaments Once all your ornaments are in place grab a drill and drill holes in all the pockets between the ornaments.
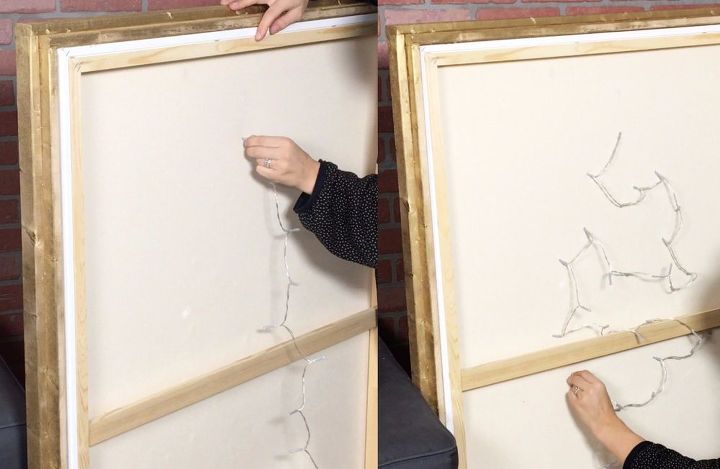
STEP 9: Add the fairy lights Turn your canvas around and feed the bulbs of your battery powered lights through the holes so they can be seen from the front.
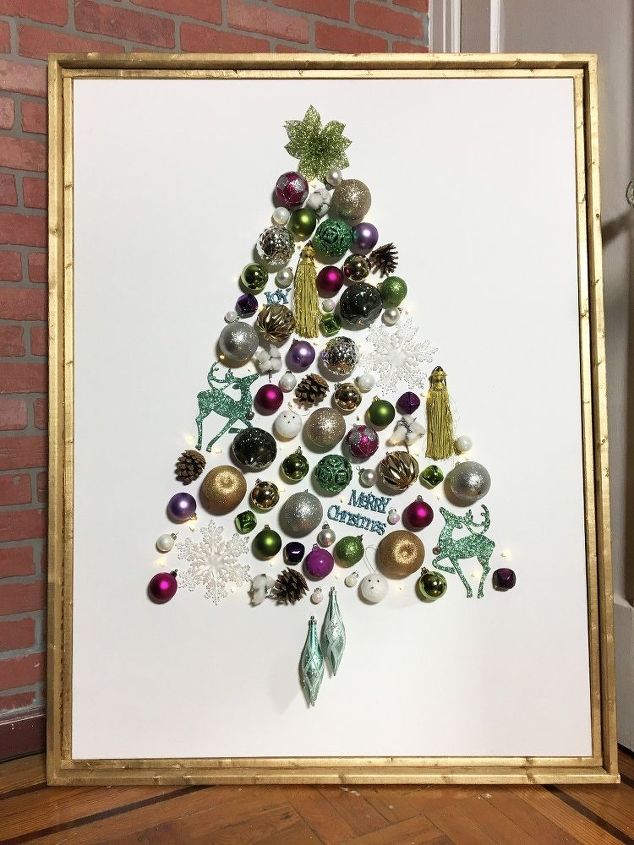
Look how fun and festive this thing is! You can clearly make this in a million ways with different colors and sizes, or add some ribbon and garland or whatever you want!
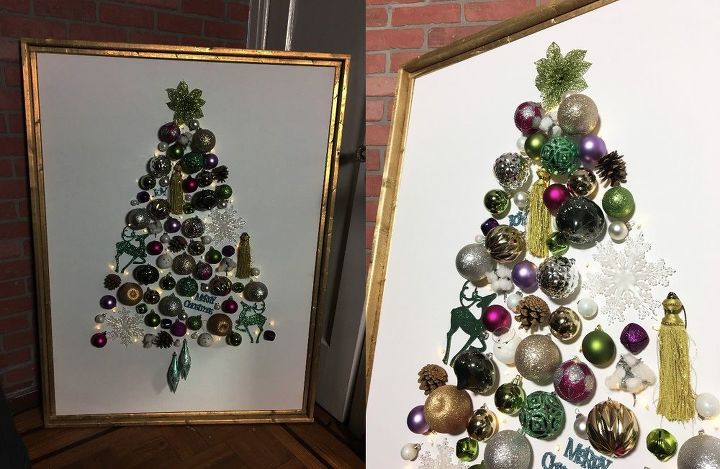
The lights give it some extra charm for sure, but this thing looks great with or without them!
{
"id": "4094661",
"alt": "",
"title": "",
"video_library_id": "8024",
"thumbnail": "https://cdn-fastly.hometalk.com/media/2017/07/31/4094661/light-up-ornament-tree-on-canvas.jpg"
}
{
"width": 634,
"height": 357,
"showRelated": true,
"noautoplay": ""
}
Resources for this project:
See all materials


Any price and availability information displayed on [relevant Amazon Site(s), as applicable] at the time of purchase will apply to the purchase of this product.
Hometalk may collect a small share of sales from the links on this page.More info
Comments
Join the conversation
2 of 163 comments
-
Hand down best tree decoration/alternative tree ever. Every element is Christmas. Those made from paper, pallets, tulle, popsicle sticks are tacky and scream not interested but feel obligated to do something. Your choice of elements spit on. I really like the little Merry Christmas. Thanks for sharing a festive project
-
Absolutely beautiful! Brilliant idea and great style.


Frequently asked questions
Have a question about this project?
Were the bauble ornaments cut in half? I can’t tell.
you do not give the measurements for the second frame. I believe the wooden slabs for the second frame should be cut longer, but by how much?