


Lighted Christmas Village House

by
Michelle
5 Materials
$5
15 Hours
Medium
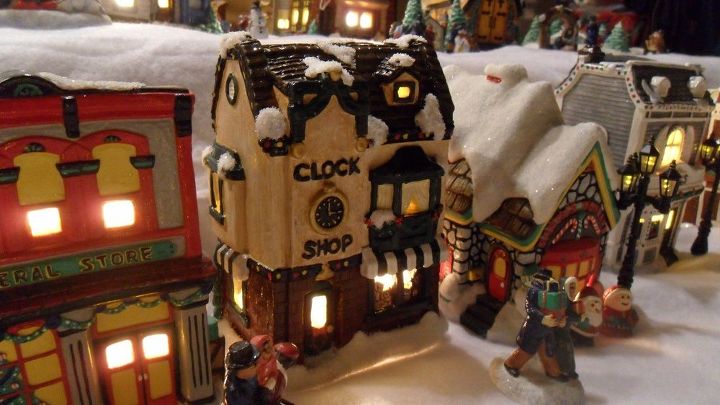
Christmas has always been my favorite holiday. Clear back in 1984 I saw kits to paint your own village house and I just had to try it! I bought the farmhouse and got to work painting it. I had never done any craft like this so there was a learning curve with the different painting techniques. I have added to my village over the years and now I have 23 buildings, a skating pond, toboggan run, villagers, a covered bridge, gazebo horse drawn sleigh etc. All of which I have painted myself :) This year I added a "Clock Shop" to my village.
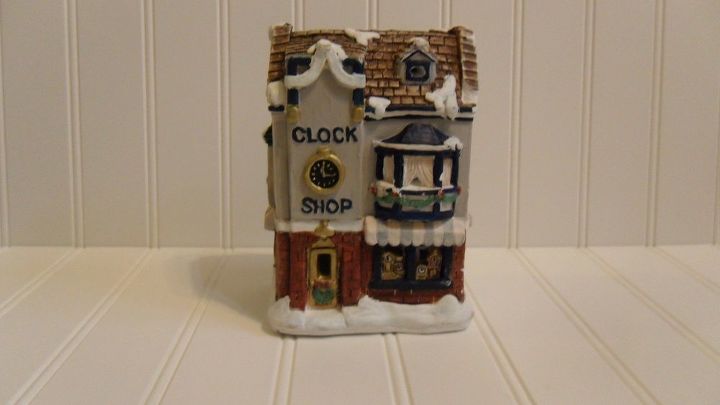
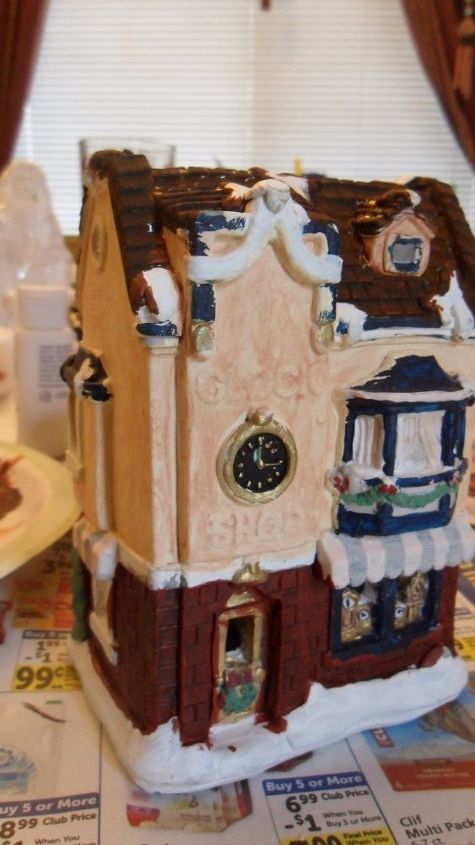
Most of my buildings were brand new in a kit form with the paints, glaze, glitter and instructions. I can't find the kits anymore, but that's ok as I have been able to find the houses at Goodwill for a fraction of the cost and I just repaint them. Here is the "before" of this years addition.
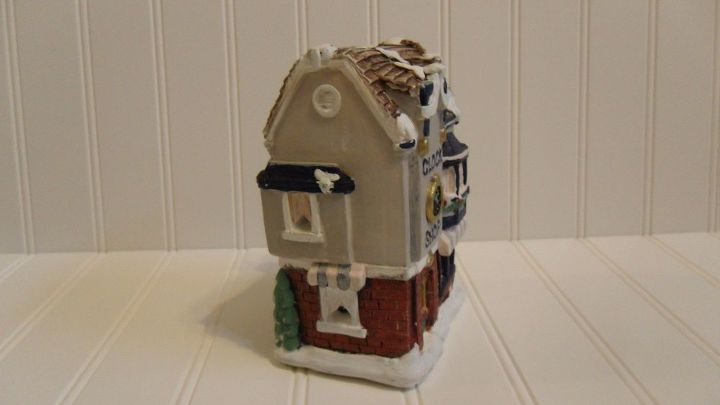
The paint job was pretty rough.
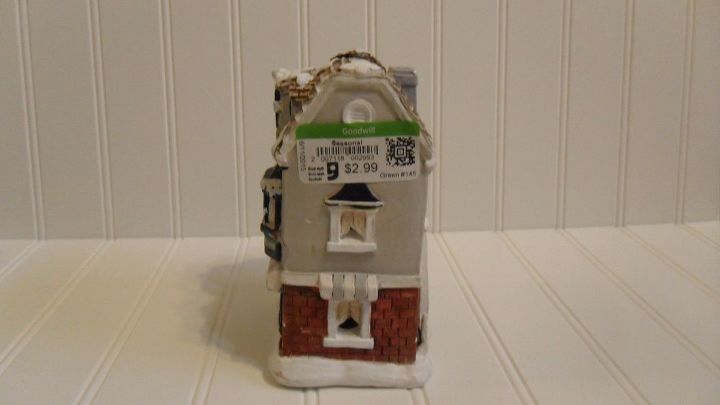
You can see I got a good deal :)
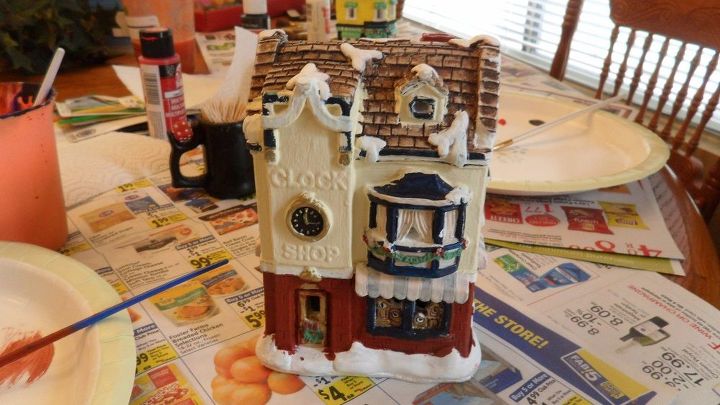
I began by painting the base colors of the biggest parts of the building.
Then I added a little bit of water to brown paint to form a stain and lightly went over the brown roof, tan top half of the building and red brick bottom.
Now onto the finer details. Using a toothpick (yes, a toothpick!) I painted black paint to outline the lettering and paint the eaves and trim around the middle. I painted the awnings and window frames forest green and did a light drybrush of a lighter green to give it depth.
I also dry brushed white on the tan top. After the paint was dry I sprayed a gloss sealer on the whole building.
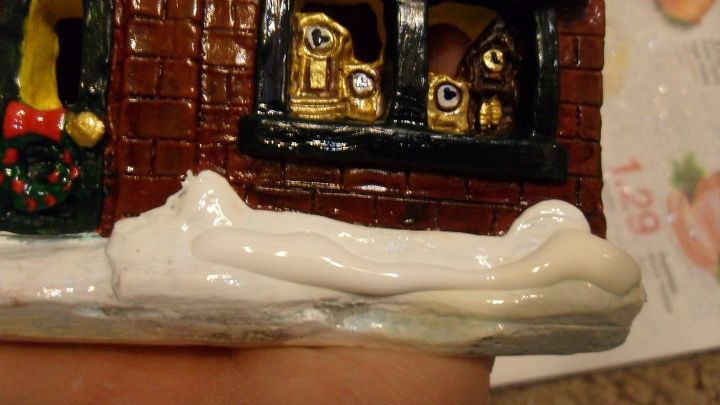
I painted elmer's glue on the white "snow". Using a paintbrush, I spread the glue to completely cover the white.
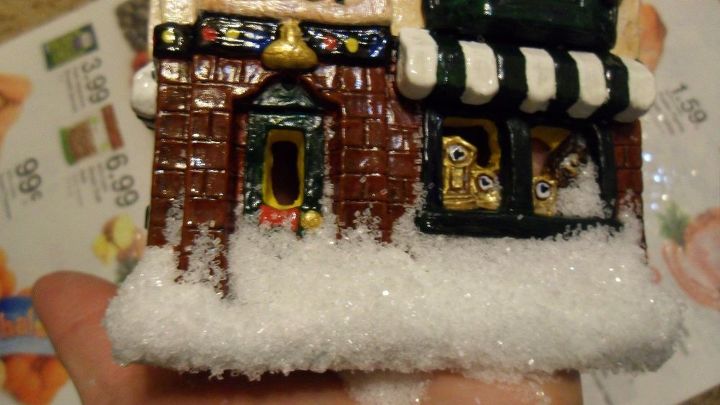
Then I sprinkled a generous amount of white glitter on the wet glue. Do this over a piece of newspaper that already has a fold in it so you can fold it up and pour the spilled glitter back in the container and reuse it. After the glue is completely dry, 30-60 minutes, take a dry paint brush and brush off the loose glitter.
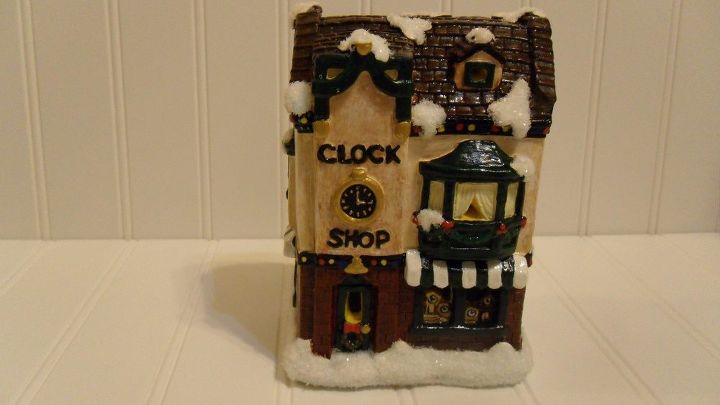
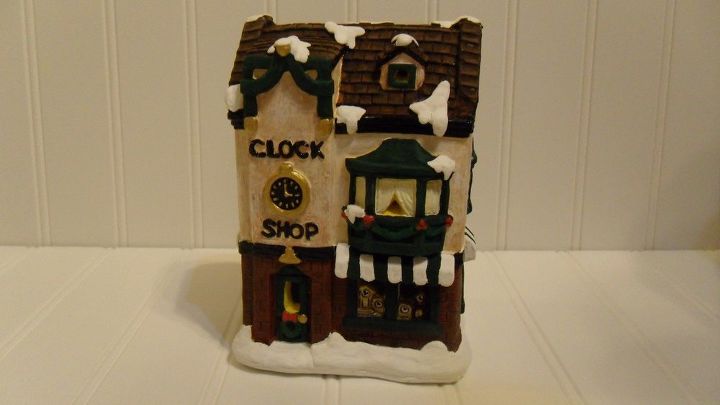
Now your building is complete :) I used a toothpick to paint "lights" around black eaves and trim.
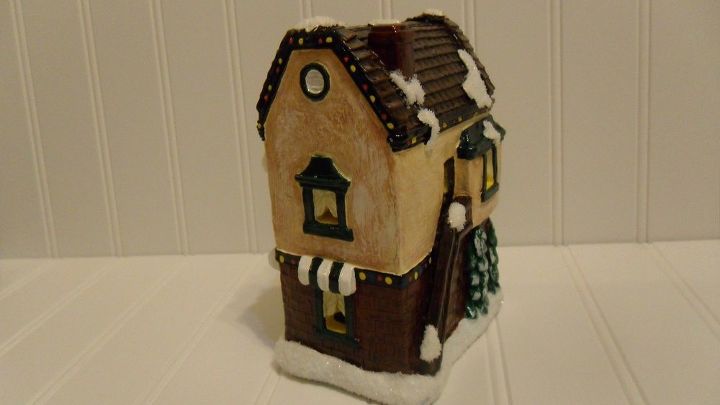
Here is another view of the finished building...
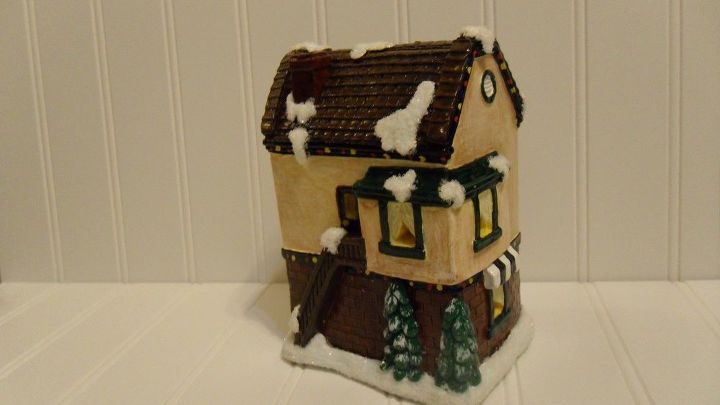
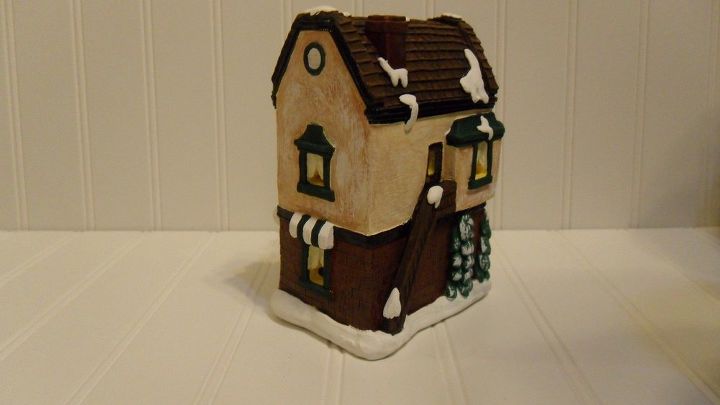
...and the back.
Now it's ready to join the "downtown district" of my village!
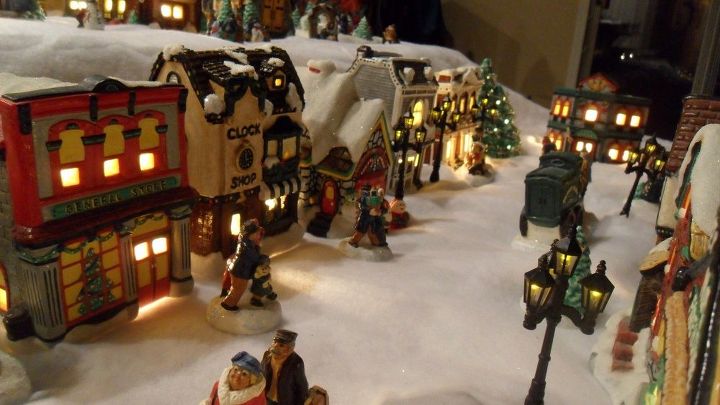
Here is the downtown.
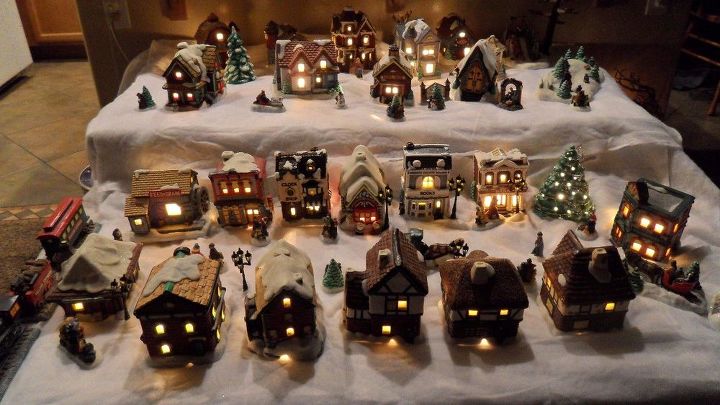
Here is my entire village. The upper level is the residential district with the school house and the church. The skating pond is to the far right in the forest :) My kids are all grown up now, but at Christmas, they still are so eager to see the village...I honestly think it might be the only thing they would fight over after I'm gone :)
Resources for this project:
See all materials


Any price and availability information displayed on [relevant Amazon Site(s), as applicable] at the time of purchase will apply to the purchase of this product.
Hometalk may collect a small share of sales from the links on this page.More info
Comments
Join the conversation
4 of 24 comments
-
I, too, have a village of buildings I painted. I was disappointed when I could no longer find the kits, although I have bought some plaster buildings. I refer to the other buildings for ideas. I love things in miniature!
-
Love it. Didn’t put mine out this yr.. my sister passed away and I just didn’t feel like getting in the mood. But I’m glad you showed yours. My grandkids always love it when I do it so I miss their little faces all lit up when looking at them. Mine are a bigger size and I probably have about 50 plus ponds, ice skating rink, covered bridges, and so much more. Been collecting for yrs.. I guess I could put out a few for the winter months.. I have every business you can think of and several houses too.


Frequently asked questions
Have a question about this project?
Where an you find the bulbs for inside the houses? I got new light fixtures but the bulbs were to big to go inside the houses
thank you
grace