


Little Red Truck DIY

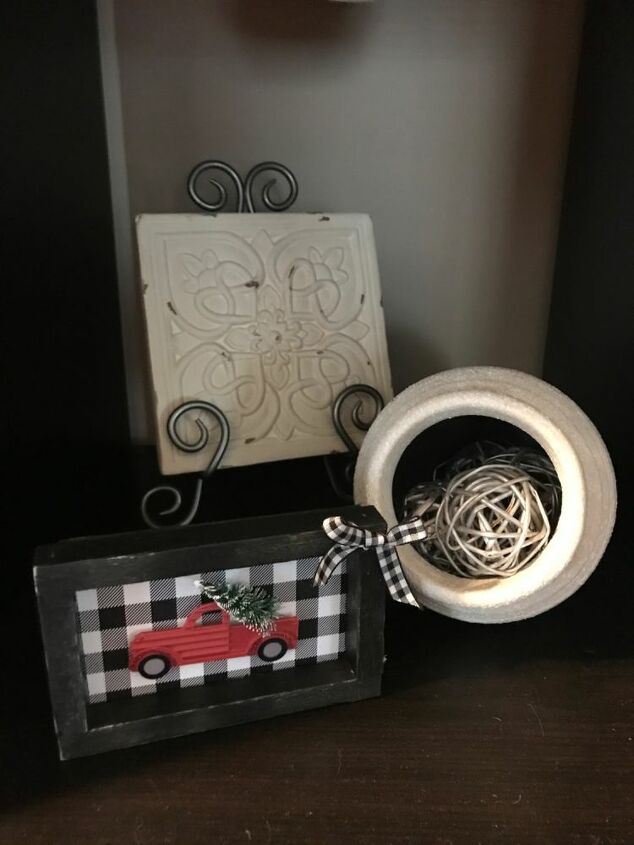
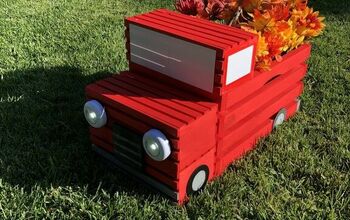
I came across these little (and adorable) red truck ornaments and I decided to grab them, knowing I'd have a use for them. Well, I certainly did. I've been loving the buffalo check fad, and I've been incorporating it into my holiday decor quite alot! I also have been making some cute red truck projects ( check this one out!) for the holiday, so these fit right in! Using some scrap wood and other supplies, I turned these ornaments into adorable little shelf sitters. Here's how!
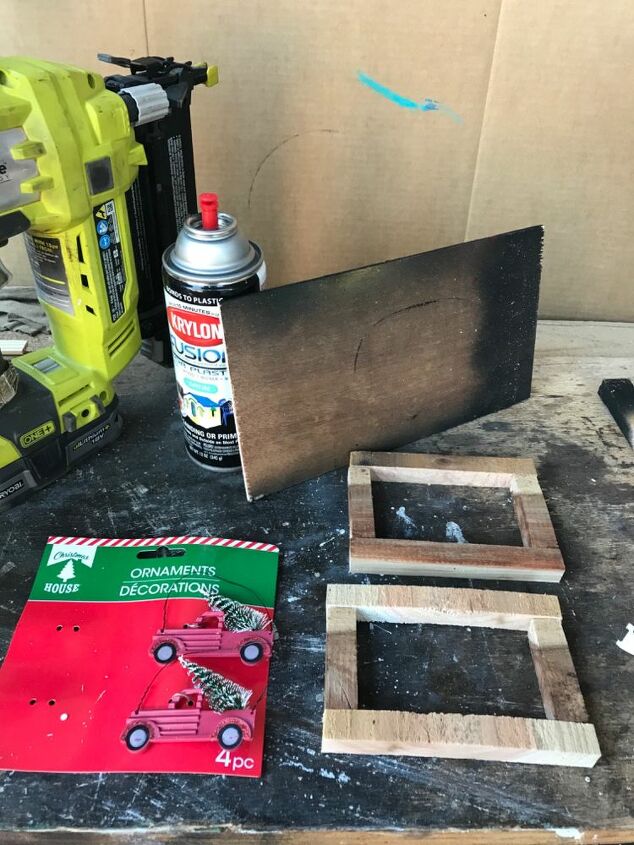
I started with some scrapwood- 5”x3.5”
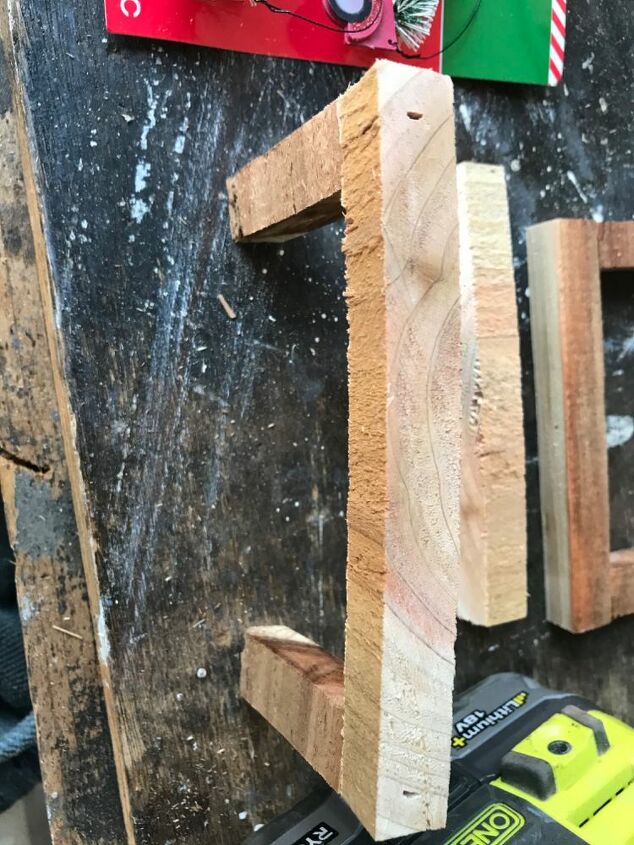
I then built some little boxes. 5" for the tops, 2.5" for the sides.
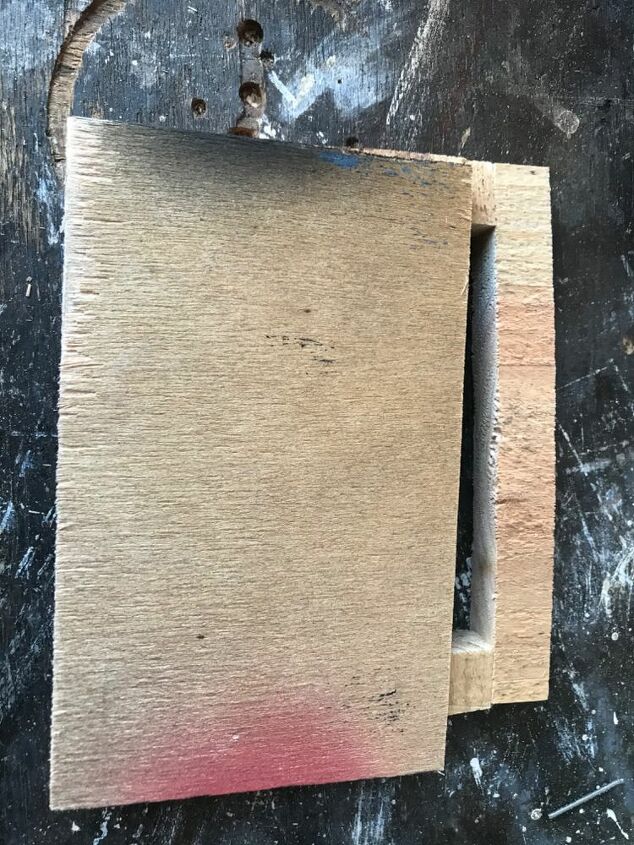
Then I cut a thin piece of wood to cover the back which was also 5” x3.5”.
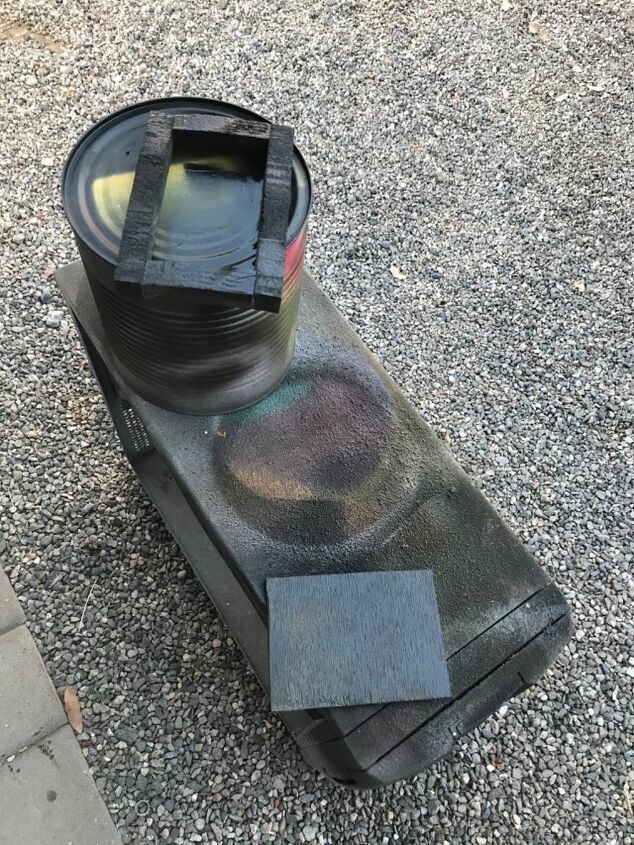
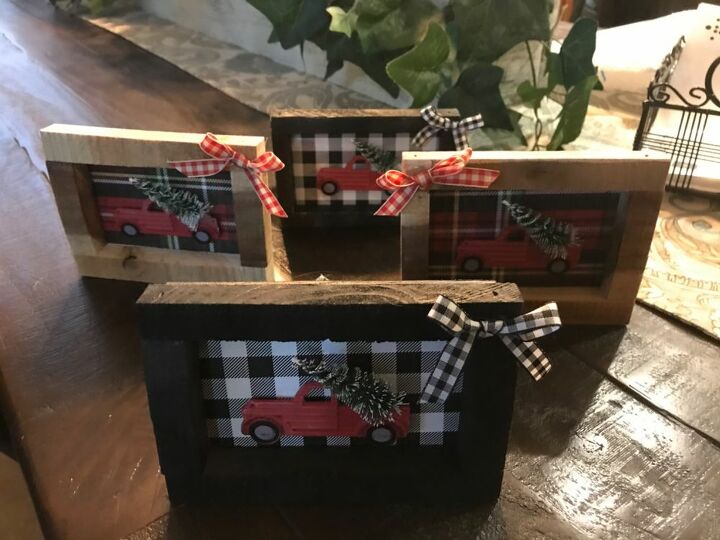
I then spray painted the boxes black. Do this outside so you don't breathe in all those fumes- yuck! I left two of my boxes just as plain wood which is also nice.
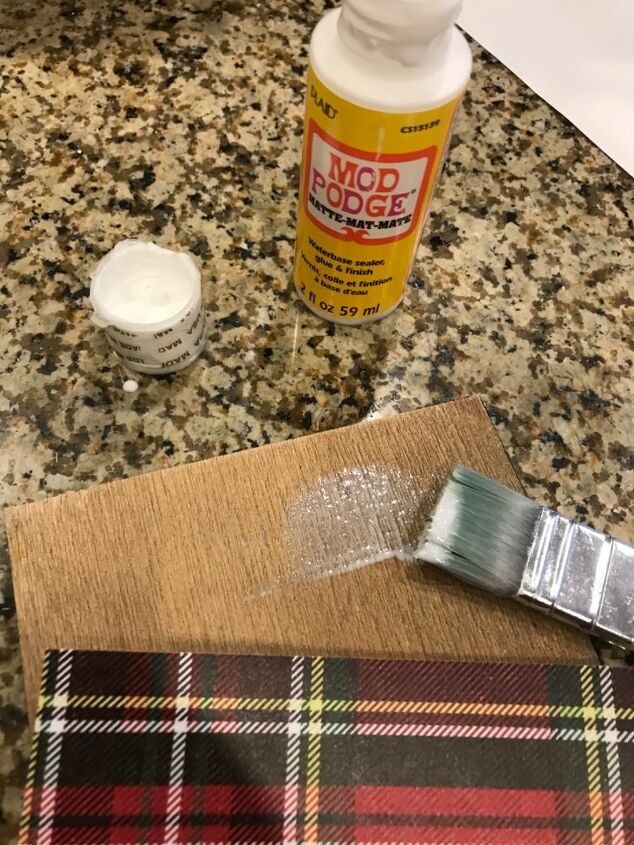
Next, use your mod pogde to cover the backside of the wood plank.
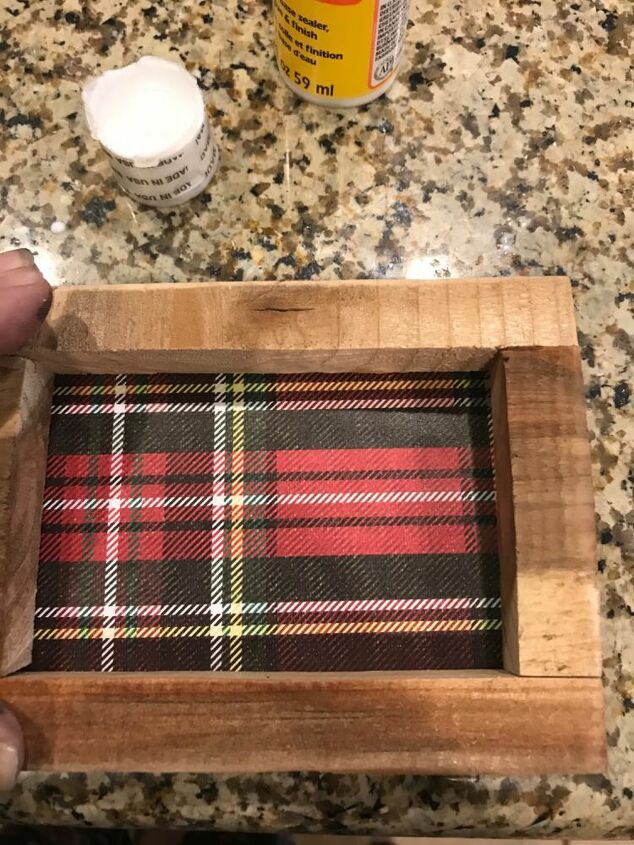
Then lay the paper of your choice on the mod podge.
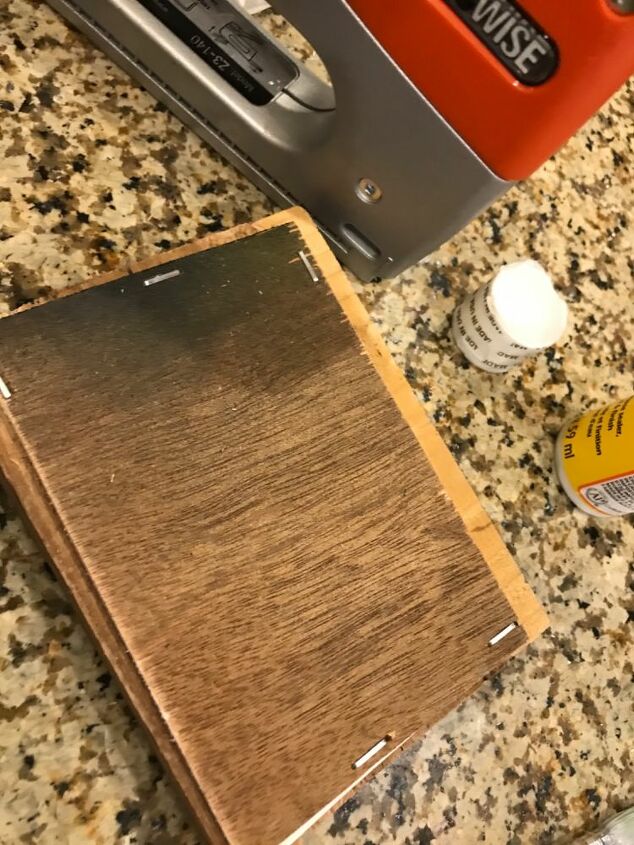
After that, staple gun the back (wood piece) to the frame.
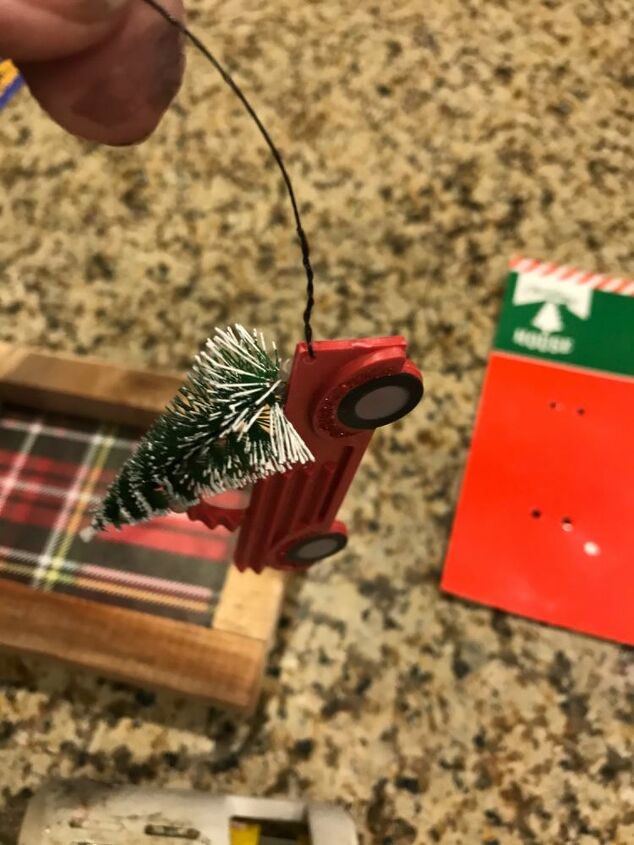
Now grab the ornament and remove the wire.
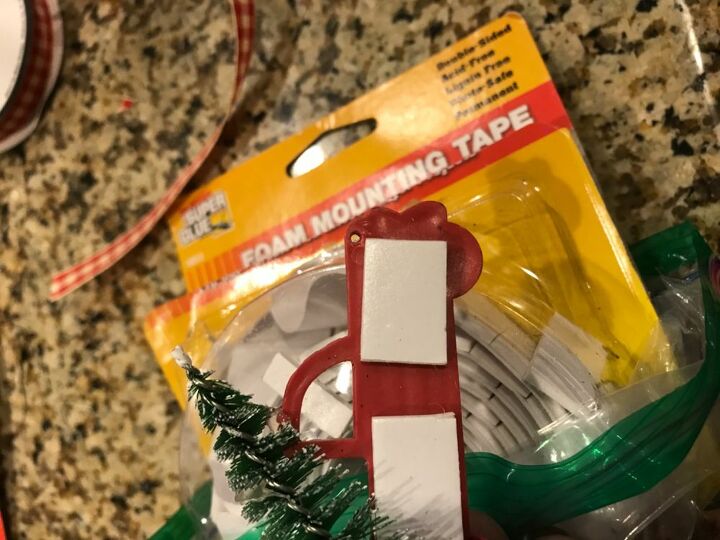
I used mounting tape on the back of the trucks.
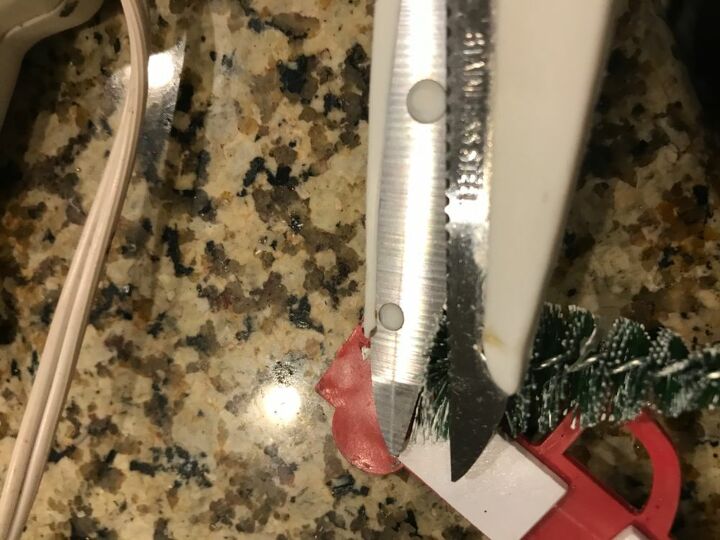
And I cut the trees off so they would lay flat.
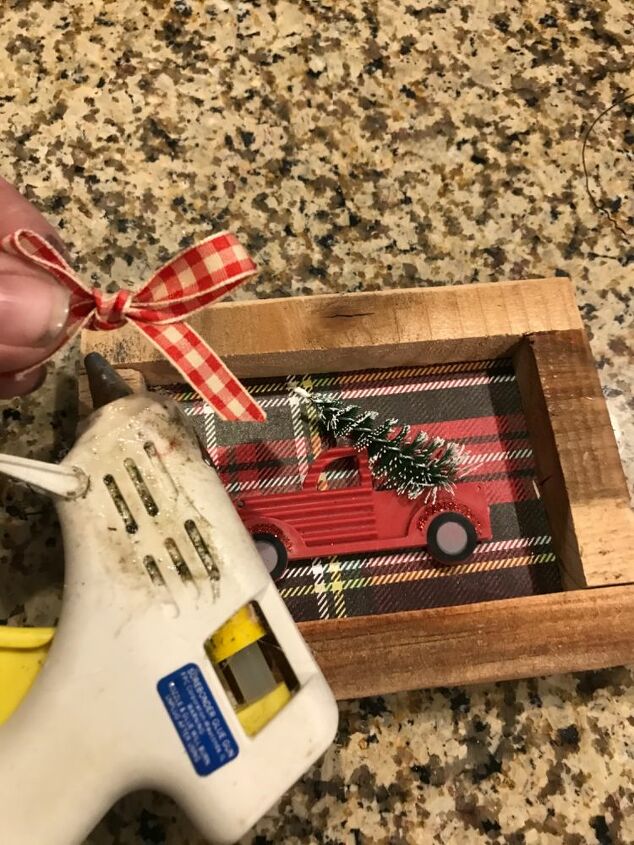
Then I stuck the trucks in the frame, glued on a bow, and that's it! All finished!
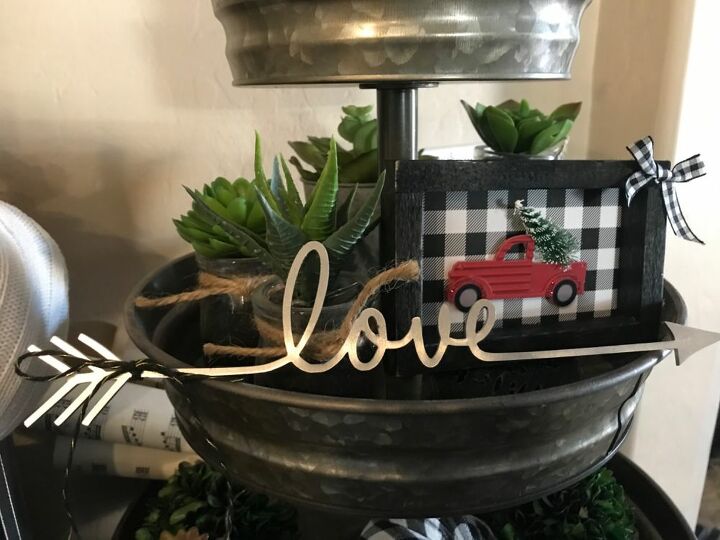
How cute is that!
Check out more of my projects at Gilbert Marketplace


Frequently asked questions
Have a question about this project?