


Reclaimed Fence Board Project | Christmas Trees

Today, I will show you how easy it is to turn a few old reclaimed fence boards into adorable rustic Christmas trees. Let’s get started on this adorable Christmas DIY project!
As a Dixie Belle Paint Company Affiliate (and other companies including Amazon), we earn a small commission on products sold through affiliate links. Your purchases through those links help to support this blog at no additional cost to you. In purchasing the supplies we use and recommend via our links, you help to support the free tutorials we offer you and our other readers. Thank you so much! Read my full disclosure here.

reclaimed wood projects
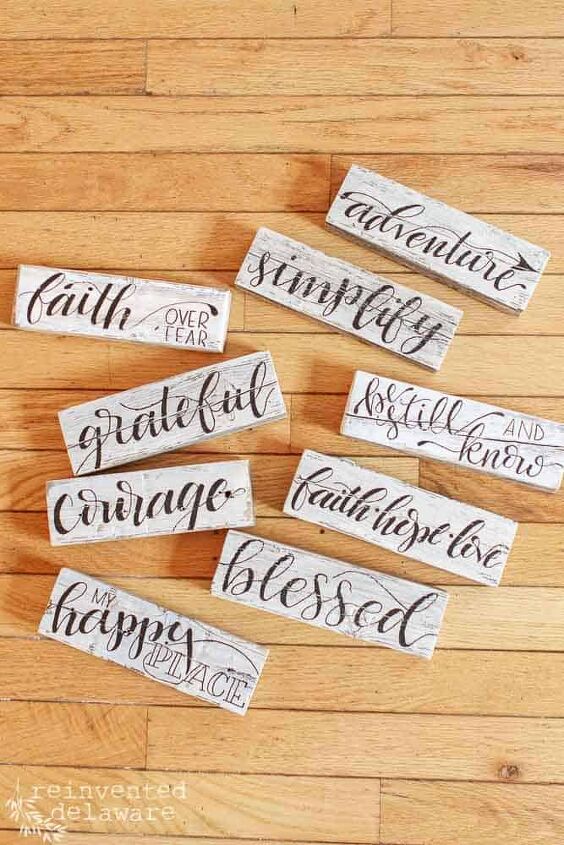
We all know by now that Cindy loves picket fences. We’ve made so many projects from these simple boards over the last few years. Signs, picket crates, pumpkins.
Some of these projects I have shared here on the blog, others I haven’t. Some we have made multiples of including the picket crates that our local customers love so much.
Old fence Picket Projects
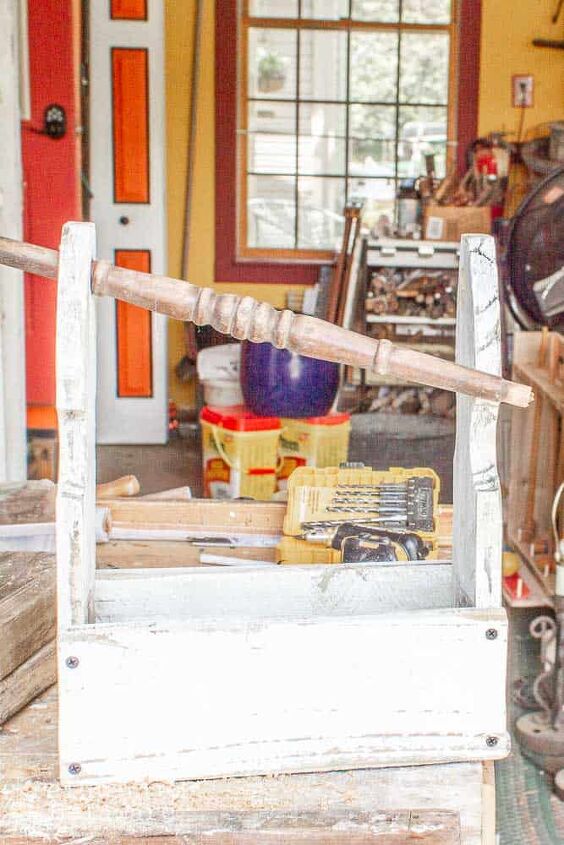
This is how the projects start. Hubby and I have taken apart so many picket fence sections that we’ve lost count. It’s back-breaking work but the results are amazing.
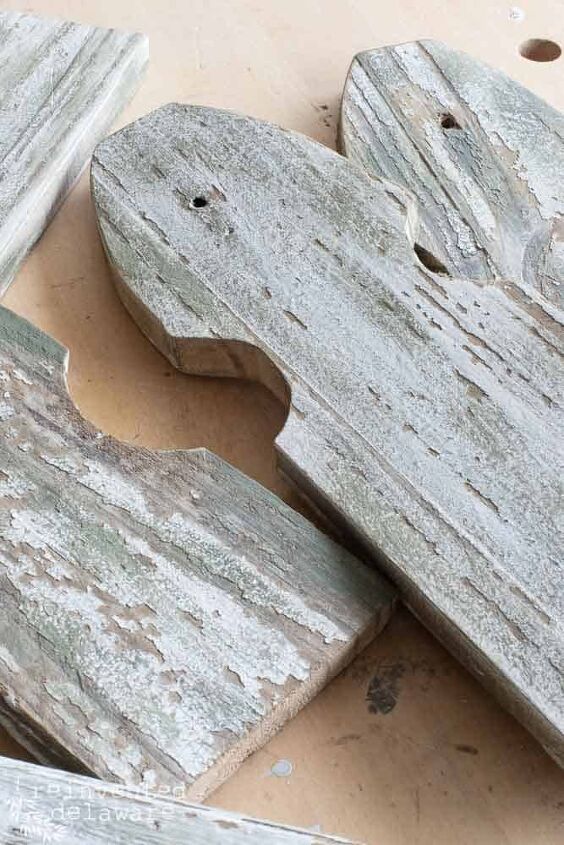
We always get the perfectly chippy white finish with these reclaimed fence boards.

Let’s go over the supplies that you will need for this project.
list of supplies:
- 3 reclaimed fence boards (new pickets from the lumber store)
- chop saw
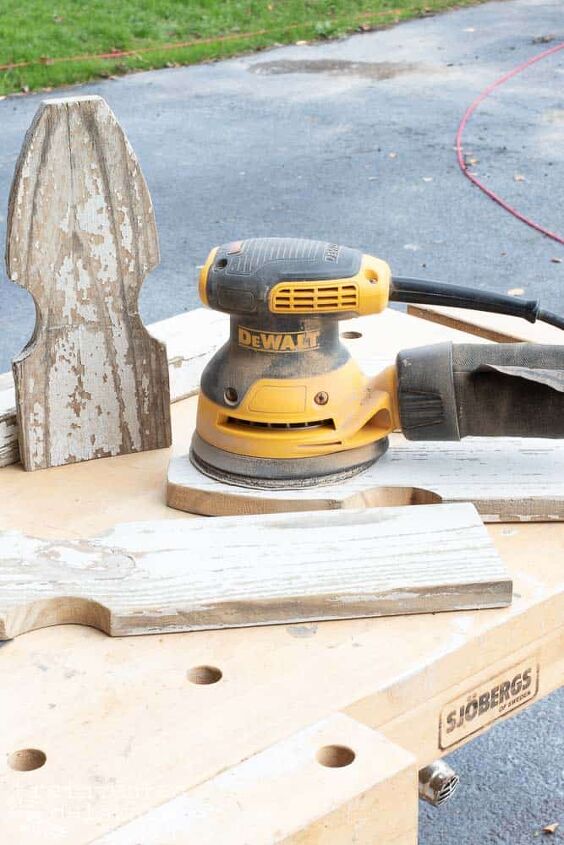
- workbench (mine is from Sjobergs and I love it!)
- power drill
- orbital sander
- Dixie Belle paint (we’ll discuss this later in the post)
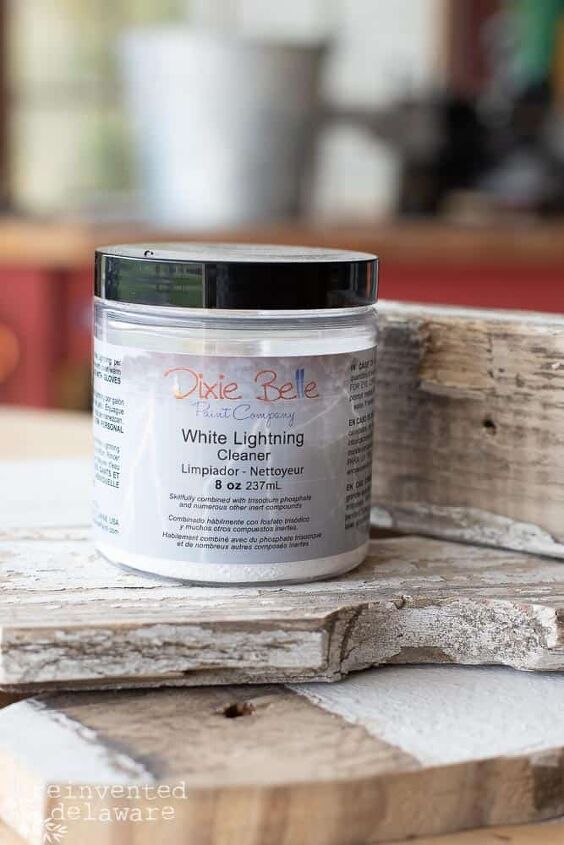
- Dixie Belle White Lightning Cleaner
- ratcheting screwdriver
- screws (1 1/2″- 2″)
- clamps
- tape measure
- E6000 glue
- Rustoleum Pure Gold spray paint
- buttons
Here are some links for some of the items I listed above. Thanks for shopping through them – it helps us to continue to bring you fun projects at no additional cost!
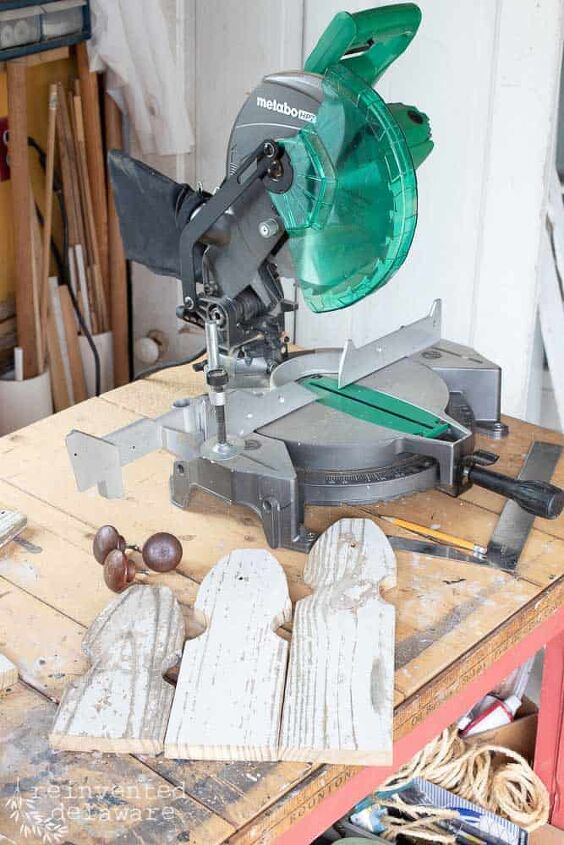
step one: cut the fence board sections
The first step is to cut the reclaimed fence boards. I used the following measurements but don’t get too caught up in being exact with measurements.
The chop saw will come in handy for this DIY Christmas tree decoration. You can also use a hand saw.
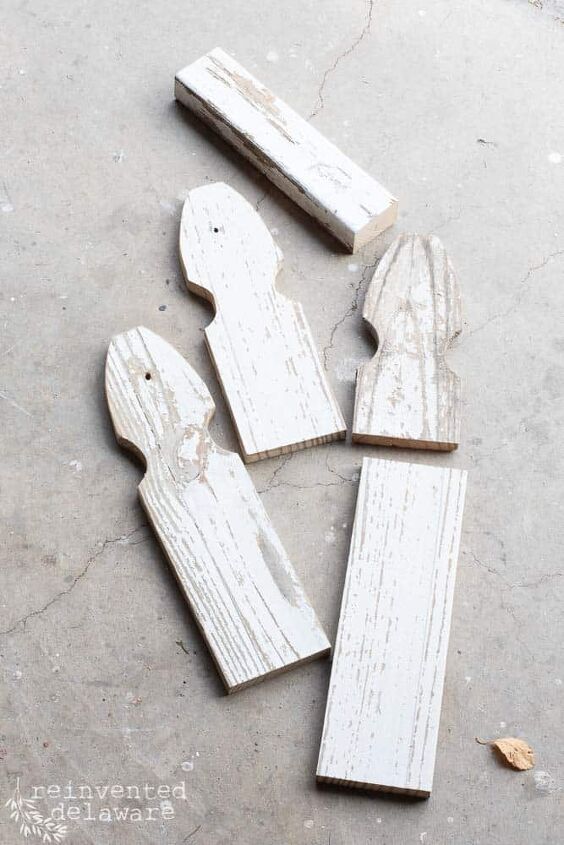
- picket sections: 15″, 13″ and 10″
- picket (without top design) 12.5″
- fence picket railing 11″ (that’s the part that runs horizontally and hold the pickets upright)
Once the five pieces were cut, I used my orbital sander on the edges to smooth them from the cuts.
The next step is to clean the sections. Reclaimed fence boards are dirty because they spend all of their time outside in the elements.
step two: clean the dirt
how to clean a reclaimed fence board
Dixie Belle has the best cleaner for tough jobs like mold and mildew. White Lightning is a strong cleaner, you only have to use a small amount for this stuff to do its magic!
I mixed it up according to the directions and then scrubbed the boards. Then I wiped them down with clear water.
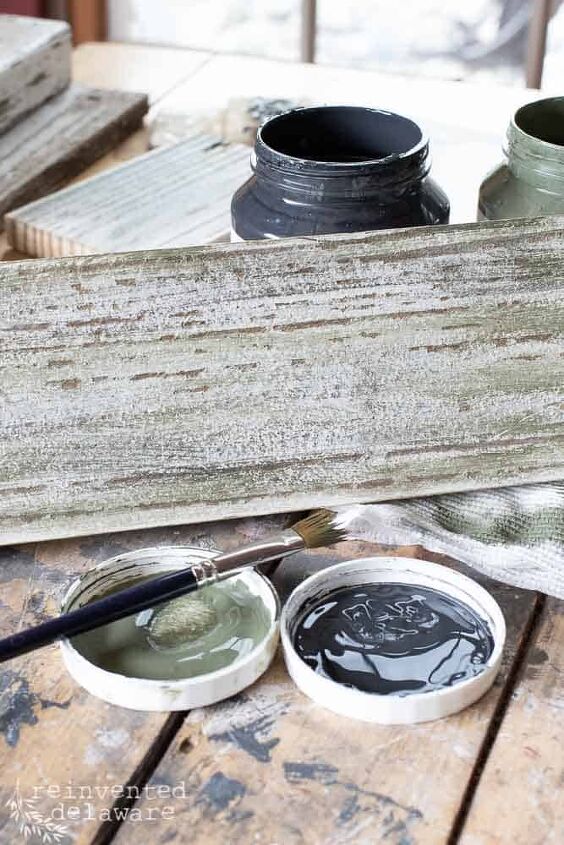
step three: paint the wood
DIY Christmas home decor
Painting is always the fun part of any project, don’t you think? I used the paint I had on hand to get this project done. My Dixie Belle order hadn’t been delivered yet and I was too excited to get started to wait for it. Funny story about that in just a bit!
The reclaimed fence boards were mostly white and very chippy. Some of the raw wood was exposed too. So I mixed up some green and dark gray that I had on my paint shelf and used a dry brush technique to add some natural color to the pickets. I was going for a green tree look but I wanted some of the white to show to represent snow.
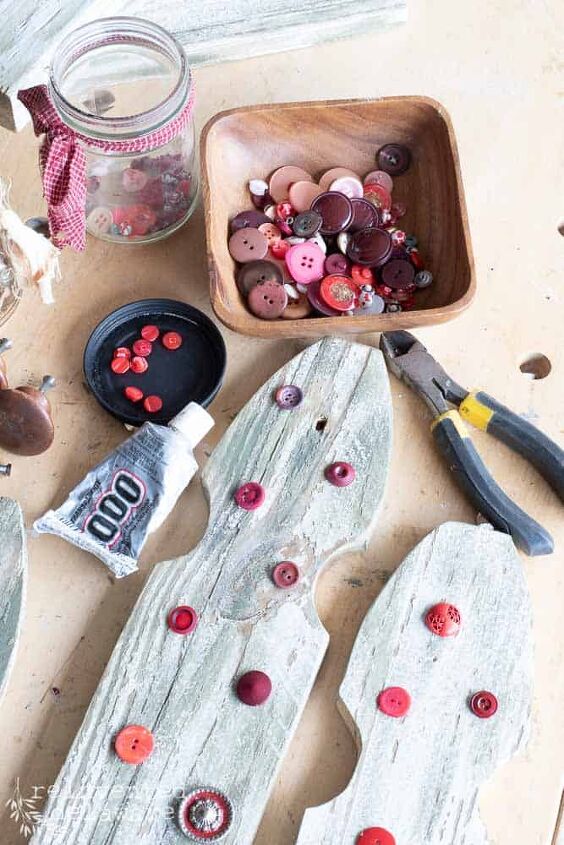
step four: decorate to your hearts content!
When I was finished with the painting, I added red buttons from my button stash using E6000 to secure them. E6000 is seriously the best glue for projects like this. I glued all the buttons on and allowed all three picket sections to dry overnight.
The next morning, I attached the picket trees to the two sections I used for the base of the Christmas home decor piece.
step five: attach the fence sections
From the underside of the railing section, I pre-drilled the holes and then ran screws into the picket sections. BTW, I staggered the pickets to add some dimension.
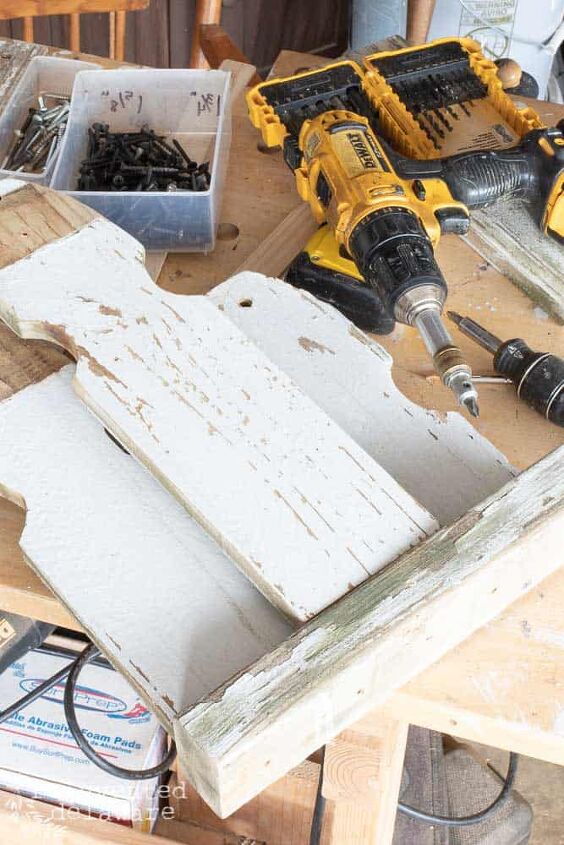
Next, it was time to add the very bottom section of the base. I decided to add this piece because it is wider than the railing section and would make the whole thing more sturdy.
Using the power drill, I pre-drilled the hole in the back and then used long screws to secure both base pieces together.
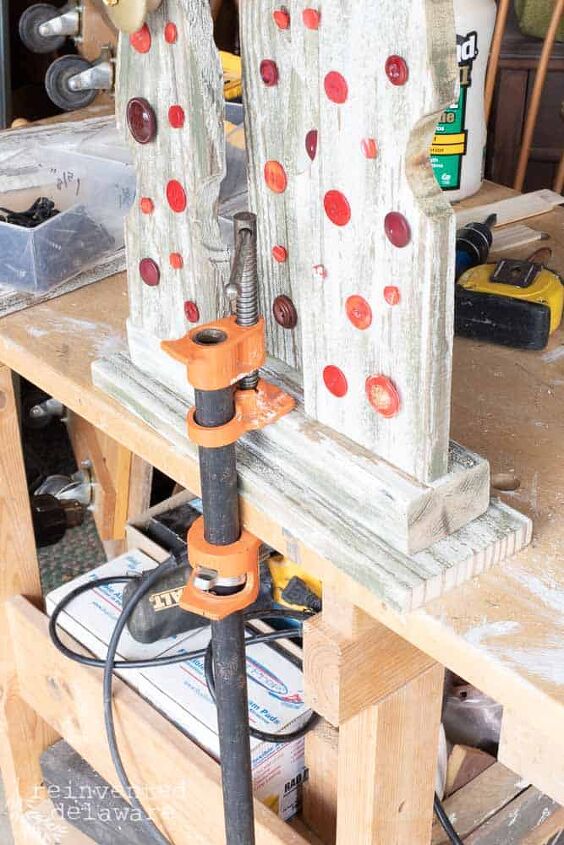
The bar clamp held everything steady on the workbench so both of my hands could be free. That bar clamp is the third hand that I so often need in the workshop!
step six: be patient!
funny story about impatience
Remember I said I had a funny story about the paint earlier? I had finished the entire project and brought the Christmas tree piece into the house to grab some photos for you. I’m just snapping away having a merry old time with my camera and lo and behold the FedEx man pulls up in our driveway.
I watched as he set the Dixie Belle boxes on our front porch in dismay. If only I had waited one day I could have used the paint I ordered for this project!
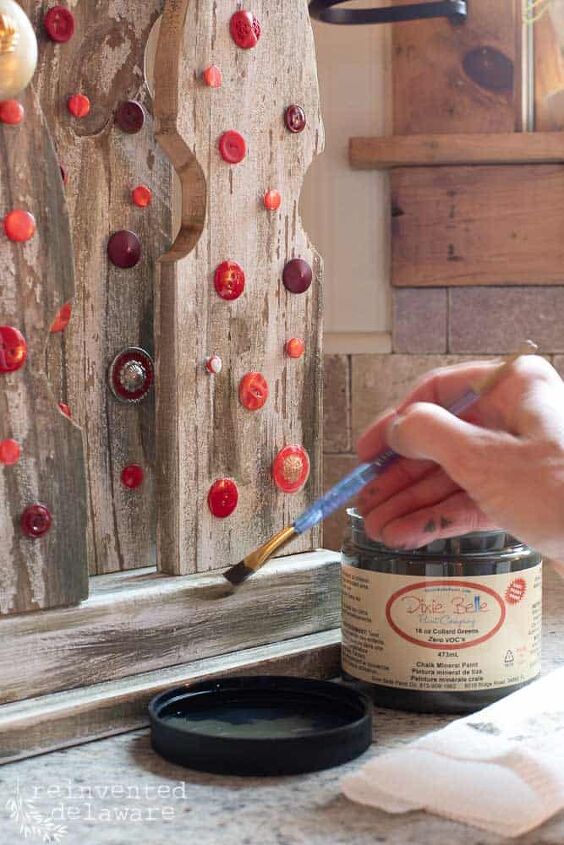
But that didn’t stop me from using it! The green I chose for this project originally (before I became so impatient!) was Dixie Belle Collard Greens. It’s the perfect earthy green that I wanted for these trees!
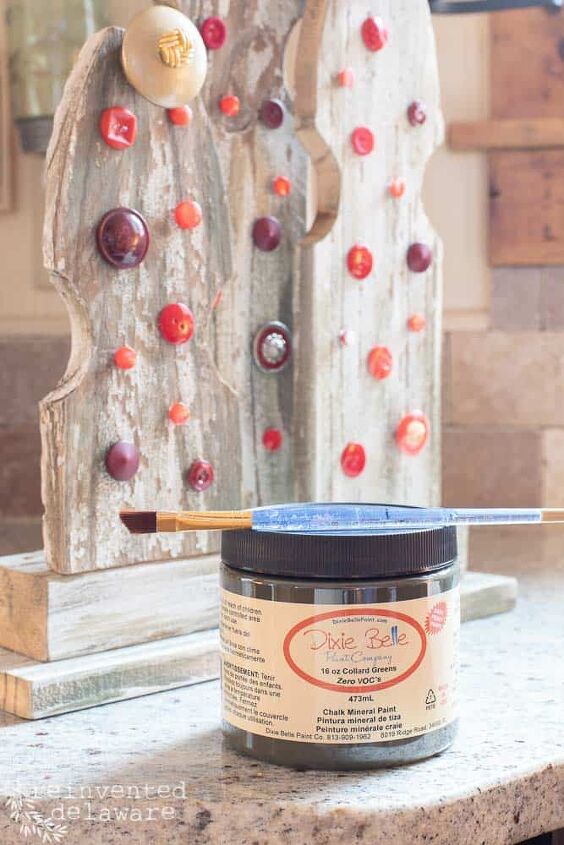

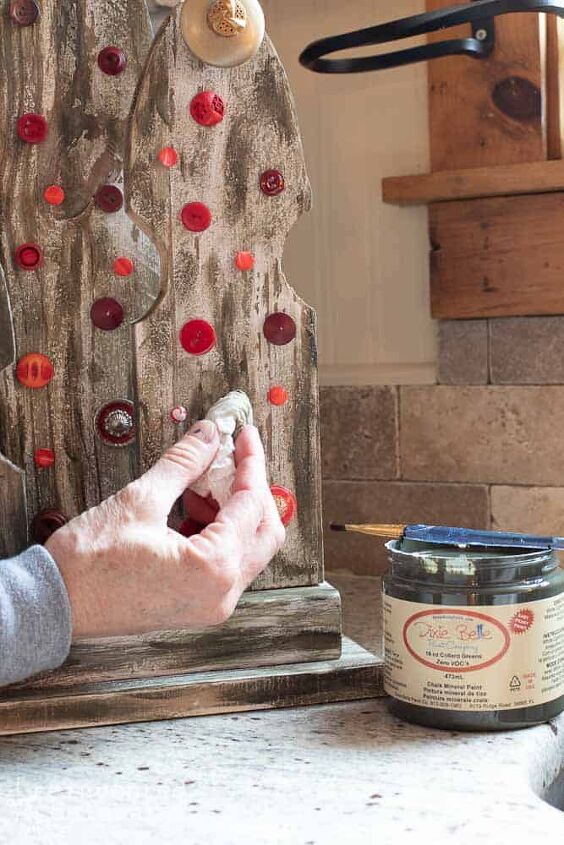
So I put the camera away and grabbed a little artist’s paintbrush and brushed on the color I wanted in the first place! I got a little heavy-handed and needed to use a damp paper towel to wipe some of it back.
Collard Greens: the perfect earthy green
If you do this project or if you are looking for a gorgeous earthy green, Dixie Belle’s Collard Greens is perfect! You can use the link above to purchase any of the paint supplies you might need. I would suggest also purchasing a light color like Cotton so that you can have varying shades of green on the reclaimed fence board Christmas trees.
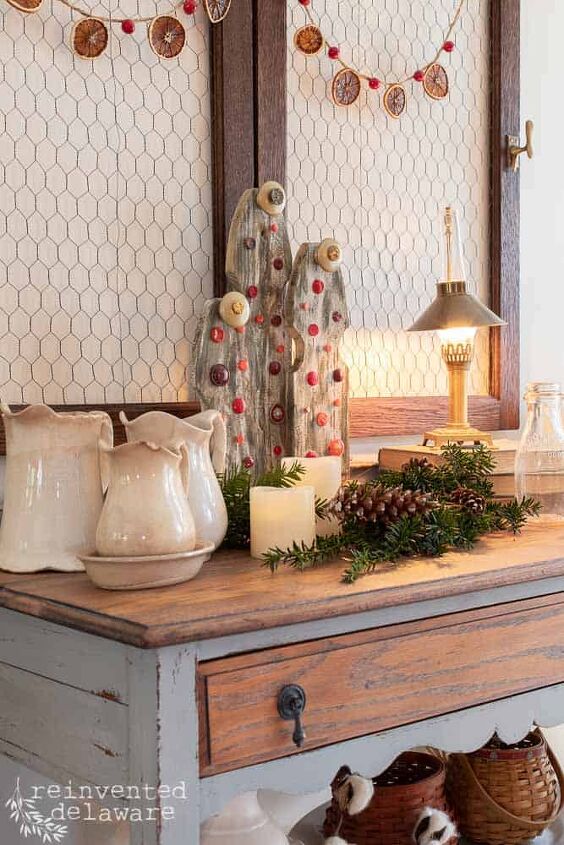
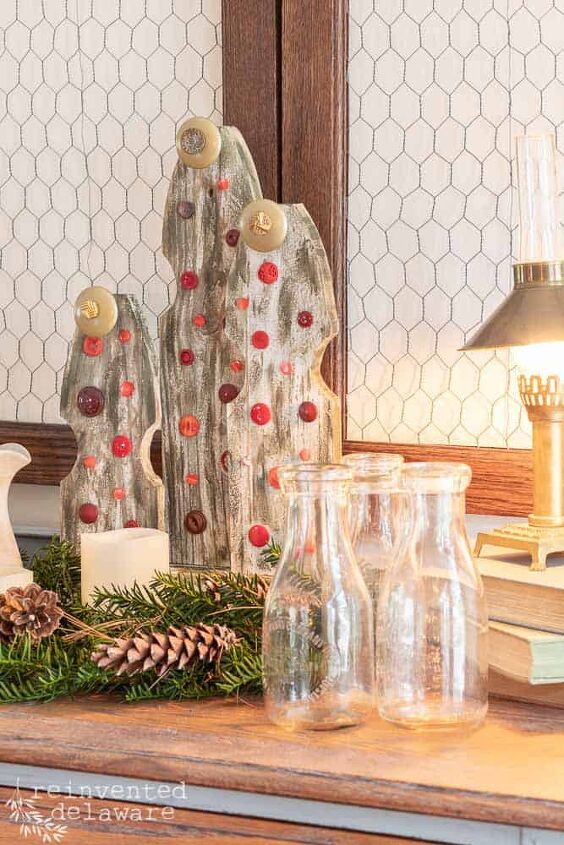
Aren’t they adorable??? I put them on our antique oak sideboard in our dining room and then grabbed some cut greenery from our yard.
step seven: enjoy your creation!
I forgot to mention the “stars” on top of each tree. They are leftover button drawer pulls from another project that I spray painted with Rustoleum Pure Gold. Then I added a gold button and glued it onto the button drawer pull for a little shine.
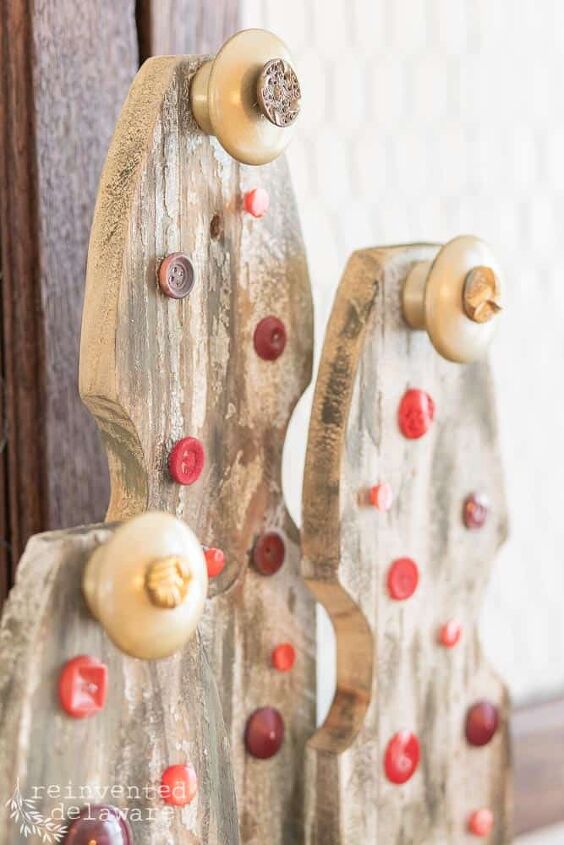
You can see here how I staggered the trees to add some dimension to the whole piece. The red buttons add a bit of holiday cheer to the reclaimed fence board Christmas trees too.
Maybe I haven’t mentioned it yet, but some of my blogging besties and I get together each month and share what we are working on. This time, we are each sharing projects with the theme of Christmas trees. You won’t want to miss the fun and easy projects they are sharing on their blogs. Tell them Cindy sent ya’ in the comments section of their posts!
blog hop with my friends
Some of my blogging friends are doing amazing things on their blogs this week! I’m sure you’re going to love each one!

If you are coming over from Renae’s blog at Peacock Ridge Farms, thank you for coming!
If you are headed to the next stop on this blog hop, head over to Do’s blog – she has a fun project for you!
You can click each image below to head over to see their amazing projects!


Before you go, be sure to pin the image below to your Pinterest boards. While you are there, be sure to join our Pinterest journey!

Pin the image below to your home decor and furniture boards! Just click the pin button at the top left corner! Thank you ☺️

I’m so glad you stopped by today for this unique take on Christmas trees! This is probably the first time you’ve seen someone reinvent reclaimed fence boards into Christmas trees! Be sure to tell me what you think in the comments below! I would love to hear from you!
Thanks for joining our journey!
We want you to join our journey over on Instagram and Facebook! You can also find more inspiration on our Pinterest page! We’re always pinning fresh ideas!
Until next time…
Until next time…


Frequently asked questions
Have a question about this project?