


Seeing Red Stars

Amazing what you can buy at those dollar stores!!
I truly think that they are the bane of every DIY'er's existence or they are Heaven sent....I haven't figured it out yet!! LoL
On a previous trip to Dollarama, I purchased silver stars for a grapevine wreath...however I failed to make a tutorial on how I put the star together.
MY BAD!!!!!
So, ladies, gentlemen, fellow DIY'er's and all you inspiration seekers...
here it is...
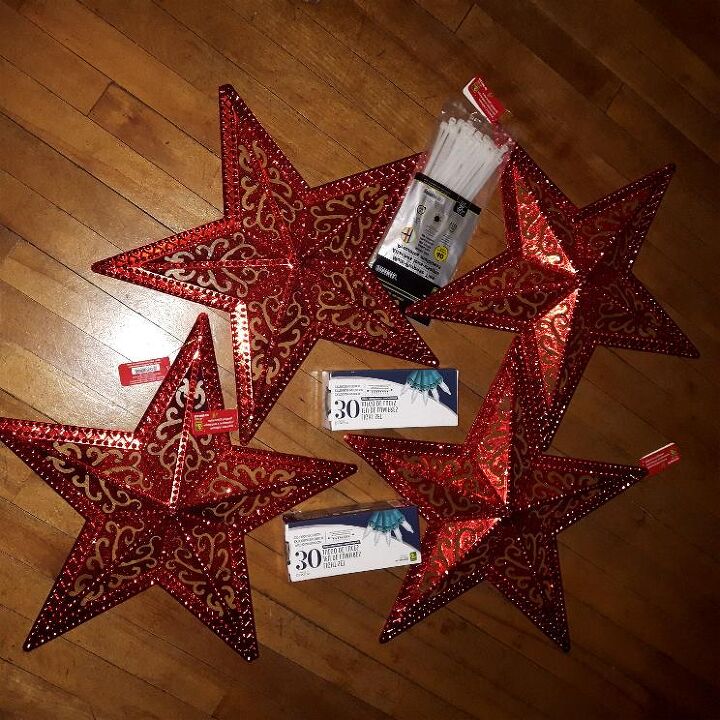
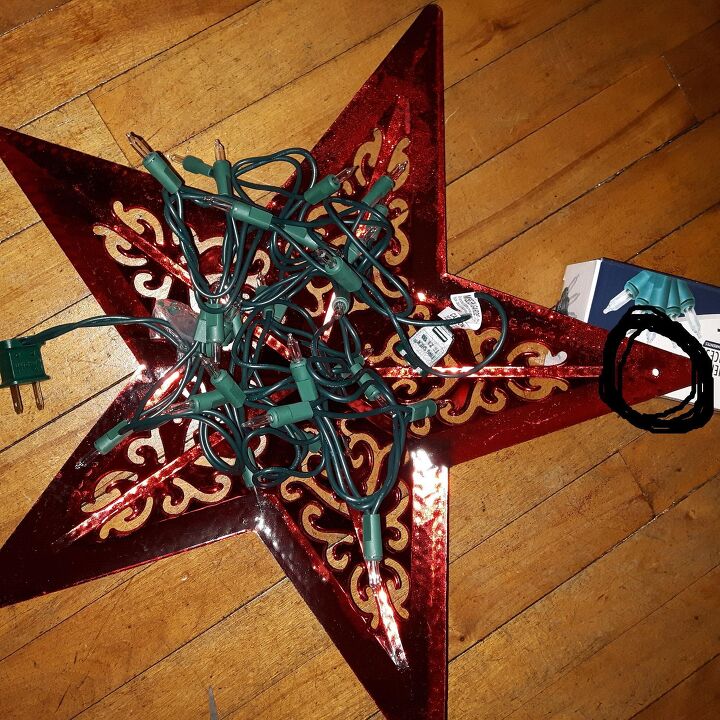
2 large red plastic stars, zip-ties and 1 box of exterior Christmas lights = 1 beautiful red star.
Aaah your seeing double are you...that's because I need 2 stars for my display!!
In creating my Northstar Christmas Wreath
I also envsioned a beautiful display to frame/accentuate that monstrous wreath!!
Link to the tutorial for making the monstrous grapevine wreath:
https://www.hometalk.com/diy/craft/wreaths/north-star-grapevine-wreath-44452241
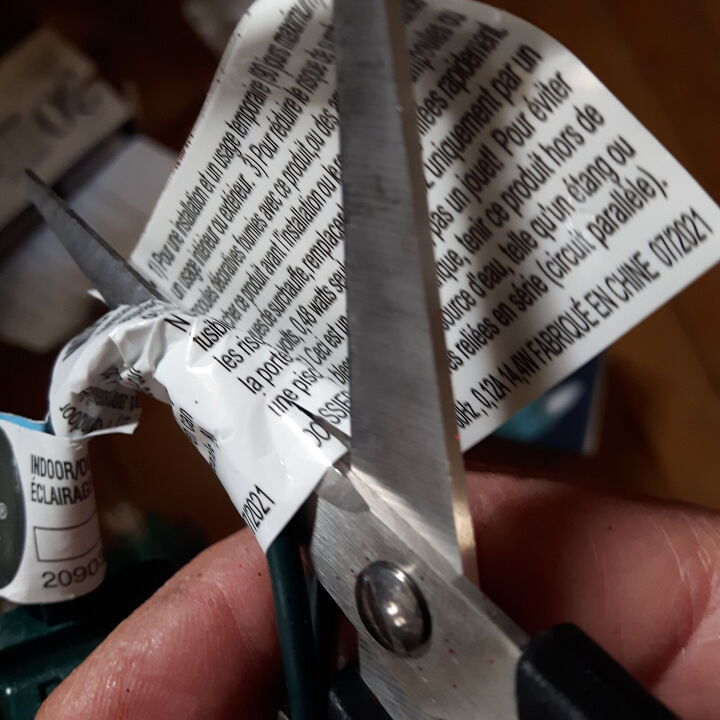
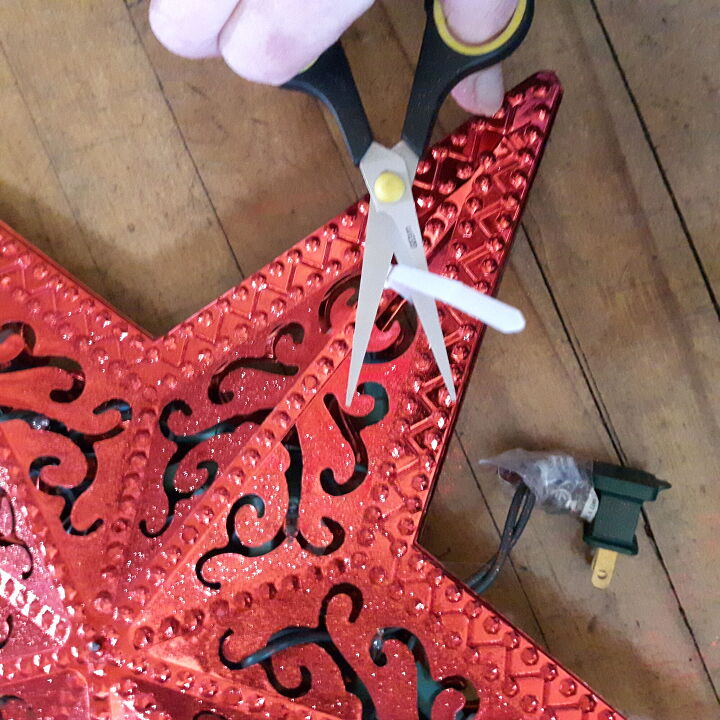
1st you wanna cut off all those white tags because they will show thru the stars. I left the lil bags of extra bulbs attached as you always need spare bulbs - eventually!
HEY....careful now - don't cut the wires of the light set!!
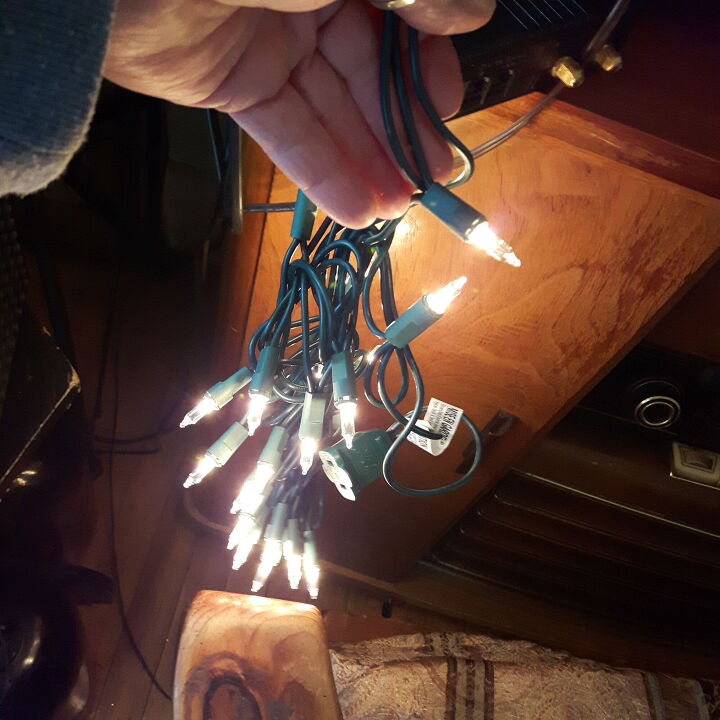
Often overlooked when purchasing electrical things from those dollar stores is: make sure it works before you start your project!!
and then comes the fun part...unravelling the light set!
LoL mine was more twisted and interlooped than necessary.
Cruel manufacturer's joke!!
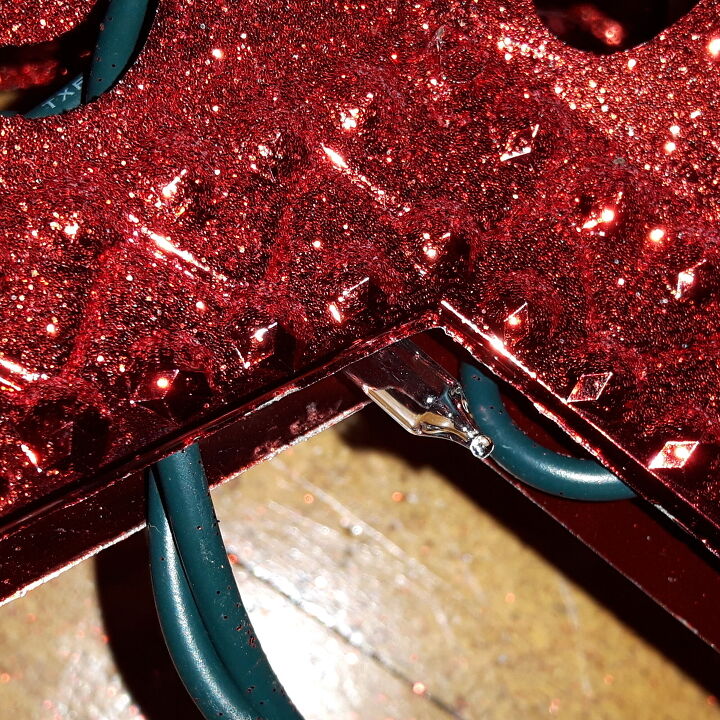
All of the stars come with a mounting hole.
When setting up your display in your mind's eye...figure out how and where your going to mount your stars. This is important because you have to know where the plug will come out of the star so you can plug it in as inconspicuously as possible.
Make sure this hole is at the top when you start securing the lights to the star AND make sure that the male connector of the plug is sticking out of the star where you know you going to plug it into an extension cord. Once these stars are all zip-tied together, it's gonna be a royal pain to undo if things aren't where they're suppose to be!!!
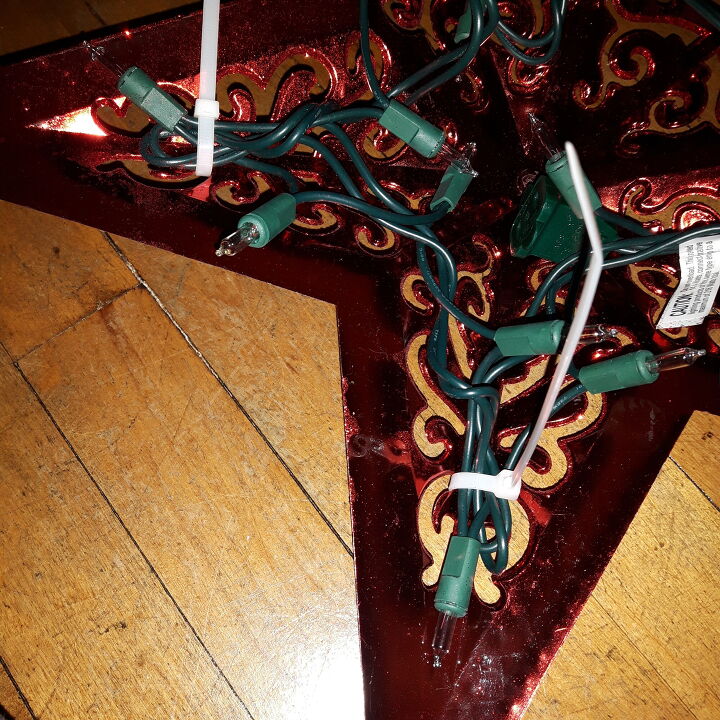
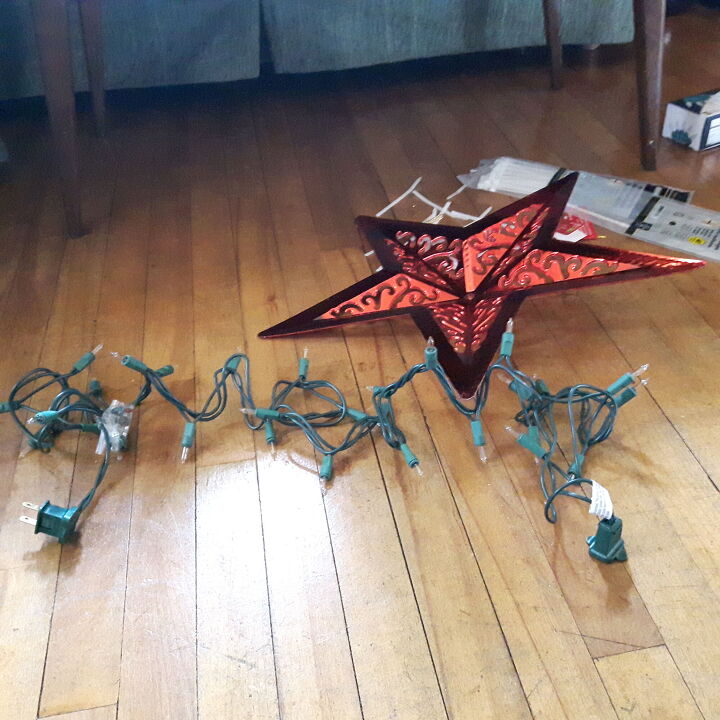
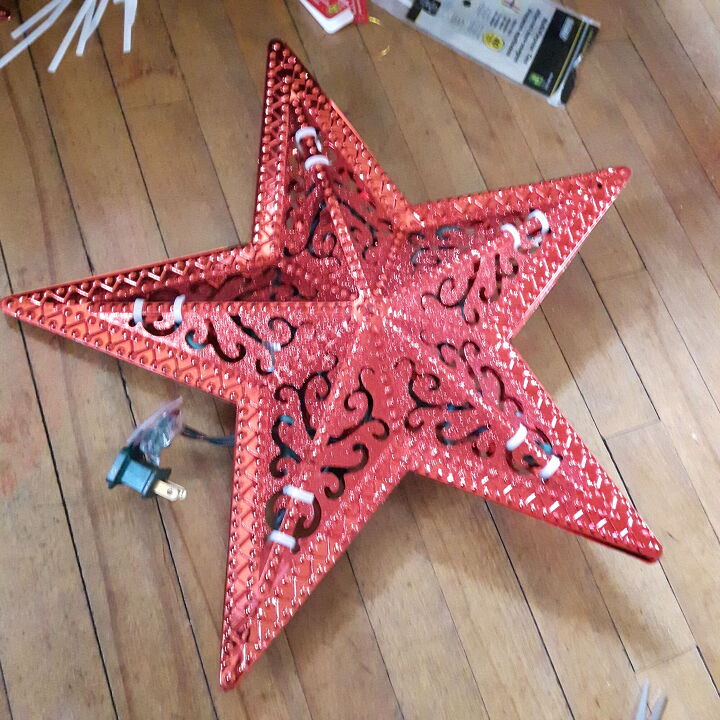
I zip-tied a light to somewhere near the top of each corner of the star.
I did this so that the lights wouldn't all bunch up in the bottom or corner of just one spot when hanging.
Gravity will take it's due course if you don't do this! 
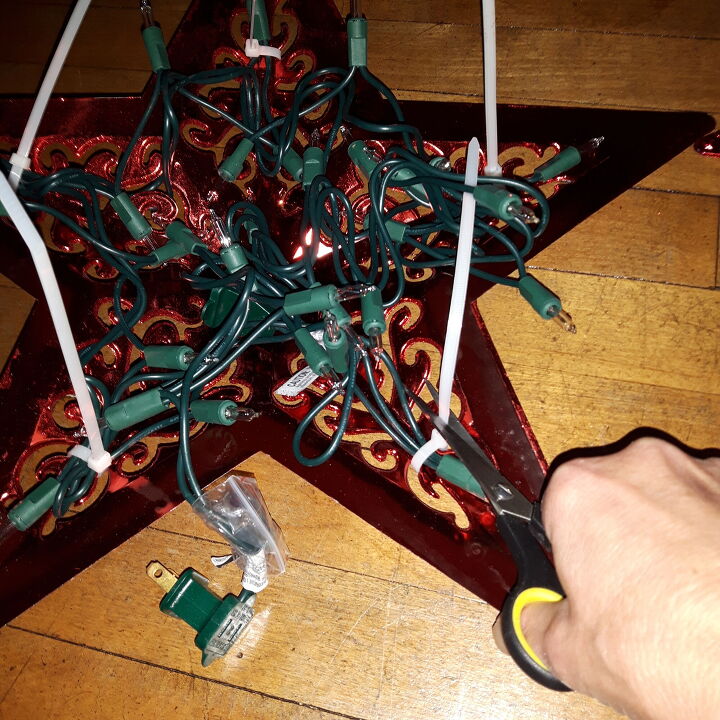
and...cut all of the zip-tie ends off.
HEY....careful now - don't cut the wires of the light set!!
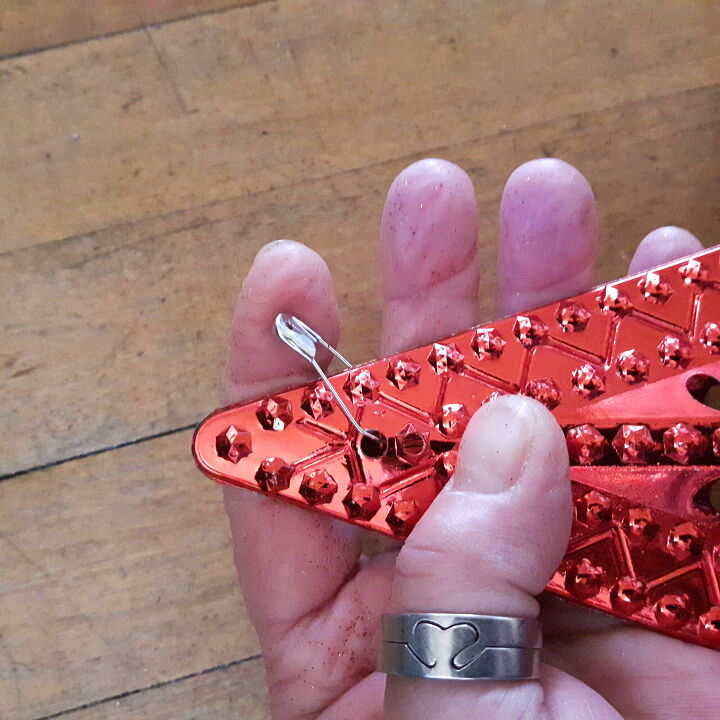
Now...grab that 2nd star and find the mounting hole.
Line up the 2 mounting holes. I used a safety pin to keep the mounting holes together until I got my 1st zip-tie attached
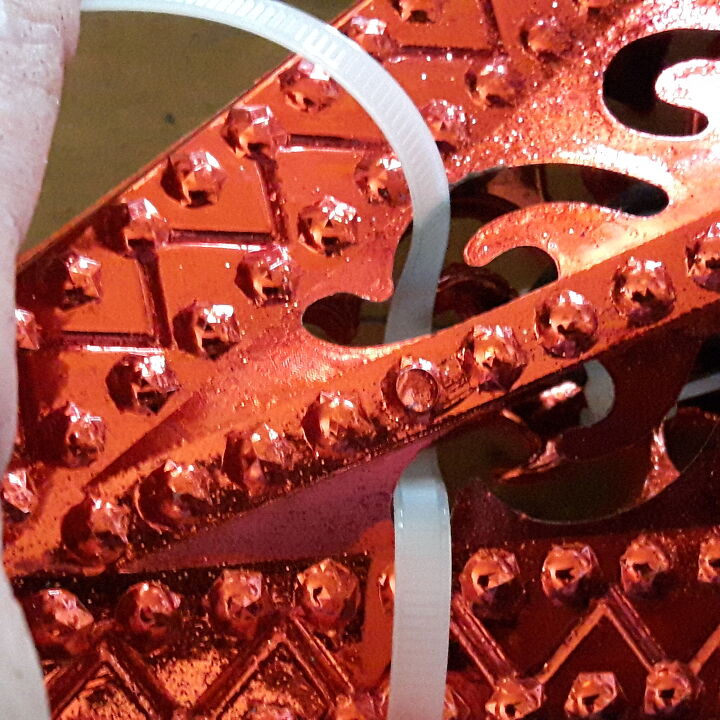
Here are 2 little tricks for inserting the zip-tie through both stars;
- try and keep the ribbed side of the zip-tie to the inside of the stars
- try and put the zip-tie as close to the top of the arm of the star in a spot that is very narrow
If I had really thought this project through before I started, I would have bought coloured zip-ties to match the colour of the stars.
It's not a deal breaker by any means but it would have been a cleaner finished look.
When zip-tying the stars together be careful not to have any bulbs or wires sticking out of the outer edges of the arms of the star.
These outer edges pull together quite tightly and may snap a bulb or crimp the wire.
We don't want that happening...especially when it's the last zip-tie of the project!!!
F.Y.I....any wire or bulbs sticking through the body of the stars are o.k. they're safe!!
cut the excess zip-ties off and....
voila!
There's your star all done, ready to hang up and plug in!!
{side note}
see the white of the zip-ties??
I kept them spaced the same on each arm of the star that way it kinda/sorta looks like a design in the star.
This is where the hind sight of buying coloured zip-ties to match the colour of the stars came in.
but, pffft, they're gonna be about 12 feet above ground level...
who's gonna critique that lil flaw??? LoL
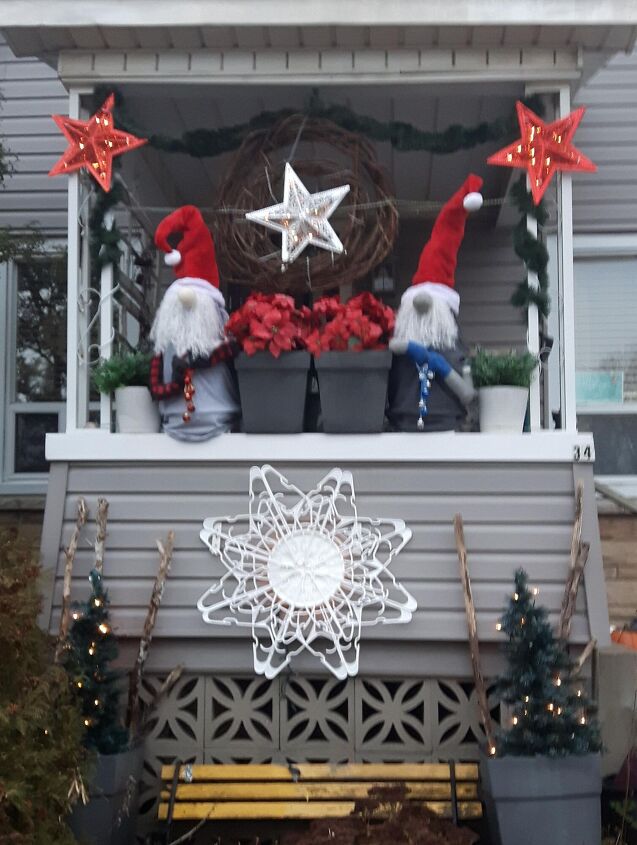
day-time pic of my front porch...hope the red stars show up properly!
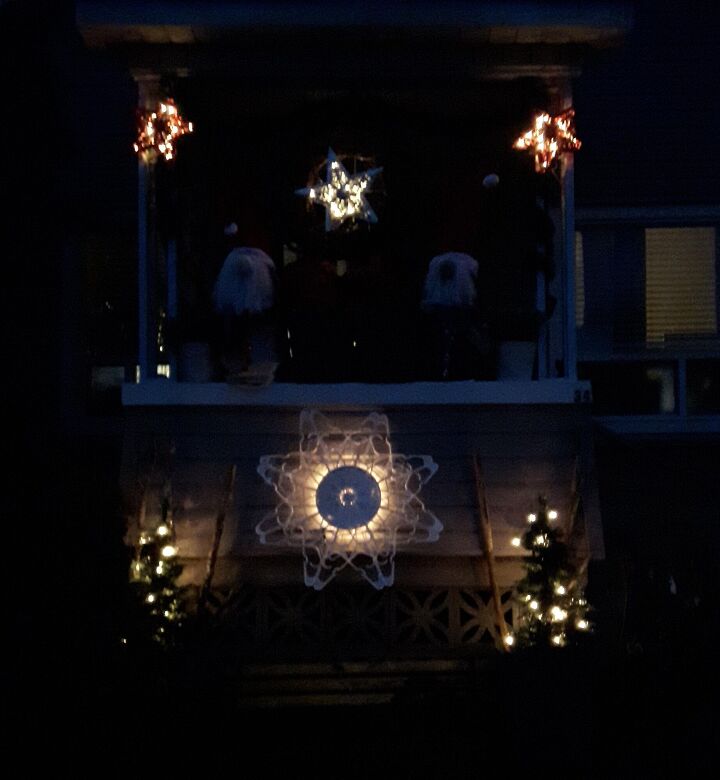
night-time pic of everything all lit up
Comments
Join the conversation
-
You can also get chenille wires in Christmas colors at the Dollar store that would work brilliantly for this project. Right color, add sparkle, & hold as needed. Very pretty decor! : )
-
Love these! You could always go over the part of the zip tie that's showing with a red Sharpie.


Frequently asked questions
Have a question about this project?