


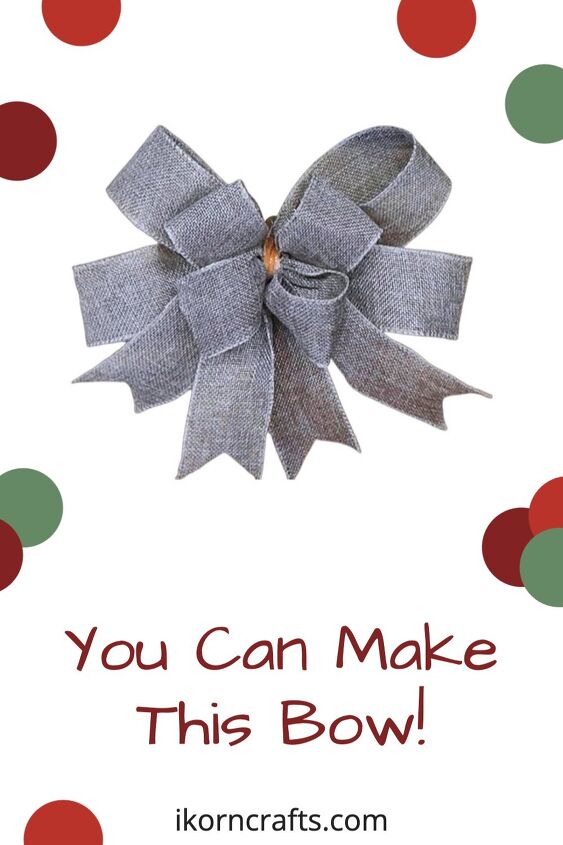
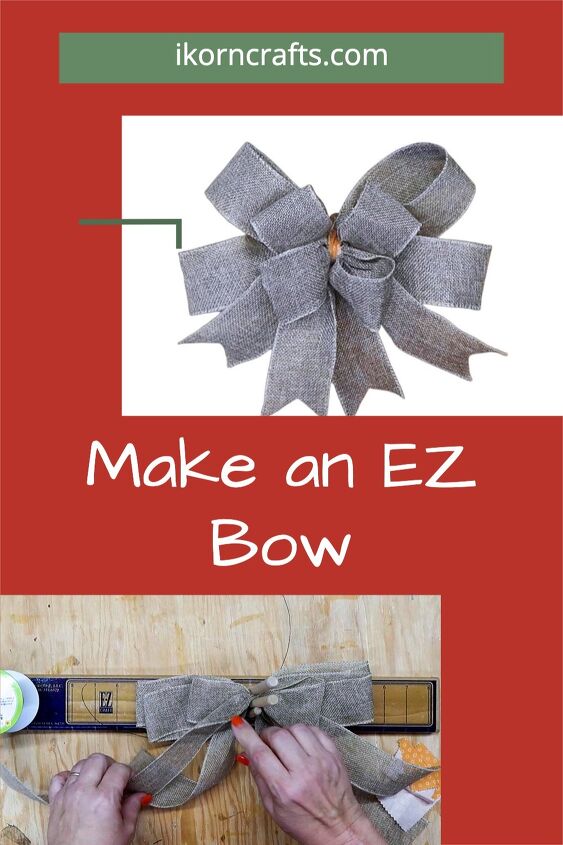
Simple Burlap Bow With Dollar Tree Ribbon and an EZ Bow Maker
Learn how to make a simple bow using Dollar Tree wired burlap ribbon and an EZ Bow Maker.
I made this bow to add to a fabric wreath.
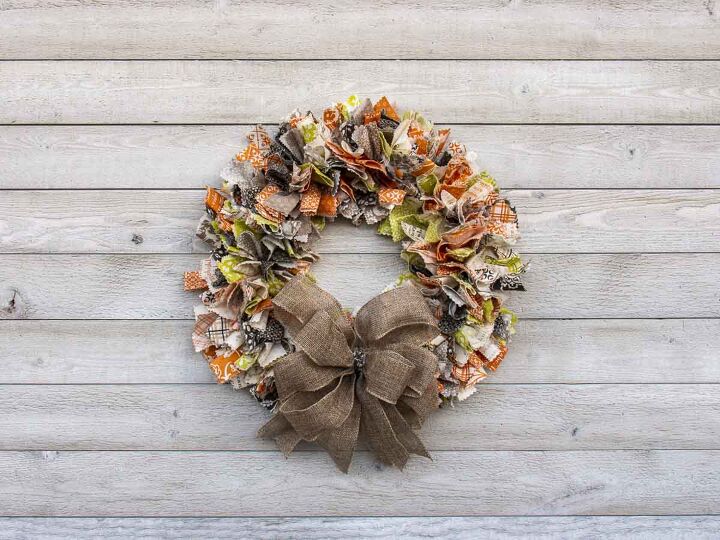
Because I didn’t want to detract from the color and patterns in the wreath, my goal was to create a simple burlap bow.
Instructions for Making a Burlap Bow
Materials
- 1 roll (3 yards) of wired 2” burlap ribbon from the Dollar Tree
- Floral wire
- Small strip of fabric
Tools
- EZ Bow Maker
- Scissors
- Wire cutters
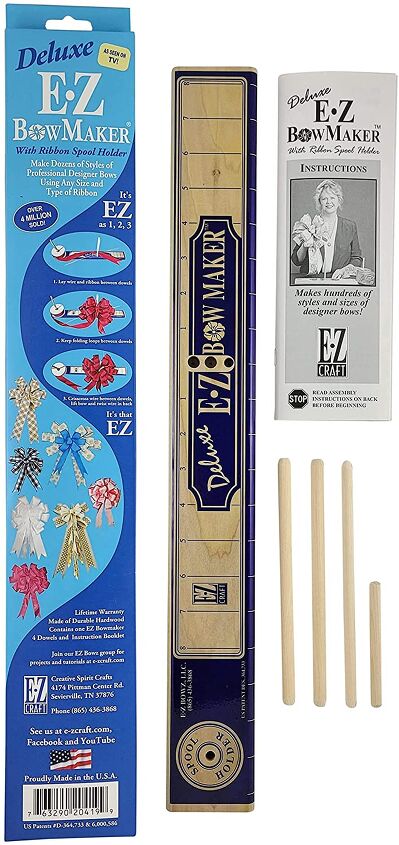
EZ Bow Maker
Creating a bow is fast and easy with an EZ Bow Maker. You can make other bows with this tool as well, such as a holiday bow, floral bow, tree top bow and more.
2″ Wired Burlap Ribbon
This bow only used 1 roll of 2″ wired burlap ribbon from the Dollar Tree, so it was cost effective too. Make sure to use wired ribbon. This is needed to shape the loops on the bow.
The process is straight forward. Essentially, you’re just looping and twisting the ribbon and then securing it with a wire (or zip tie). However, I’ve included pictures of the process below.
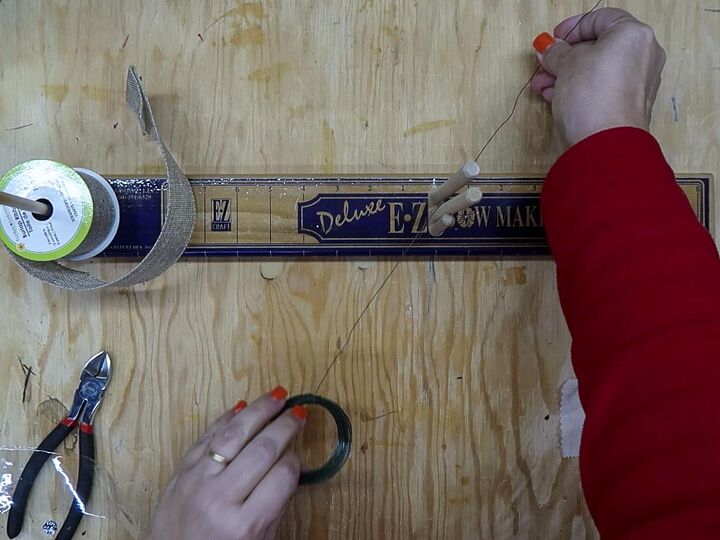
Place floral wire between large center dowels
Cut an approximately 12″ length of floral wire with scissors or wire cutters. The wire is used to secure the ribbon and attach the bow to a wreath. Thread it between the two taller center dowels on the EZ Bow Maker, so half of the wire is on the right side and half remains on the left side.
Create a ribbon tail
Place the roll of ribbon on the dowel on the left side of the EZ Bow Maker. Pull a length of ribbon through the tall center dowels and then down towards you in front of the EZ Bow Maker. This will become one of the 4 ribbon tails in this bow. I made the tail about 8″ long to start.
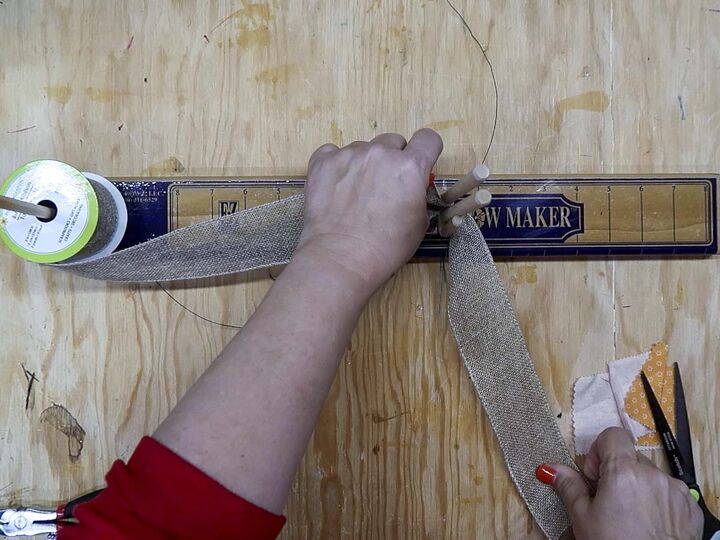
Form 1st loop on left side
Create a 5″ loop of ribbon on left side of the EZ Bow Maker.
Feed ribbon through dowels and twist
Feed the ribbon through the tall center dowels. Give the ribbon a 1/2 twist so that you flip it over and the good side is facing down. The twist is more important when you’re using ribbon with a good side and a bad/reverse side. You want the good side always facing the outside of the loop and the bad/reverse side facing the inner part of the loop.
Create 2nd loop on right side
Create a 5″ loop on the right side of the EZ Bow Maker.
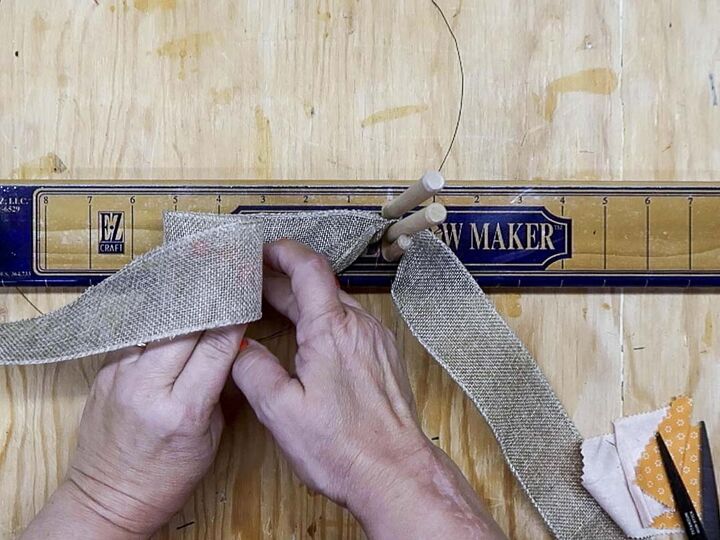
Feed ribbon through dowels and twist
Feed the ribbon back through the tall dowels and twist the ribbon so that it flips over.
Repeat process and create 2 more loops
Form another 5″ loop on the left side. Feed the ribbon through the tall center dowels.
Flip the ribbon over with a twist and then form a 5″ loop on the right side.
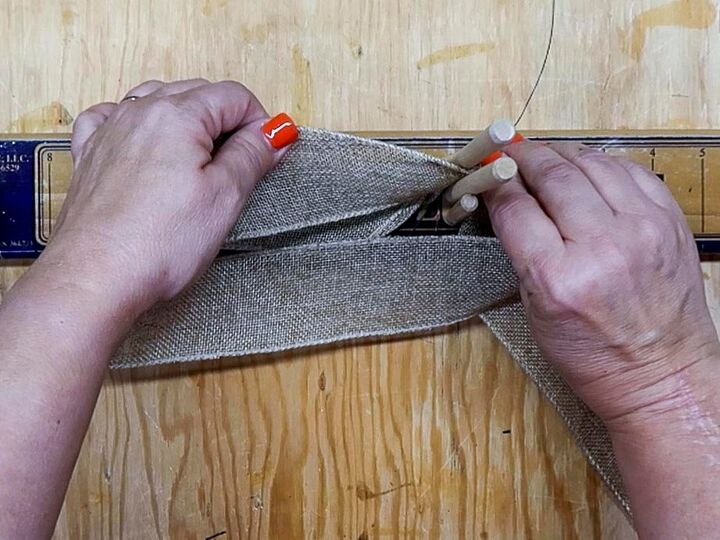
Feed the ribbon through the tall center dowels again, twist, and then pull about 8″ of ribbon towards you. Cut the ribbon to form the 2nd tail.
At this point you should have 4 loops (2 on each side) and 2 tails.
Create a 3rd ribbon tail
Just like you did in step 2, pull about 8″ of ribbon through the tall center dowels towards you forming the 3rd ribbon tail.
Form 2 smaller loops using the same loop and twist process
Using the same process that you did for the larger loops, create a 3″ loop on the left side and then pull the ribbon through the large center dowels and twist.
Create a 3″ loop on the right side. Feed the ribbon through the large center dowels and twist.
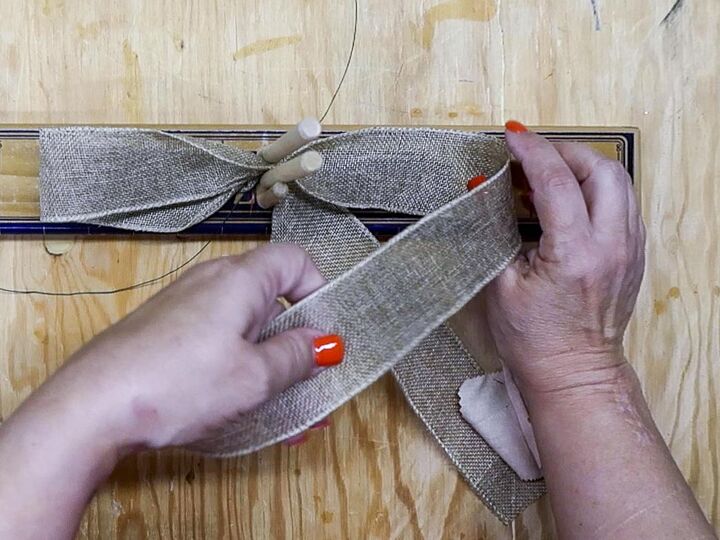
Form 2 more smaller loops and the final tail
Create another 3″ loop on the left side. Feed the ribbon through the large center dowels and twist.
Create the fourth and final 3″ loop on the right side.
Feed the ribbon through the tall center dowels again, twist, and then pull about 8″ of ribbon towards you. Cut the ribbon to form the 4th tail.
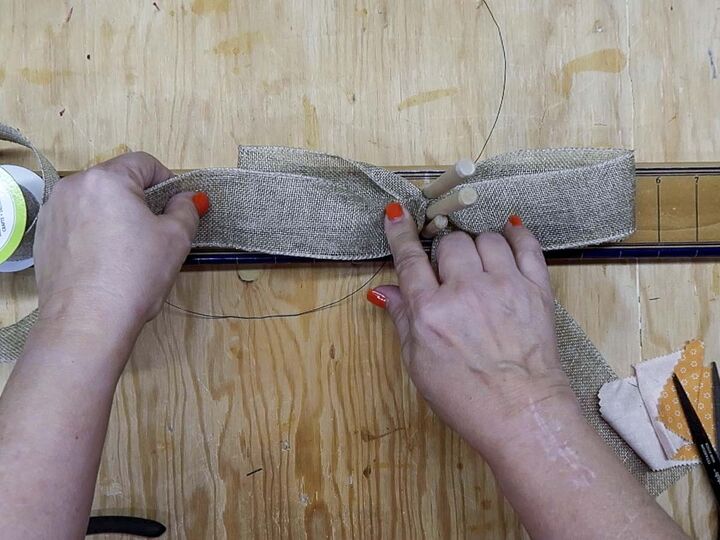
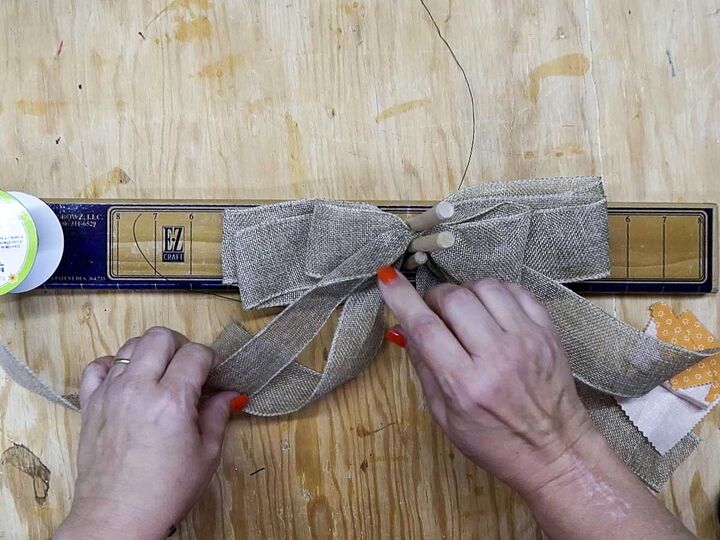
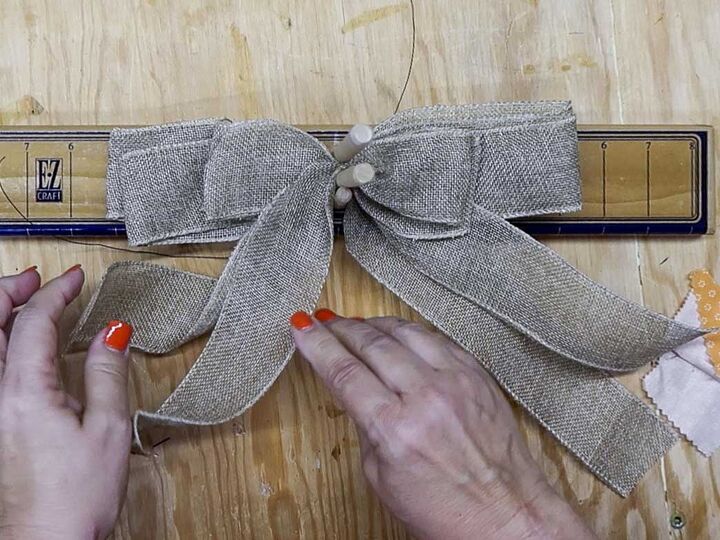
At this point you should have 8 loops (2 large loops and 2 small loops on each side) and 4 tails.
Remove bow from EZ Bow Maker
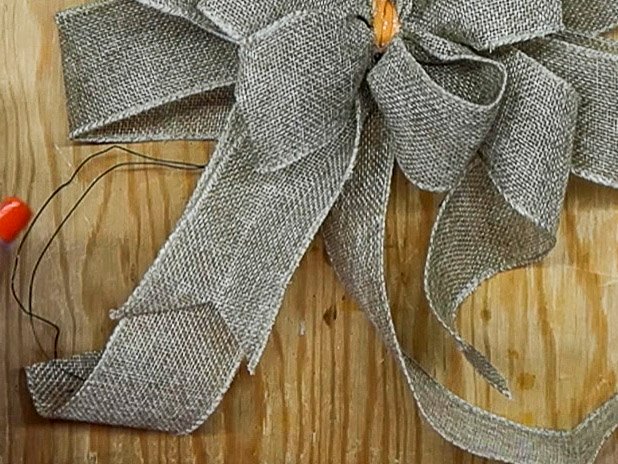
Remove the bow and the piece of wire from the EZ Bow Maker by lifting up. You’ll probably have to give it a good tug because the ribbons are held snugly by the two large center dowels.
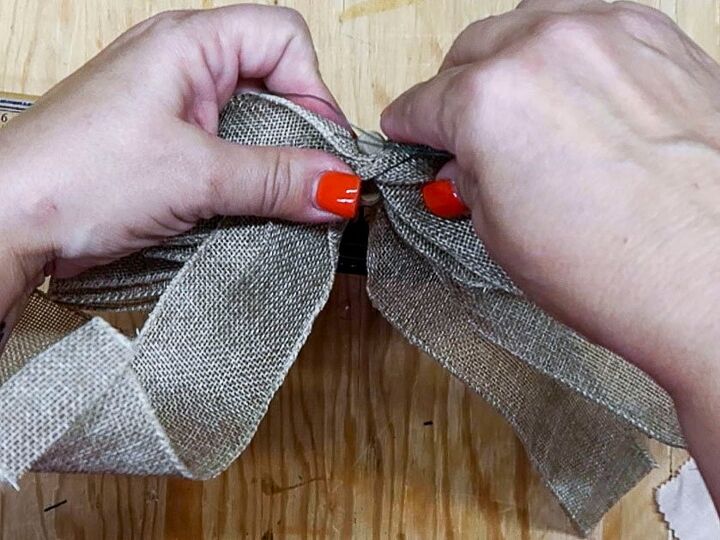
Twist wire around center of bow.
Holding the wire close to the center of the bow, twist the floral wire to hold your ribbons in place.
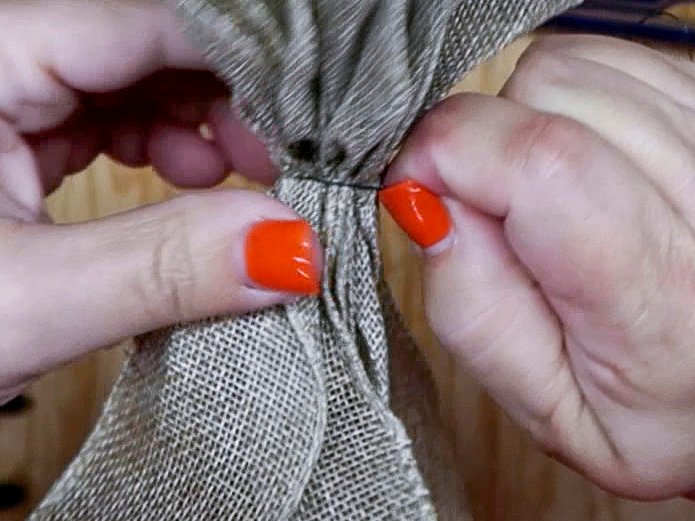
Twist bow a few more times
Holding the wire in one hand and the bow in the other, twist the bow around a few more times to securely hold the bow in place. It’s easier to hold the wire and twist the bow than to hold the bow and twist the wire.
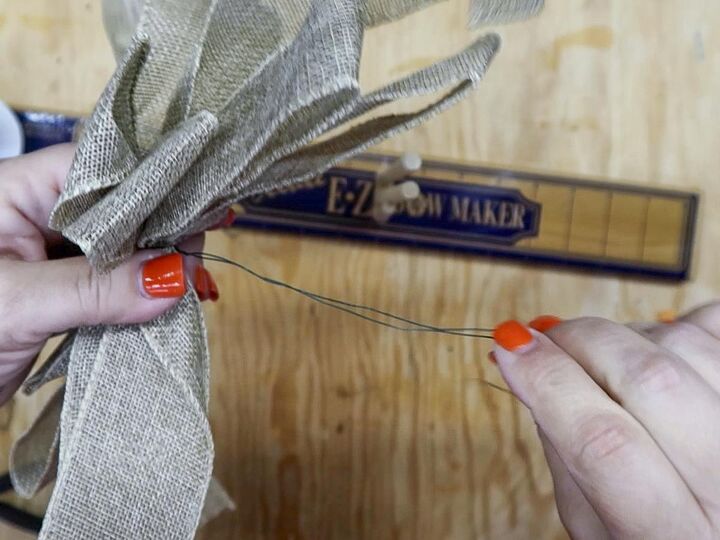
Remaining wire is used to attaching bow to wreath
After the wire is securely twisted around the bow, you’ll have the two ends of the wire sticking out. Use this to attach the bow to the wreath once the bow is complete.
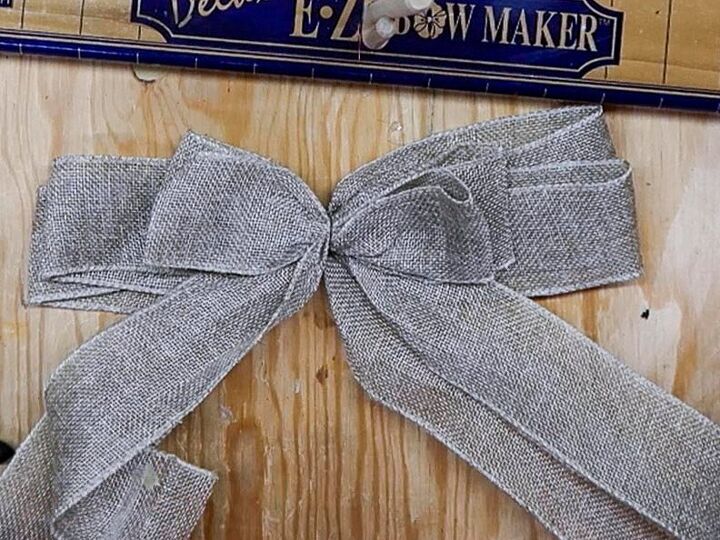
View of flattened bow
At this point in the process, you’ll have a flat bow. Don’t worry, it’ll will take shape soon!
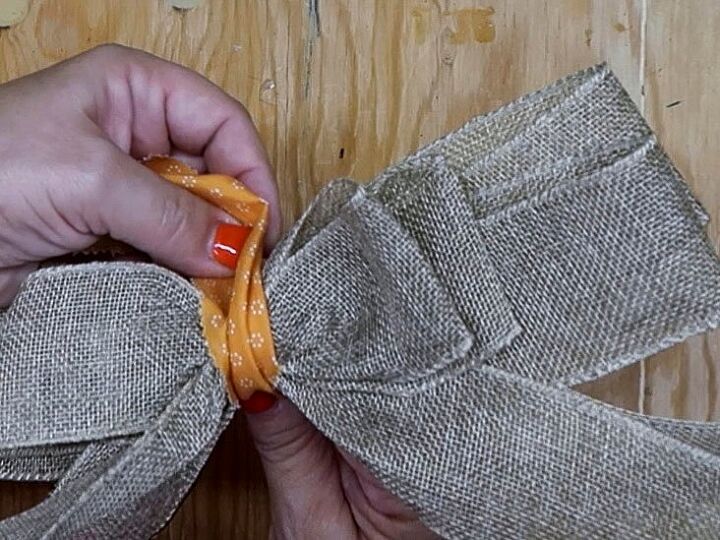
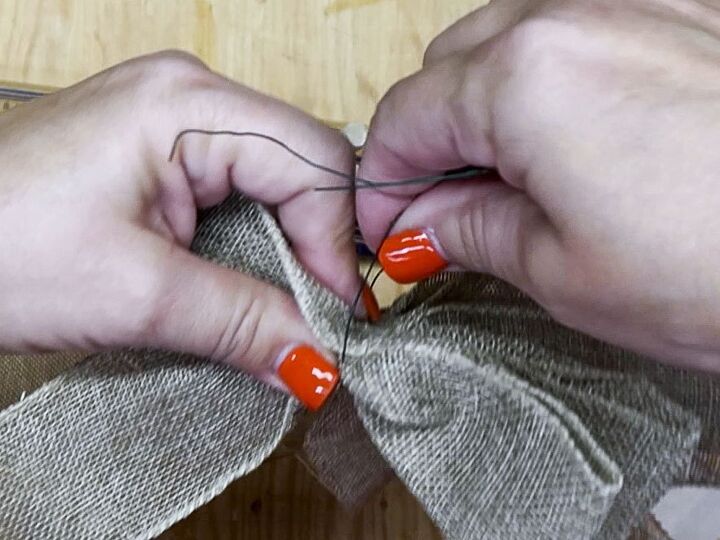
Tie a piece of fabric or ribbon around the center of bow
Loop a complementary piece of fabric or ribbon around the center of the bow. For instance, I used a piece of fabric from my fabric wreath.
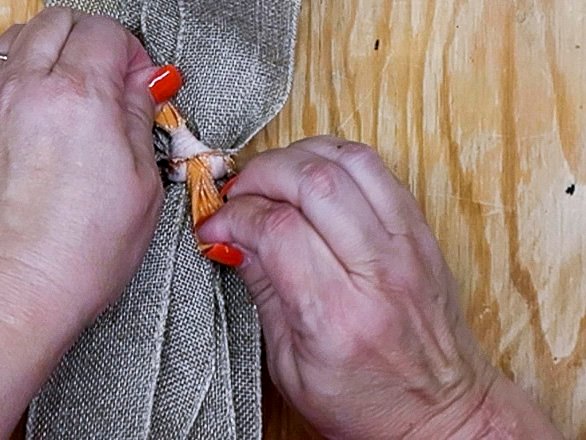
Tie center fabric or ribbon in a double knot
Tie the fabric or ribbon in a double knot on the back side of the bow. As an alternative, you could use a bit of hot glue.
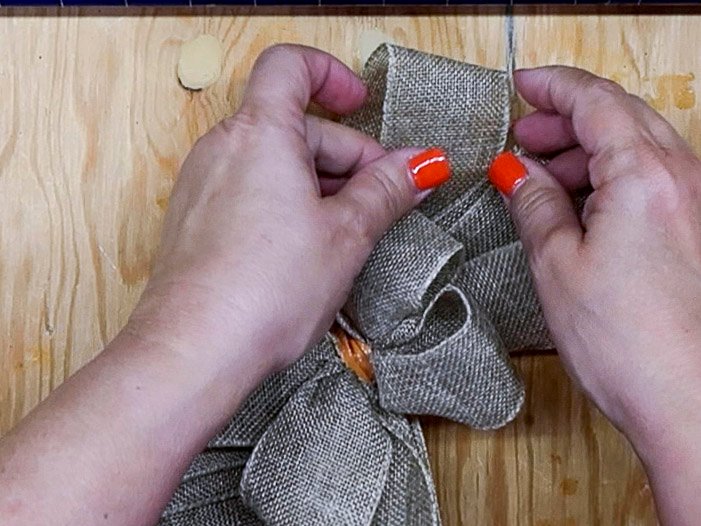
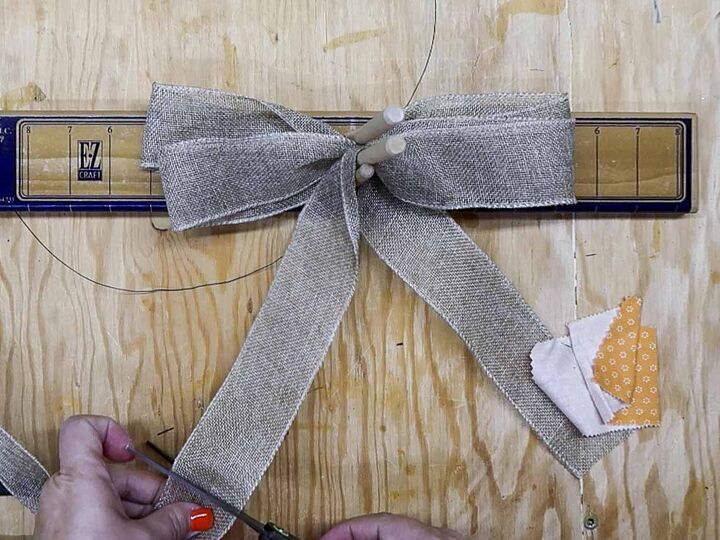
Shape the loops
Separate and shape the 8 loops. This is why it’s important to use wired ribbon. Keep shaping and positioning the loops until you achieve the shape you like.
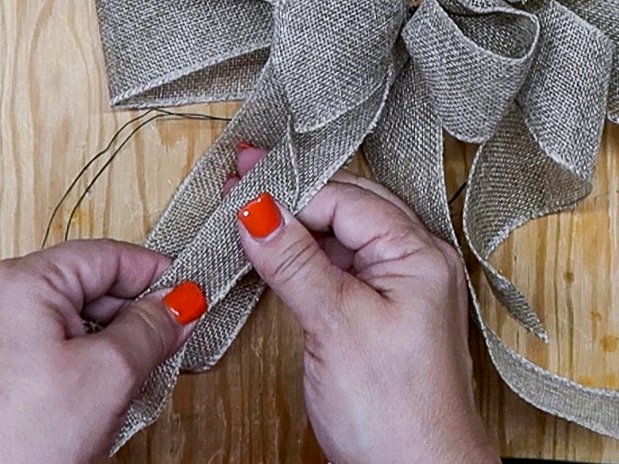
Cut dovetails in the end of the ribbon tails
Fold the end of the ribbon tail in half length wise.
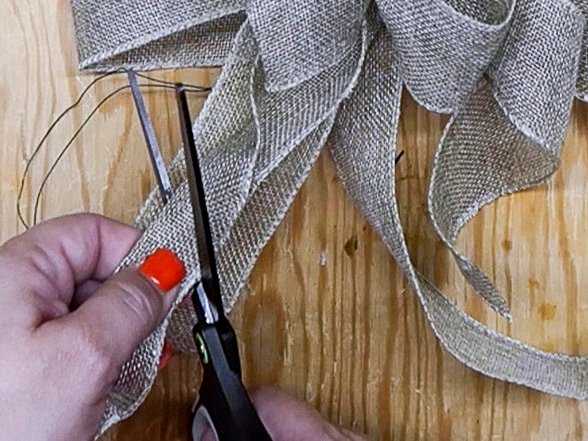
Cut folded tail at an angle
Cut the folded piece of the ribbon tail at an angle. Make a diagonal cut from the outer edge in towards the fold.
Dovetail ends of remaining tails
Repeat the process to cut dovetails in the ends of the other 3 tails. You can make all the tails the same length or have two longer than the others if you desire.
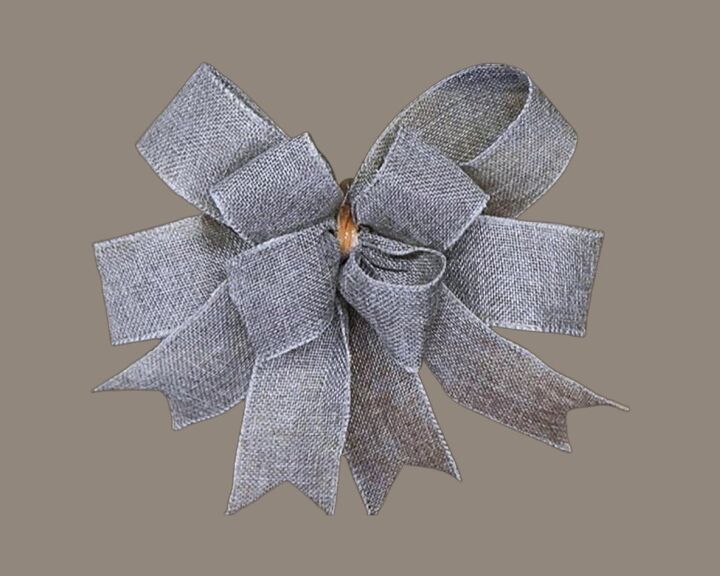
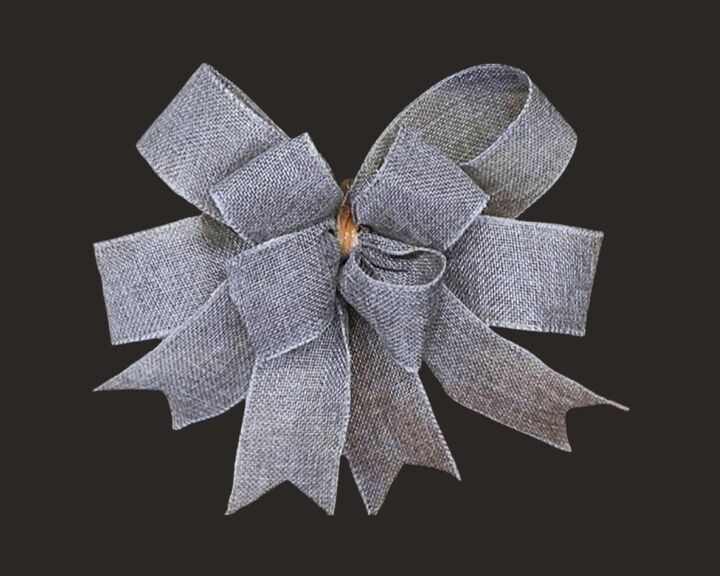
Completed bow
Here’s a picture of my bow after I shaped the 8 loops and cut dovetails into the 4 tails.
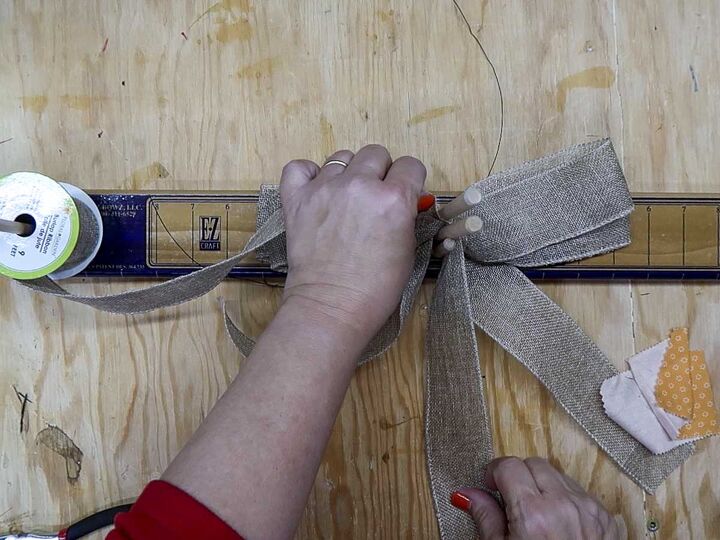
Once your bow is complete, attach it to the wreath using the wire. You’ll likely have to reshape the bow after you attach it to the wreath. Just play with the loops again until you achieve the desired shape.


Frequently asked questions
Have a question about this project?