


Simple DIY Mini Christmas Tree
Today I want to share a fun and easy craft project. How to make a & simple DIY mini Christmas Tree.
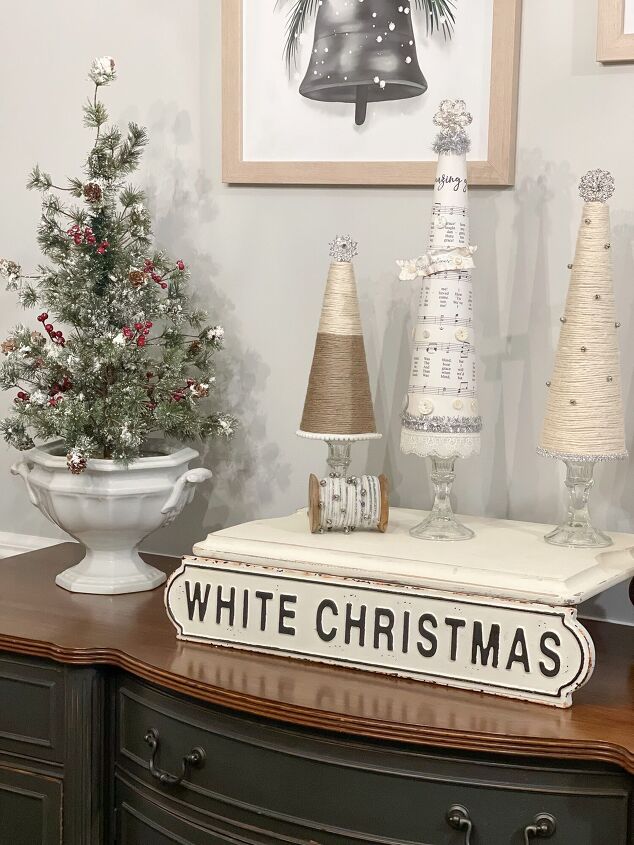
This tree is easy to make for the holiday. Many of the items, I had on hand in my craft room. I wanted to make some simple DIY mini Christmas Trees that were easy to make and vintage inspired. You can see the three Christmas Trees made here.
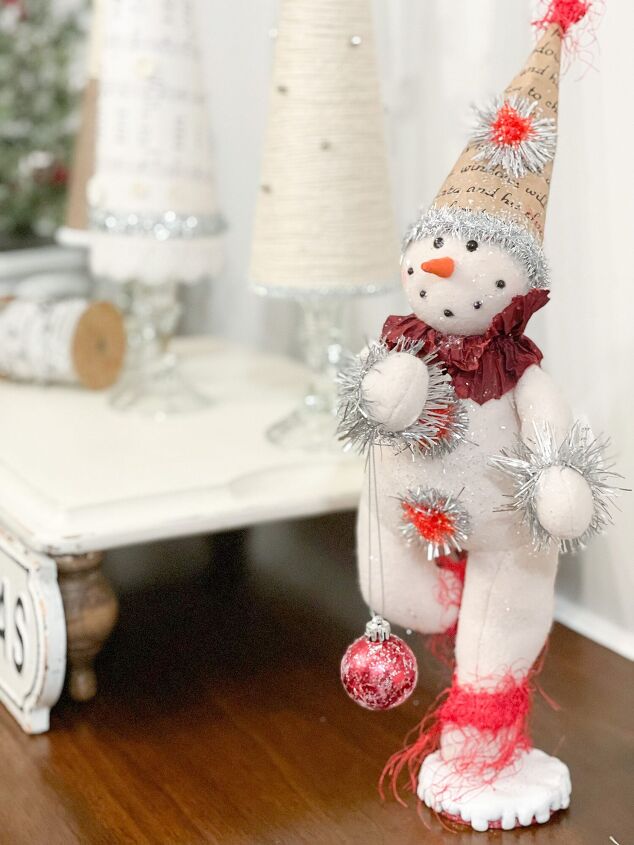
This snowman was the inspiration for my trees. I love the cone hat with writing with the vintage tinsel.
The toppers for the trees are napkin rings. It was easy to remove the ring with wire clippers. Buttons or stars could be used as tree toppers.
These mini Christmas trees would make great homemade gifts too.

You could use any color twine or even yarn to create your trees. The possibilities are endless! Fabric could be substituted in lieu of decorative paper for the center tree.
Let me show you how to make this Two-Tone Twine DIY Mini Christmas Tree.
Supplies
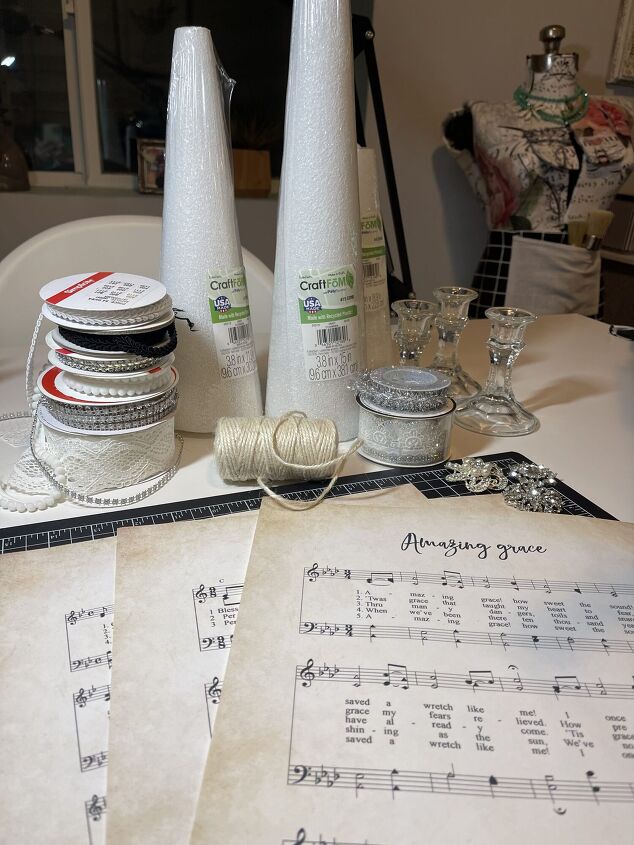
- One Styrofoam Cone (size of choice)
- Brown Twine
- Cream Twine
- Pom-Pom Trim
- Scissors
- Hot Glue Gun
- Hot Glue Sticks
- Candle Holder (you could shop your local thrift stores)
- Quick Dry Tacky Glue (it’s great for crafts)
- Tree toppers you can use jeweled buttons, vintage brooches, buttons, star, or jingle bell (I cut a part napkin rings for my toppers).
Two Tone Twine Tree
This tree is simple to make in a matter of minutes!
Step 1
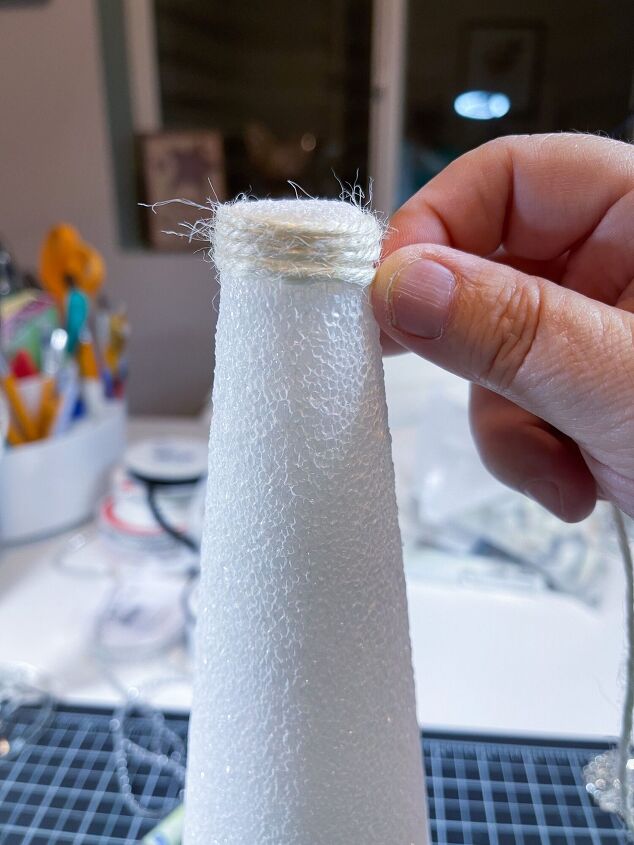
Add some tacky glue down one side and begin wrapping the twine around the cone. Be sure to keep it tight.
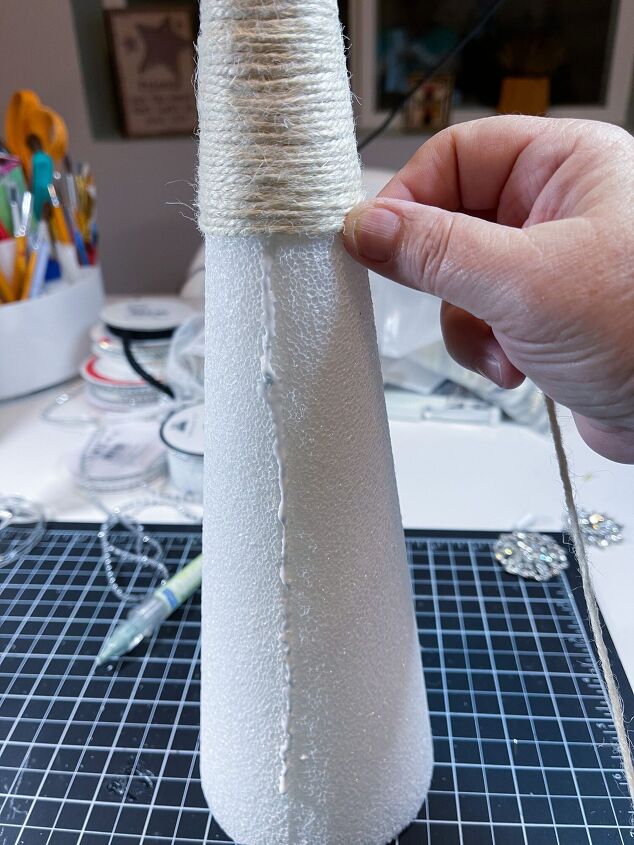
Continue wrapping the twine around the cone working the twine tight against each of the rows.
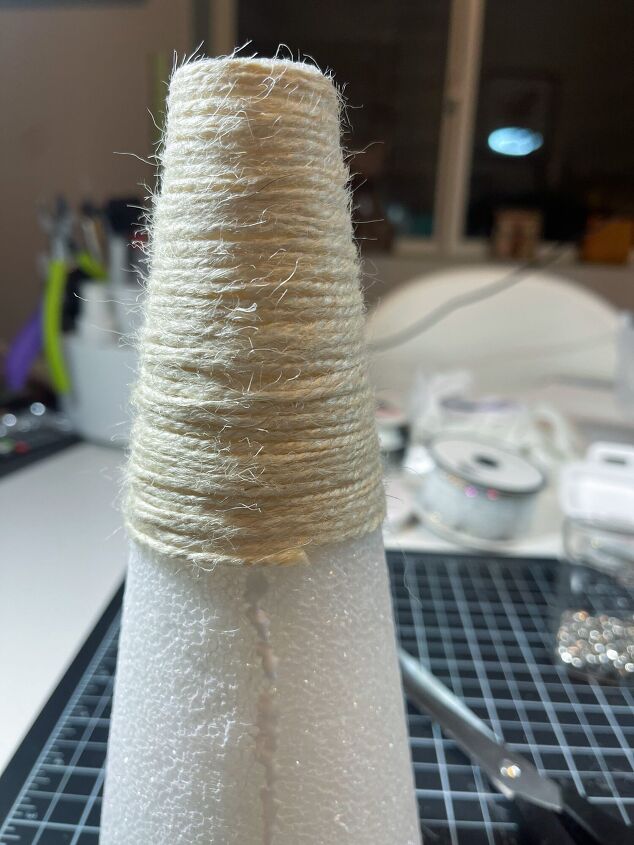
Once you have reach 1/4 of the way down, cut the twine and add glue to hold the tail of the twine down.
Step 2
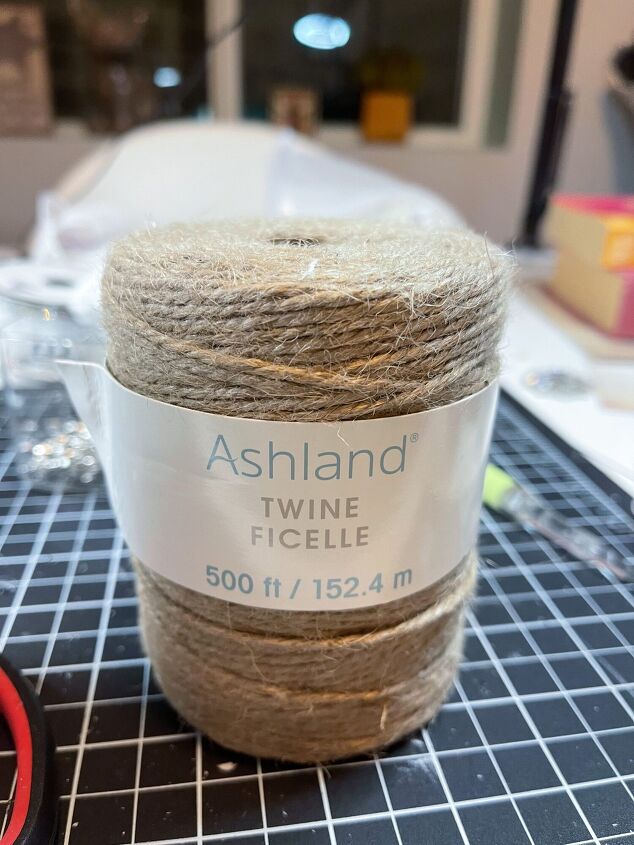
Next grab your brown twine.
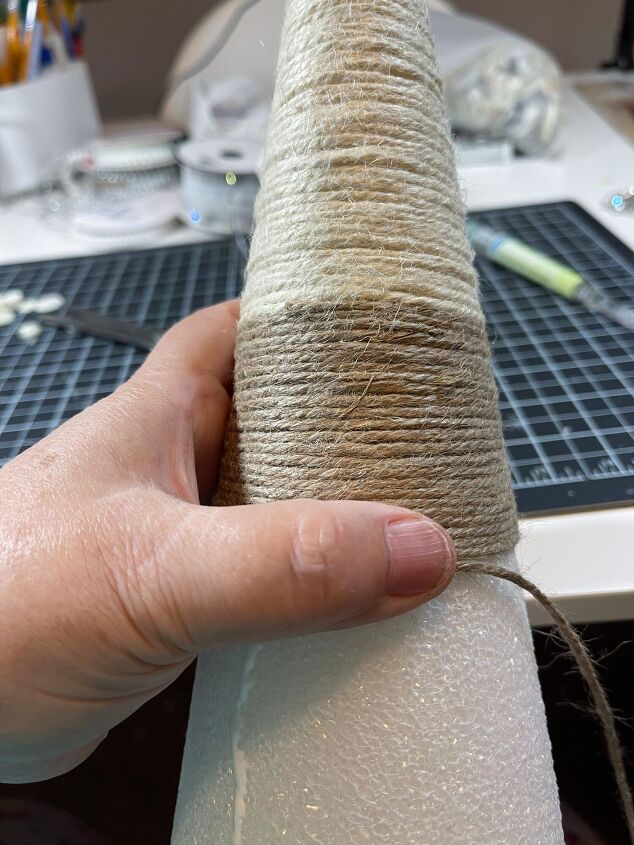
Begin working the brown twine until you reach the bottom of the cone.
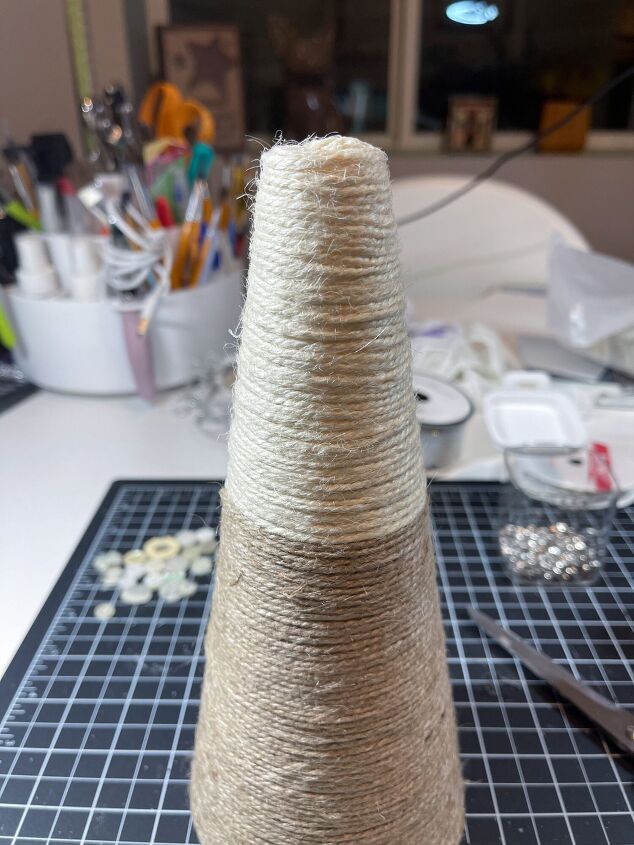
Twine finish look on the cone.
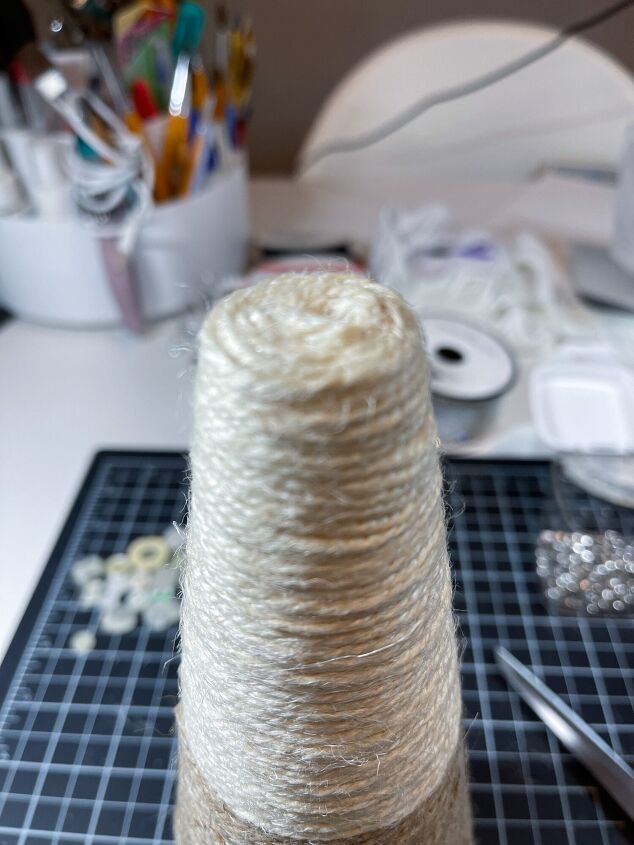
Finish the top off by adding tacky glue to the top. Wrap the cream twine around the center of the top pushing it into the glue. Trim the extra twine.
Step 3
Step 4
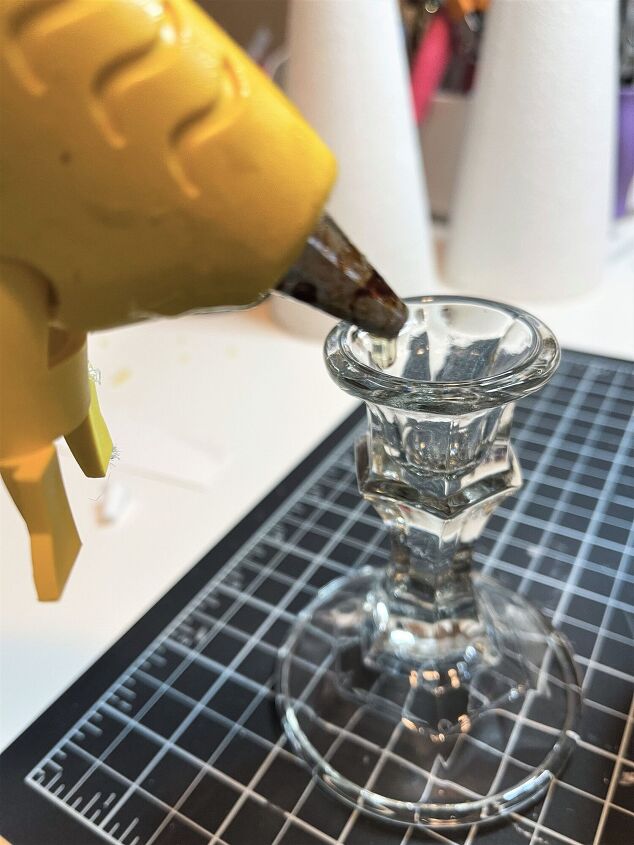
Add some hot glue or tacky glue around the rim of the candle stick holder. Add the cone on top of it. Try to make sure you center the candle stick holder under the cone. You do not want it to topple over.
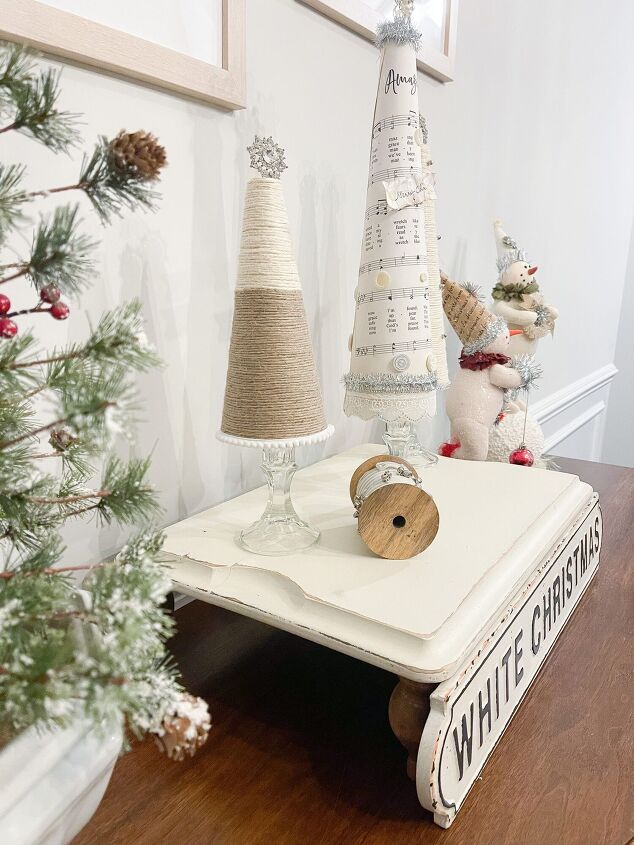
The fun part is adding some embellishments. I kept this tree very simple. Sweet pom-pom trim was added around the top of the cone.
Hot Glue to the jewel topper and push it down on top of the cone. You will need to hold the tree topper for a few minutes. The glue will cool and the tree topper will stand by itself.

Comments
Join the conversation
-
These decor trees would cost a lot more in a fancy shop than what you paid for the materials to create them. 👍️
-
Yes, so true. It's why I like to make my own.


Frequently asked questions
Have a question about this project?