


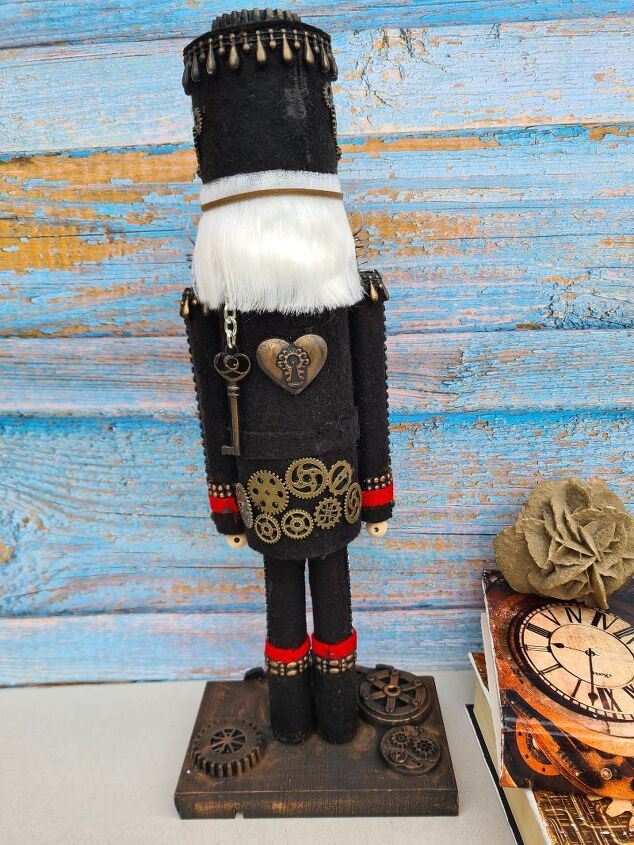
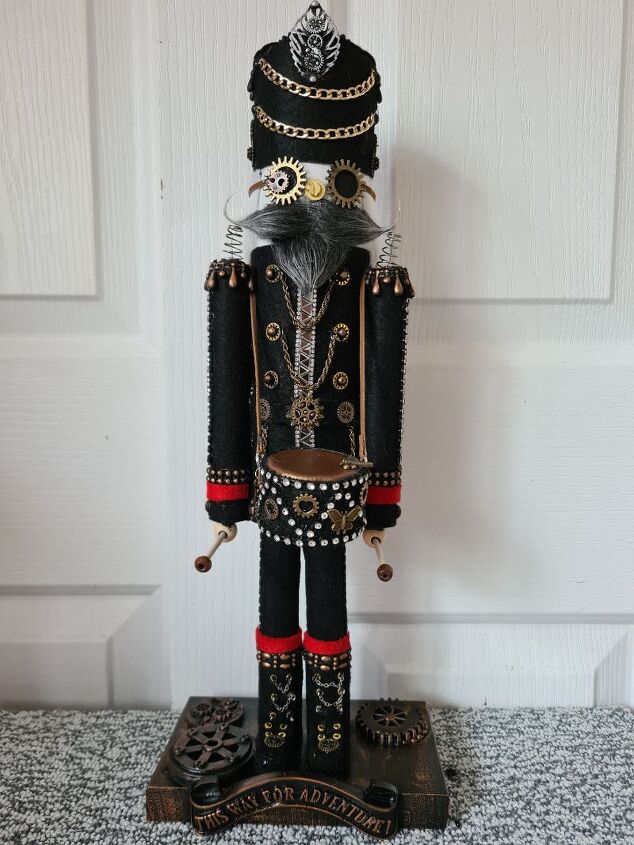
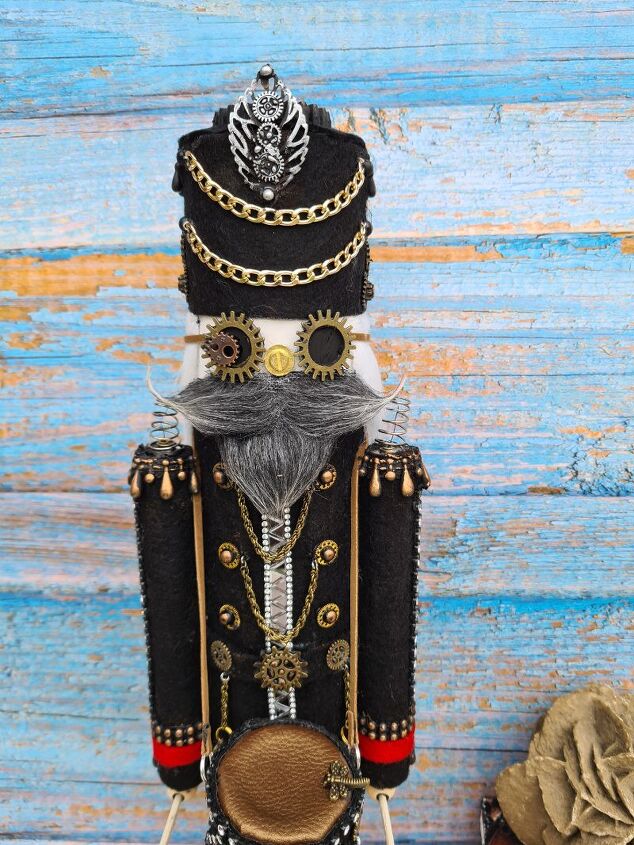
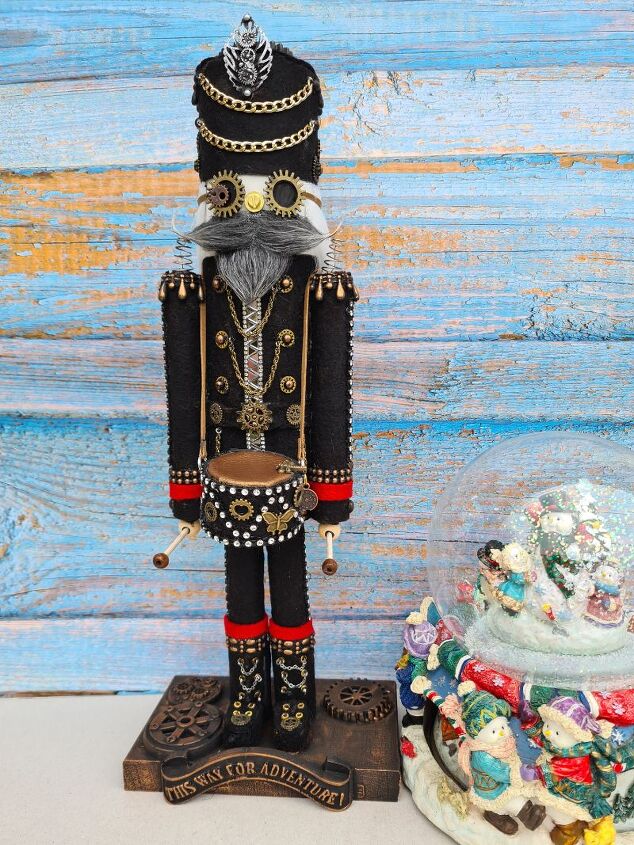
Steampunk Nutcracker
With Christmas just around the corner, I wanted to make a nutcracker to go with my decorations. This is a very quick and easy project to make the base, which took approximately 15 minutes to make. But you could get carried away like me when it comes to decorating him.

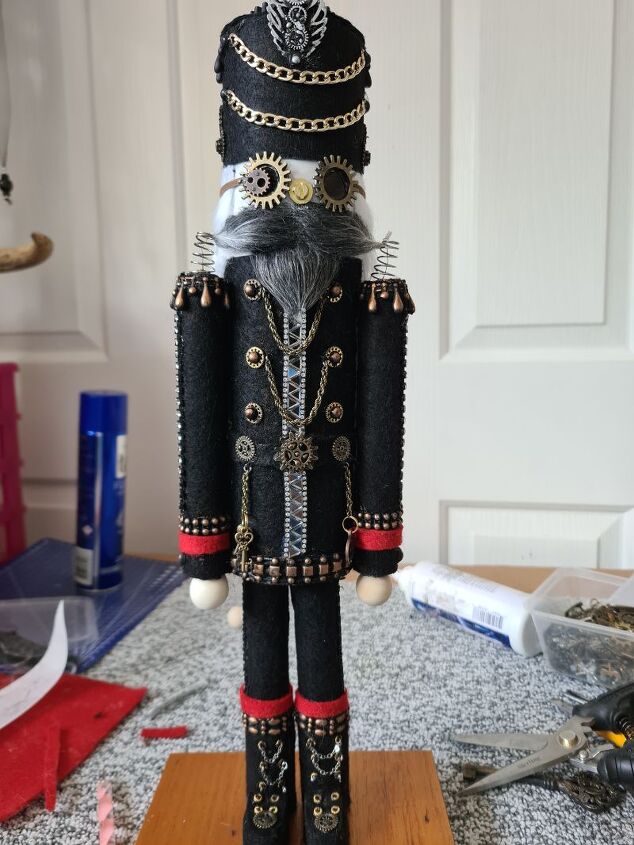
This steampunk nutcracker took about 3 hours to decorate because I went so over the top.
Materials needed
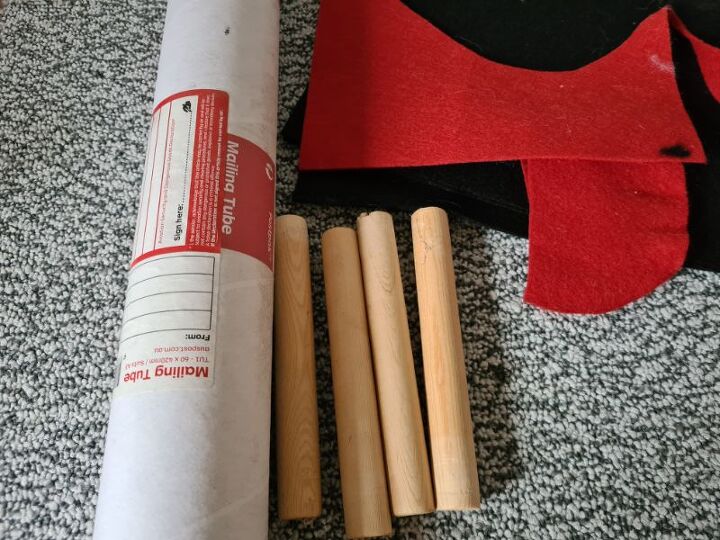
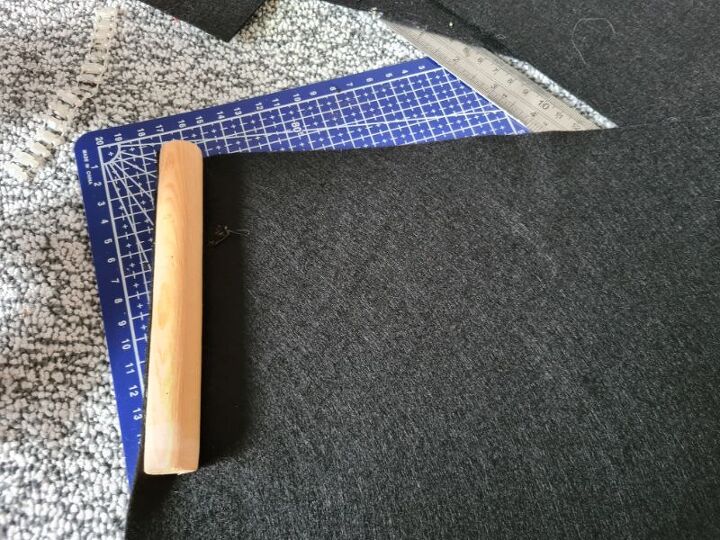
Postal tube approximately 30cm
- 4 x wooden dowels 14cm long x 2m thick
- 2 x A4 sheets of felt
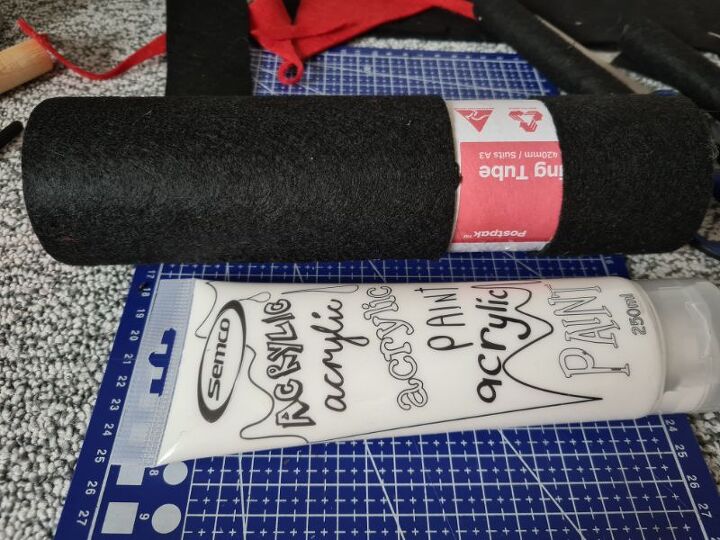
- Acrylic paint
- Hot glue gun
- Wooden block 16cm x 10cm x 2cm
Making the nutcracker body
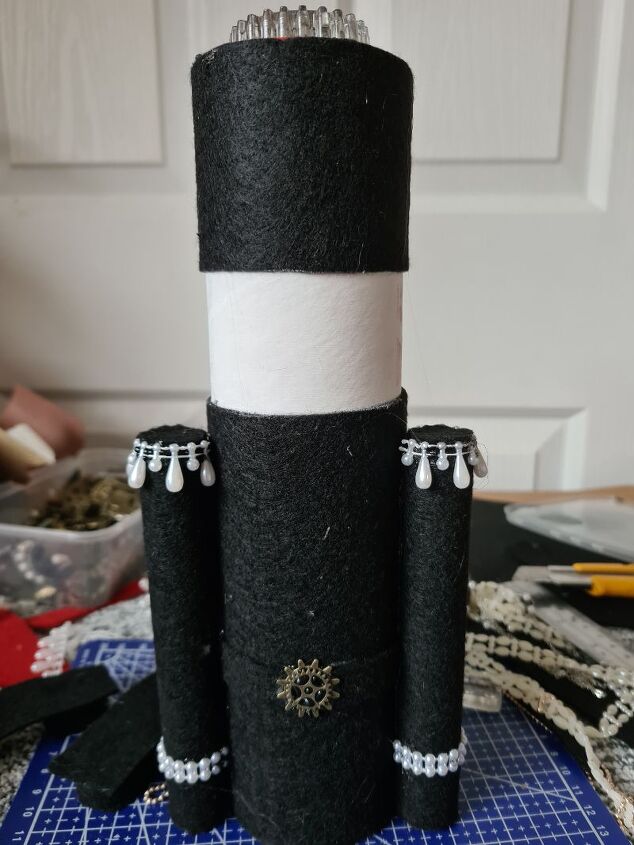
Start, by cutting the postal tube to the size you want. Because I used recycled materials I had to use what I had at home. The dowel pegs were from an old pegboard so I cut my postal tube to be in proportion with the dowel pegs. This was 26cm long. You can buy A4 pieces of felt from a budget store for about a dollar. I used 2 for this project. Next, using the hot glue gun, attach the felt to the tube at the top and bottom leaving a gap for the face. You can use some white acrylic paint to paint over the gap so you have a clean area for the face.
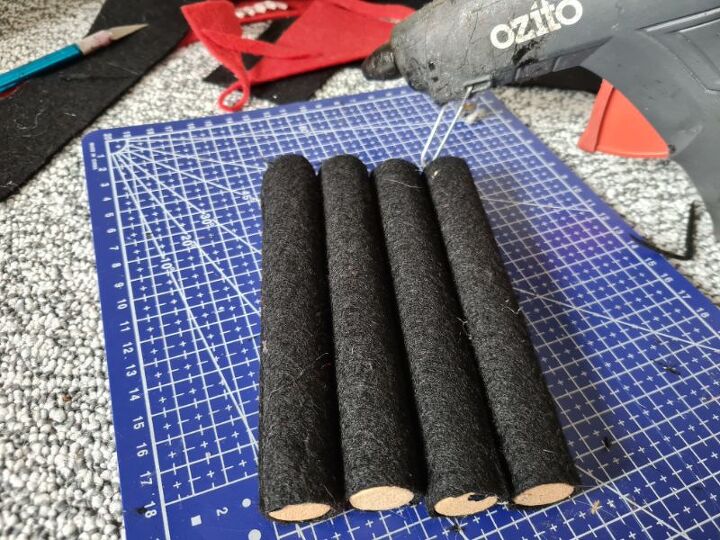
Cover the arms and legs
An easy way to cover the dowels is to put a line of hot glue down the dowel and line it up with the edge of the felt.
Then just roll the dowel in the felt until the edges meet, then cut away the excess.
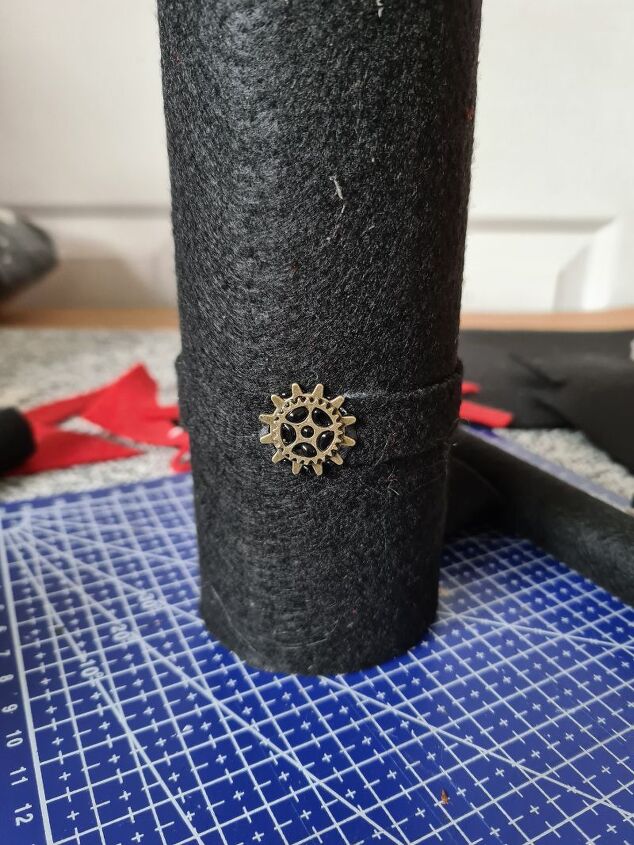
You can cut small strips of felt to make some cuffs and a belt for your nutcracker.
I layered the felt so it was obvious that he was wearing boots. You can just paint them on if you so choose.
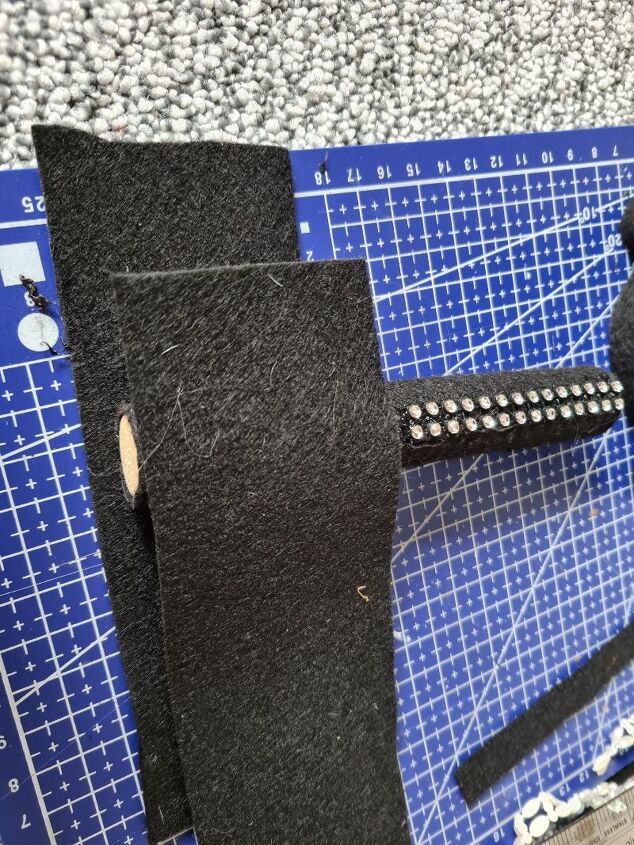
Attaching the arms and legs
If you are using black felt I would recommend using black hot glue so the glue is not so obvious. The clear glue will stick out like a sure thumb.
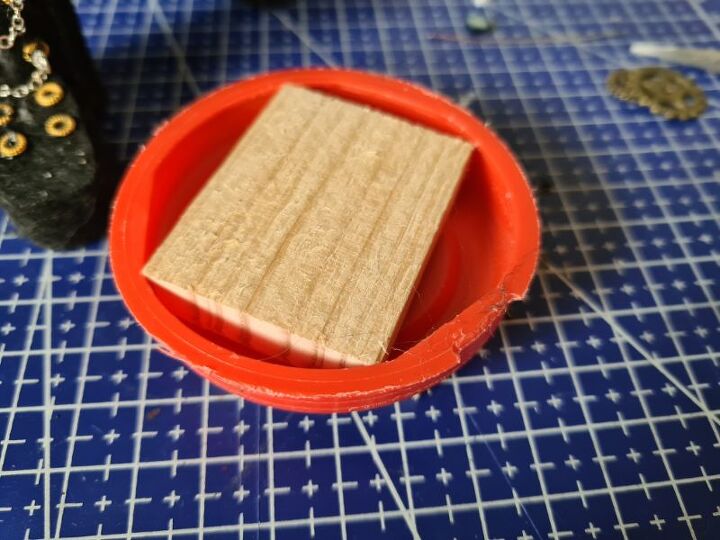
The legs were a bit trickier to attach. Because of the height of the nutcracker, I did not think hot glue would be strong enough to hold him upright. To solve this problem I cut two small pieces of wood, one to go inside the tube lid and one for outside because the lid was hollow. I drilled a pilot hole and added a screw through both to hold them all together.
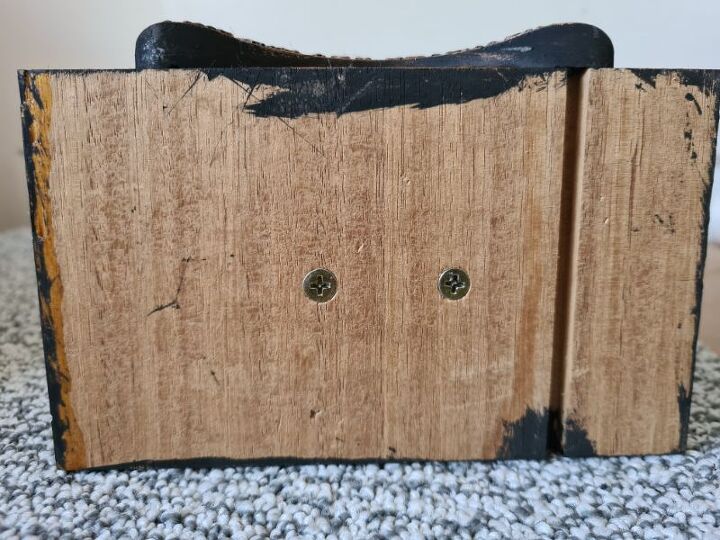
Next, I drilled a pilot hole at the end of each dowel. Using a screw long enough, screw through the wood and into the dowel. This will hold the legs firmly in place. The lid with the legs attached can now be glued back into the postal tube. I got so involved I did not take a picture of this.
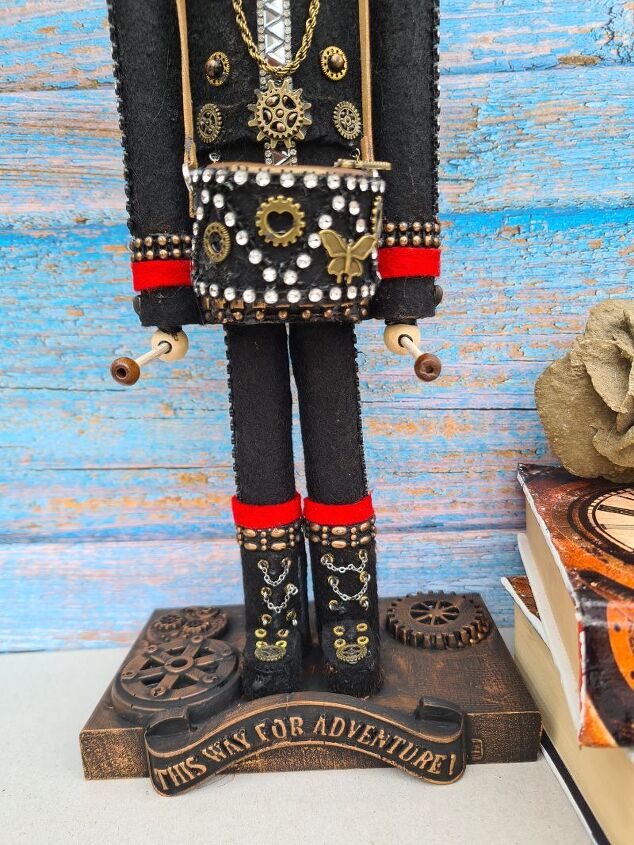
To attach the nutcracker to the block of wood, you can drill pilot holes at the end of the dowels. This is to prevent the dowels from splitting when you add the screws. Drill matching holes into the wood and add screws from the bottom into the dowels. This will make your nutcracker very secure. And that is your nutcracker base completed.
If you want more detailed info on how my nutcracker was decorated you can find the details on my website listed below.
More project ideas for you
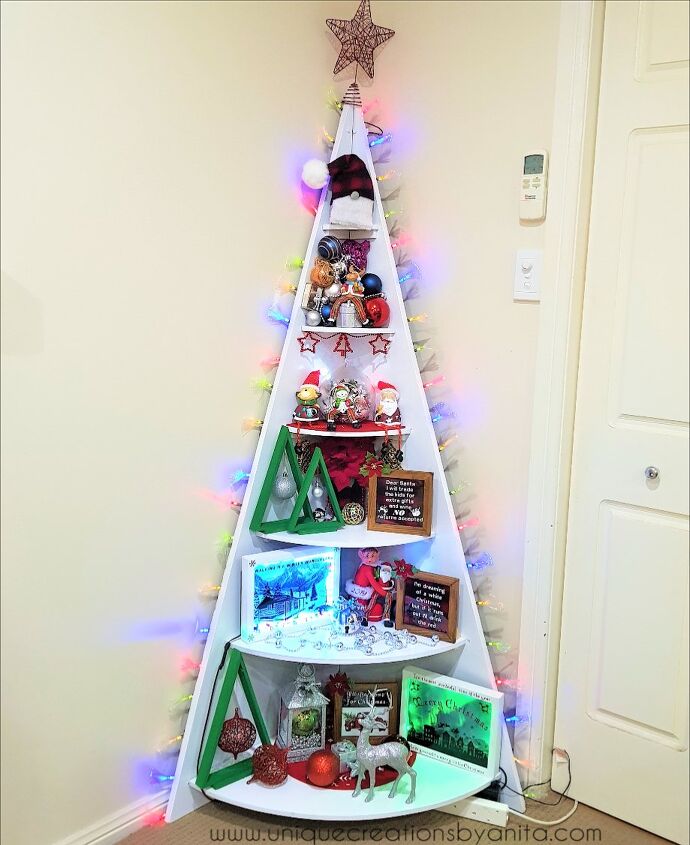
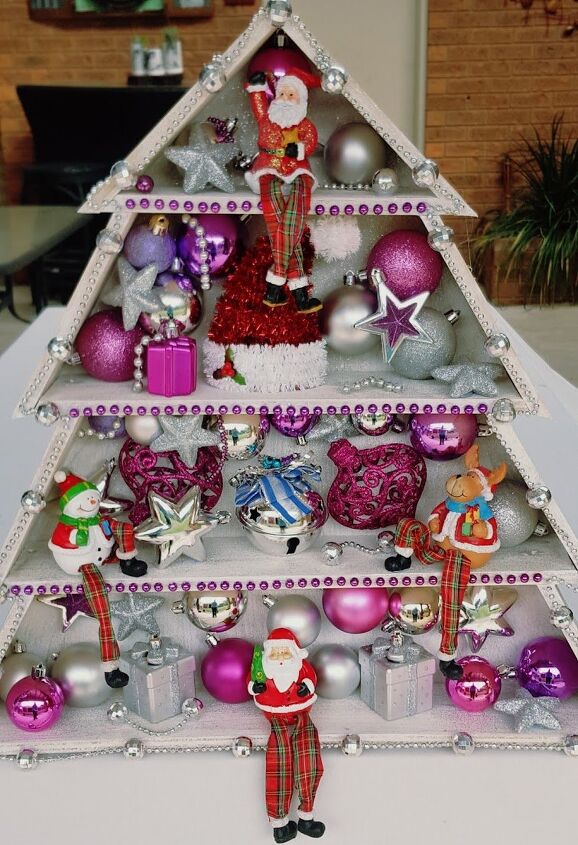
If you are looking for an alternative to the traditional Christmas tree, check out this corner tree shelf.
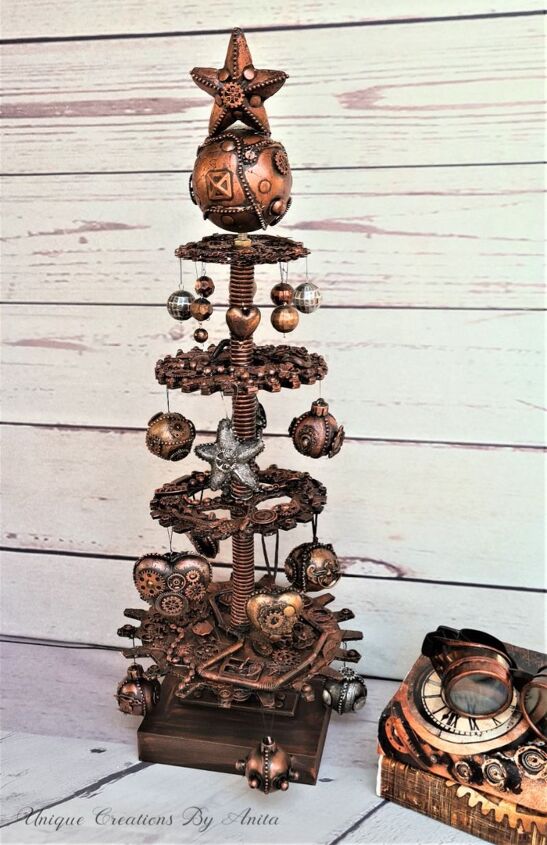
If you are a steampunk fan here are two projects I made last year for Christmas. I made this steampunk Christmas tree from mainly recycled materials.
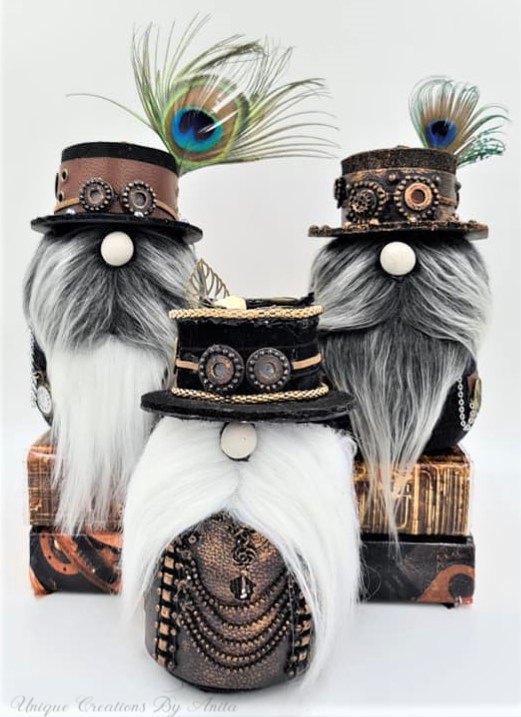
I have other great Christmas projects on my website here is a sneak peek. And how cute are these steampunk gnomes, who can resist having a go at making them?
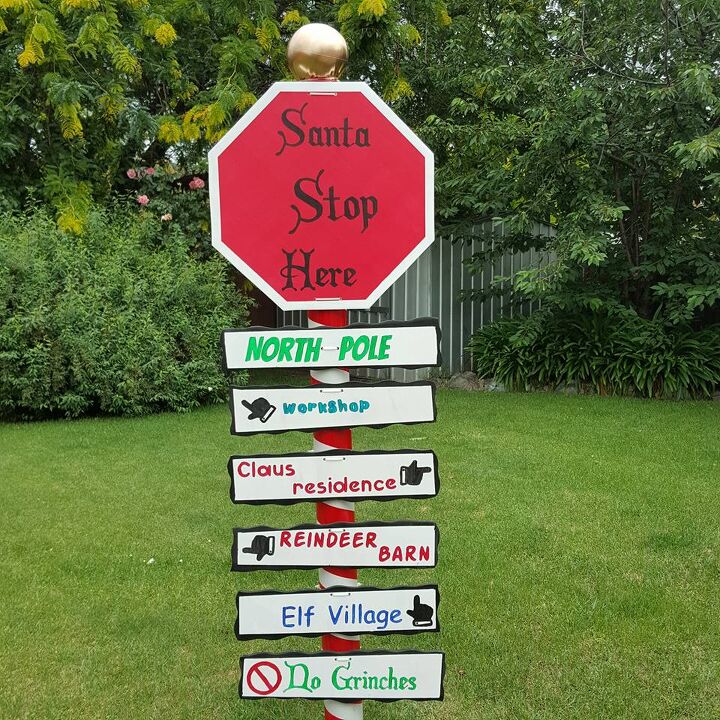
Santa stop here sign
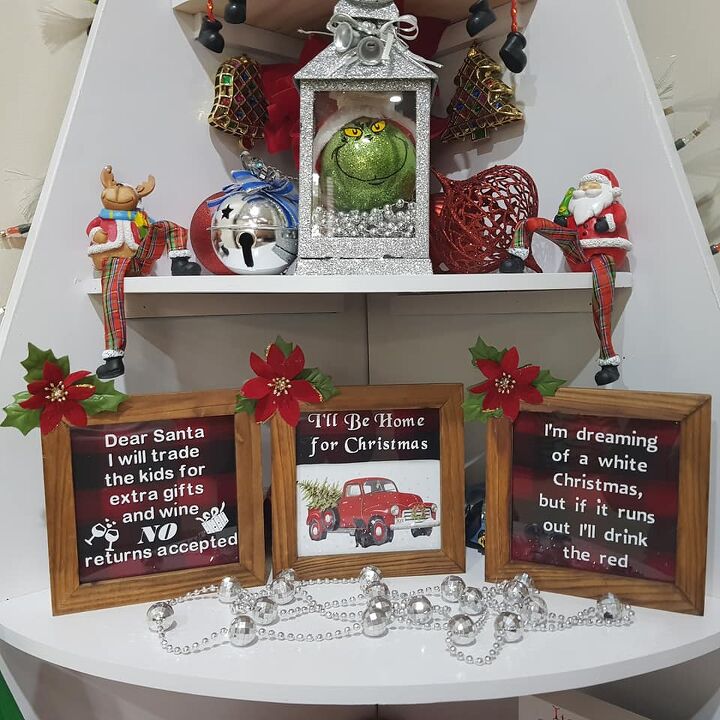
Old frames repurposed into Christmas signs
Wall hanging Christmas tree shelf. All tutorials are available for free on my website.


Comments
Join the conversation
-
Wow you are so talented! Love his stylish facial hair! In your other pic, they look like ZZ Top for crying out loud. I'm lovin' steampunk? What?
- See 1 previous
-
Super-creative! ❤️


Frequently asked questions
Have a question about this project?