


Studded Deer Silhouette

6 Materials
$4
20 Minutes
Easy
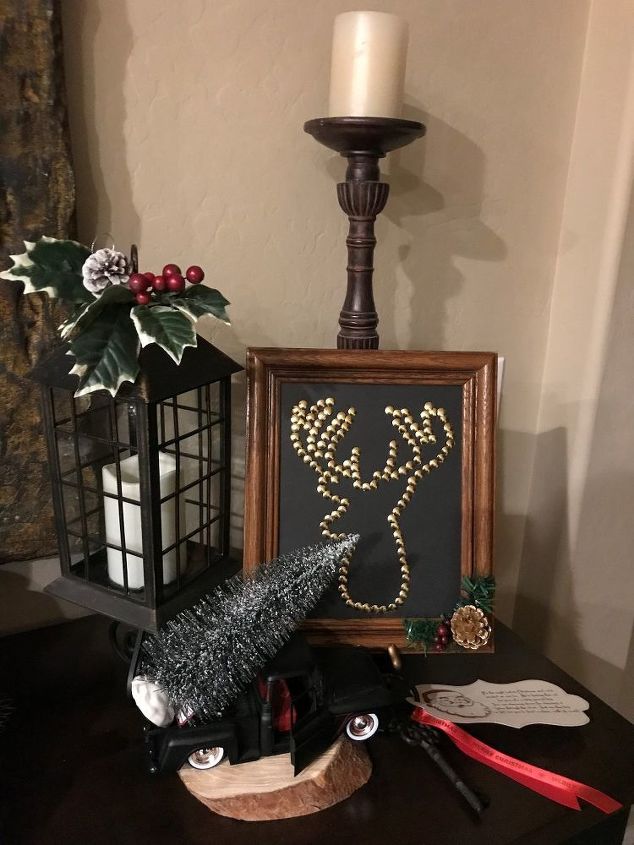
Studded designer deer...This reindeer adds a classic touch to any holiday décor. Decorative black wood wall hanging or table top deer makes for a fun rustic feel in any room. Its easy and elegant. Follow me step by step on how to make this beautiful studded silhouette holiday décor.
Lets make this studded reindeer silhouette
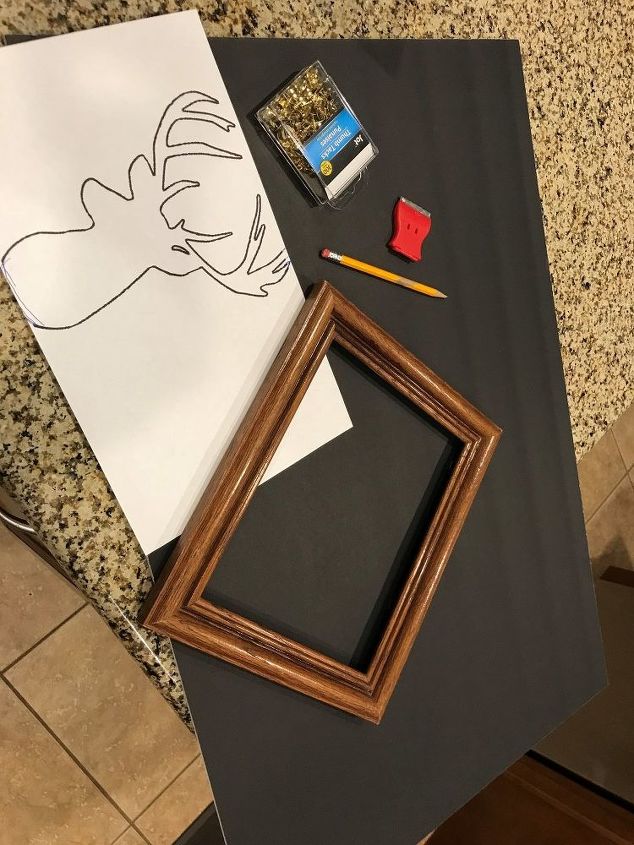
Supplies you need:
Black foam board
Thumb tacks (push pins)
Razor
Silhouette
Pencil
Frame 8x10
Scissors
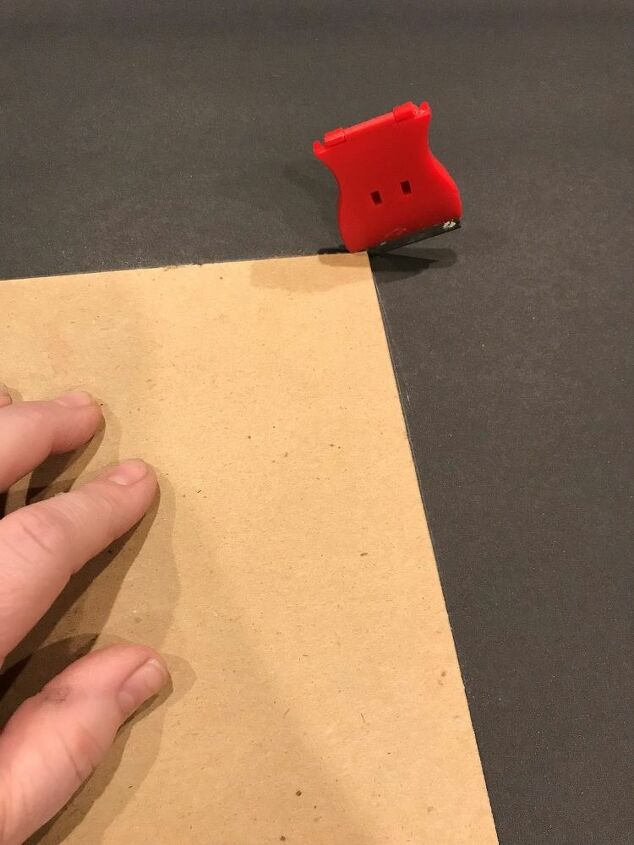
Once you've gathered all your supplies you want to Cut the foam board. You will want to measure or know the size of the frame you have before you go to cut your board. In my case mine it was an 8x10, so I used my razor to cut my board to the 8x10 size.
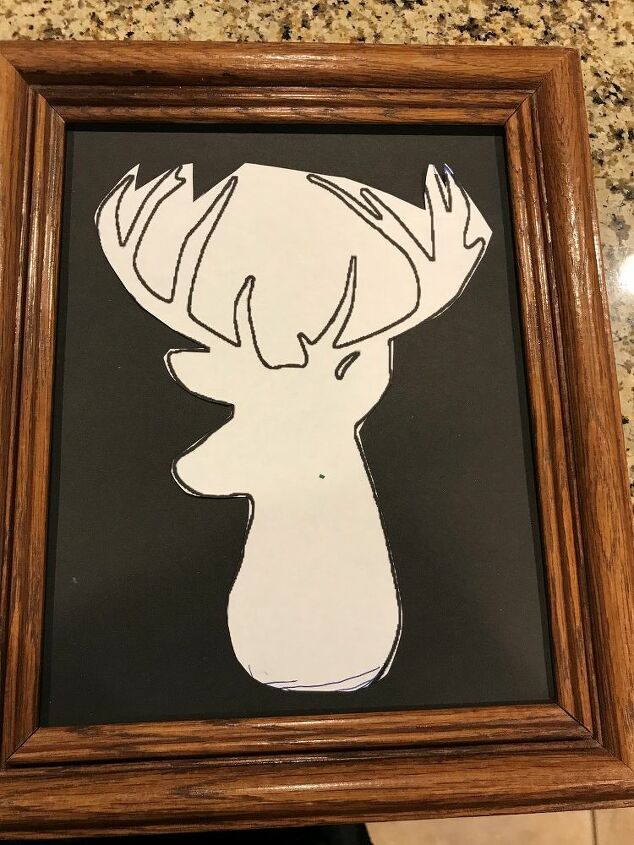
I then cut my deer silhouette, I used scissors as well as my razor to get my image as close as possible to the perfect deer shape. Once I was happy with my silhouette I centered it to the frame. I got my frame at the goodwill but you could get a frame at the Dollar Store. I just prefer wood frames compared to the plastic.
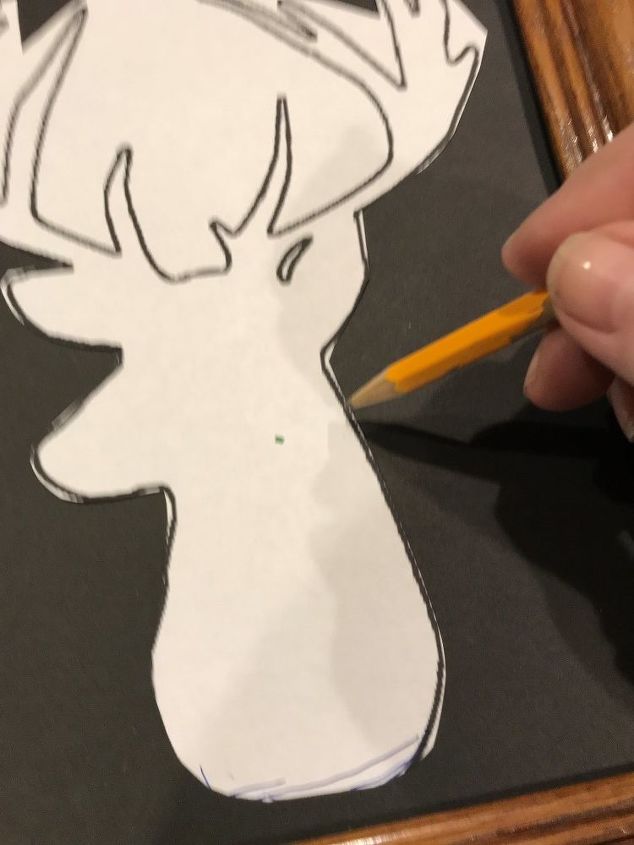
With the image centered I traced around pressing down firmly with a sharp pencil. You don't want to push to hard because you have to remember it is a foam board and it can be punctured by the pencil.
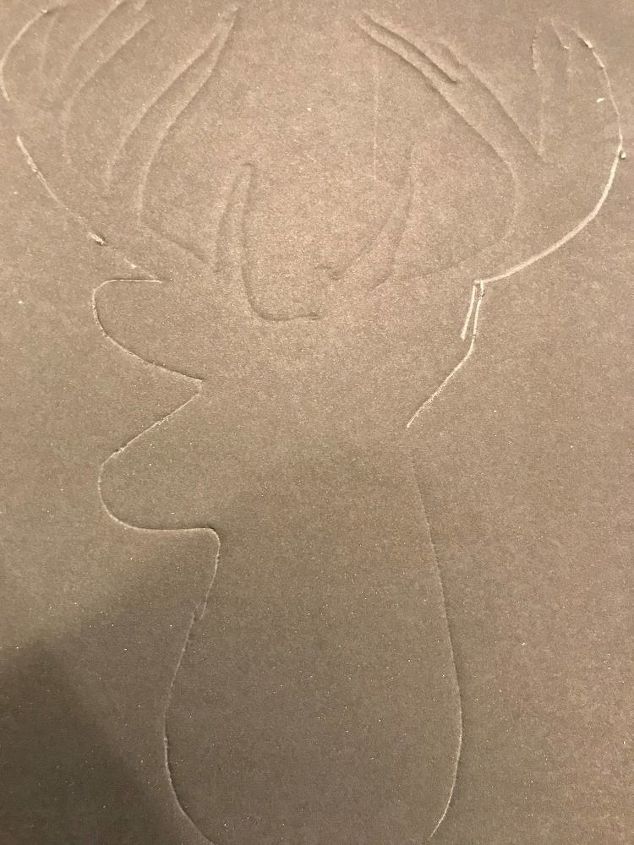
When that is finished and you remove your silhouette image away you should be able to just slightly see your pattern.

Now the fun part, adding the studs! You want to begin with your 2 pieces of foam board the reason your using 2 is the push pins are a little long and go through. (If your studs are not as long you should be fine with just the one foam board piece). Once you see if you need 1 or 2 foam boards you will begin by pushing the pins in, following your outline. You can overlap or put them right next to one another. I chose to overlap because I could move quicker and it didn't need to be as perfect.
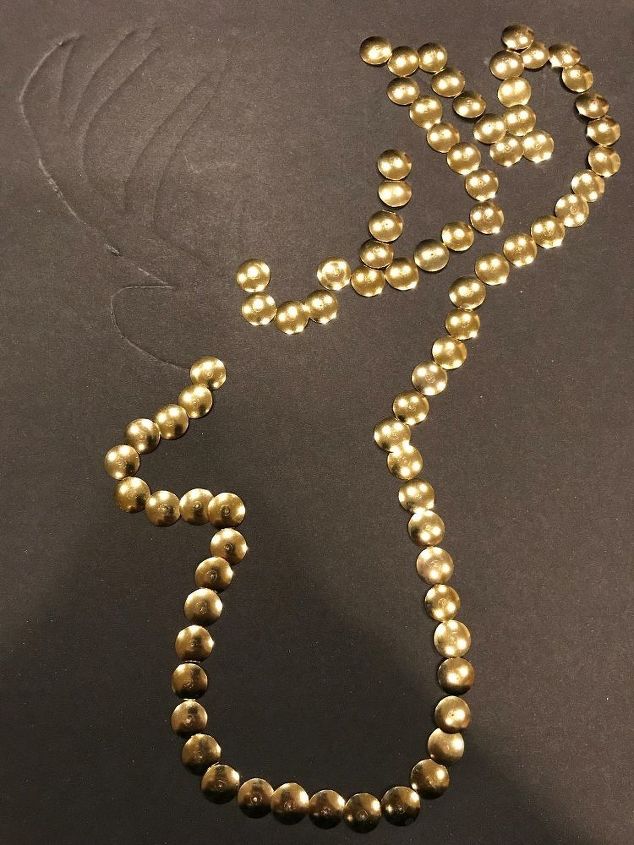
Here I am almost finished. You can choose to fill the inside as well but I wanted to keep mine on the more simple side.
When you finish you want to take your foam board(s) and insert them in your frame and secure.
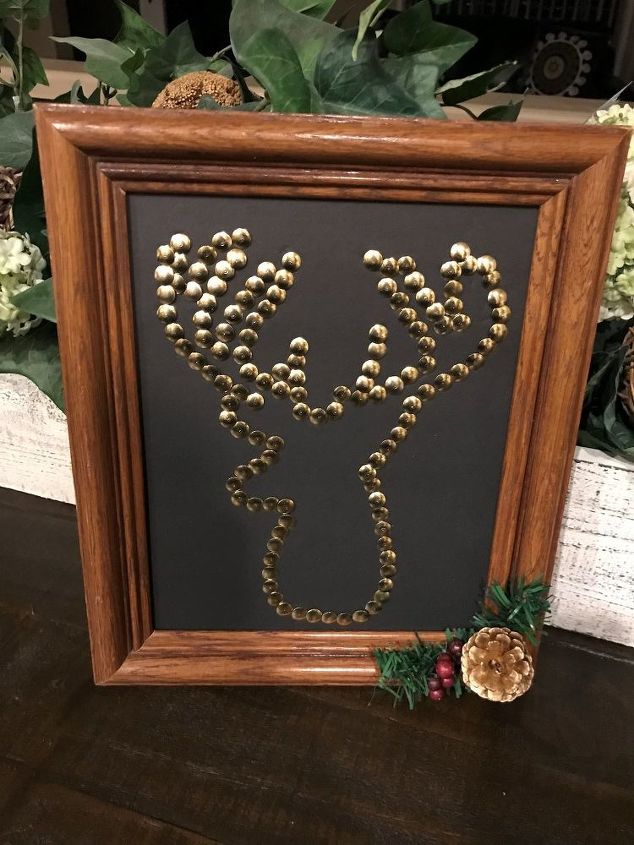
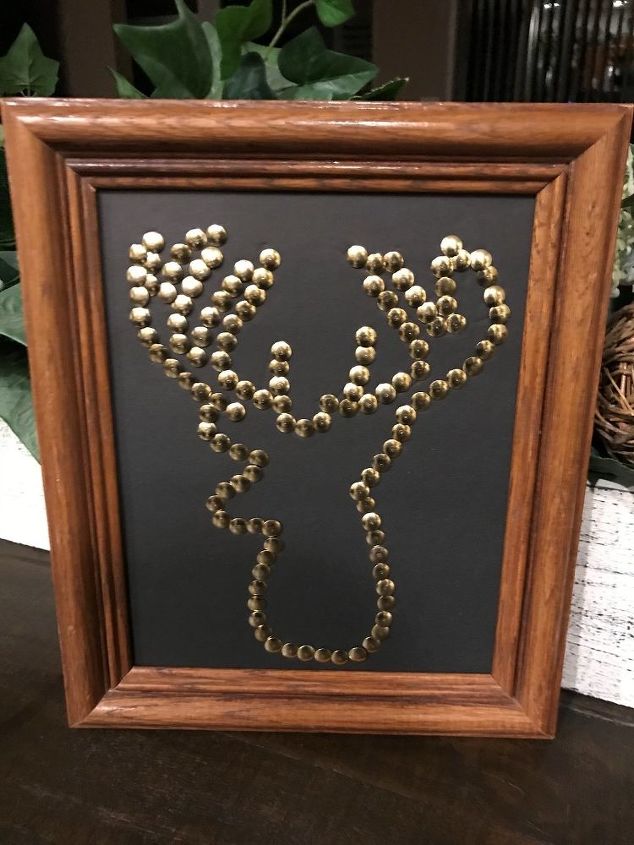
I used my pinecone, greens and berries to embellish the bottom corner with the glue gun. You don't have to it is all personal preference.

Done hope you can use these easy steps to make your own.

Here is my finished image displayed on my sideboard. If you follow me you will also be able to see how I made the snowflake box. These are also available to purchase at Gilbert Marketplace.
Resources for this project:
See all materials


Any price and availability information displayed on [relevant Amazon Site(s), as applicable] at the time of purchase will apply to the purchase of this product.
Hometalk may collect a small share of sales from the links on this page.More info
Comments
Join the conversation
2 comments
-
Wonderful tutorial, and I really want to give this a try!
-
How very lovely.


Frequently asked questions
Have a question about this project?