


Christmas Topiaries - From Ugly Ducklings To Beautiful Swans -REALLY!!

This Coronavirus Pandemic and staying home has afforded me PLENTY of time to work on many projects that have been on the back burner for FAR too long. Case in point is this pair of topiaries. These were quite pretty when I first bought them many years ago. They had pretty greenery on them and I had them on my front porch for quite some time. BUT, eventually various birds kept stealing the artificial leaves and twigs to make their nests and their beauty faded away. But rather than discard them, I put them into my husband’s shop. I literally uncovered them recently in his shop and decided the time had come to make them pretty again.
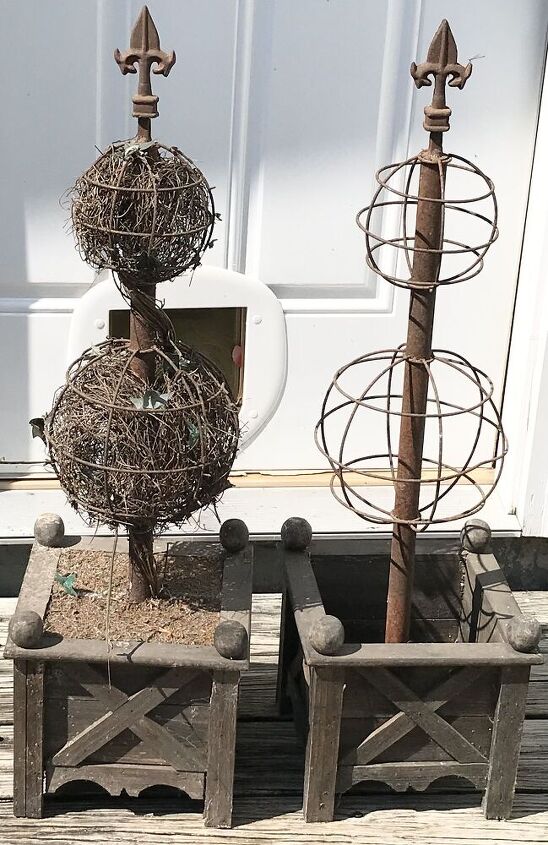
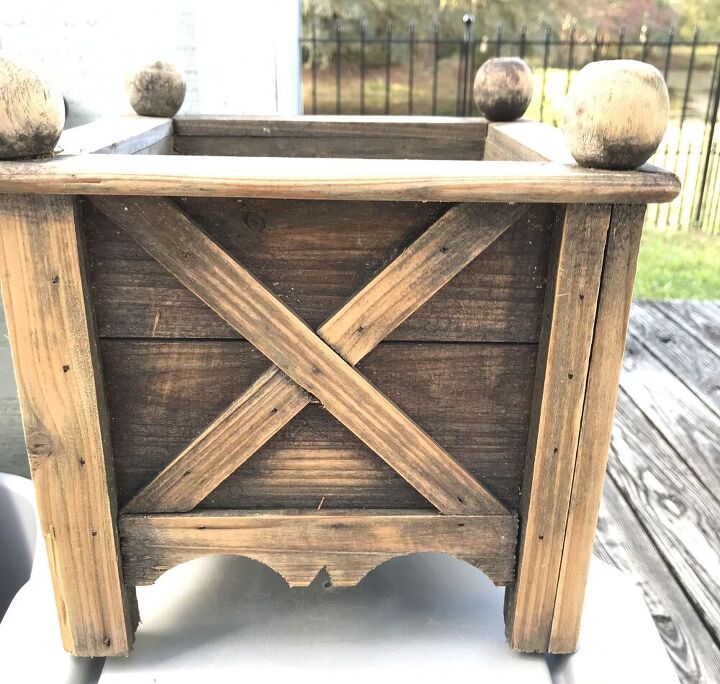
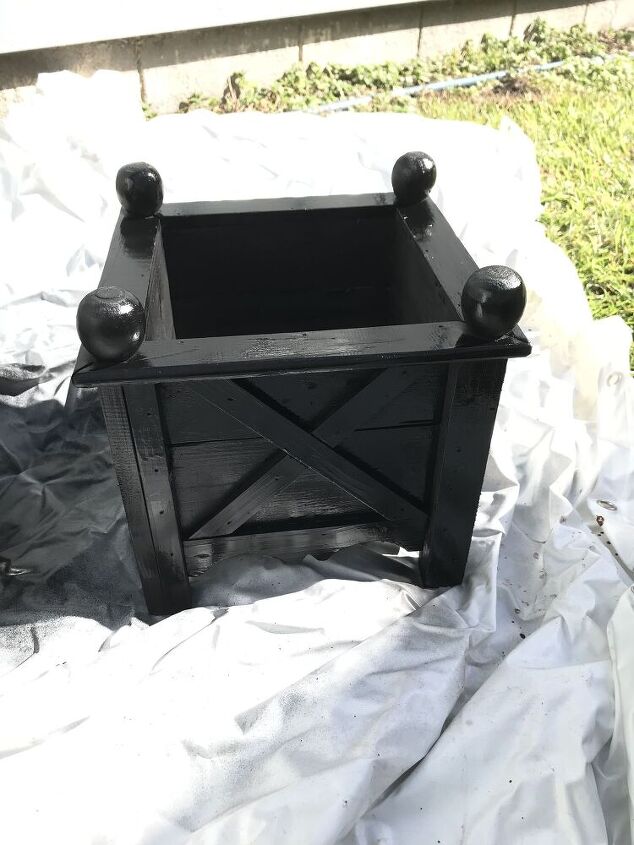
As you can see, I had pulled out all the dusty, and I do mean dusty, twig filler out of the right one. I even wore a mask😷 while I was doing it because there was stuff flying everywhere. And I was working outside!! Pitiful looking, aren’t they? But I digress. There was also filler in the base which ended up being styrofoam covered with something unknown so I just tossed it. It was full of spider webs and lord only knows what else. 😱 The metal frame of the topiary was screwed to the base. I unscrewed it, pulled it out of the base and washed out and scrubbed the base down and let it dry in the sunshine.
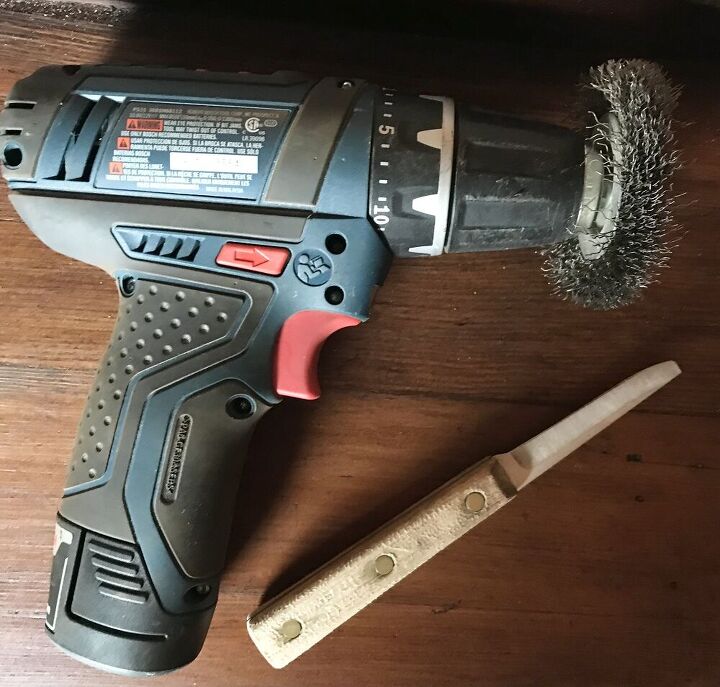
I then began to work on the metal. I began to scratch off as much crusty rust as I could get to. I’m not into the rusty look. I used a very “high tech” tool to do this. My main tool is an old paring knife with a broken tip. Stop laughing 😆. I then used hubby’s cordless drill with a wire brush attachment. I used it to get as much rust off the orb itself. These are the exact tools that I use on every metal or iron project that I work on. No lie.
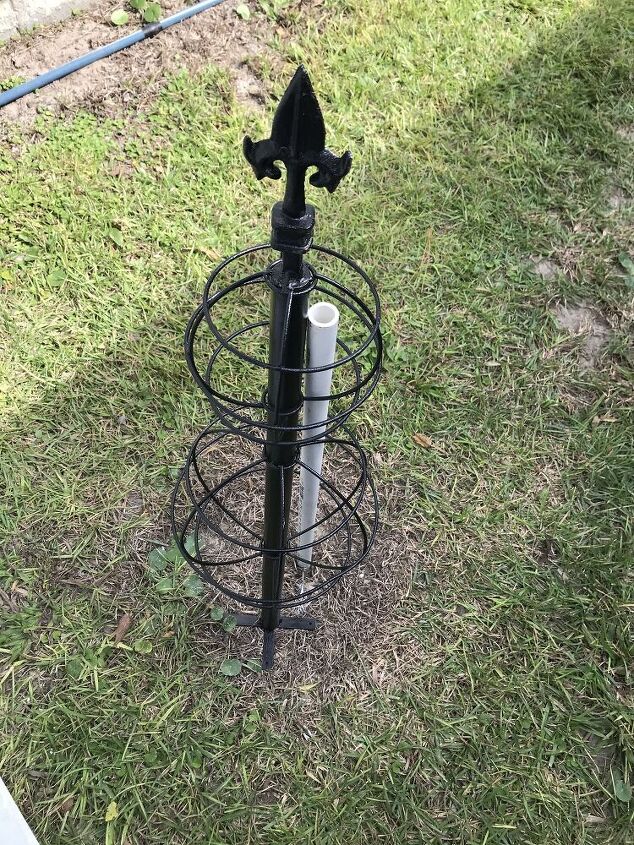
I then sprayed the topiary frame with lots of WD40 to get more rust off the metal. The WD40 was left to work for at least 30 minutes. I then took a rag with some cheap rubbing alcohol to get the WD40 residue off the frame. Next I sprayed the entire frame with black Rustoleum spray paint. I propped up the frame and let it dry. Then I put a second coat of Rustoleum on it and again let it dry.
Then I painted the wooden base with black spray paint. The base was so dry that it soaked up the paint unevenly. I gave the base a second coat of paint to even out the finish.
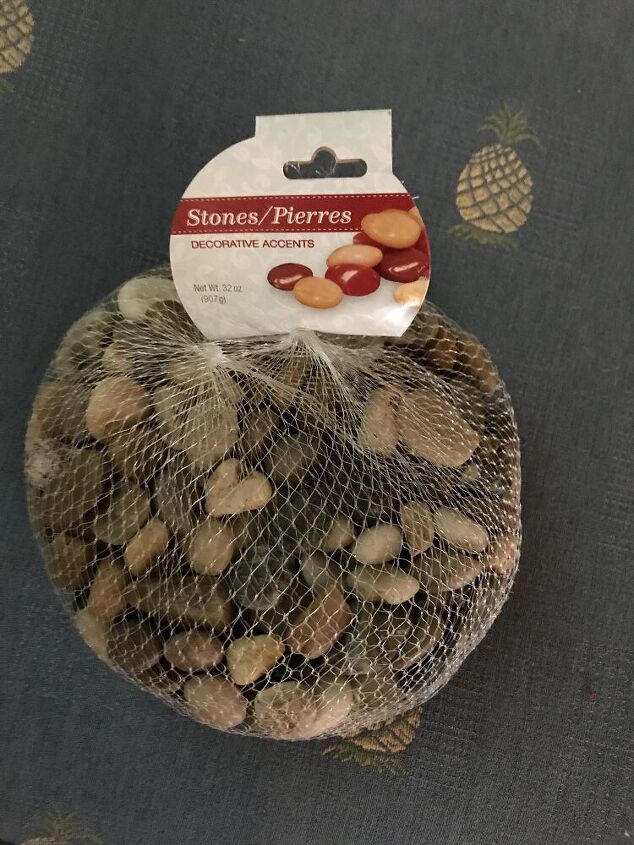
I took the metal frame inside and began putting garland around the upper orb frame. Then filled the lower orb with garland as well. Full disclosure, I have several bins of garland which I have accumulated over the years. I then reattached the metal frame into the base. But I secured it with nuts and bolts instead of the screws to stabilize it better. Trying to re-use the old screws left it rickety. I bought four bags of rocks and will put one each into these the bases. These will be used to insure that the topiaries won’t topple over or easily blown over. The other two bags will be put into the two 3 tiered topiaries I still have to refurbish. Hopefully before Christmas. Purchased the rocks, of course, at the Dollar Tree.
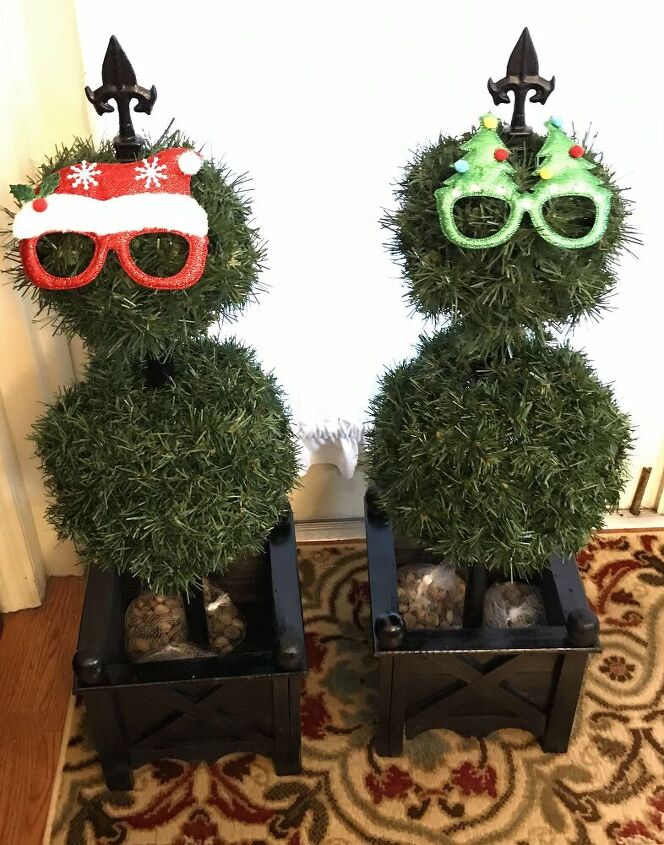
This is how the topiaries looked like with garlands on the orbs. They are looking better and better. But not quite finished. Found these fun Christmas glasses at Dollar Tree and couldn’t resist picking up a pair. Putting them on these topiaries reminded me of “Cousin Itt” from the Addams Family tv show from long ago. Snicker, snicker.
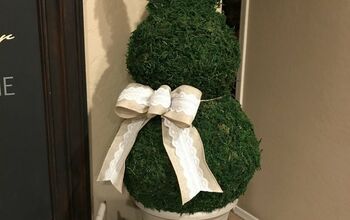
Okay, I am done with my comic relief and I removed the glasses. I grabbed my box of various Christmas ribbon rolls. Now to decide which ribbon to use. 🤔 I have a vision in my head and had to figure out how to get it to the topiaries. I tried several different colors of ribbon and finally ended up with this one. I also tried several different methods of accomplishing the idea I had in my head. Finally, it came to me. I threaded half of each ribbon piece starting at the top of the orb and pulled it through the inside of the orb. I pulled it pretty taunt, tied the ribbon in a knot , and then fashioned the bow. I put four ribbons with bows on 4 sides of each orb. I put a bag of rocks in each base and used a short piece of leftover garland to cover the rocks in the base bottom.
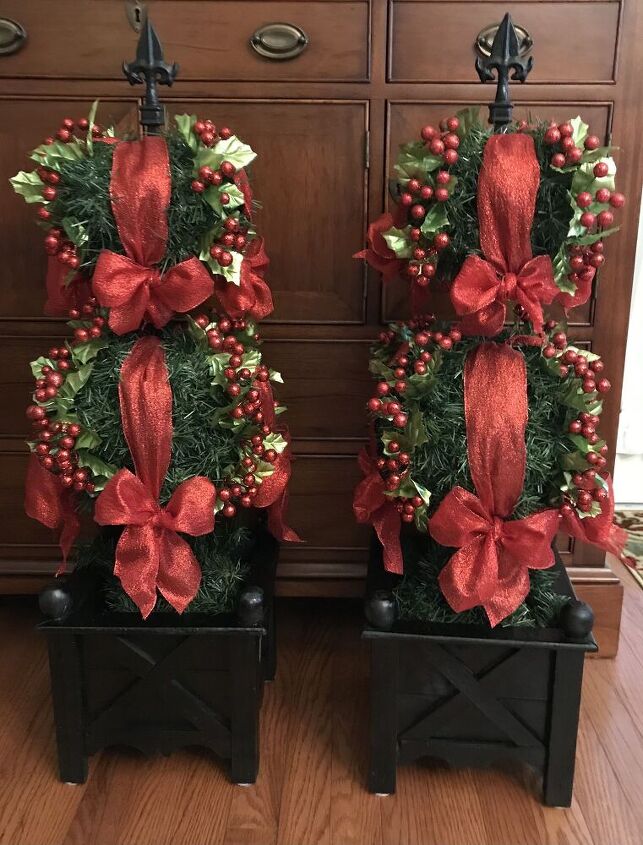
This is how the two topiaries as they are now. I must admit they look much better than the first photo. After adding some sparkly berry picks I had in my stash, the swans HAVE arrived. FYI. The berry floral stem had 5 pieces each. I cut them into separate pieces to spread them out. Every time I go past these topiaries, I am tweaking the berries and also the bows. I am a fanatic about lots of things. So if you see one not straight, be assured that I saw it FIRST. Lol 😆🤪😳. Very glad these are ready to use for this Christmas! But they will NOT be going on my porch. At least not this year. They will be placed one at each side of the staircase in my home. Now onto the next project. What will it be? Feel free to ask questions. Maybe you have some topiaries that need refurbishing. Hope you Hometalkers will check out my other projects to see what I have posted out of unusual items.
Comments
Join the conversation
-
You're a hoot!!!
 Enjoyed reading your tutorial..the topiaries turned into beauties!!


Frequently asked questions
Have a question about this project?