


Upcycled Wood Christmas Tree
I knew that if I were to have a Christmas tree this year, it’d have to be upcycled in some shape or form. I’ve never put up a tree for the holidays before but this year I was ready and willing to DIY something out of the many leftover materials we have from various projects around the house. I’ve enlisted my husband in the initial search for an idea. After some consideration, he suggested we use the leftover wood moulding we’ve used as trim on the windows we recently replaced. He even had a look in mind for it and I was immediately on board.
From that idea to the final look things took multiple turns (as they usually do, for me at least), but we ended up with a mini Christmas tree, upcycled and 100% handmade! In addition, we only used materials and tools that we already had, so we didn’t spend a penny more to make it. It was also quite amazing to discover how we can use materials we already had in a purposeful and creative way for this project – like one of the long cooking chopsticks we’ve had for years and hardly use became the trunk for this tree! As a bonus, this tree is easy to store and we’ll definitely use it in the coming years as holiday decor.
STEPS:
- TREE
Once you have the wood picked out for the different parts of the tree, determine proportions and shape. If you have scraps in various lengths, do some measuring (and even math!) to make sure you’ll have enough. I had to do that and it paid off because I only had a small piece left in the end.
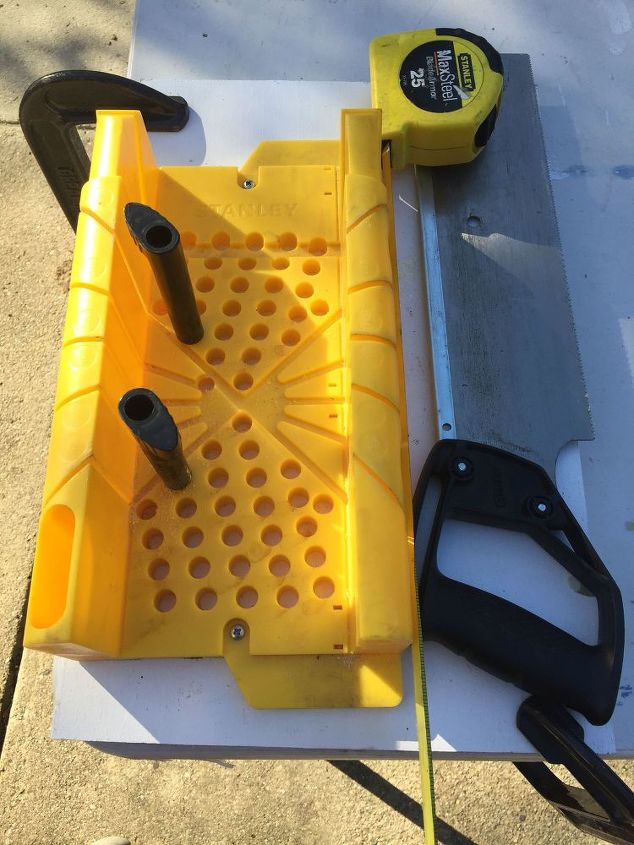
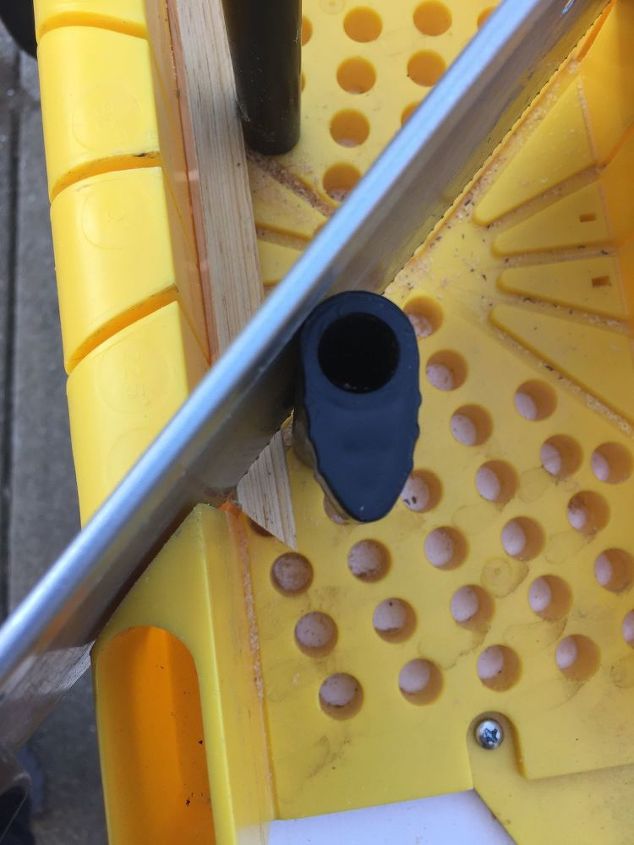
For clean cuts, it’s helpful to use a miter box. If you don’t have one, try free-handing with a hand saw. For angled cut, in particular, the miter box comes in handy because it keeps the angles the same across all pieces.
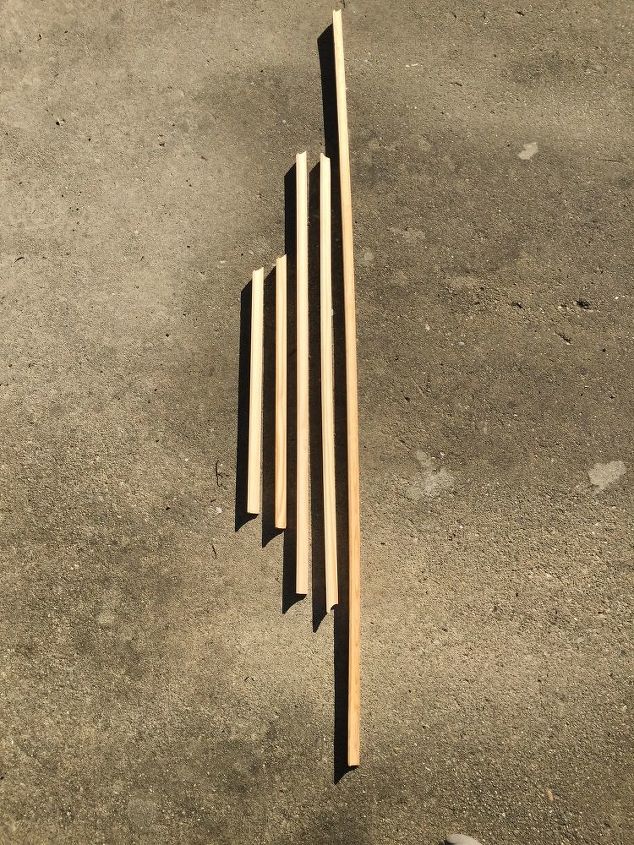
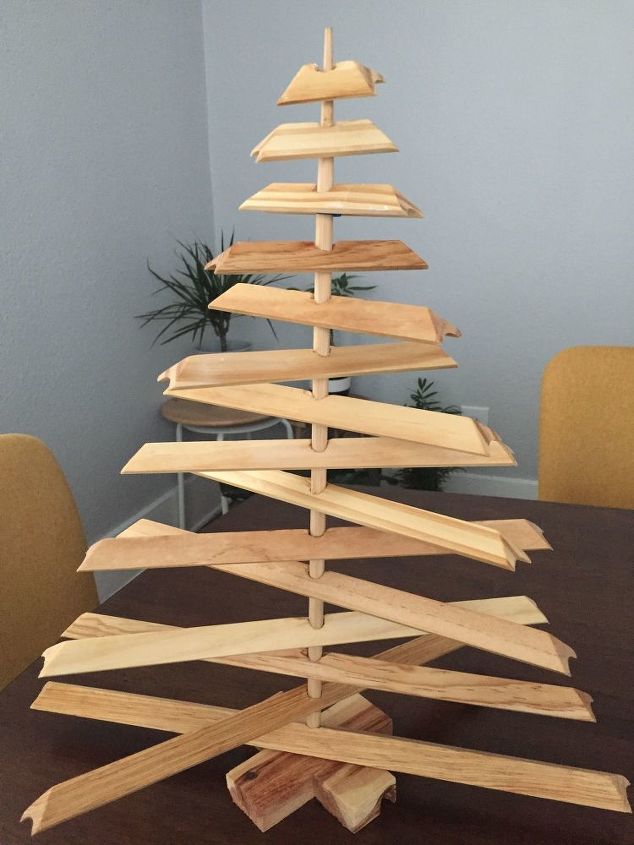
Start with the bottom largest piece and work your way up. If you’re doing angled edges, make sure you’re positioning your wood pieces in the correct spots in the miter box before cutting. Also, using a measuring tape, mark the spots where you need to cut. For this tree, each piece was shorter by 1 inch than the previous one. That’s how I ended up with 15 separate pieces – the bottom one measuring 15 inches across the top edges, while the top piece is 1 inch long. The chop stick measured 16 inches above the base, which left me with some spacing and room between each layer.

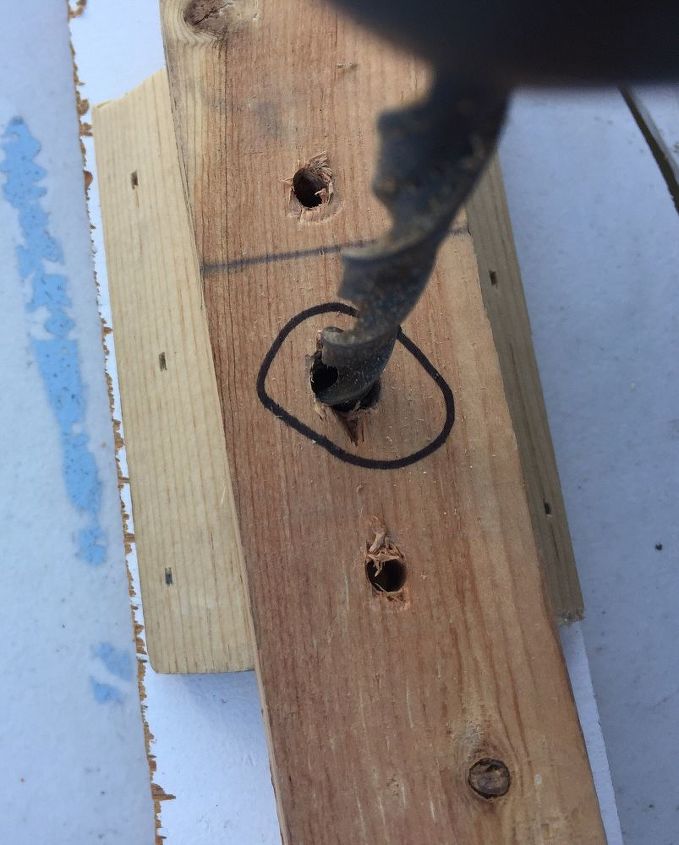
Once you’ve cut all your pieces, it’s time to drill. This step is very important! Depending on what wood you’re using, drilling in the middle can be challenging. For me, the cove shape of the branches posted a challenge as far as doing a straight-down drill. I had to involve my husband again to devise a setup for me to be able to do that. You’ll also need to find the right drill-bit size because your pieces need to fit snugly around the trunk – not too tight nor too loose. Try with some sample pieces until you get it right. Using measuring tape and a pencil, mark your spot and start making the holes.
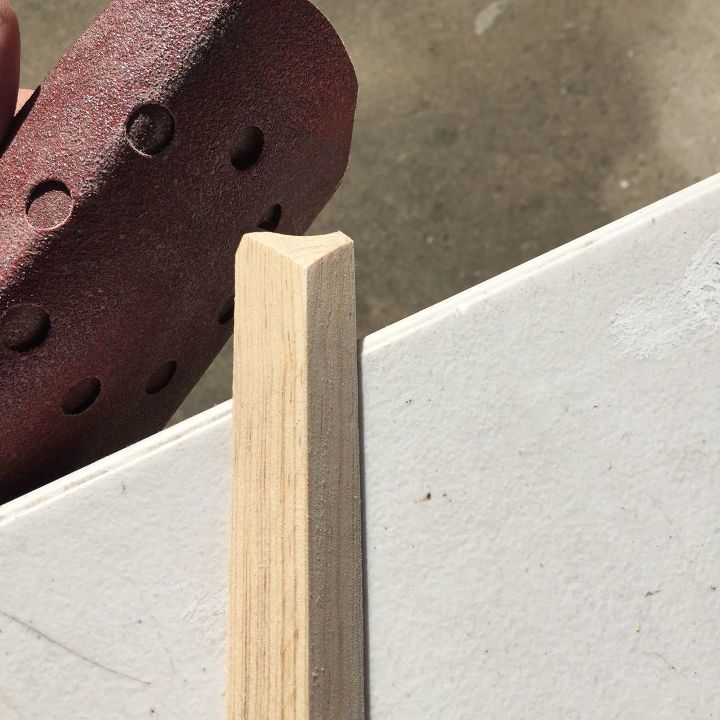
Next, you’ll need to smooth the pieces with the sand paper, especially where they’ve been cut. It’ll smooth them out quite a bit. Once done, set them aside for now.
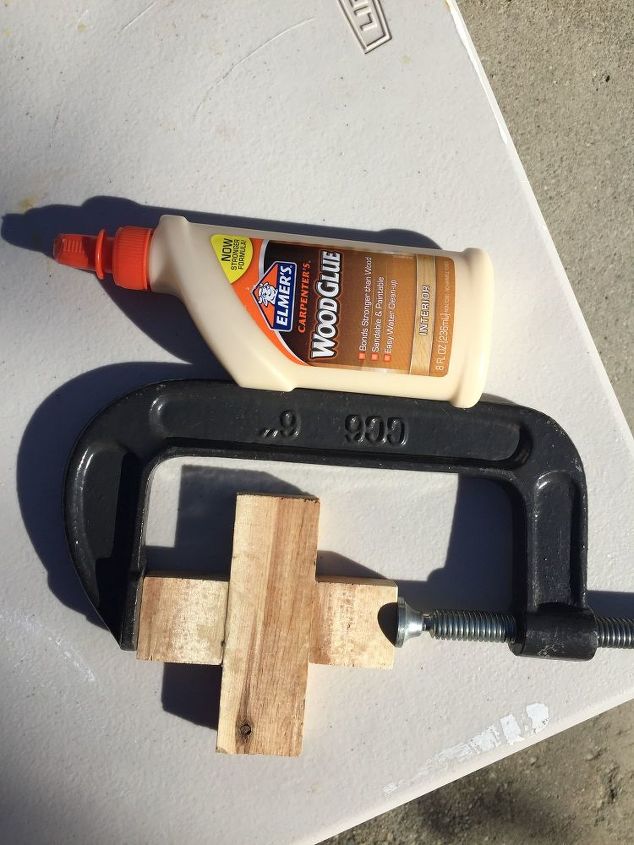
You’ll also need a stand for your tree. I found a 1 inch thick piece of wood that I cut some small pieces from and arranged them in and X shape. I used wood glue to attach them together. You’ll need something to keep them together while the glue dries. I’ve used a clamp. Let the glue dry for at least a couple of hours while the clamp is keeping the pieces together.
Once the glue has dried on the base, find the middle and drill a hole big enough to fit the bottom of your trunk – in my case, the bottom of the chopstick.
Sand the base lightly to smooth it out, especially the ends where it was trimmed.
Using a clean rag, wipe down all the pieces you’ve sanded.
Insert the trunk into the base.
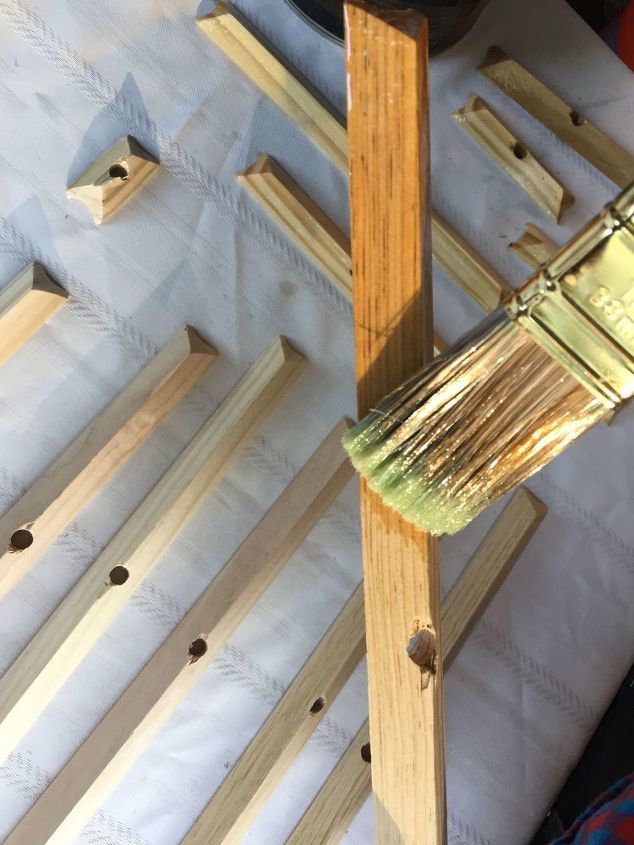
If you’re planning to leave the wood as is, skip to the next step. I’ve opted to use wood treatment on all of the wood pieces mainly because we already had the wood oil and wax (we’ve used it on our hard wood floors and had leftovers). Plus, we thought that it’s add a nice shine and tone to the wood so we went for it. Using a brush, apply a light coat of wood finishing on all your pieces. After letting it sit for 10-15 minutes, wipe of the excess.
TIP 1: If you’re planning to use glue on any part of your tree, you might want to skip using the finishing coat in that area because the glue may not adhere properly.
TIP 2: Depending on what type of wood finishing you’re using, make sure you do it in a ventilated area because the smells can be quite strong.

Let the wood air out and dry overnight.
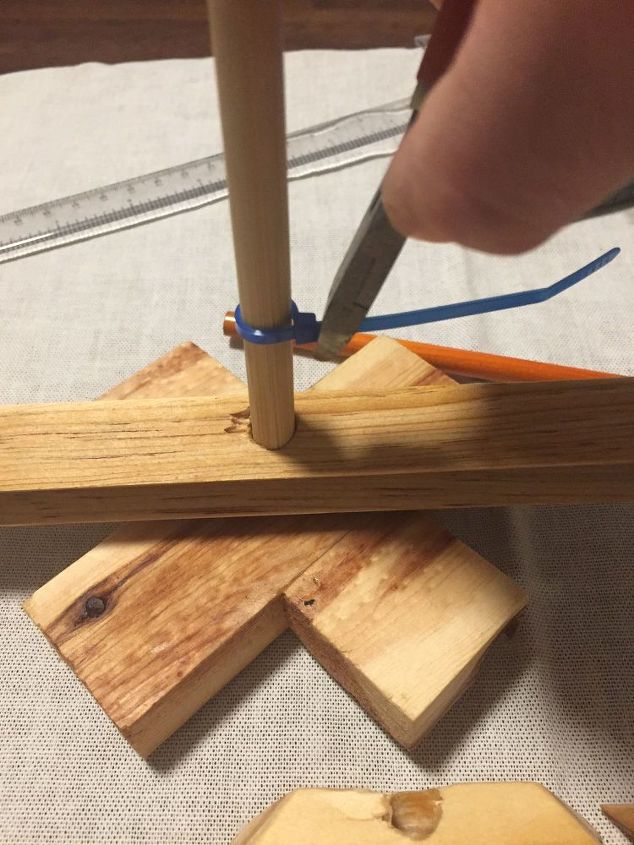
Using small zip-ties to hold the branches in place, start inserting each piece of wood through the hole and onto the trunk. Start with the largest piece and work your way up. The great thing about the zip ties is that they can be moved up or down if you need to adjust the position of the branches. If you glue them, you may not be able to do that. Also, remember to trim the excess part of the zip-ties with a utility knife/snip pliers.
2. POM-POMS
If you’re looking to embellish your new tree, consider pom-poms. They’re easy to do and all you need are few things – yarn, scissors and a fork. Some of the tutorials for mini pom-poms had fork so and I happen to have several of those in the kitchen (!) so I went for it. I even have some saved plastic ones that are slightly smaller than the metal ones. I picked the smallest one I could find and got to work.
For yarn, I used the leftover red yarn from one of my previous projects (Mt Fuji string art, posted on the website). Sorry, I’m not great at videos (just yet) so step-by-step instructions will have to do. If you’d rather read versus watch, see below.
Start by wrapping yarn around the fork. Go around it about 30 times. Once done, trim the end with scissors.
Cut a small piece of yarn. Slide one end in the middle of the closed end of the fork and bring it out to meet the other end.
Tie a knot then slide the yarn loops away from the fork and tie the knot some more.
Using the scissors, trim the edges of the looped yarn on both sides.
Once trimmed, use your fingers to fluff it up. Trim any excess so you end with as round of a shape as possible.
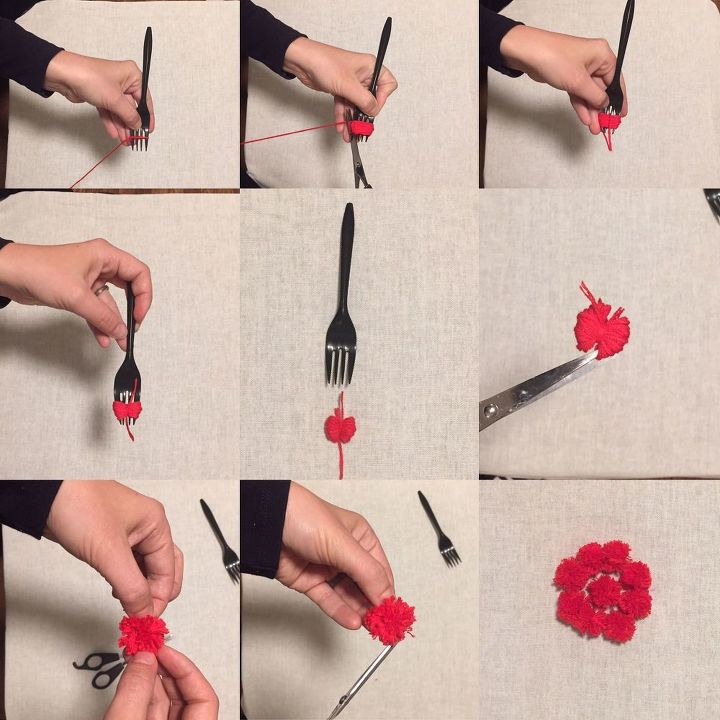
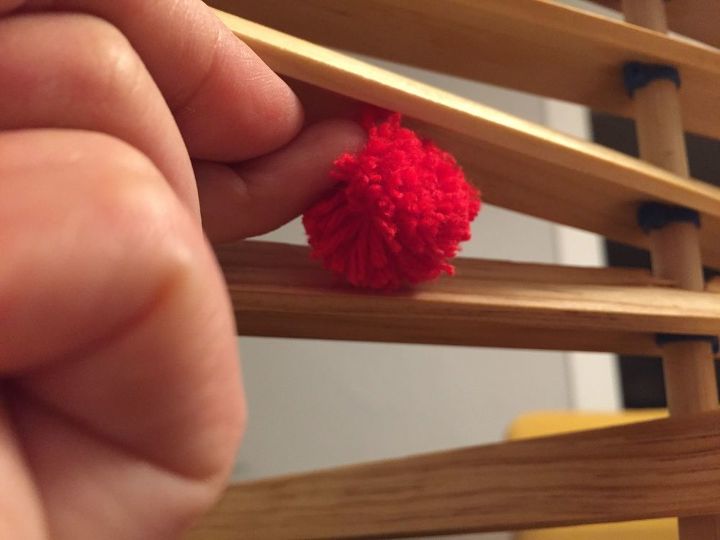
Tie the excess of the middle string in a knot, leaving enough space to fit your index finger through it. Cut the leftover yarn beyond the knot. You will slide some tape, or glue-dots, or both, through the loop you just made and glue it on the bottom side of your branches, in a pattern or randomly.
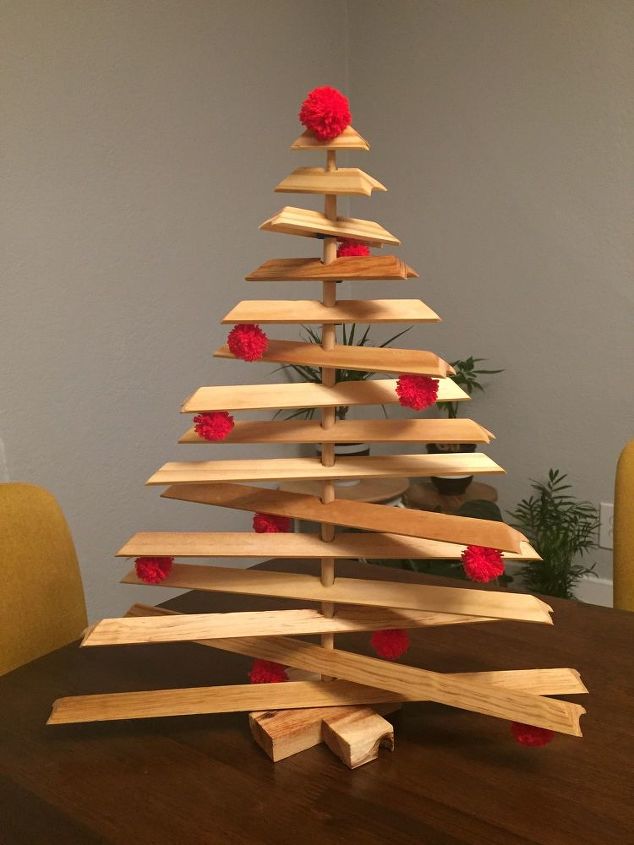
For me, that did it. The finished tree is quite lovely!

Comments
Join the conversation
-
So cool and creative. Love the dimensional look. Good share.


Frequently asked questions
Have a question about this project?