


Wood Scraps Transformed Into Christmas Tree
2 Materials
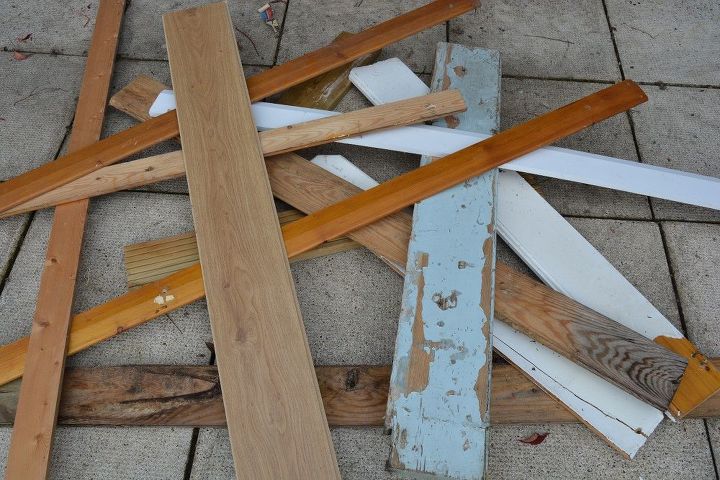
We have a slight conflict in approach to Christmas in our home - I'm all for a few rustic decorations, my husband for LOTS of bright decorations. The idea came together to pinch some wood from the wood burning pile, teach the kids some DIY skills and create our own Christmas tree from scraps.
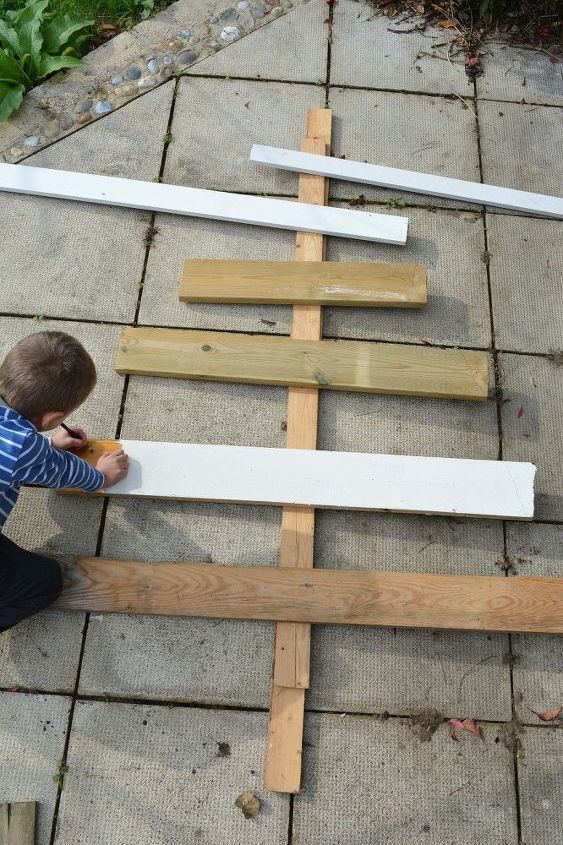
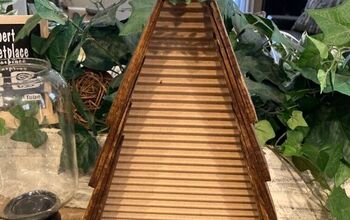
We started by finding a long up right. We placed a variety of planks across, with youngest marking out cutting lines.
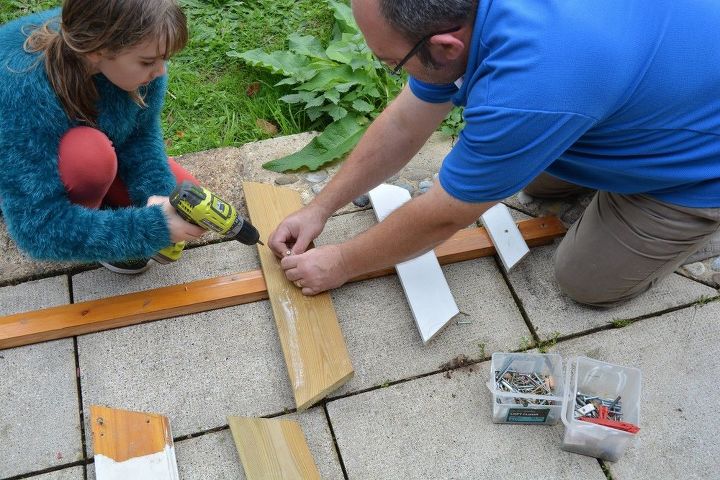
These were then sawed at an angle to create a rough tree shape. The children then learnt to use the drill and screwed the planks in place.
Foraging in the shed we found some outdoor paint in a gentle shade of green. This is just a general outdoor garden paint.
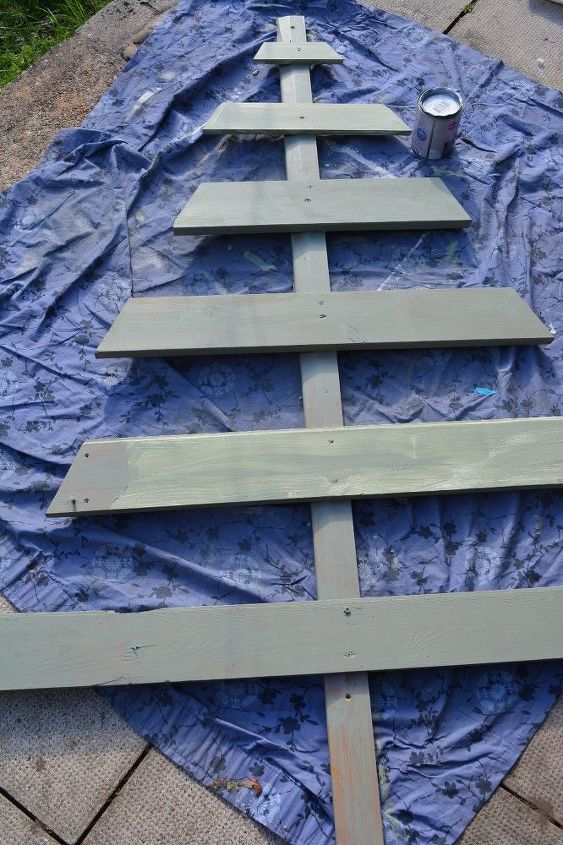
Amazingly it covered the different types of wood and finishes (some were varnished, some had gloss).
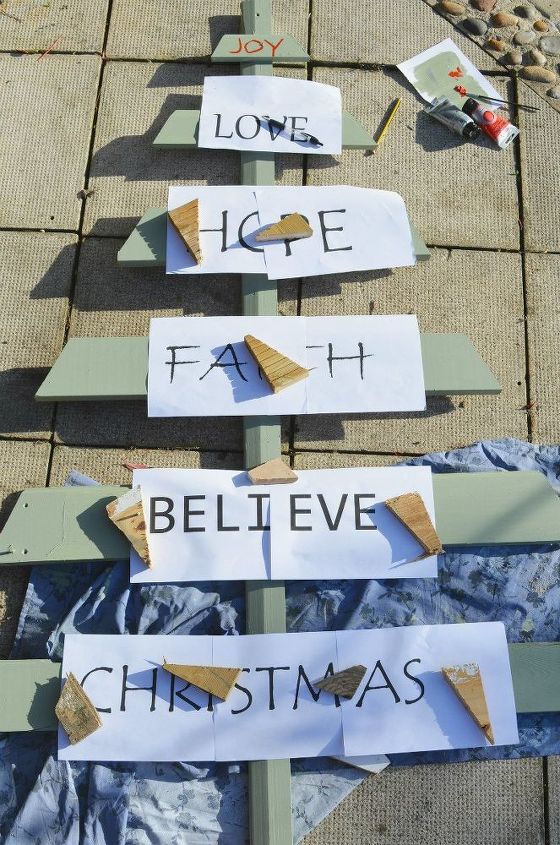
I decided on a variety of words and fonts. These were printed out (you can find the templates here
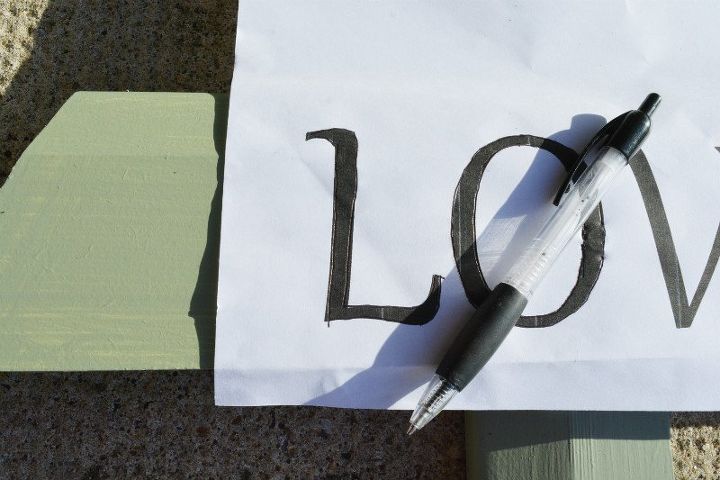
Using a ball point pen I carefully pressed down hard around each letter. This transferred an indentation onto the wood. This indentation was used as a guide to painting the letters.

The letters were painted with acrylic ( using what we have).

I like our compromise family made Christmas decoration.

Want more details about this and other DIY projects? Check out my blog post!
Comments
Join the conversation
2 of 31 comments
-
Love it!
-
Great idea. Very cute


Frequently asked questions
Have a question about this project?