


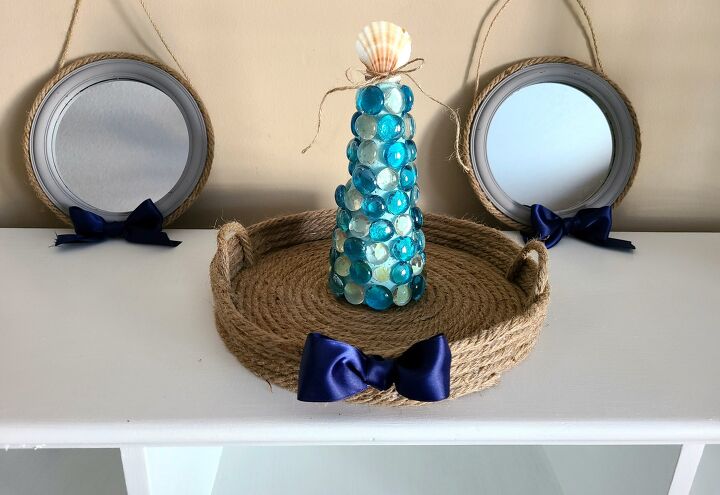
Coastal Rope Tray - Life as a LEO Wife - DIY - Coastal Rope Tray
Make this beautiful coastal rope tray to add some beachy summer decor to your home. I made some coasters and placemats from Dollar Tree nautical rope over the last week. I’m participating in the bloggers’ A to Z Challenge and the theme for today is the letter R, R for rope tray.
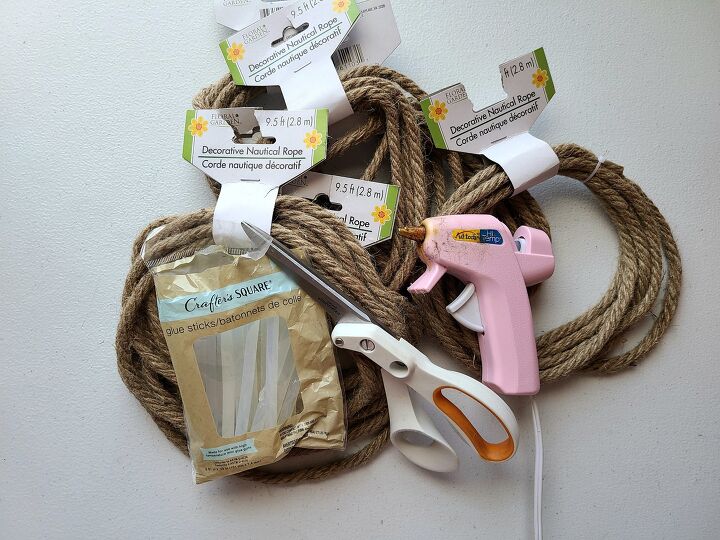
- Supplies for your rope tray:5 to 6 packs of nautical rope (9.5′ each) from Dollar Tree
- hot glue
- scissors
- satin or wired ribbon (optional)
That’s it! You do need quite a few hot glue sticks. I used an entire pack of mini hot glue sticks making the tray and one placemat.
I have a special offer for my wonderful Hometalk readers at the end of this post. You guys are awesome and so many are now following me here as well as coming over to visit me on LifeasaLEOWife.com, so you deserve something special! You can get free custom printables and/or SVGs with your own name to use on any project you'd like for a limited time. More info on the project pictures at the end of the post.
Update 2022: If you like this coastal rope tray, check out this tutorial where I brought mine up a few notches in this coastal rope tray and coaster set tutorial. You won’t believe how great this addition makes the set looks!
Starting off
Check out my tutorial for my coasters and placemats if you need a full tutorial on how to begin the tray. I don’t want to bore you if you’ve been around the last few days. You will end up using about three packs of ropes for the base. Skip to the next step if you know how to make the placemat.
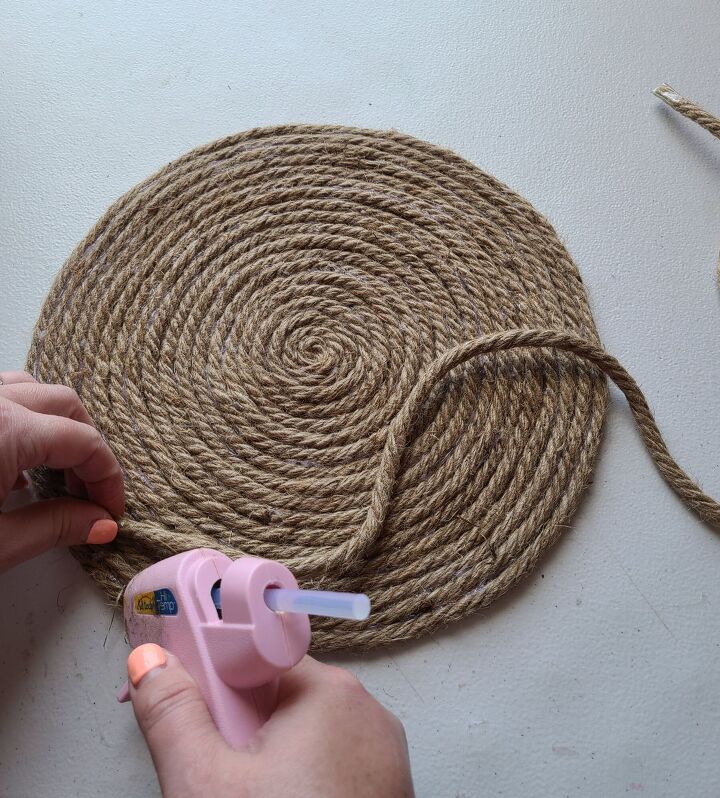
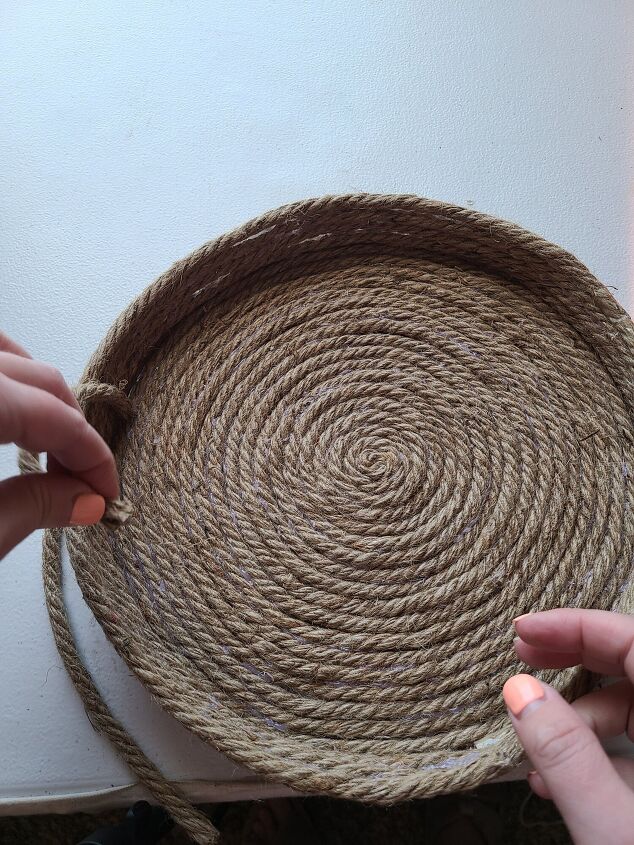
If you haven’t seen my placemats, I’ll give you a short tutorial on how to do this. Place hot glue on the end of your first rope and begin rolling the rope in a circle. Continue adding hot glue along the side of your rope and rolling as you go.
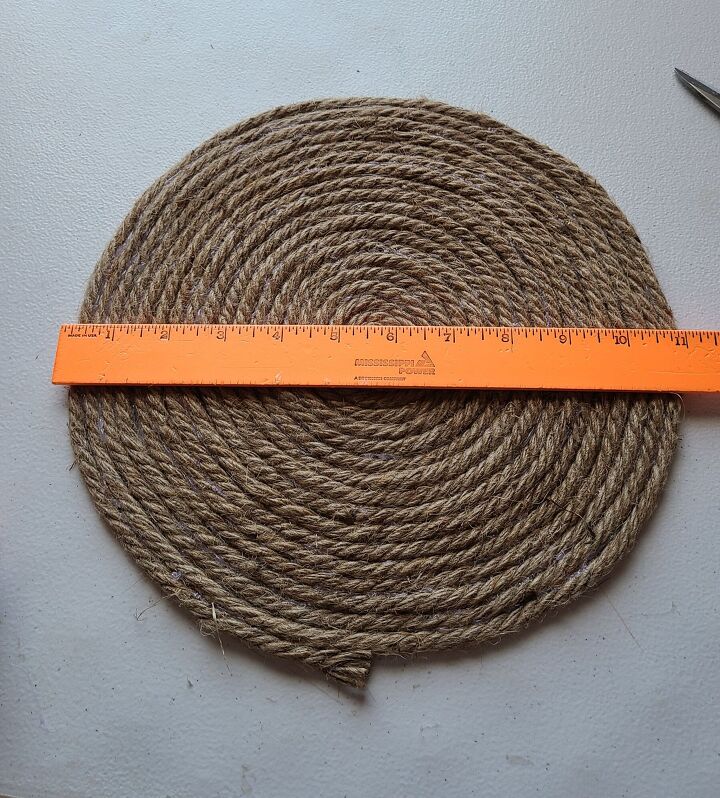
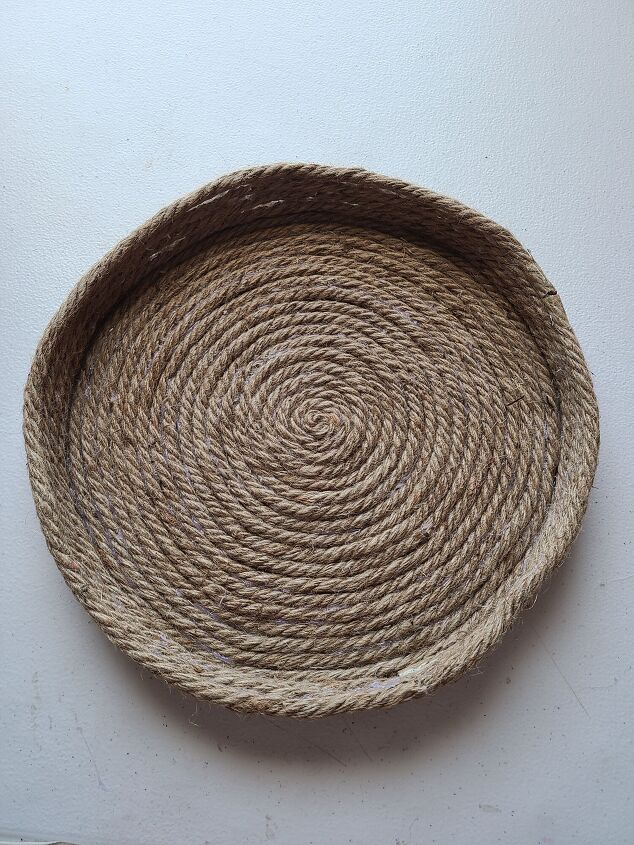
When you run out of your first rope, add hot glue of the tip of a new rope and a bit on the side of your rope like you did with the first. Press the new rope on the end of your first rope and against the flat circle that you have going. Keep going like this until your tray is as wide as you’d like. I stopped when I ran out of my 5th rope when the tray was 11″ wide as you can see below.
Build up the rope tray sides.
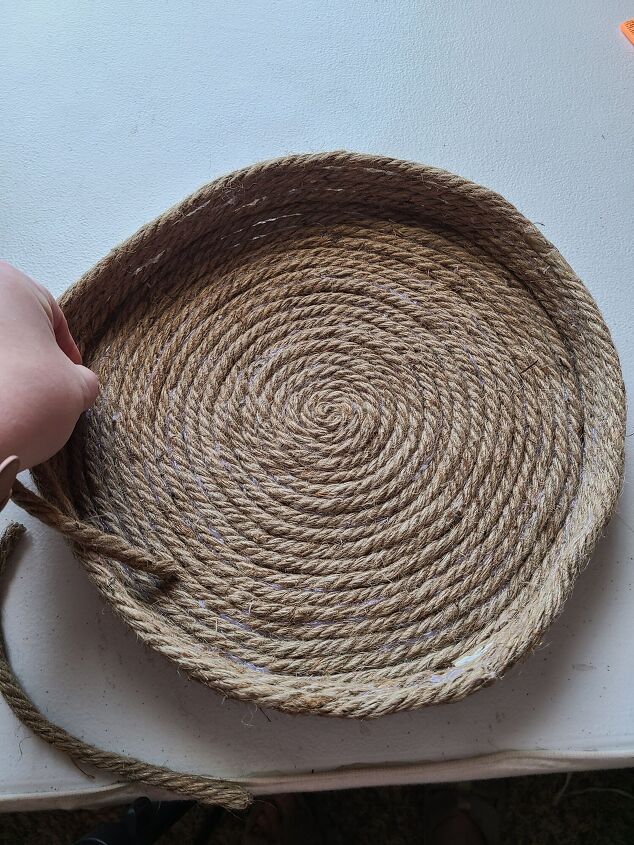
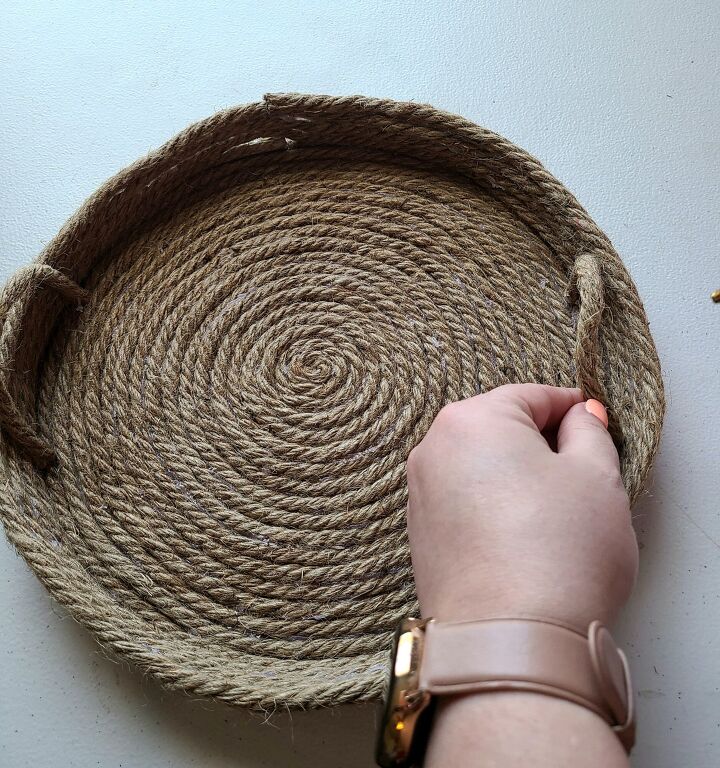
Once you’ve got the placemat finished, you will start to build up the sides. Place a strip of hot glue on the outer ring of the placemat, then put a new pack of rope on top of the hot glue.
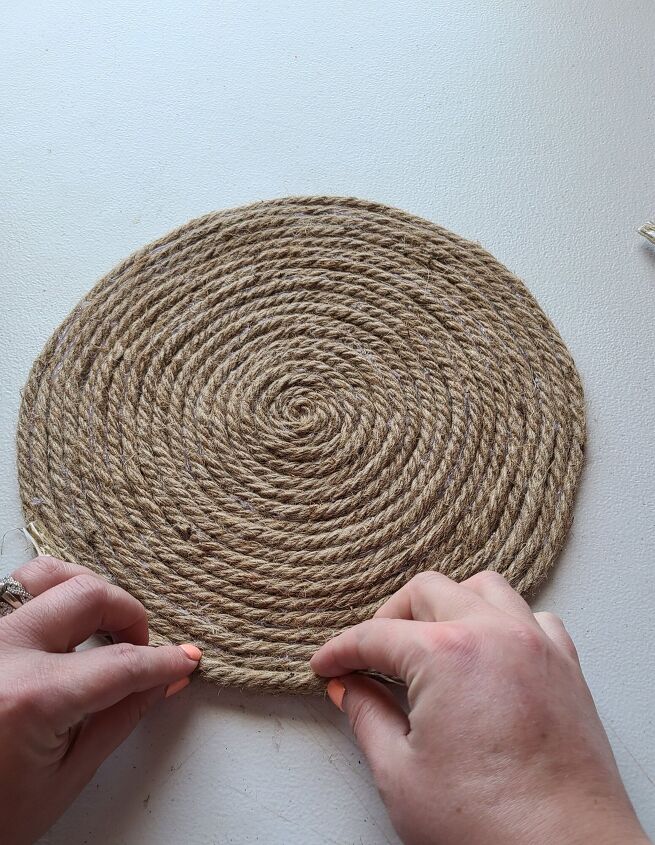
Continue building up the tray, adding hot glue then layers of rope. You can stop adding hot glue and rope when you have four layers on top of the base layer.

Complete your rope tray.
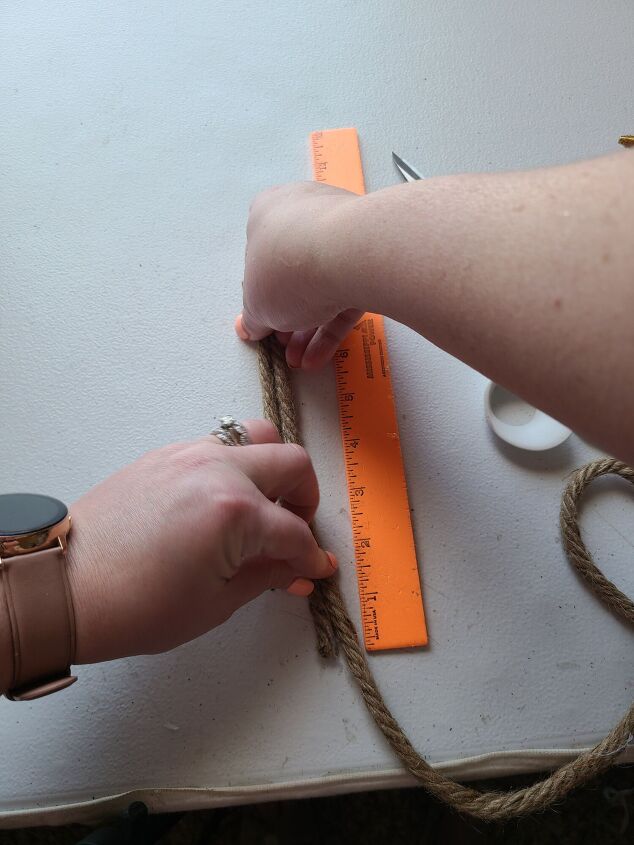
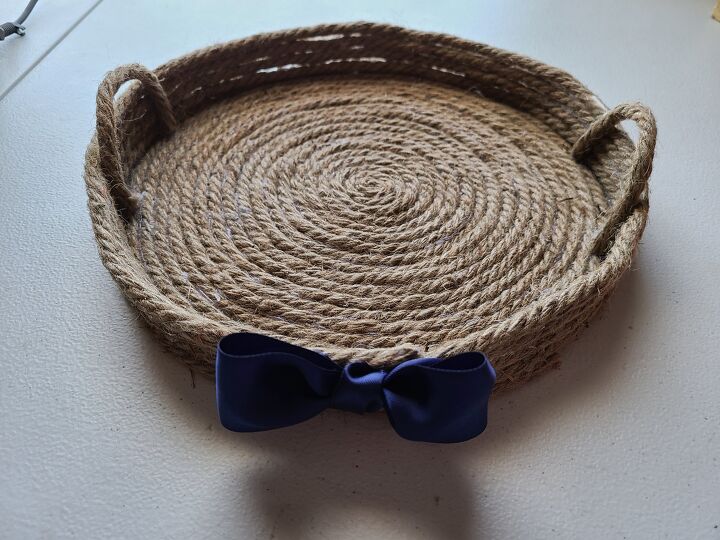
You can choose whether or not you want to do this step. I thought adding handles looked a little more complete. Use a ruler and cut two 6″ pieces of rope. You’ll see in my picture that I used 8″ at first. That made the handles way too long! Learn from my mistake lol. I actually had to pry them out of my completed rope tray!
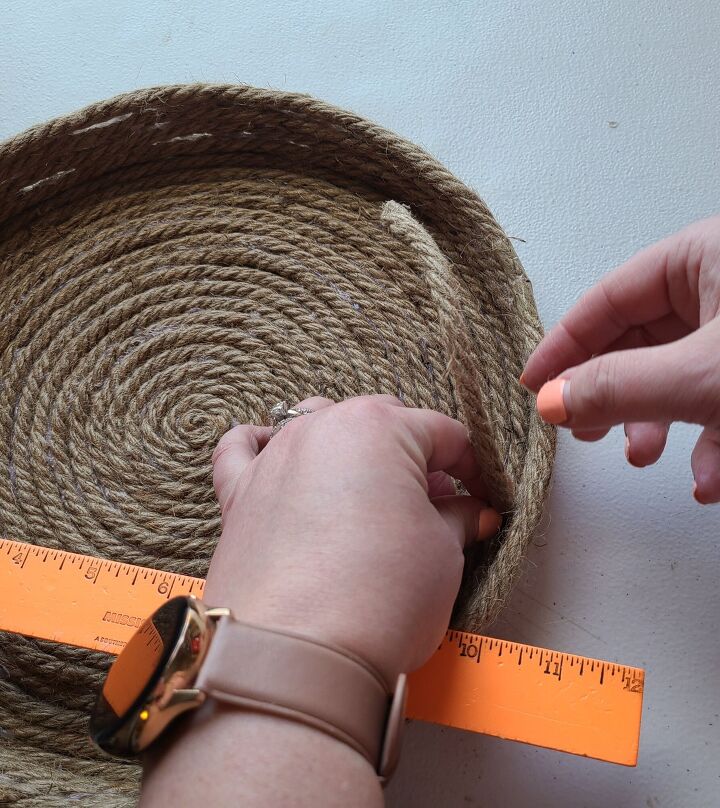
Use your fingers to see how wide you want the handles to be. I glued and made my handles about 2.75″ apart. Add hot glue to the end of one piece of rope and push it down on the bottom of the tray, right against the vertical layers. Measure and glue the other end 2.75″ or as wide as you want your handles.
Glue your other handle directly across the tray from your first one. Measure and glue this handle as wide as you did the first.
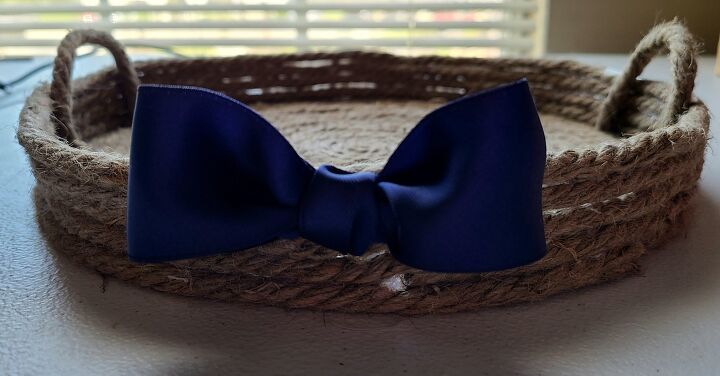
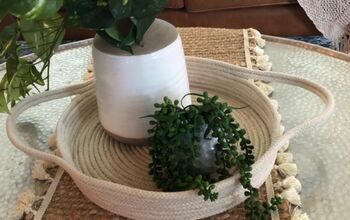
I decided to add a bow to the front of the rope tray. I’ve been using navy satin ribbon in my other summer decor I plan on putting out, so I decided to use it. I made a bow about 4″ wide. Then I glued it on the front, or what I wanted to be the front, of the tray. Now it’s complete!
Thanks for stopping by!
Don’t miss out on all of the summer and coastal decor and free printables and SVGs that I have over on Life as a LEO Wife because there’s some great ones that I’m sure you’ll love! You can also check out the other letter (E to Q) themes from the A to Z Bloggers Challenge as well. Then come back tomorrow for a tutorial for the letter S.


I hope you enjoyed this rope tray tutorial! Remember to pin the image below and share on social media using the buttons at the end of the post or on the left side of the screen so you can get back to it when you’re ready to make it. Be sure to follow me on social media and via email so you never miss a great tutorial, free printable, or other amazing posts! I’m @LifeasaLEOWife on all platforms if you’re reading this post on Hometalk and are unable to see my social links and Pinterest boards below.
Follow me on Pinterest for new ideas added weekly!
If you like any of the DIYs that you see below, head over to LifeasaLEOWife.com where you'll find all of the tutorials! This rope tray post has been brought over to Hometalk (don't you just love this site?!) from my blog, so the links to the posts you see below that appear on my site don't transfer over automatically. That's ok though because you will find them easily once you're on my website!
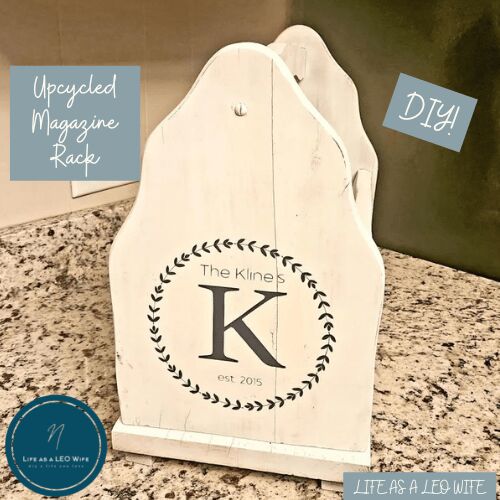
Now let's talk about my free offer. You can see our family name SVG on the photo above. I used it on an upcycled a magazine holder that I turned into a Kitchen Staple w/ FREE farmhouse SVGs or free printables to use on any project! There's another farmhouse SVG on the opposite side of the rack. Head over & visit this magazine rack tutorial, sign up for new post updates (so that I'll have your email address to send your file to), and leave me a message in the comments and let me know that you'd like your free SVG or PNG (works exactly like an SVG, it's just downloads easier for most people). You can let me know what your last name and marriage year is in the comments, or you can leave it off and I'll contact you via email where I will ask what name and date. I'm only going to do this for a few days, so visit me soon! If I get too flooded with requests, I will have to stop doing this, so again, visit as soon as you can!
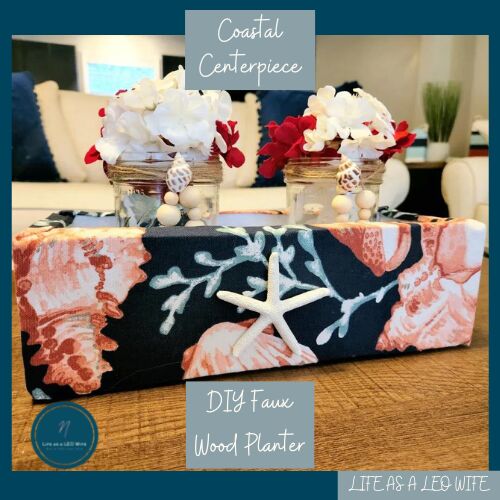
Make a $70+ Coastal Centerpiece for Free!
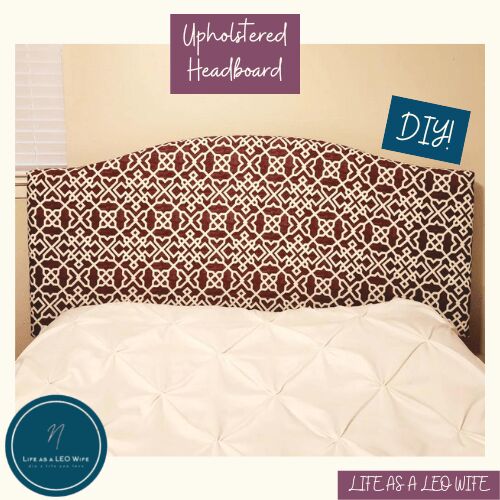
DIY Upholstered Headboard Tutorial (I upcycled this headboard for $10.88!)
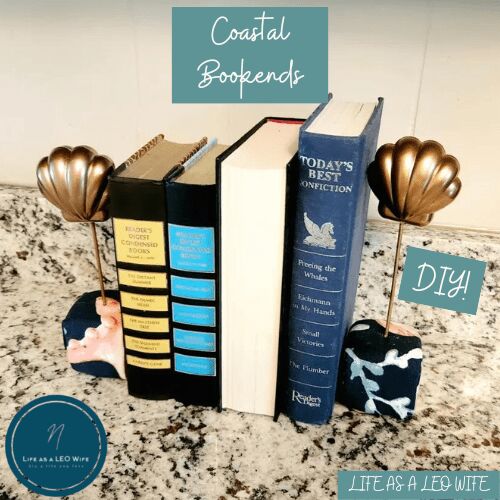
Coastal Bookends or Tabletop Decor from Dollar Tree Supplies
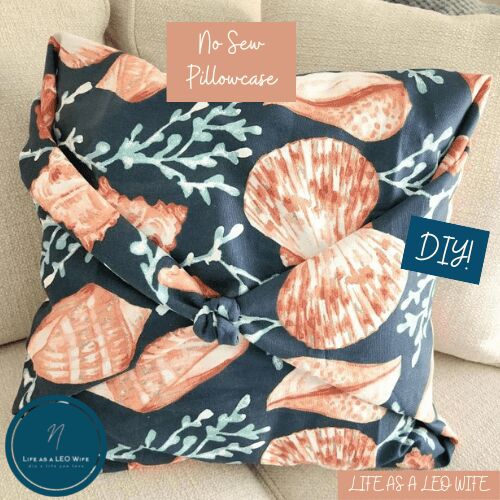
How to Make a No Sew Pillowcase: Save Time & Money with This Method!
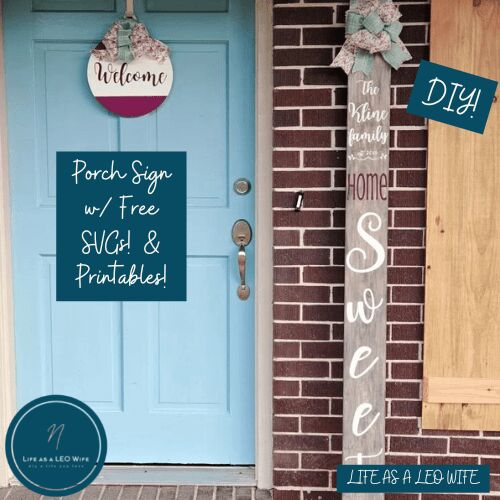
DIY Porch Sign Tutorial including FREE SVGs and free printables! You can use them on any project, not just a porch sign, so be sure to go over and download them for your own ideas!
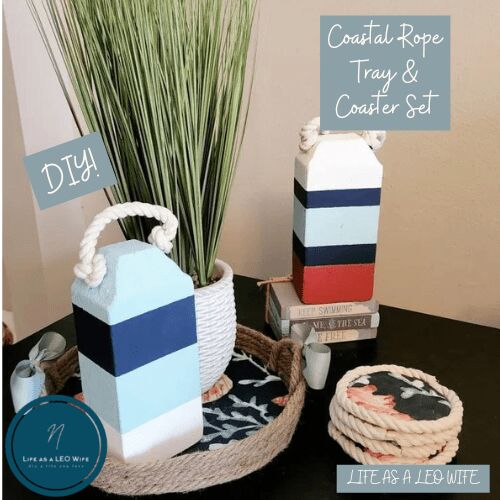
Coastal Rope Tray and Coasters
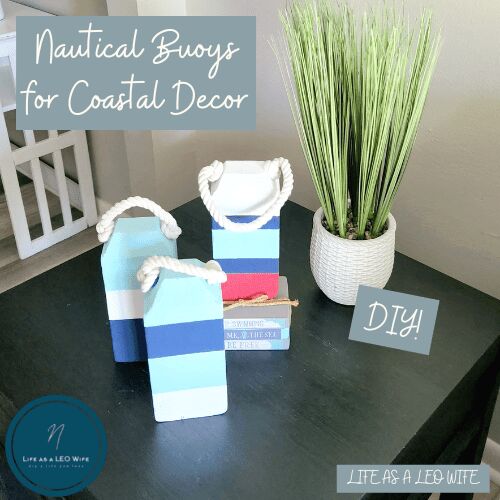
Make DIY Nautical Buoys from Dollar Tree Items!
Resources for this project:
See all materials


Comments
Join the conversation
-
Nice. One could also use a pizza pan, pie pan, or cake pan for a sturdier version.


Frequently asked questions
Have a question about this project?