


Coastal Tray Makeover Using A Decor Transfer
Disclaimer: I was given a transfer from Re-Design with Prima for this post, However all opinions are my own.
I want to share with you a really fun way to update furniture and home decor using a transfer.
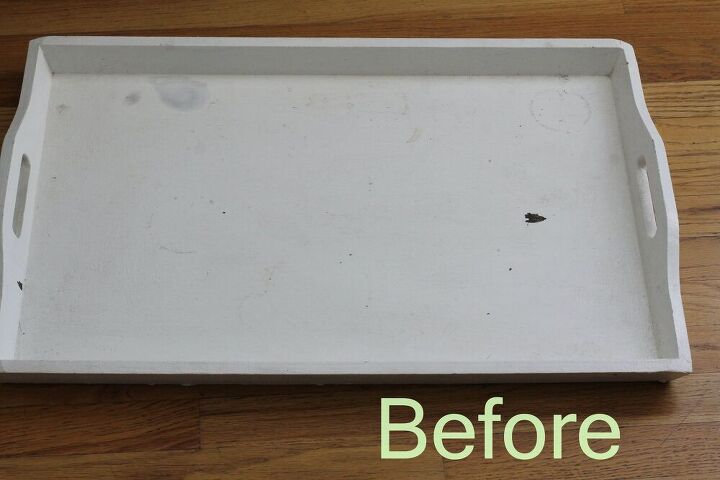
I had this old tray that was looking really grungy. The tray was originally wood and handed down to me from my Mother-in-law who no longer wanted it. I painted the tray white but over time the white paint was starting to scratch off and the tray was looking pretty grubby and so I decided it was time to give this tray a new makeover.
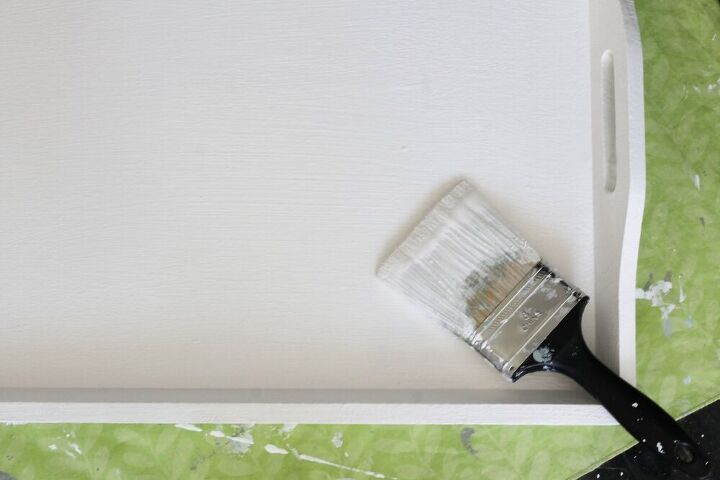
I started by giving the tray a fresh new coat of white paint and then I left it to dry for at least 48 hours to properly cure. I think that white paint is always a good choice for any type of home decor refresh.
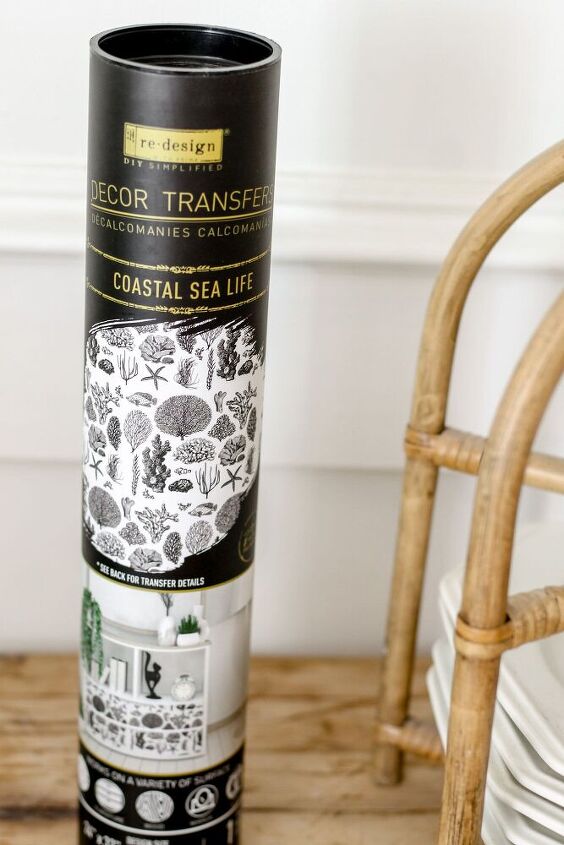
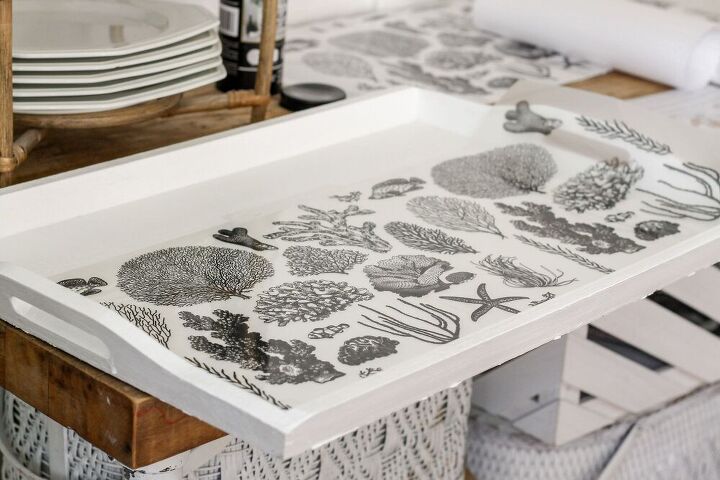
I was excited to try out this decor transfer from Re-Design With Prima because I have never used anything like this before. This particular Decor Transfer is called, Coastal Sea Life and as soon as I saw it I knew that this seashell design would look amazing on my tray. Re-Design With Prima has a wide variety of beautiful decor transfers to choose from. These transfers can be used on furniture, walls, wood, glass, mirrors, and many other surfaces, so the possibilities are endless.
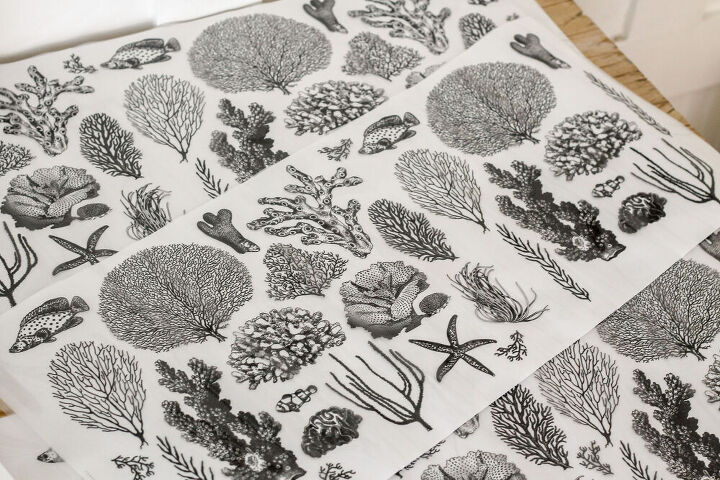
This transfer comes in three sheets but I only needed one and a half sheets for this project, so now I have extras that I can use again on something else around our home.
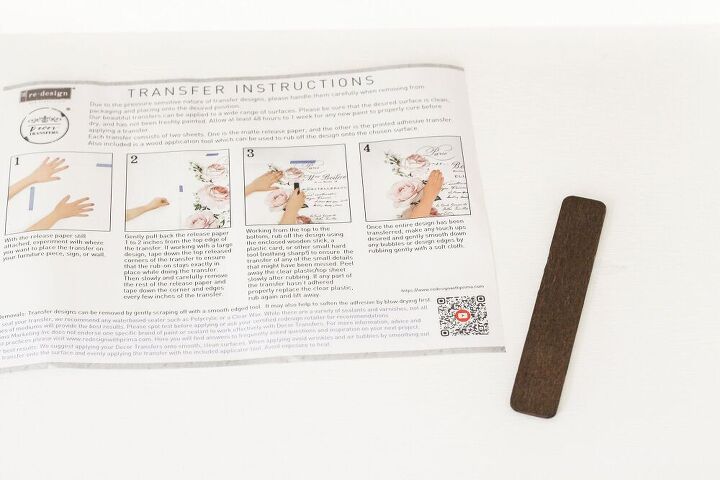
Along with the Decor Transfer, this package also comes with easy-to-follow instructions and a wood application tool.
The first step in applying the transfer is to carefully remove the matte release paper and then gently place the printed adhesive transfer down into the desired position.
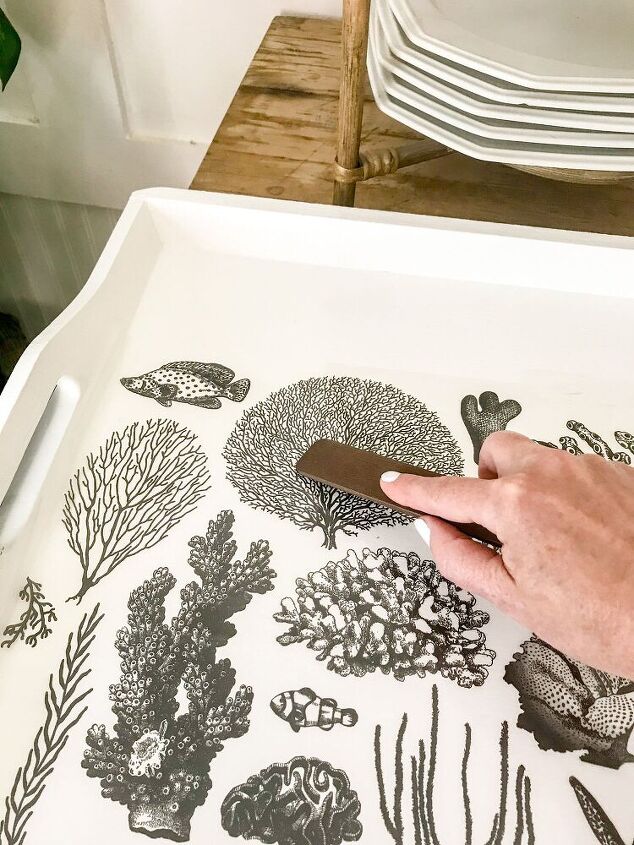
Using the wood application tool, I started scratching over the seashell designs. I worked my way from Left to Right and then slowly I peeled away the plastic top sheet. I found the process to be really fun and satisfying. There was something about it that reminded me of temporary tattoos. Ha!
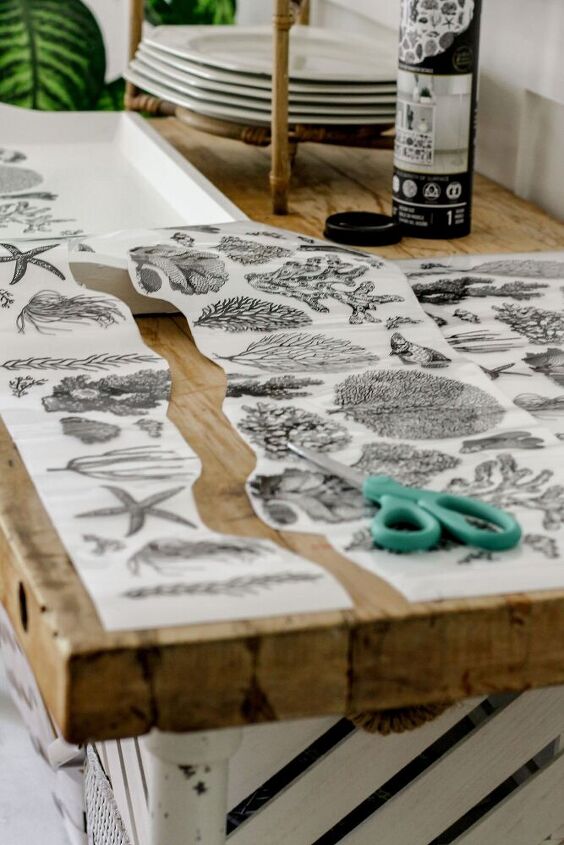
Because the first transfer sheet didn't cover the whole tray, I had to cut some extra designs off of another sheet and add it to the tray. I made sure to match the pattern well so that you couldn’t see any differences in the patterns in the end.
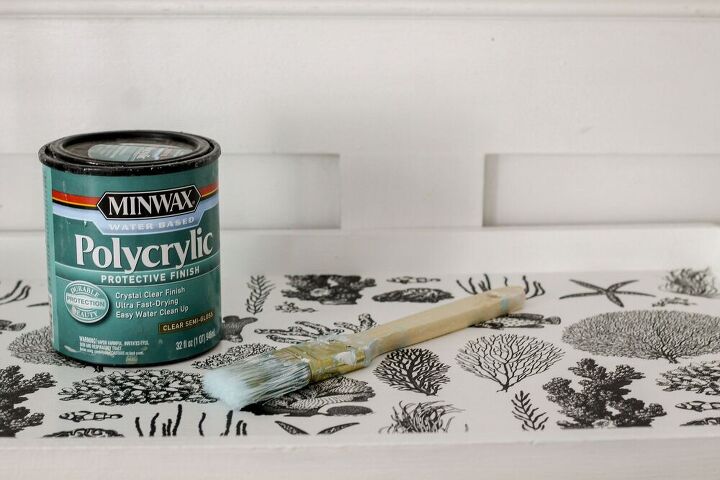
The last step is to add a sealer to help protect the decor transfer. I used a waterbased Minwax Polycrylic sealer in a semi-gloss finish. I just lightly brushed on the sealer using a small paint brush.
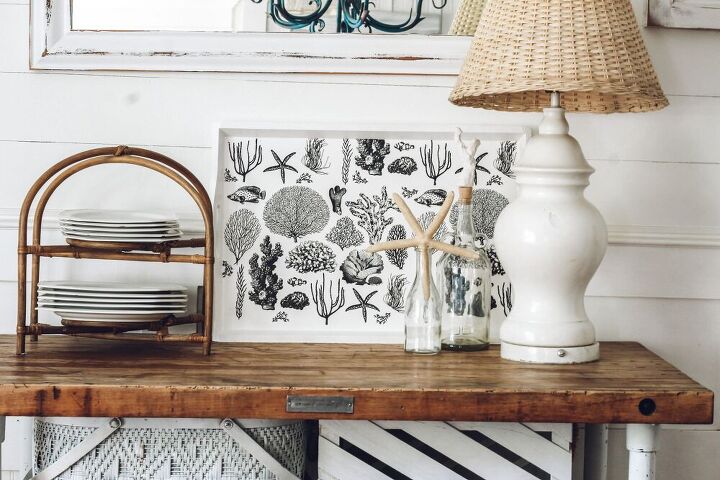
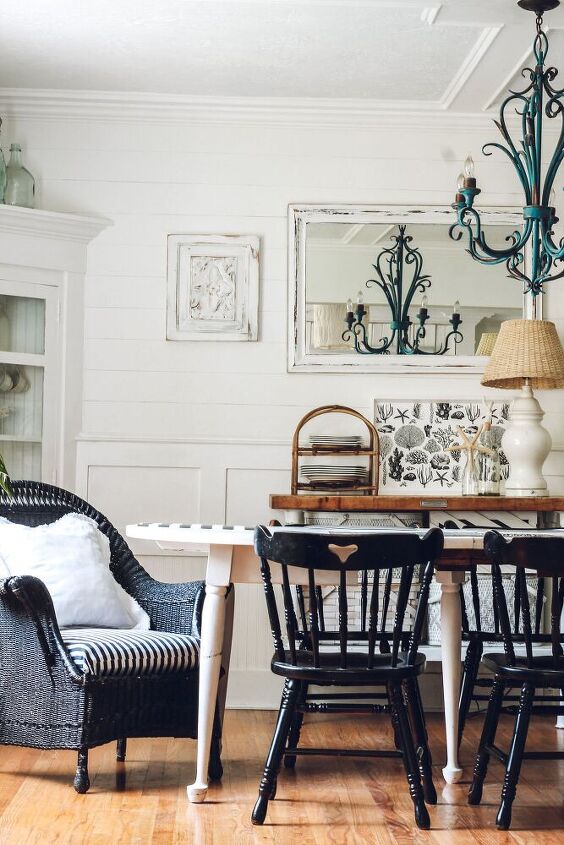
At first I had the tray leaned up against the wall on a buffet table in our dining room.
With a tray this cute it can almost double as art.
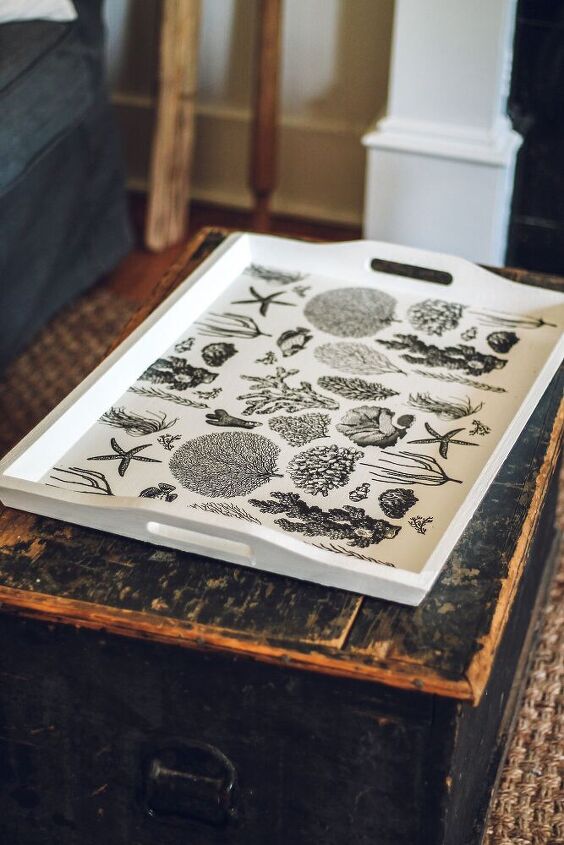
But then I brought the tray into the living room and placed it on our coffee table. And by coffee table, I mean my grandma's old trunk that we use as a coffee table.
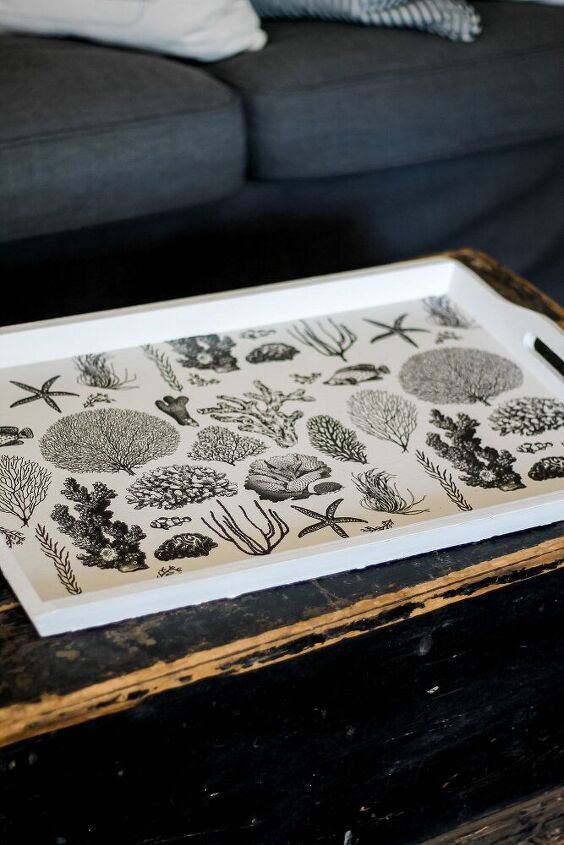
The nice thing about the cute design on the tray is that it really doesn't need a bunch of things on top of it. It even looks cute just on its own.
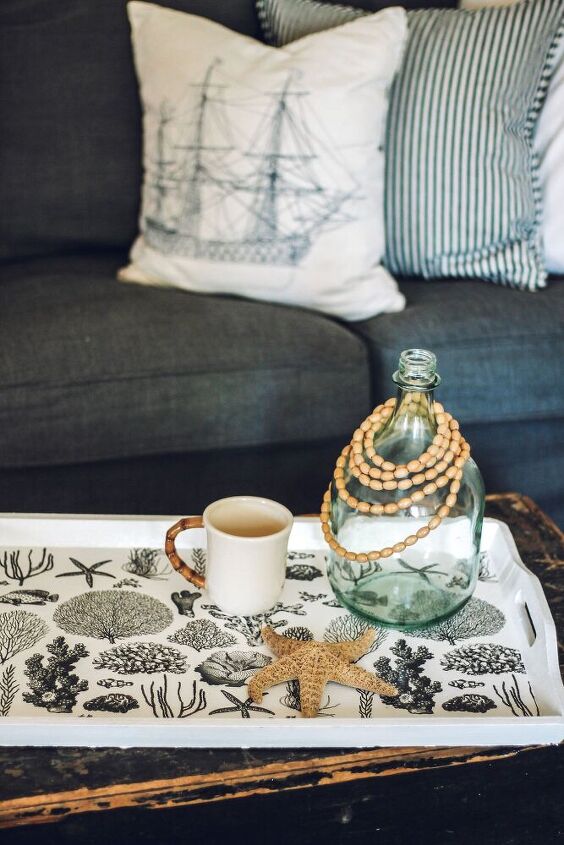
Although, I did end up placing a few beachy items on the tray like a large green-tint bottle with some wood beads wrapped around it, a starfish, and my coffee mug.
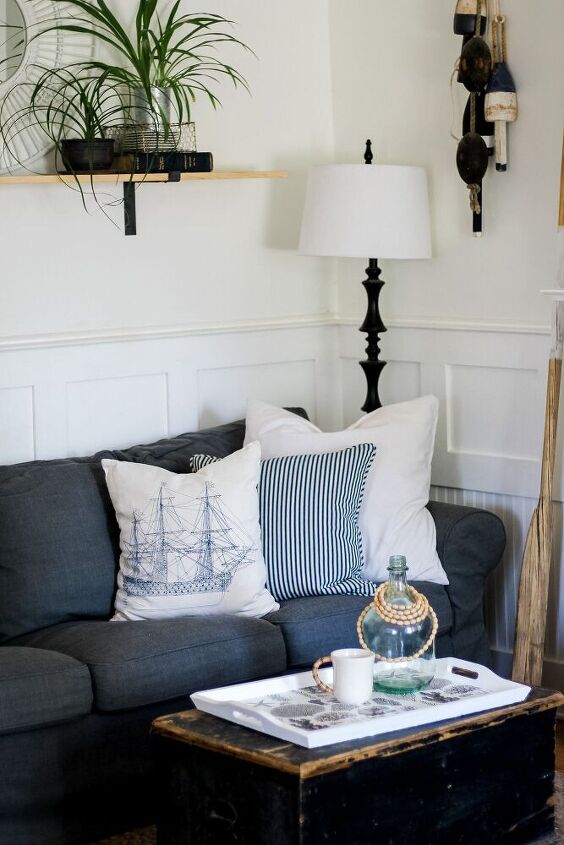
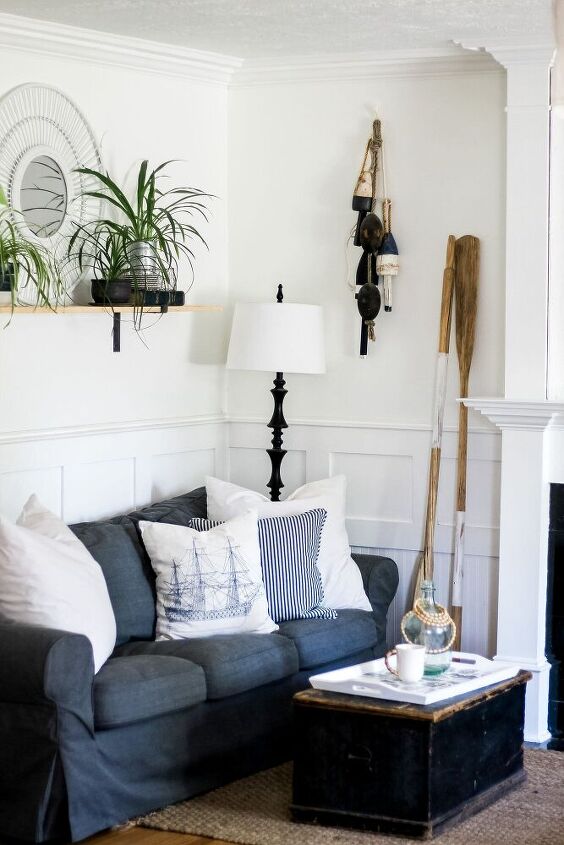
The Seashell design on the tray really fits in nicely with the rest of my coastal style decorating.
I really had a lot of fun giving this old tray a pretty new makeover with the help from this Decor Transfer and I'm so happy with the way that it turned out.
If you have any old furniture or home decor laying around that could use a new look then I would highly suggest you check out the decor transfers Re-Design with Prima.
To see more of my home and projects be sure to check out my blog, The Wicker House.
I'd also love for you to follow me along on Facebook, Instagram and Pinterest.
Thanks for checking out my project today.
Emily


Comments
Join the conversation
-
Love this transfer!
-
As mentioned above, I discovered last week that Joann's has a few transfer patterns in the store. YAY ! They cost $12.99 and have 3 sheets per pack. They have some that are color and some that are gray-ish like the ones used here. So far, i have only put one on a wooden wine rack, but it was fun , quick, and easy! Note to The Wicker House: your tray is GORGEOUS! Love the transfers! Thanks for sharing!


Frequently asked questions
Have a question about this project?
These transfers are only available to wholesalers?