


Creating a Float Frame

I have recently finished an acrylic painting measuring 16" X 20" and decided that it would look best in a float frame. After years of buying over priced and quite frankly "cheap" looking mass produced frames, I have begun building my own. I decided that I wanted this frame to have a rustic "weather beaten" feel to it.
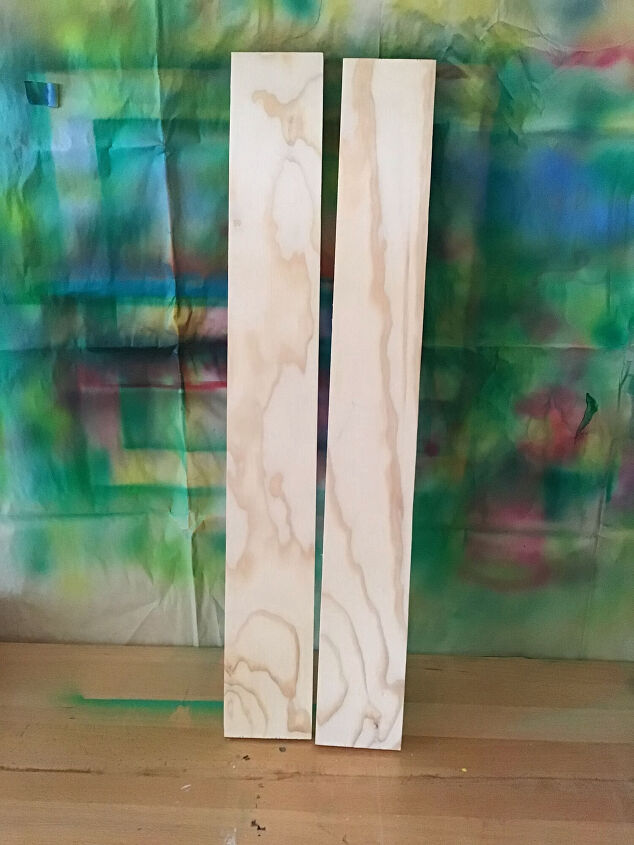
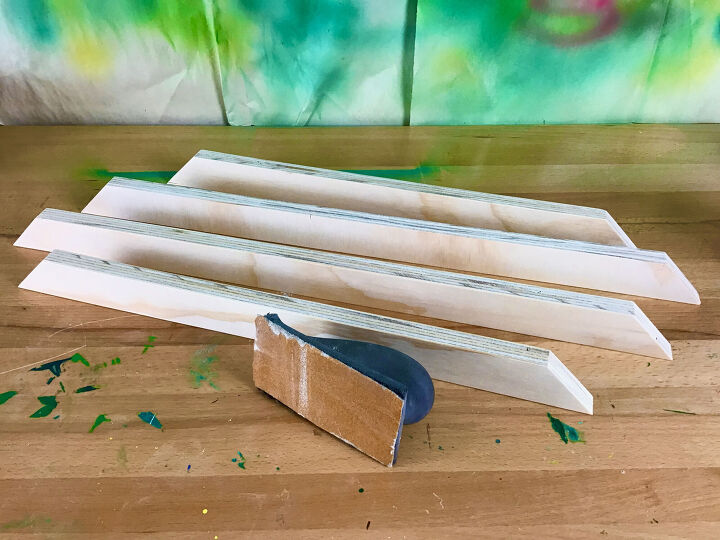
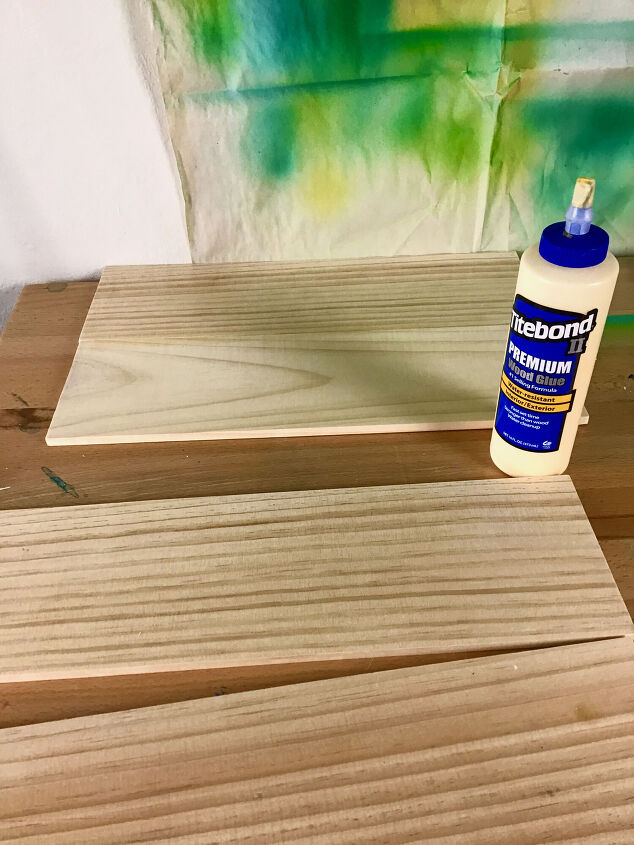
Step 1. Searching through the pile of wood scraps in my studio I pulled out two planks that measured roughly 4" X 3.5'. I felt they had a nice wood grain that would make for an interesting pattern in the finished project.
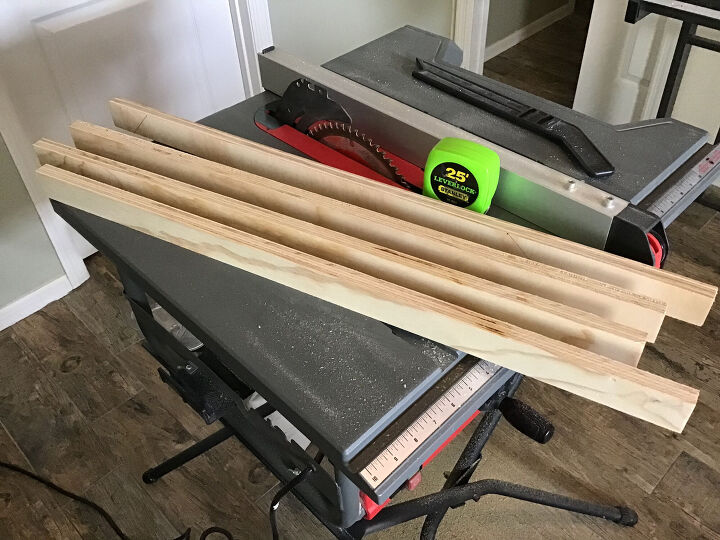
Step 2. I wanted the width of the frame to be about 1.5" so I made a couple of quick cuts on the table saw.
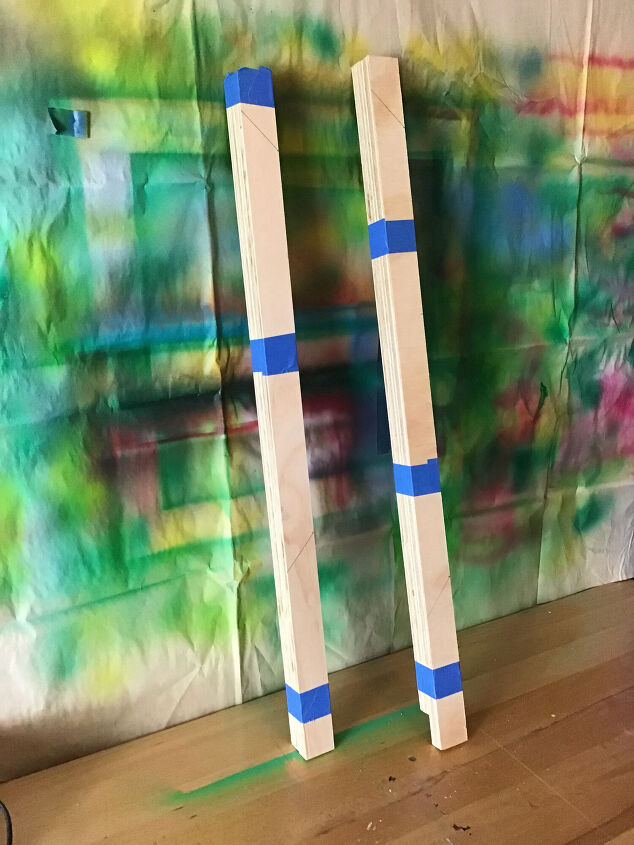
Step 3. I measured out the inside length of the frame to 16.5" X 20.5" which would leave a gap of a .25" around the actual painting giving it the "floating" appearance. Using blue painters tape, I taped both the sides of the frame together and the top and bottom together so that I could make four even cuts.
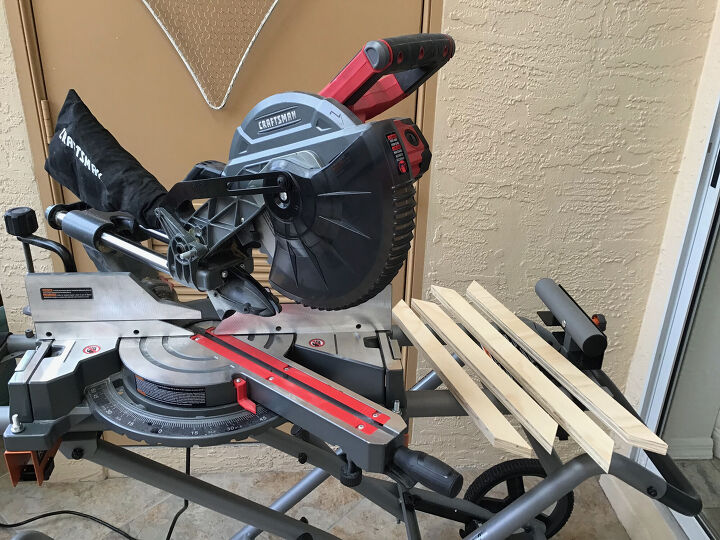
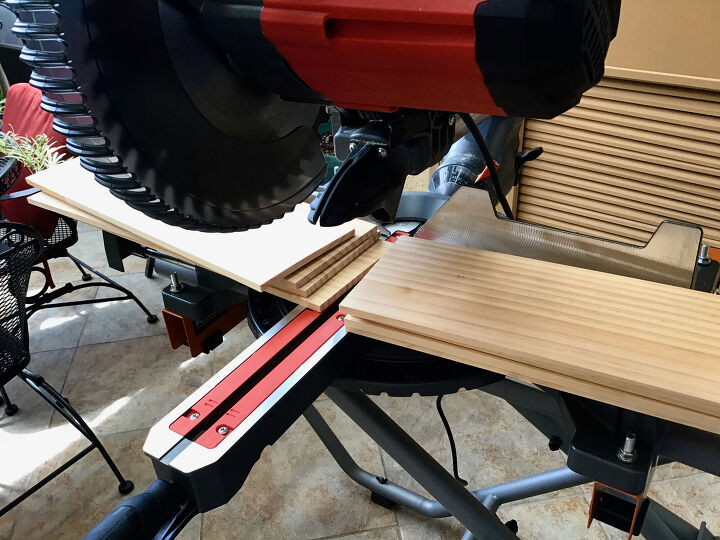
Step 4. Using the mitre saw at a 45° angle I made my fours cuts for the corners of the frame.
Step 5. I gave a light sanding to all fours sides of the frame with 220 grit sandpaper but not too much since I was going for the rustic look.
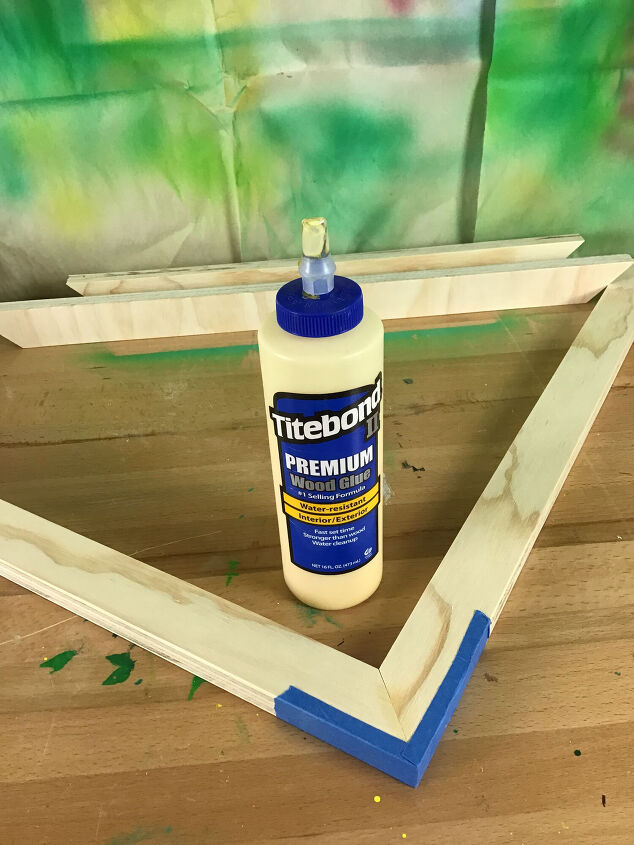
Step 6. Using Titebond II premium wood glue and some more blue painters tape I began to assemble the frame. I found using the painters tape as makeshift frame corner clamps quite effective while I wait for the glue to dry.
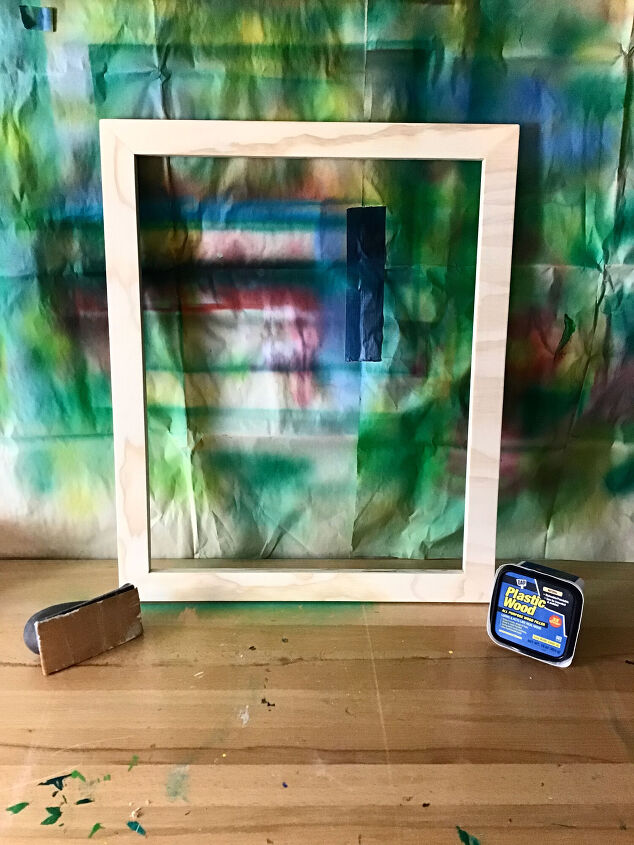
Step 7. After the glue has dried I look for any imperfections or gaps in the wood which I fill with Gap Plastic Wood. Finding a wood filler that easily stains can be tough but I found that this one in particular dries quickly and stains perfectly.
Step 8. I went back to the wood pile once again and chose four more wood planks (roughly 5.5" X 3') with various wood grains in order to build a back for the frame. I used the mitre saw to cut the length of each plank down to 17.5".
Step 9. Laying the four cut wood planks side by side I glued them together to form a solid back. The reason I did this instead of just cutting one solid piece of wood for the back was that I wanted to get a variation in the natural wood patterns.
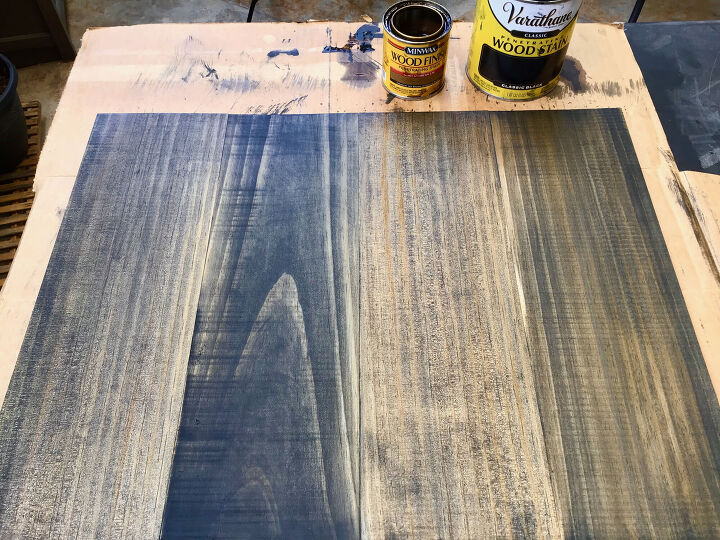
Step 10. After the wood backing had dried I applied a coat of Varathane Classic Black wood stain and then upon drying I applied a coat of Minwax Early American wood stain giving it a dual tone appearance.
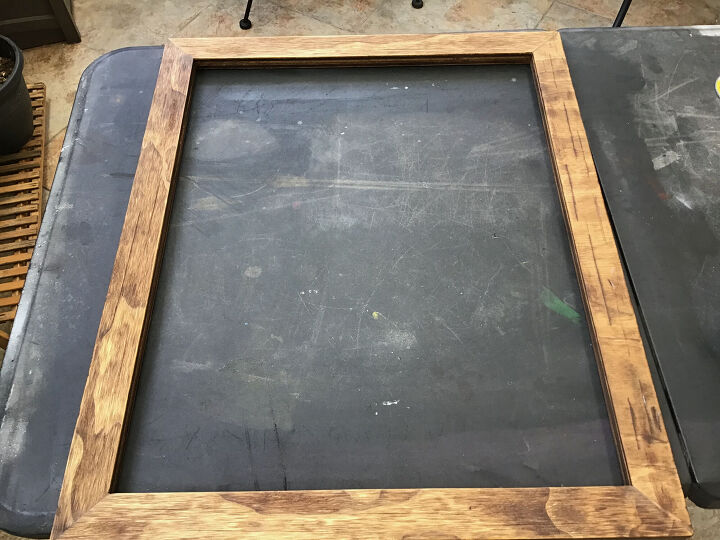
Step 11. While the frame backing was drying I took some heavy grit sandpaper, a hammer and a wood file and scuffed up the frame in order to get that distressed look. I finished it off with a coat of Minwax Early American stain.
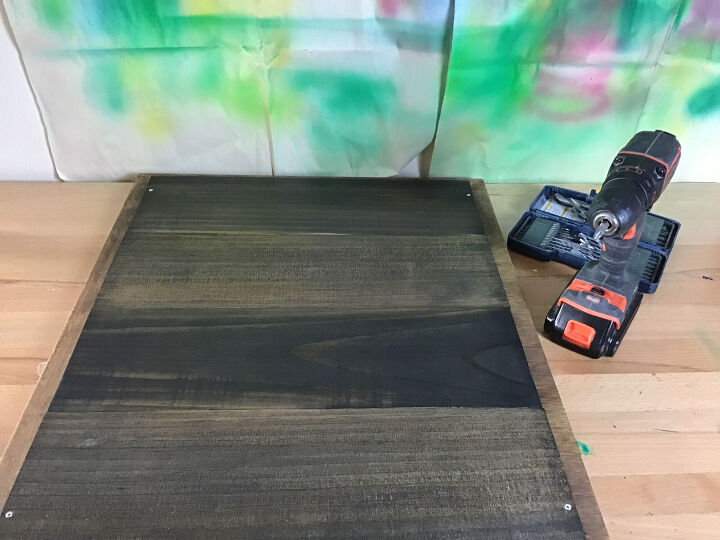
Step 12. When both the frame and backing were thoroughly dry I attached the back to the frame with four .5" wood screws.
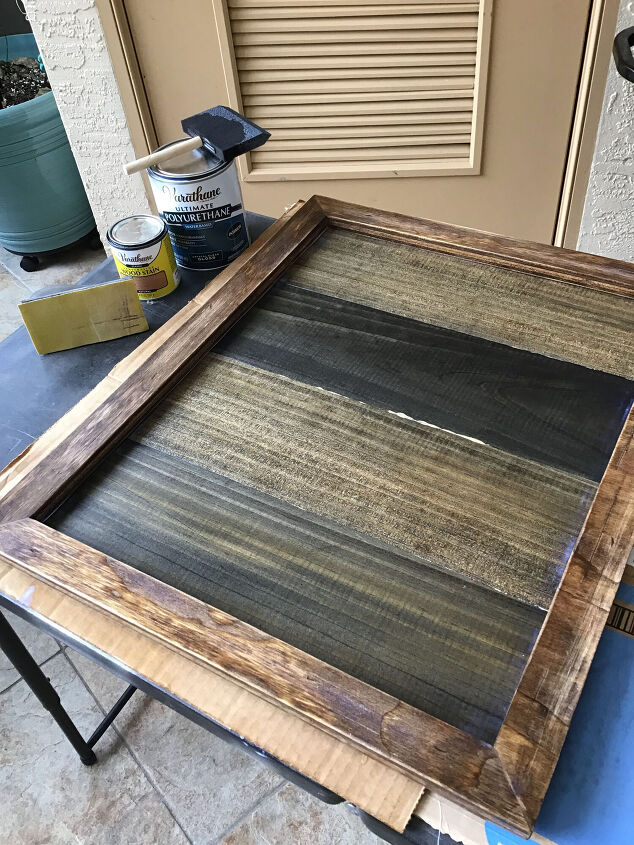
Step 13. In this step I applied a coat of Varathane natural wood stain which really brought out not only the natural wood grain but also the scuff marks and dings that I applied for that rustic feel. I then finished it with two coats of Varathane Polyurethane for a slightly glossy look.
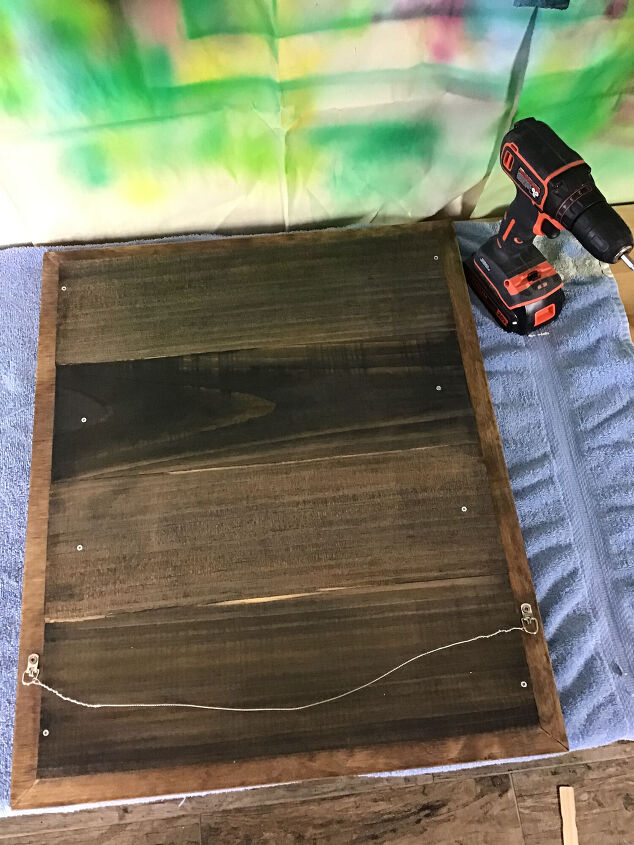
Step 14. I attached the painting onto the backing with a couple of .25" wood screws through the back and into the canvas stretcher bars. I then attached a wire hanger on the back of the frame and the job is complete 
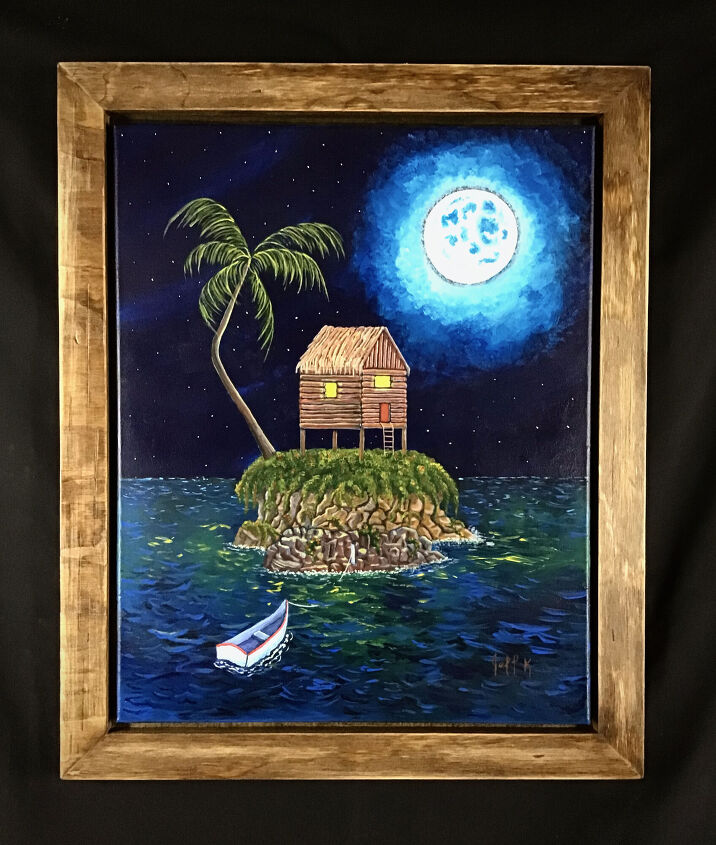
And the finished project titled "Off The Grid"
Resources for this project:
See all materials


Comments
Join the conversation
-
Lovely frame Jeff, thank you for sharing your process and the end result.
-
Lovely! It makes me smile 😻


Frequently asked questions
Have a question about this project?
The backing is covered by the painting except for the tiny gap around the edges. Could that edge just have been painted black for a simpler step?