


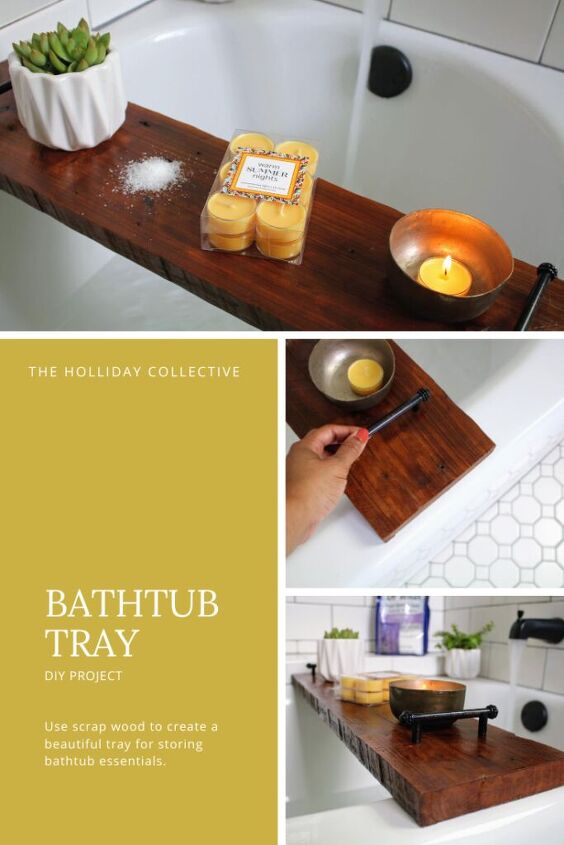
DIY Bathtub Tray
Make your own custom bathtub tray with these simple instructions. Find old cypress wood or purchase new and make a tray perfect for bath time use!
This is a DIY project that I’ve been wanting to do for years. I’ve been slowly finishing up our upstairs Jack and Jill bathroom and looking for ways to style the space. I love the Subway tile in the tub/shower but knew that a bath tub tray would pull the look together. The area now looks a lot more lived in. It makes the space look relaxing too! I love taking baths in here (even though it’s technically for our kids). Anyways, I’m going to give you a step-by-step guide on how to build your own DIY bathtub tray. It’s so simple and I promise you can do it.
Supplies:
Miter Saw
Mask (for painting or sanding)
Measuring Tape
Cypress wood board
PolyShades stain
Staining Pad
Lint Free Cloth or Tack Cloth
Sanding sponges
2 Handles
Instructions:
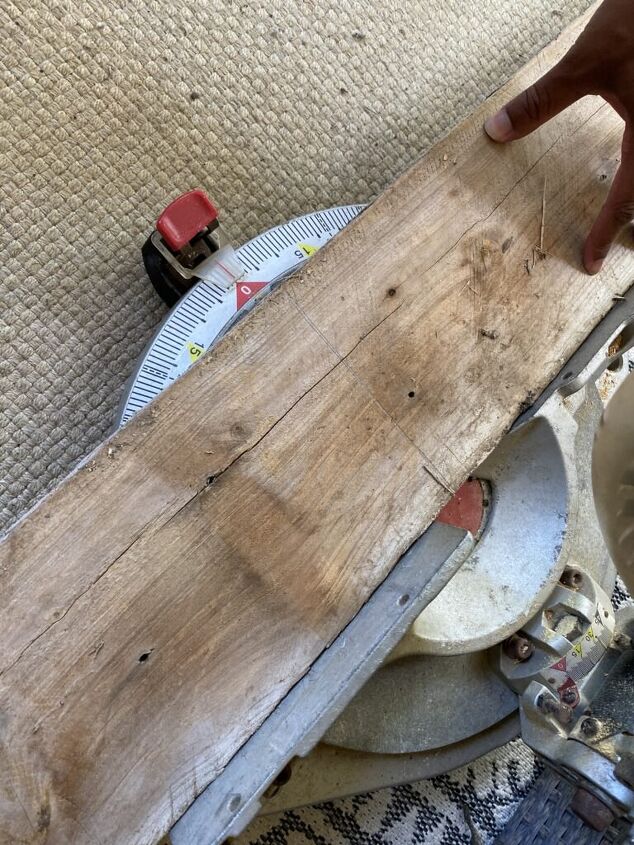
1.Measure & Cut
The first thing you’ll need to do is determine how long your bathtub tray needs to be. I simply made a pencil line (for the cut) in line with where the board would be stabilized over the tub. Unless you have all the same size tubs, this will be a custom bathtub tray. Measure multiple times before cutting. We used a miter saw for cutting because of the thickness of the wood. The great thing about a miter saw is that you can check your measurements before you pull the trigger. We like to pull the blade down a couple of times to make sure it lines up with the cut we’re about to make.
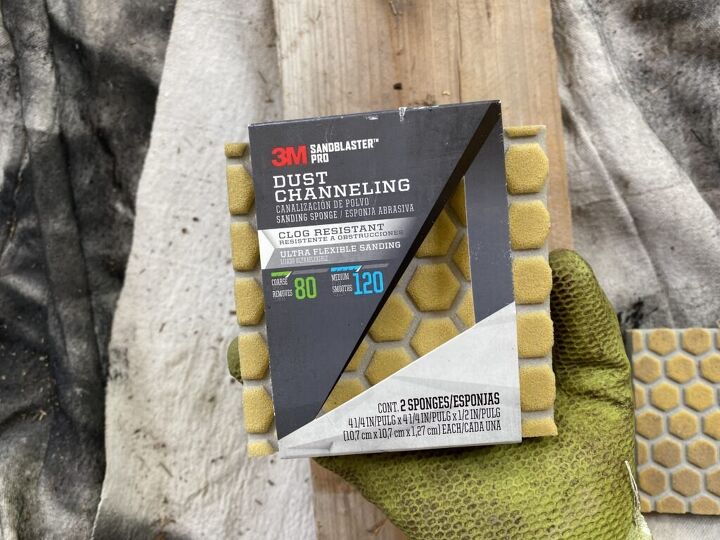
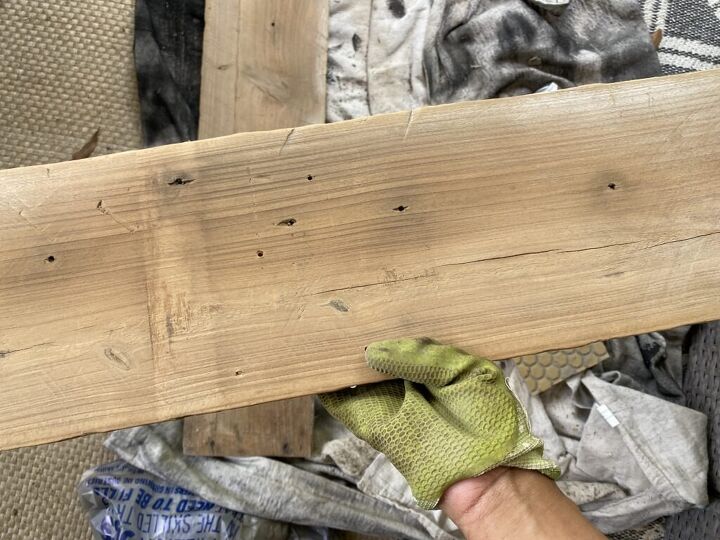
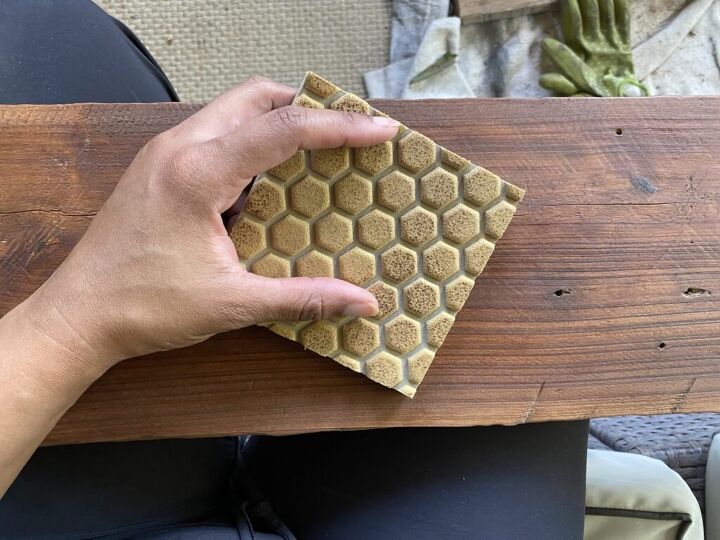
2. Sand with coarse sanding sponge or sandpaper.
To get closer to the grain and to to make the wood smoother to the touch, you’ll want to sand it. I like using a coarse grit (80) sanding sponge or sandpaper to start. (If you’d like, use a mask to protect your lungs from the wood dust). I wipe off the wood dust mid-way, and continue to sand. Sand until all sides are smooth to the touch. The wood should start looking really pretty at this point too.
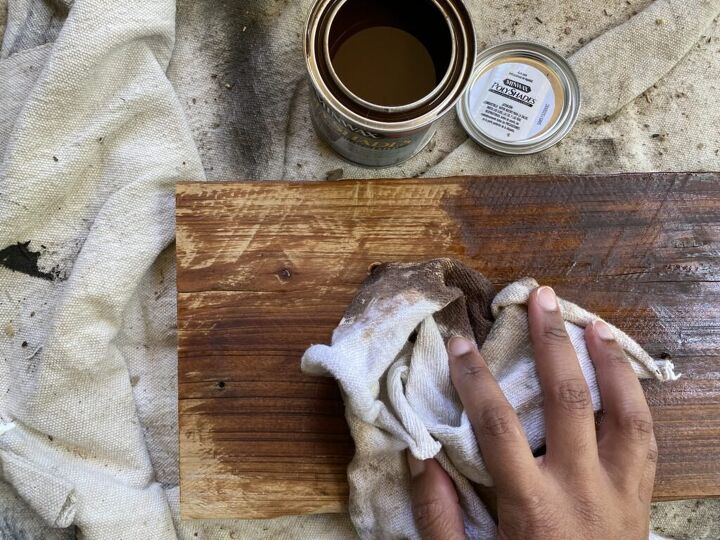
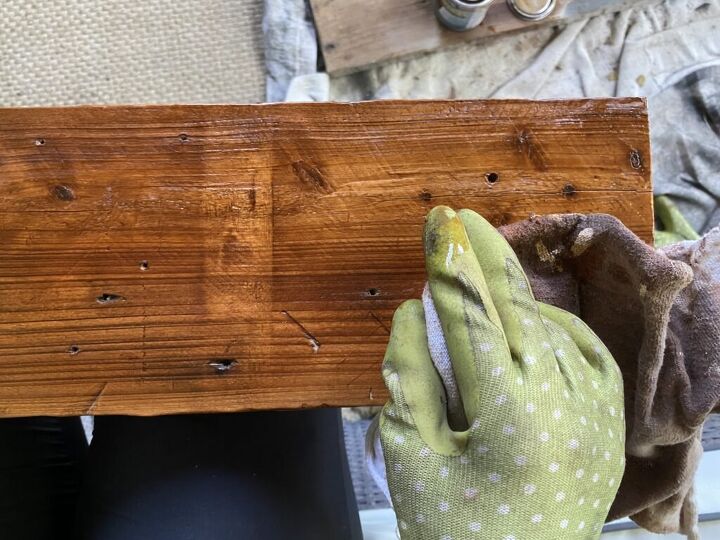
3. Clean and stain.
Use a cleaning cloth (tack cloth or lint-free rag) to remove all dust and chips left behind from the wood. Once there are no more dust particles, you are ready to stain. I used Miniwax PolyShades, in the Antique Walnut finish. I like this stain because it comes with polyurethane sealer in it already. As with any stain, apply only one coat and let it dry. Polyurethane will get sticky if it’s touched or if you try to stain over it before it’s dry. Follow the instructions for drying times. I’m pretty sure it states to wait for 6 hours to apply a new coat of stain. After about 4-5 hours, I was able to move to the next step.
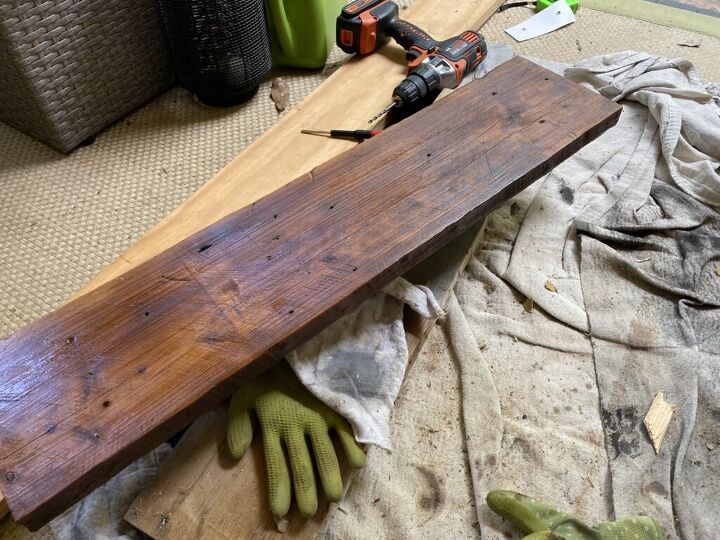
4. Sand with fine or medium grit sandpaper and stain.
Once the wood is completely dry, sand using a medium or fine grit sandpaper (120). This will allow you the ability to apply an additional round of stain. I recommend at least two rounds of stain. I feel that allows the stain to really shine through the wood. You can do three as well. I’m just not that patient. Repeat the same staining process I mentioned above or as recommended by the manufacturer. Let the wood dry completely.
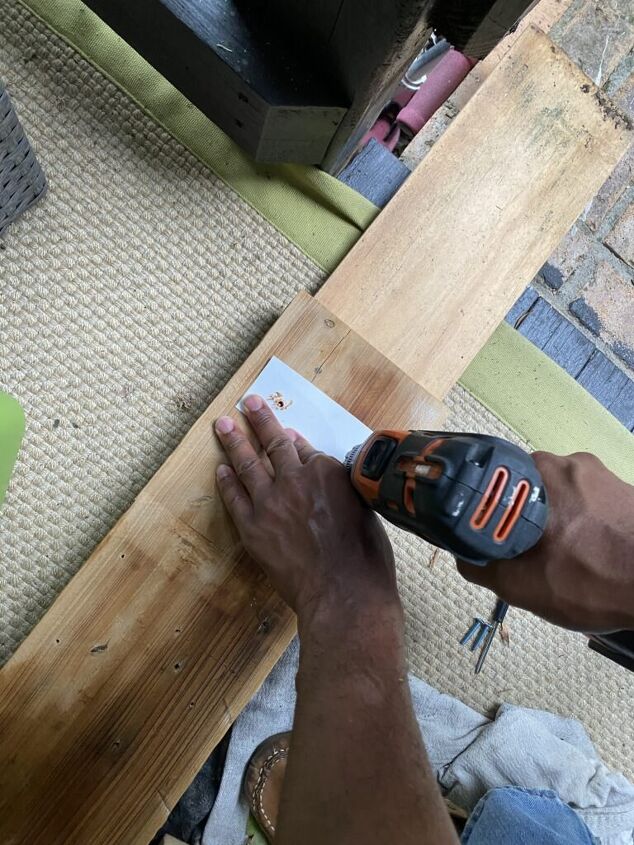
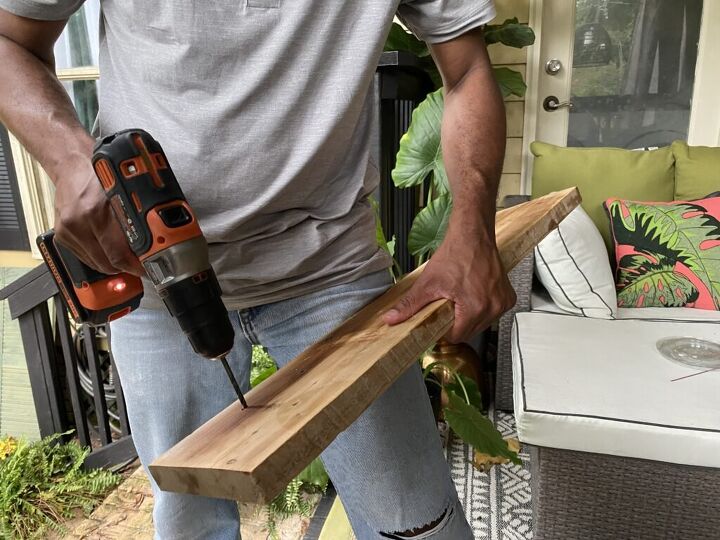
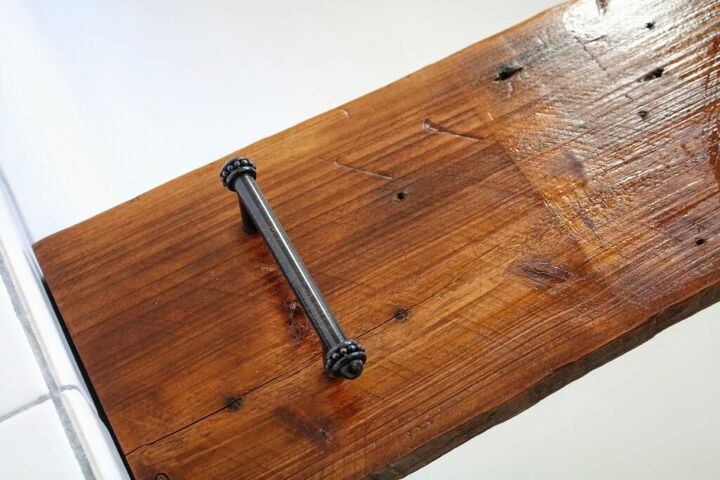
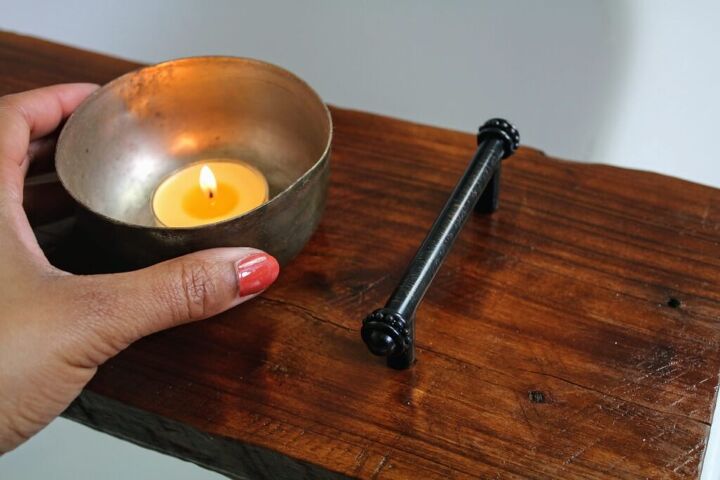
5. Drill holes and install handles.
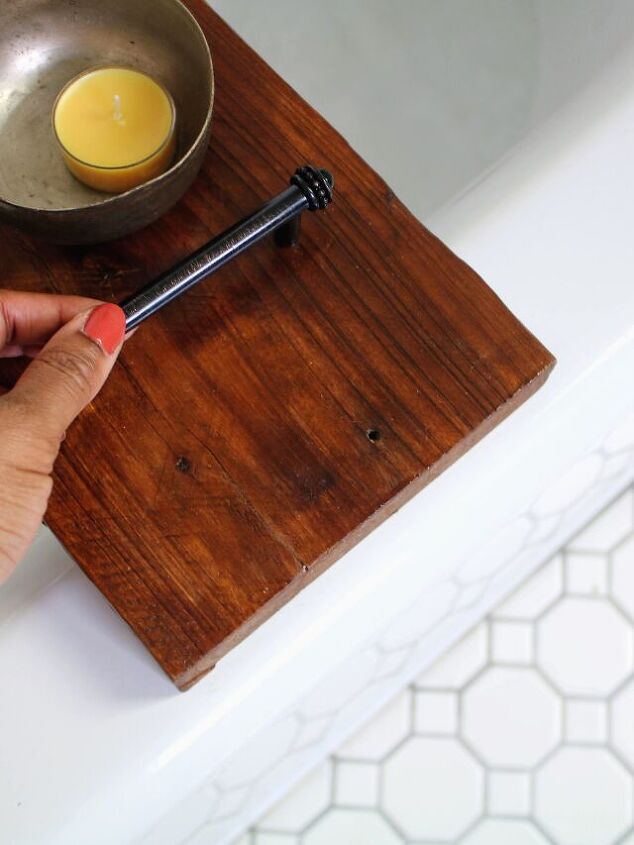
Make a template for your handle holes to ensure you get the screws in the right place. Afterwards, drill holes into board for handles or pulls. Then screw handles into each side of the board. Guess what? You’re done!
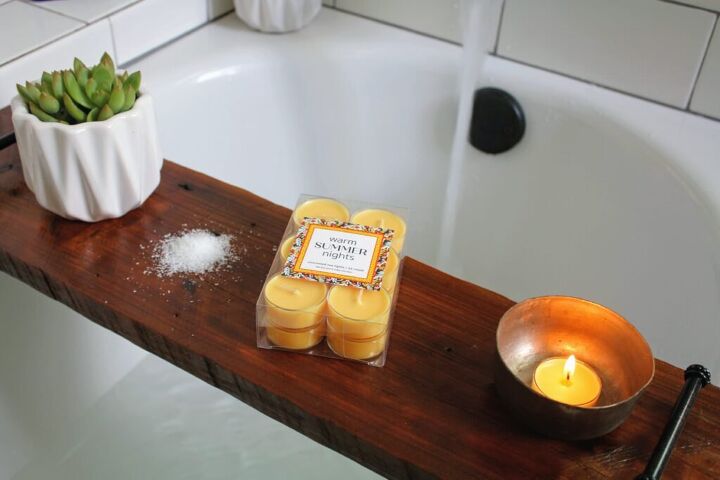
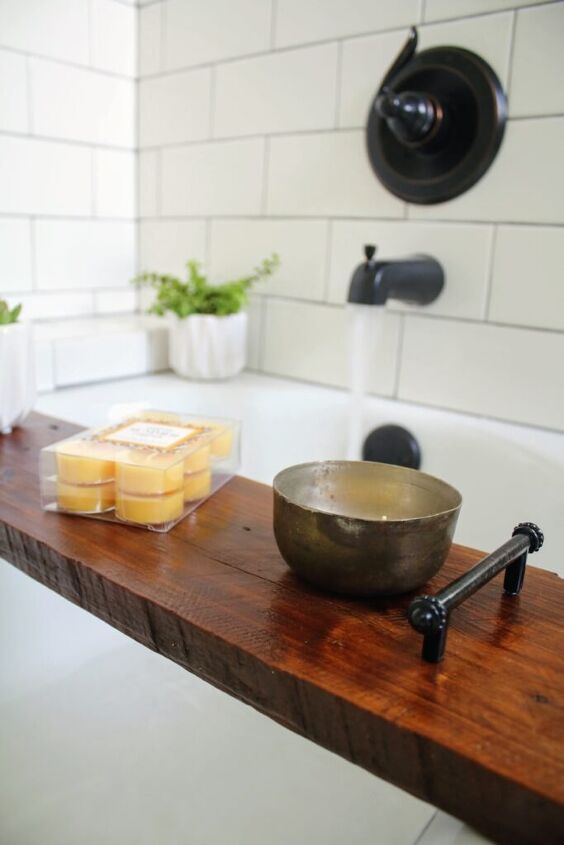
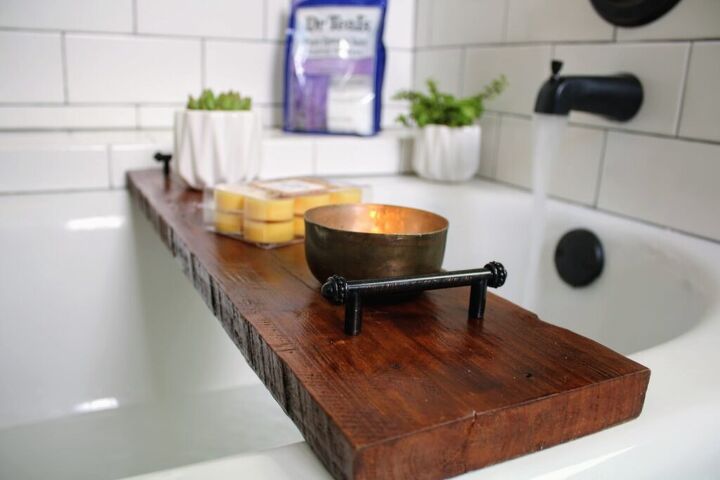
You can use your bathtub tray to read a book, light candles, or have a glass of wine….
I’m in love with the character of the wood that was used for this project. A friend shared a “scrap” piece of Cypress wood from her wood stash with me. It has so much character on its own. However, sanding it, staining it, and using it in this capacity really shows it off. It adds character to this otherwise new space. My design style has always been a mix of old and new and this bathtub tray is just the “old” that this bathroom needed.
Do you think you could do this DIY project? Let me know in the comments below.


Frequently asked questions
Have a question about this project?