DIY Display Board

We have a stainless steel fridge and the sides are covered so we can't really hang cards or pictures from it. This display board is the perfect solution to that!
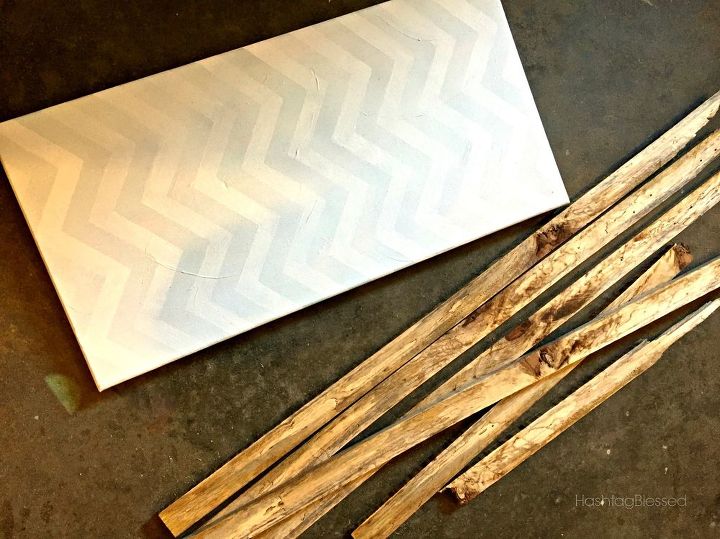
For the whole project I used:


- Canvas I already had on hand - They came in a 2 pack from Wal-Mart and were maybe $10?


- I pallet board, cut into 4 lengths, they measured just over 1 each in width


- Chicken Wire - I have a roll and it was around $8-$9 at Home Hardware


- Carpenter's Glue


- Hand Stapler


- Paint - I used Annie Sloan Napoleonic Blue (my fave!)


- Clear Wax


- Mitre Saw


- Table saw (if you don't already have the width of board you need)


Cut the corner of one of your boards at a 45 degree angle using your mitre saw. Measure the side of your canvas and then starting at the inner corner of your board measure and mark your board. Cut the opposite end at a 45 degree angle. Repeat this step for the other 3 sides.
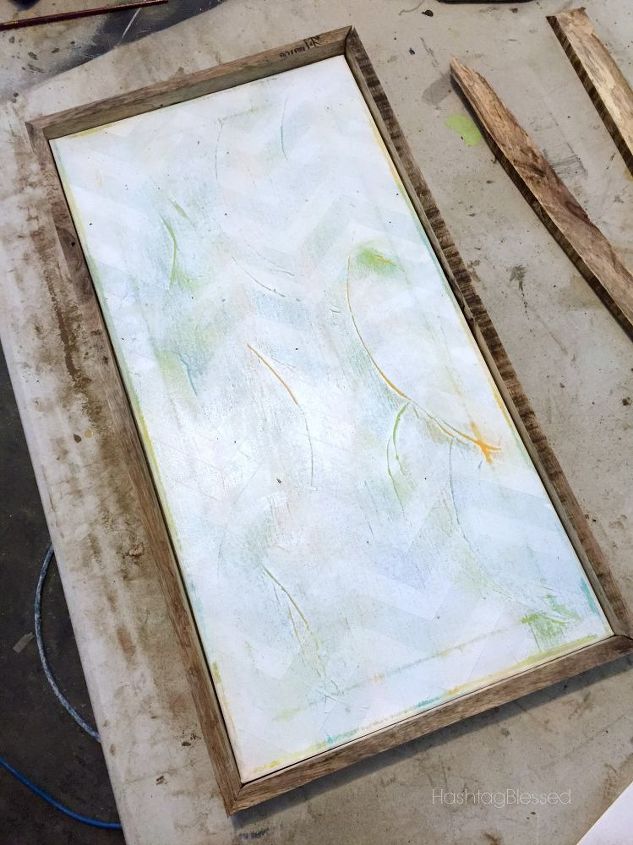
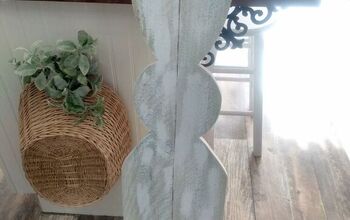
Once you're finished you should have 4 boards that look like this.
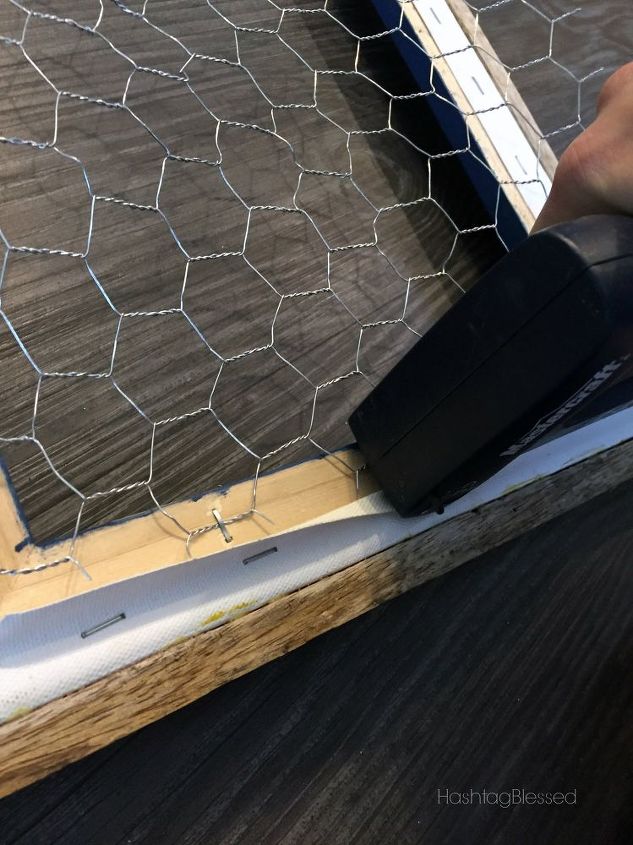
Excuse the lack of pictures for the next few steps, apparently I was super involved in the project and forgot to snap some photo's!


Using an exacto knife I cut the canvas along the outer edge on the frame and removed it. Why not just take the staples out of the back and remove the whole thing? I'll let you know in a bit.


I put a bead of glue along the edge of the canvas and using the air nailer, nailed each board into place, making sure that the corners lined up. I left a bit of an edge on the backside of the board and also allowed overhang on the front. I like the shadow box look, If you don't then line the front of your boards with the front of your canvas. I put a nail in the middle of the board, one at each end of the canvas, and the one in each corner to join to two corners of the wood together.


Once it was all put together I painted the inner frame that was exposed under the canvas. You can use any color you like at this point, I'm head over heels in love with Annie Sloan's Napoleonic Blue so that's what I used. I really wanted the wood grain on the exterior frame to pop so the only thing I put on it was clear wax (also Annie Sloan), I also waxed the blue to help bring the depth of the color out. Once finished up with that flip your frame over and get out the chicken wire.


Pull the canvas back and stretch your chicken wire across the frame. Using your staple gun, staple down the wire, making sure it extends under the canvas. Once you've finished, let the canvas fall back in place and it will act as a buffer between the wire and the wall. Great way to avoid scratches on your wall or having to take the extra step of covering the edges with something else. I centered a saw tooth hanger on the back and nailed it into place.
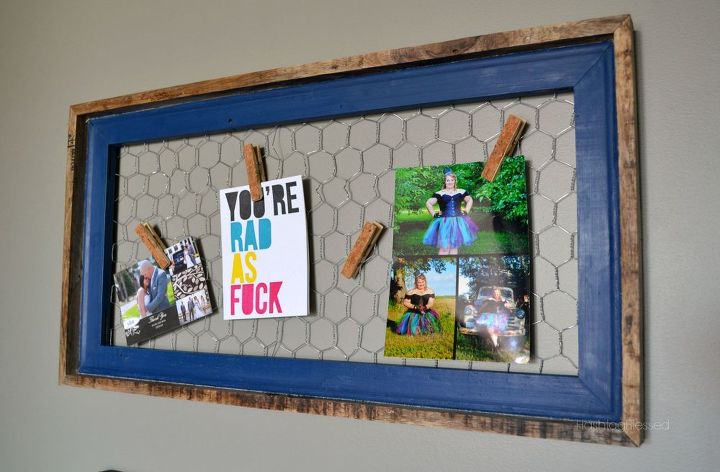
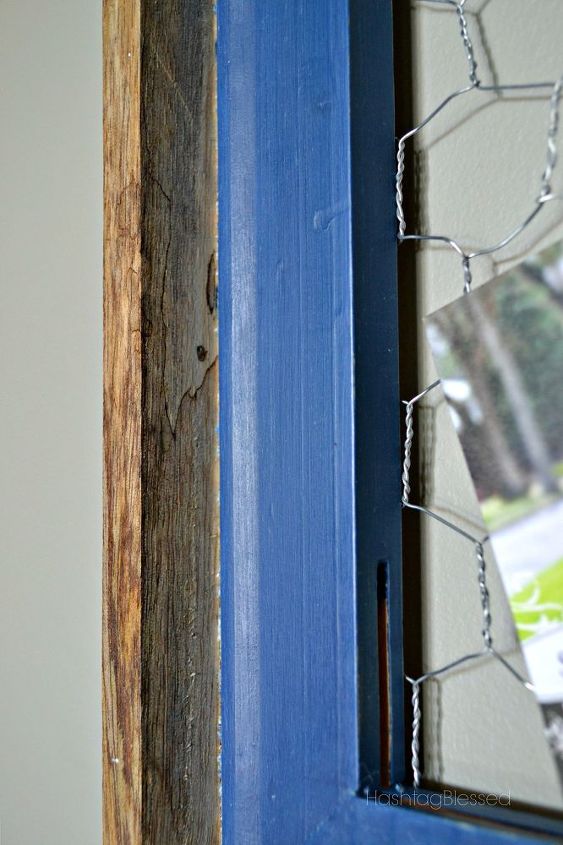
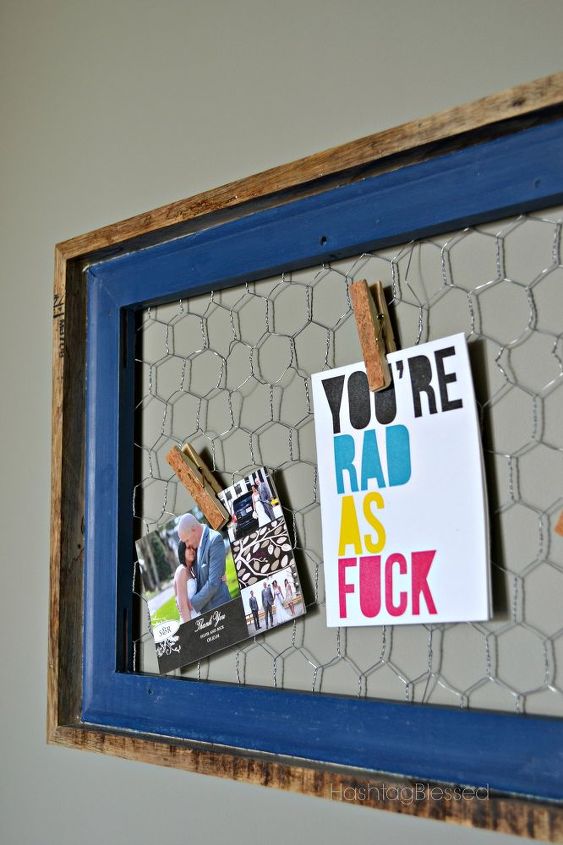
I love the coloring and pattern of the wood grain don't you? I snagged those cute cork clothespins at Micheal's and they tie in well with the natural look of the wood. I can't wait to get some holiday greetings hung up!
Chandra | #Blessed
Want more details about this and other DIY projects? Check out my blog post!
Go
Frequently asked questions
Have a question about this project?
Comments
Join the conversation
Next