


DIY Farmhouse Tiered Tray (Easy, Fun, And Inexpensive!)
You may be asking yourself, How do you make a DIY tiered farmhouse tray? Well you are in the right place because I am going to show you how I made my very own 3 tiered farmhouse tray for less than $10 with items I found at the thrift store and Dollar Tree. I love this type of decor piece to help display small trinkets, candles, and wood bead garlands. I am a big fan of any thrift or Dollar Tree DIY!
Buckle up and get ready for this Farmhouse DIY Tiered Tray Tutorial made with mostly thrifted and Dollar Tree items. This post contains some affiliate links. I may earn a small commission if you make a purchase through one of these links. See more information in my full disclosure policy.
- Materials Needed Cake Stand (Thrift Store)
- 2 Cake Pans from the Dollar Store and Thrift Store(2 different sizes – smaller than cake stand)
- 2 Glass Taper Candleholders from Dollar Tree (here are some similar ones on Amazon)
- Rustoleum Chalked Paint – “Linen White” (you can find this in a Spray Paint version too)
- Paint brush
- E6000 glue
- Hot Glue Gun
- Glue Sticks
- Brown paint or water based wood stain ( here is a similar one on Amazon)
Put The Tray TogetherHow do you make a tiered farmhouse tray? Well there are several different approaches you can take for this project. I have seen so many talented bloggers create their own version of the farmhouse tray with multiple tiers. To get this farmhouse look, follow this budget friendly tutorial.
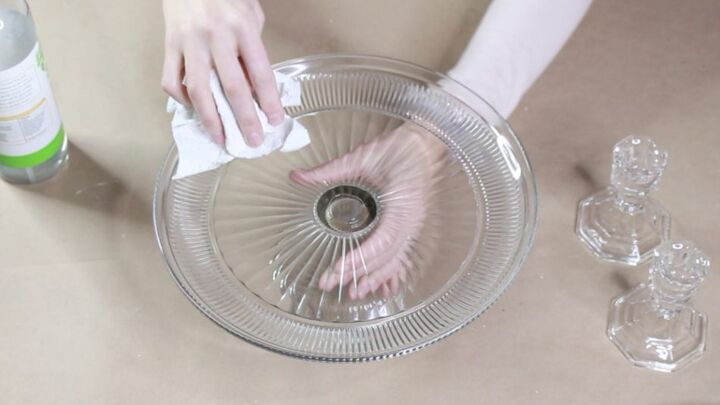
Step 1 – Clean the Surface Before Painting
I always like to give the items I am painting (especially from the thrift store) a wipe down. I use an all natural degreaser with a towel to clean down each piece. Especially the bottom tier since it was the biggest and made of glass. That dust and grime can be sneaky in the decorative grooves.
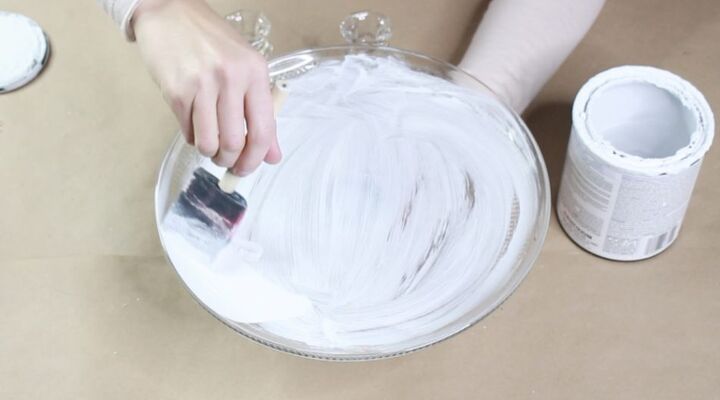
Step 2 – Paint The Base Cake Stand
For this makeover transformation, I am using Rustoleum Chalked Paint in the color “Linen White.” I started painting my white paint with my bottom tier cake stand. I recommend letting each coat of paint fully dry before adding the next layer. The paint bonds much better and it will improve the overall look and longevity of this diy farmhouse tiered tray. I want this thing to last for a long time!
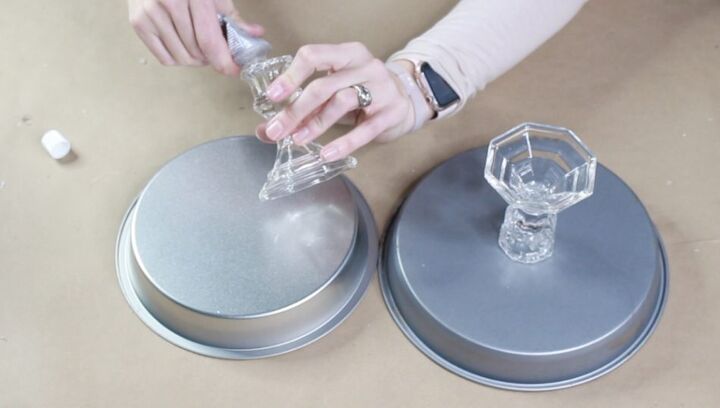
Step 3 – Attach Candle Bases to Cake Pan
The glass taper candle holders will be attached to the bottom of each of the cake pans. You will want to make sure each cake pan or pie pan is a different size and make sure they are both smaller than your bottom tier cake stand. E-6000 and hot glue were my best friends for this step. Make sure you allow time for the glue to cure and hold. I would wait 24 hours to make the E-6000 dries completely.
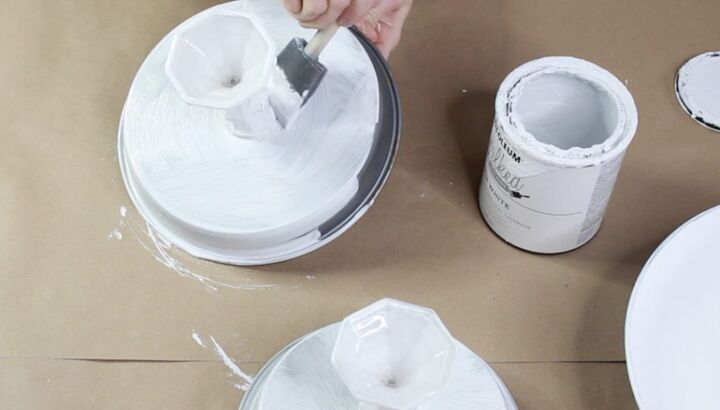
Step 4 – Paint Cake Pans and Bases
My white chalk paint was essential for this step. I wanted all of my tiers to be the same color. The same rule applies from the step earlier. Make sure you allow the paint to fully dry before adding more paint. A couple coats is a must.
Step 5 – Assemble the Farmhouse Tiered Tray
It’s time to assemble all the tiers together. Start with the bottom tier and work your way up to the top tier. Use the E6000 glue and the hot glue to make sure these tiers stay together. Make sure each tier is centered before applying. After I was happy with the placement, I used a heavy can of paint to add some weight to the dollar tree tiered tray while it dried overnight.
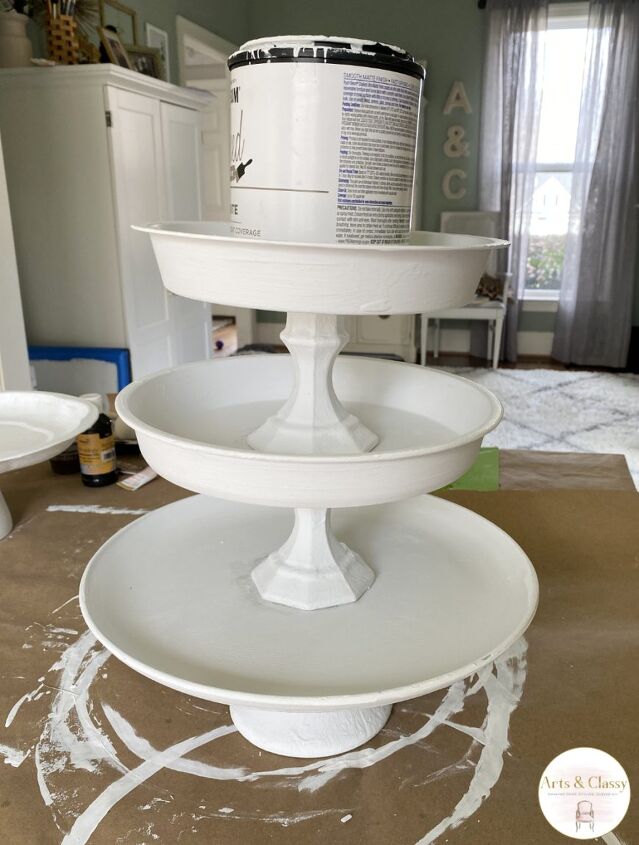
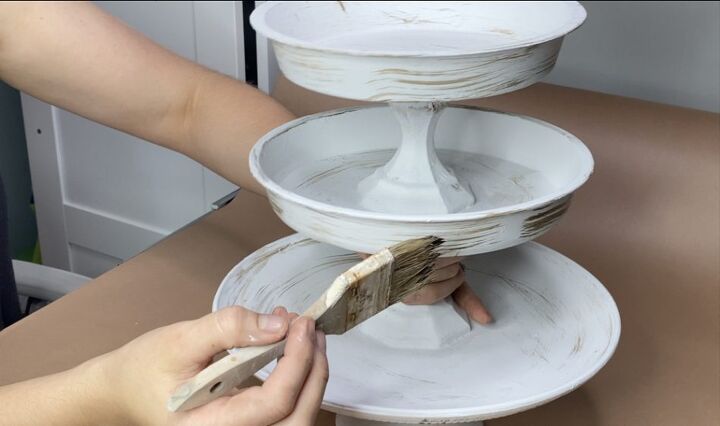
Step 6 – Dry Brush Brown Paint or Stain to Add Weathered Look
But what you can expect is to take a paint brush and dip it in brown paint of water based wood stain. Dab it on a paper towel to remove some of the excess and then lightly paint this on parts of the tiered tray diy. You can add as much or as little as you like to give your tiered tray the farmhouse style you desire.
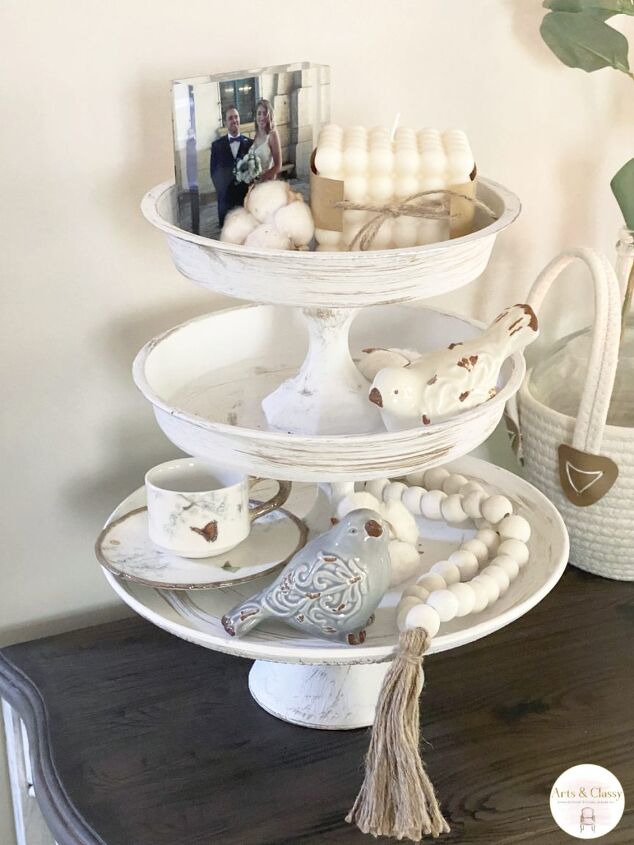
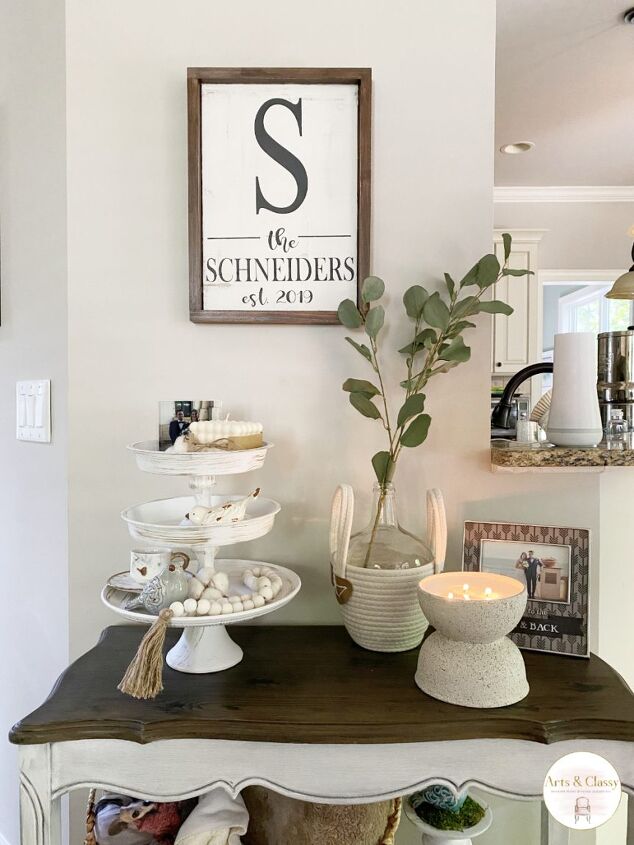
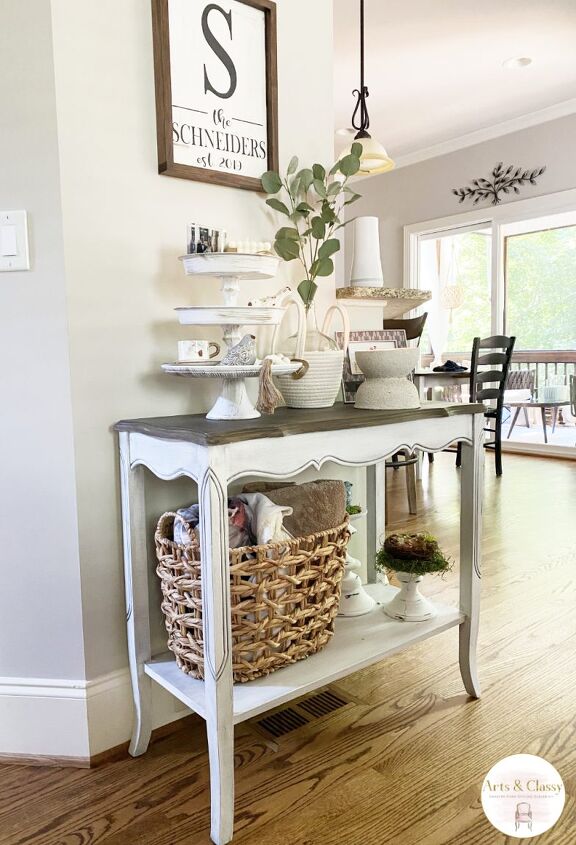
Step 7 – Put it as a Display on a Console Table and Enjoy!
This is the extra FUN part! When your DIY farmhouse tiered tray is dry, you can place it where you desire. I put mine on a console table that I flipped recently (Before and After coming soon) in my living room. I used some small decor, wood bead garland, vintage espresso cup/saucer, and candles to make this a cute display and vignette. There are plenty of accessories out there that would complement this stand. It’s important to enjoy the fruits of your labor, so make sure you place this somewhere to be seen. Mine makes me so happy when I see it. I am proud of the work I did on my own diy dollar tree farmhouse tiered tray.
Now I want to hear from you, what did you think of this project?
Would you try it in your home? Let me know in the comments below or on the other platforms this project will be.
YouTube | Instagram | Pinterest | Facebook

Resources for this project:
See all materials


Comments
Join the conversation
-
I LOVE it. I've been wanting to make one. I have a lot of Blue & White in my kitchen, so I'm thinking about Blue and White napkins added with a little Mod-Podge. Or I might look around thrift stores for Blue and White plates and saucers.
-
Is this safe to put food on


Frequently asked questions
Have a question about this project?
May I ask, what is your base on the stand?
How and why do you use both kinds of glue together to attach everything?