


DIY Nautical Map Serving Tray
I had maps leftover from my end table project, and I had this old tray that had seen better days, so I decided to make a DIY Nautical Map Serving Tray.
Here is how I did it.
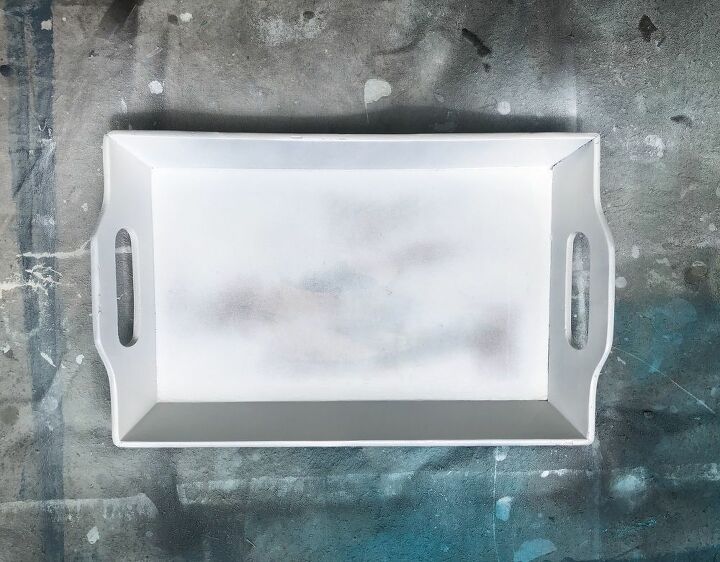
Step 1…Paint the Tray…
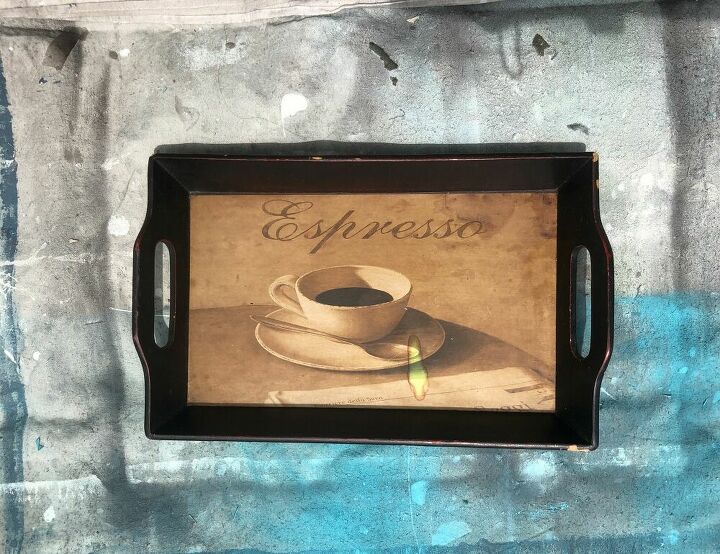
I’ve had this tray for years and it is adorable, but it was looking a little ragged. It had a bunch of chips and a big water stain on the top. Therefore, the first thing I did was paint this sucker, using some left over white spray paint from my garage. If you want to attempt this project and don’t have a tray already you can get a similar one, here, here or here.
Ah! Yes! That’s much better.
Step 2…Cut the Map and Glue it…
To cut the map, I simply measured the top of the tray and then measured the map and cut it with scissors. I wasn’t worried about the seams because I knew the adhesive and the Mod Podge would smooth them out.
NOTE: You can use whatever image you want on the top. It doesn’t have to be a map at all. I used this Bahamas nautical map wrapping paper from amazon.
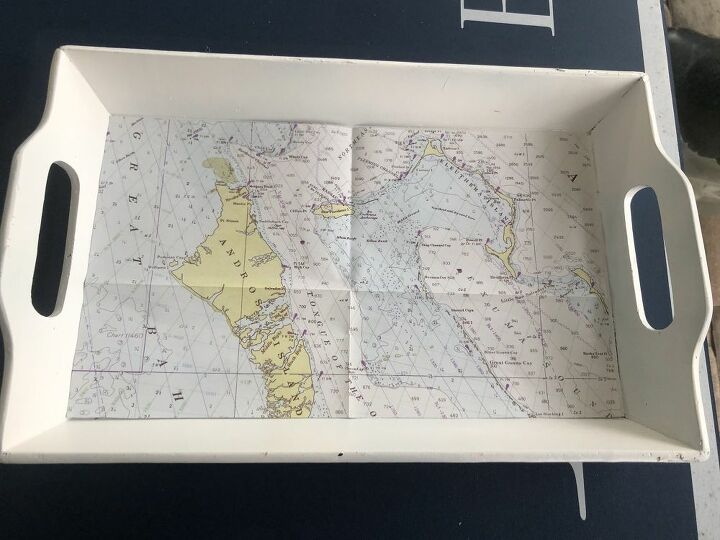
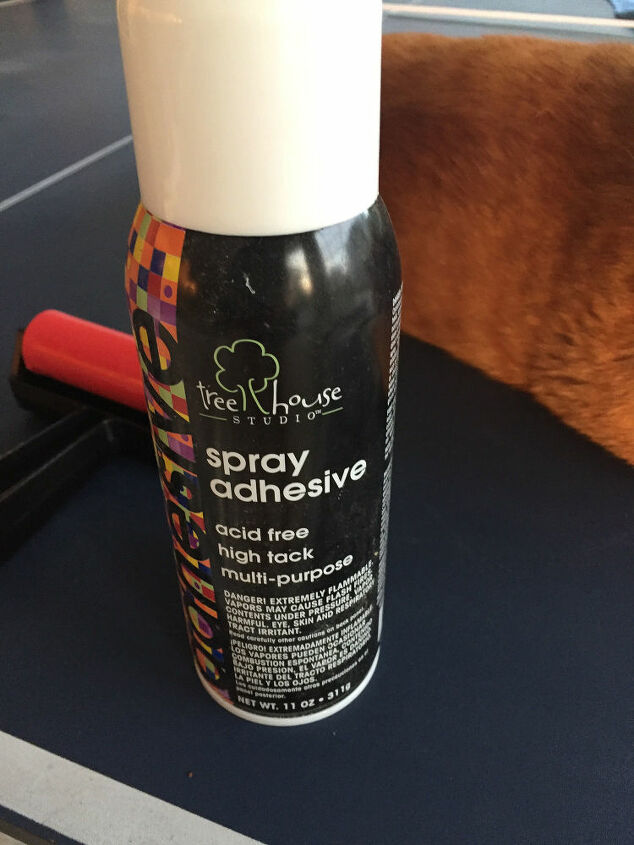
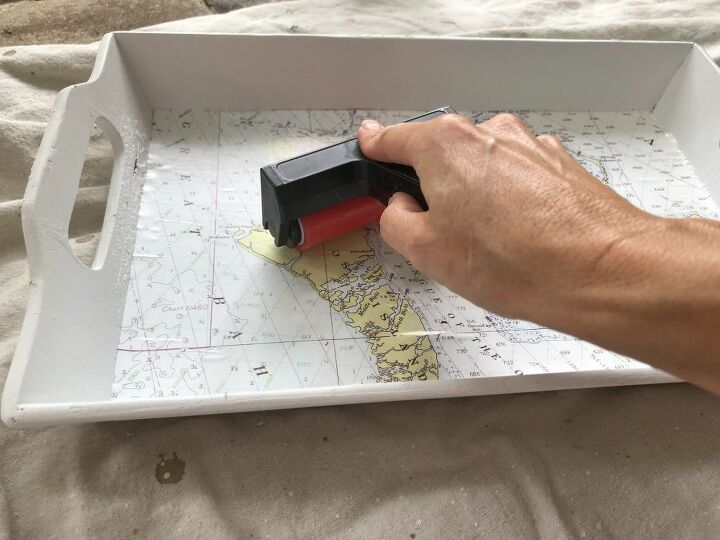
To attach the map to the tray, I used this spray adhesive. Simply spray a generous amount right to the top of the tray, and then carefully place the map on top. Once it was stuck to the tray, I used this roller tool to smooth out any bubbles. You can also use a credit card.
Step 3…Mod Podge the Top…
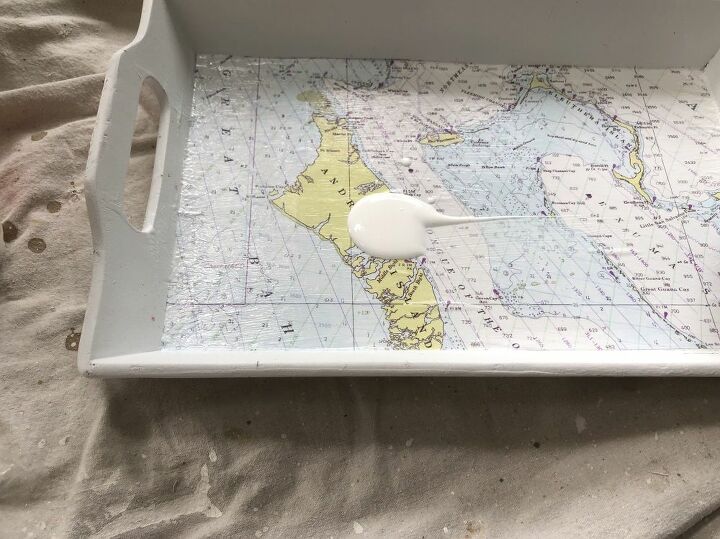
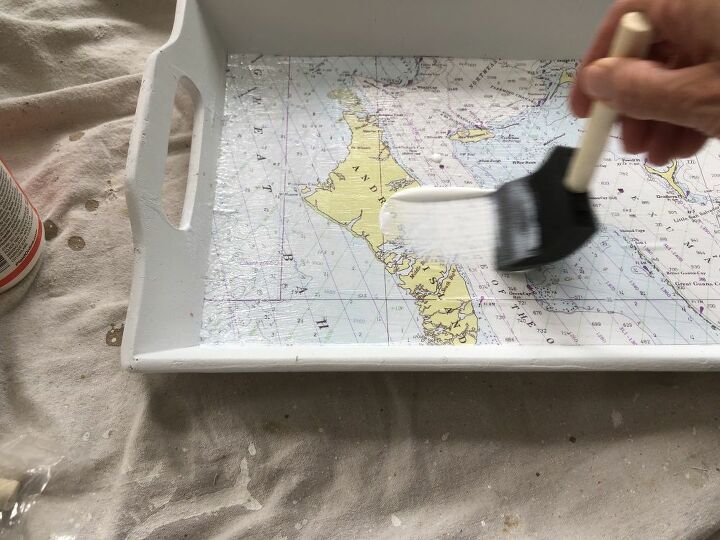
I used my foam brush to put several layers of Mod Podge on the top. This stuff will seal it and protect it from any moisture. I just pour some on and then use a foam brush to paint it on. For this piece, I used 2 coats.
Step 4….Finish it off…
Finally, the last step is to spray a top coat (or two) of this Clear Acrylic Gloss Coating. This stuff dries in minutes and adds yet another layer of protection against spills. I used 2 coats. You can probably skip this step, but I had some of this on hand and figured, it couldn't hurt to add it.
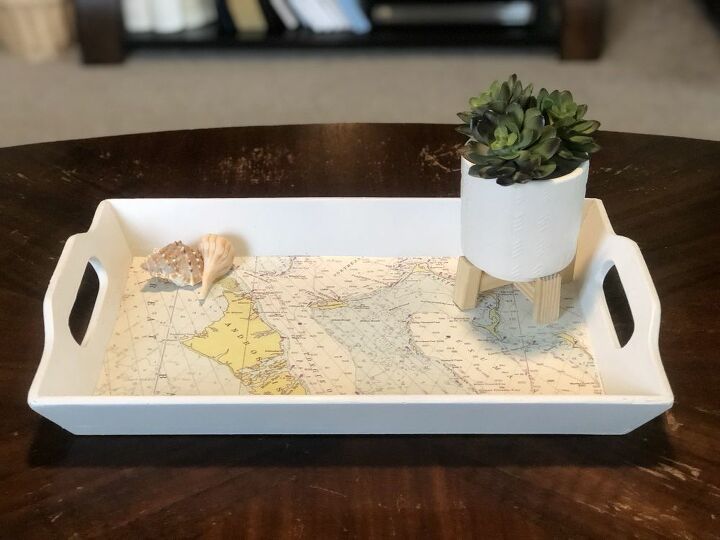
That is it. Simple, easy and cheap to make.
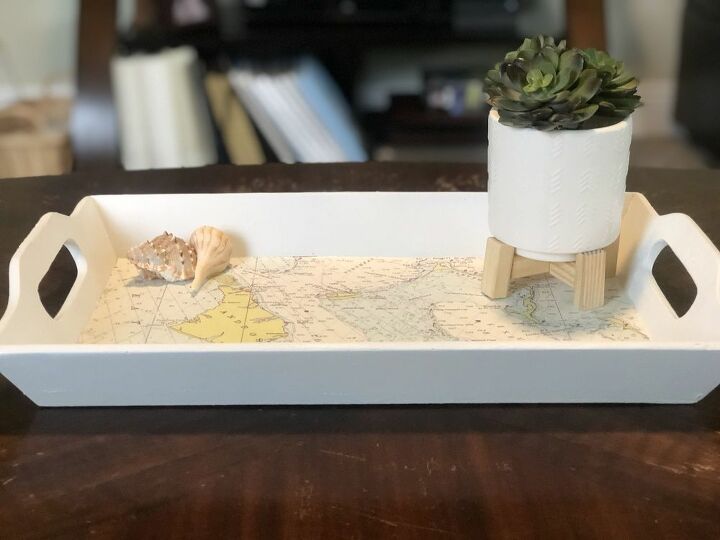
Here is the finished product.
Resources for this project:
See all materials


Frequently asked questions
Have a question about this project?