


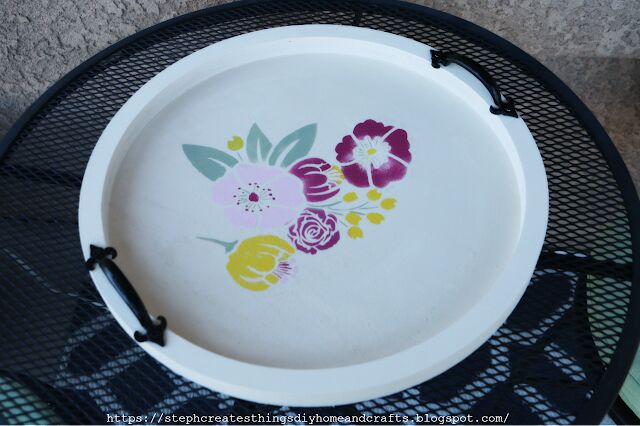
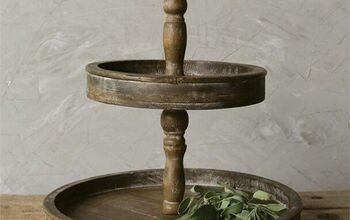
DIY Simple Decorative Serving Tray

Today we're creating a simple decorative serving tray. While shopping at Hobby Lobby they were having a Spring sale, and I was super excited to see all the mark downs. Some mark downs were up to 50% off. I decided I would create a simple decorative serving tray. So if you're ready I will take you through the steps on creating your very own tray.
Video tutorial
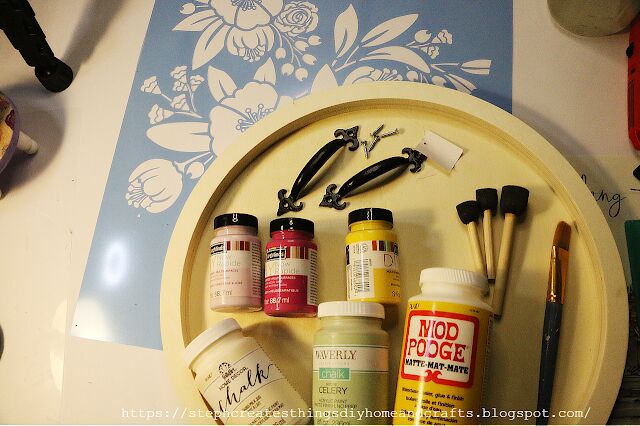
Materials
One round wood tray/sign 16 in x 0.98 in (41cm x 2.5cm)- I purchased my sign at Hobby Lobby during their Spring sale. I was able to snag it for $10.
Paint- I am using Artminds multi surface on my stencil design And Folkart Home decor chalk paint for the tray. Color is milk jug in ultra matte
Mod podge
A set of round sponge brushes
One paint brush
Two decorative handles
Four screws -for handles
One Screw driver
Floral stencil
Optional- Drill, and a drill bit for drilling pilot holes into tray for handles
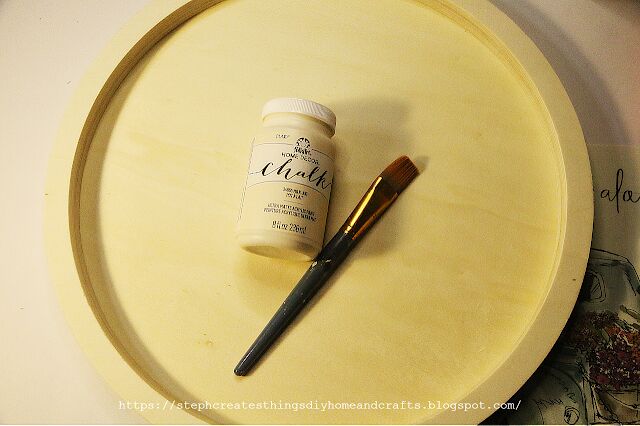
Begin with applying your chalk paint onto your tray. When applying my paint onto my tray, I painted around two to three coats of paint.
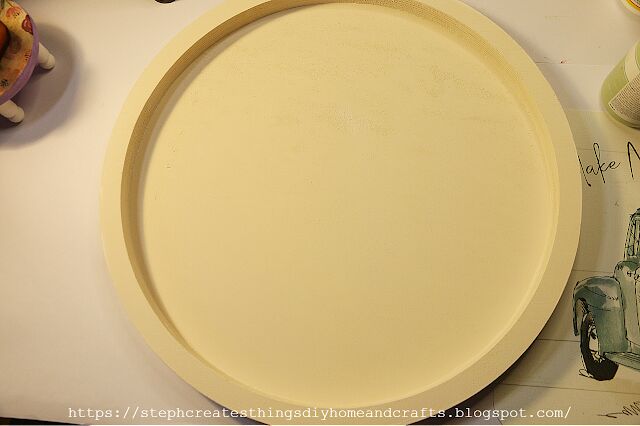
In between coats you can use either a blow dryer, or heat gun to help with the drying.
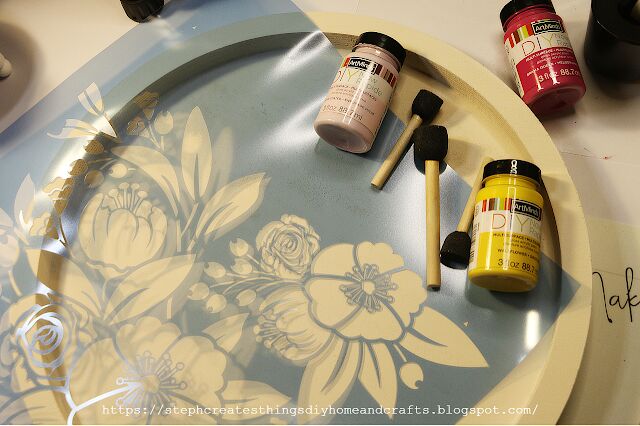
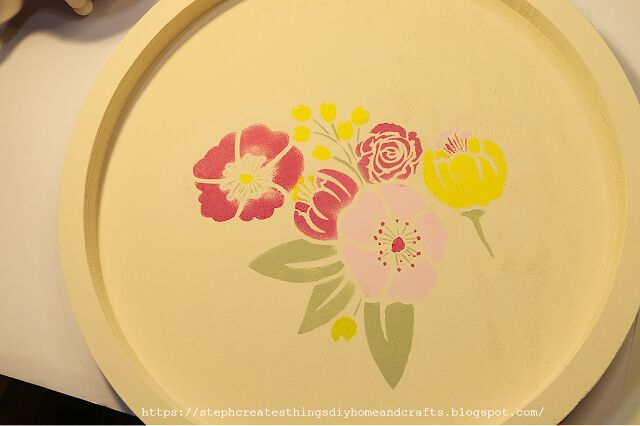
You are now ready to work with your paint, and stencil. Take your stencil, and lay it on the inner section of your tray.
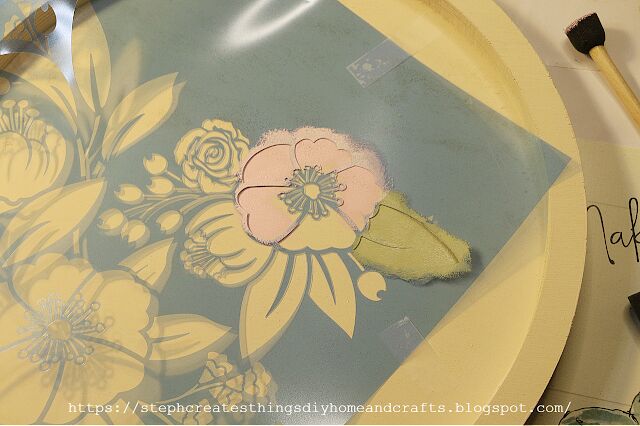
Once you have added your stencil, use some tape, and tape down the area of the stencil you will be working with. I did this to help with keeping my stencil down, and from moving around when applying the paint.
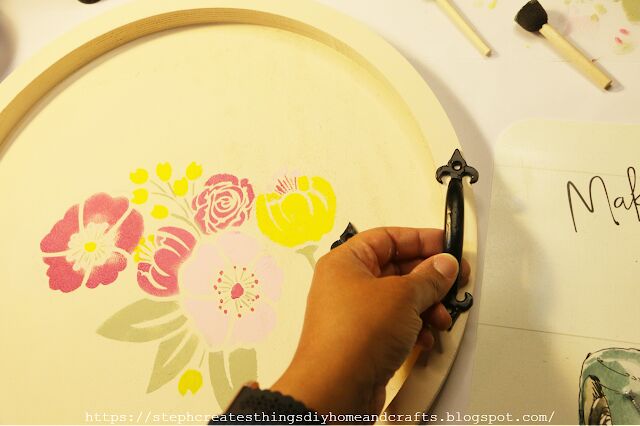
After applying your stencil, you can now add your handles onto your tray.
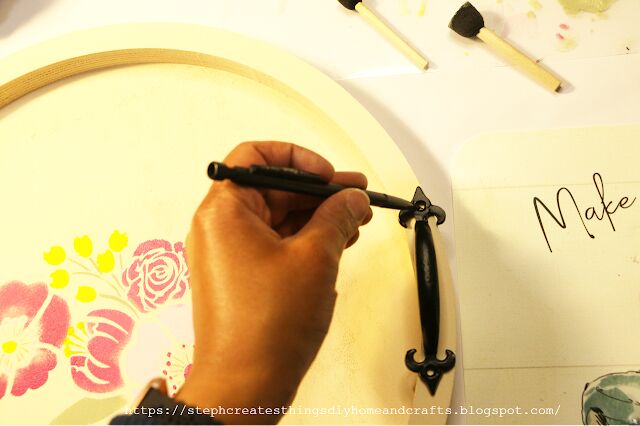
Using a pencil mark the placement of your handles. You will make marks for where the screws will be inserted on your tray.
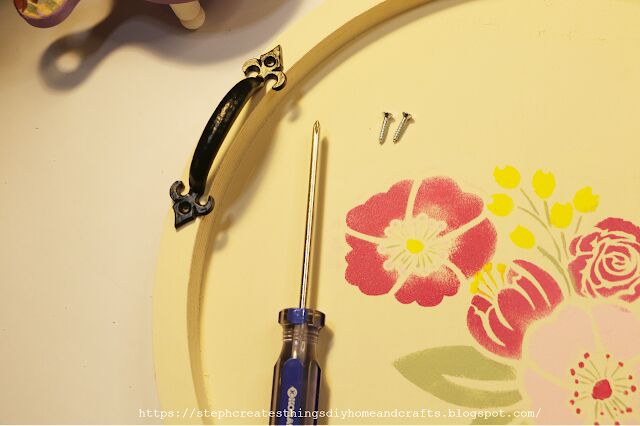
This next step is completely optional, and will apply only if you decide to use a drill.
When using screws on wood it is not necessary, but may help to prevent the wood from splitting if you drill a pilot hole. Once you determine on your drill bit and how deep you will need your hole you can use a piece of tape as a depth gauge.
You take a piece of tape, and tape it just above the section on your drill bit that will be drilling into your wood. When drilling, once the flap of the tape meets up to the wood you back out to avoid going too deep. Again, this step is optional, but I found this to be very helpful
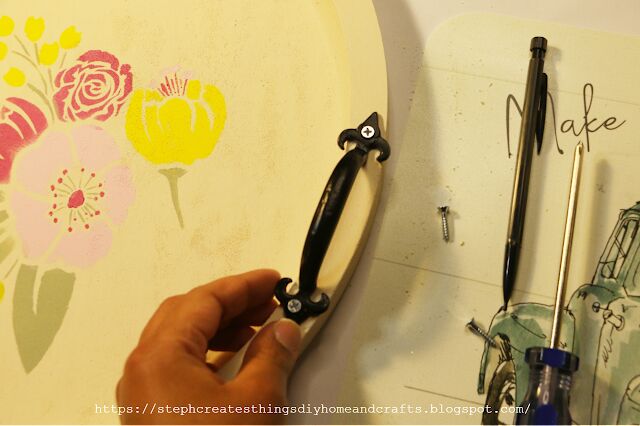
Once you have drilled your pilot holes, you can now screw in the screws using a screw driver.
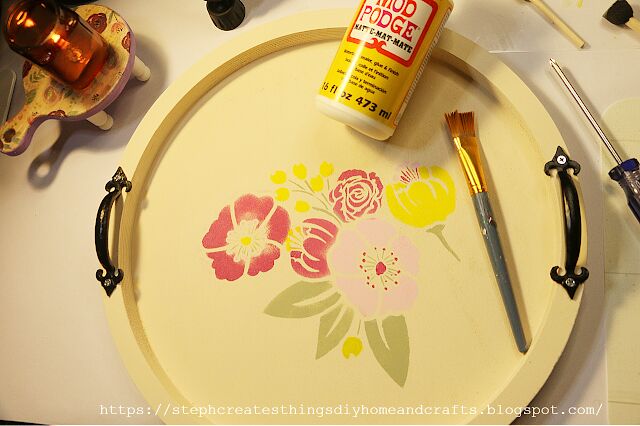
All that is left is to add a layer of mod podge over the inner section of your tray. I added around two coats of mod podge, and I used my blow dryer to help with drying. If your screws are silver, you can also add black paint over them so that they blend in with your handles as well.
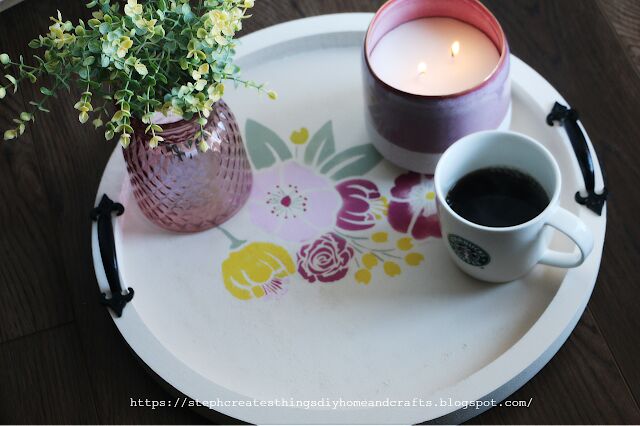
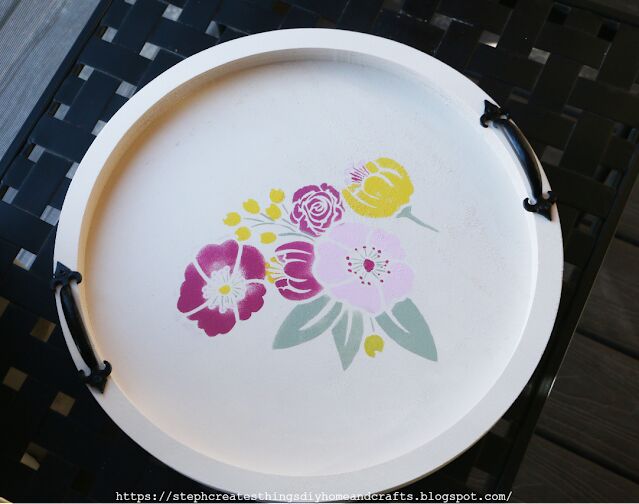
Your tray is now complete! I love the simple floral design, and I think this will go perfectly on our patio under our pergola. This can also be used to display a vase with fresh flowers, candles, and much more! I hope that you have enjoyed this simple DIY. I'll see you soon!
Be sure to visit my blog for more DIY projects, and fun crafts-- https://stephcreatesthingsdiyhomeandcrafts.blogspot.com/
Pin/Share/Save


Frequently asked questions
Have a question about this project?