


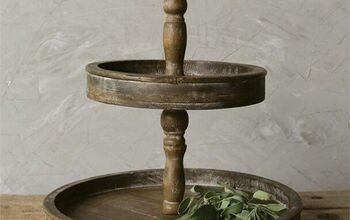
DIY Wooden Pedestals for Tiered Trays and Shelves
If you are making tiered trays or staging bookshelves, you will probably want to have some of your treasures be a different height than all of the rest.
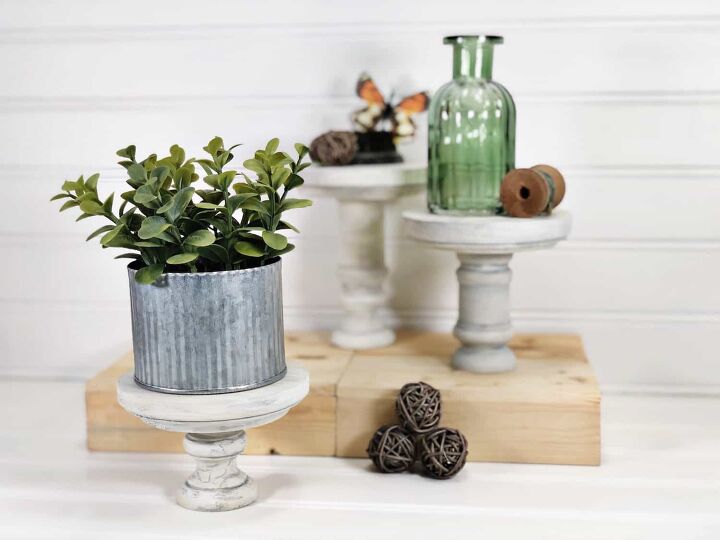
That’s why these easy DIY wooden pedestals are so great to make. The rustic farmhouse look of these pedestals add visual interest and texture.
I got my materials at Michaels. However, you can use wooden objects from any craft store or sourced online. This is a great project when you have some odds and ends in your craft room and don’t know what to do with them.
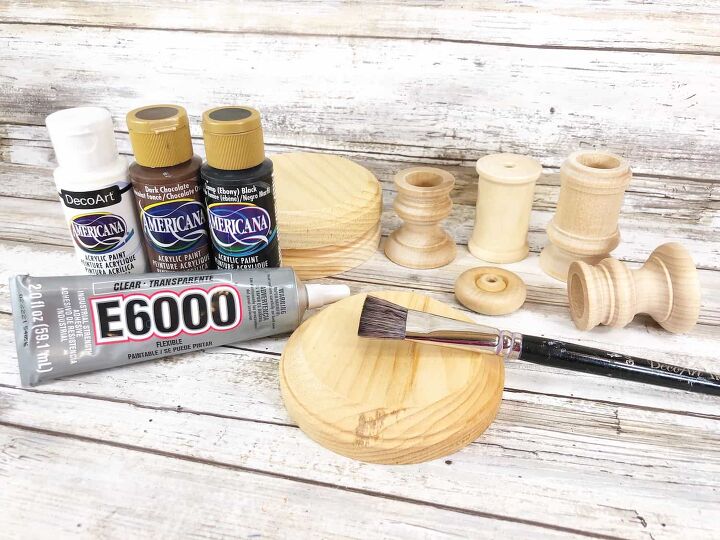
Supplies
- Wooden Circle Plaques – Three, 4” in diameter
- Wooden Candlesticks – Three, Variety of Sizes
- Wooden Spool – One
- Wooden Wheel – One
- Craft Paint – White, Ivory, Light Grey
- Strong Adhesive (like E6000)
- Sanding Block or Paper
- Damp Paper Towel
- Paintbrush
Instructions
Step One
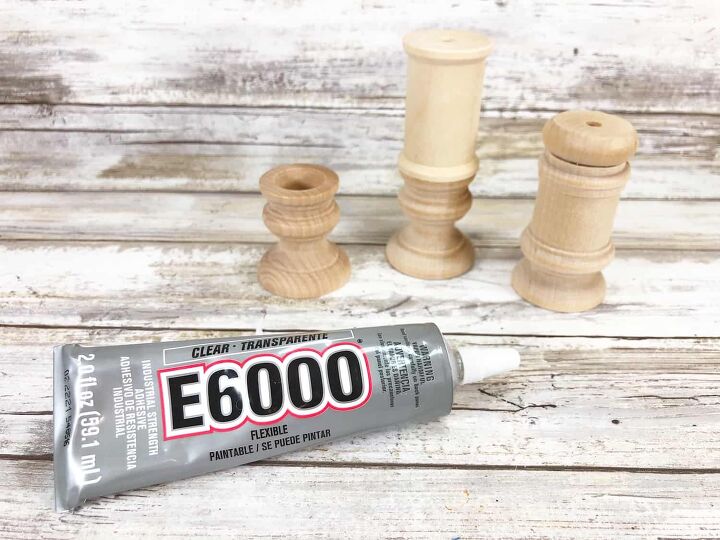
Lightly sand the edges and surfaces of each wooden item with a foam sanding block, if needed.
Decide on a combination of how to use the plaques along with the candlesticks, spool and wheel. Glue together with an adhesive glue such as E6000. While hot glue would work temporarily on glue, it won’t be a permanent bond.
Let dry overnight.
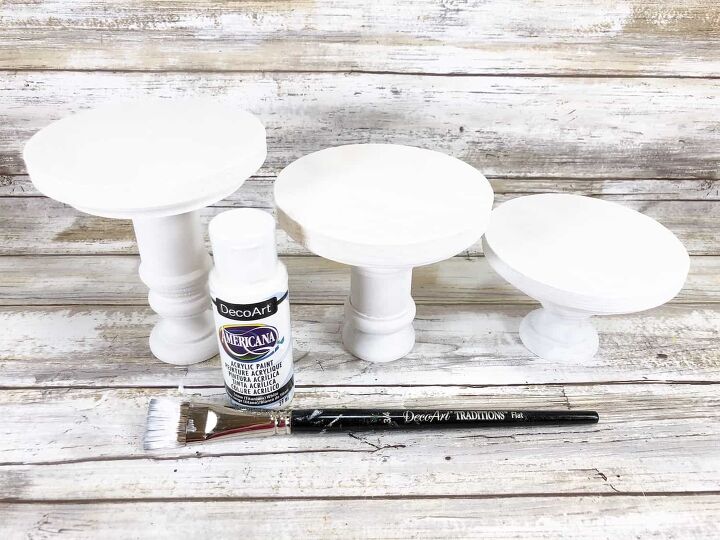
Step Two
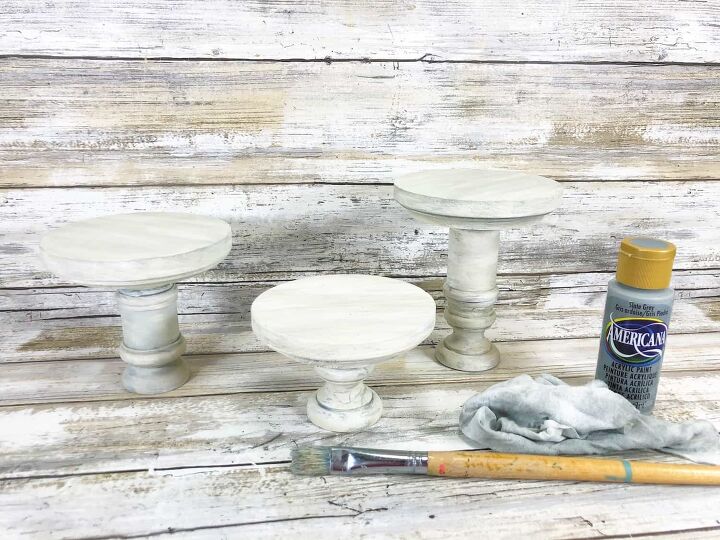
Paint all three of the pedestals white and allow to dry.
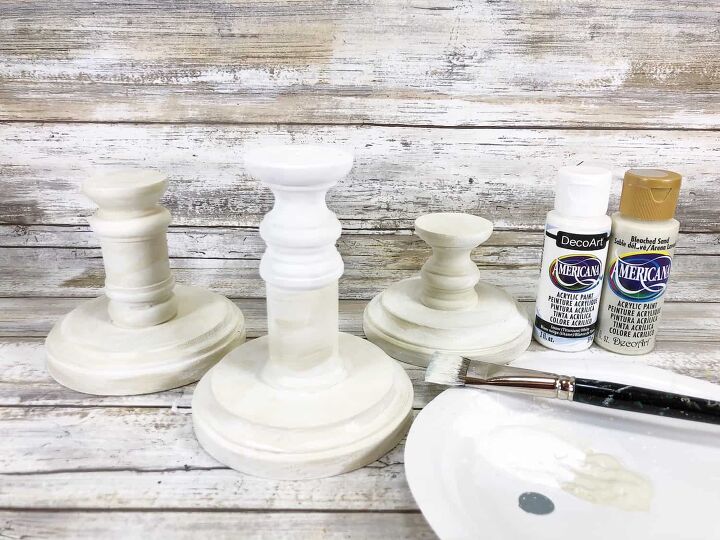
Step Three
To add a rustic, farmhouse look, dip a paintbrush in white craft paint and then dip it in ivory craft paint. Using the brush, paint the surfaces of the pedestals.
Don’t try to mix the colors together and brush them until they are mixed. You want the variations in colors.Allow to dry.
Step Four
Add some water to the grey paint. Using your paint brush, quickly apply a light layer of the grey paint to the pedestal. Before the paint dries, wipe off most of the grey paint with a damp paper towel.
This will give a rustic, worn effect with the grey paint settling into the edges of the pedestals.
If you enjoy creating a rustic finish with paint, check out my tutorial on how to create an antiqued paint finish using vaseline.
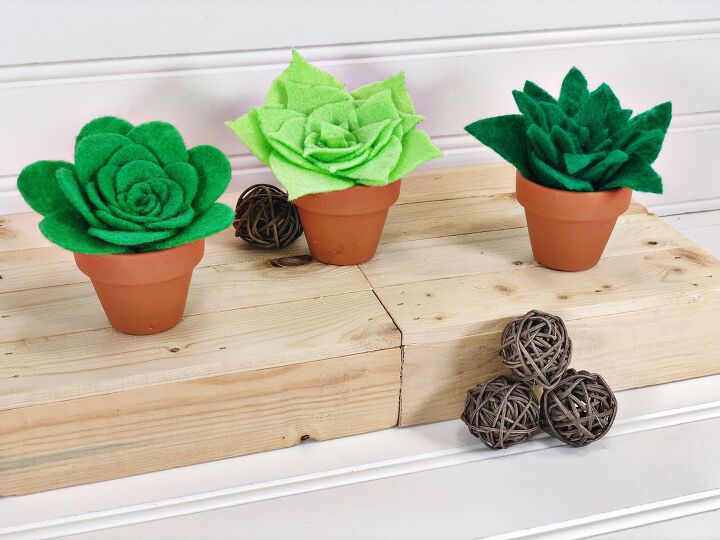
These mini felt succulent pots would be cute displayed on these pedestals, too! Get your free craft pattern for these tiny felt succulents.
Resources for this project:
See all materials


Comments
Join the conversation
-
Very pretty, and even better, simple!
-
Wonderful! You could even use these to make low laying shelves, too, with the wooden pallet board, couldn't you? Just paint the board the colors of the other wood pieces and glue it on top. Just to make a little shelving storage in the kitchen ot bath or wherever. Am I off in left field here? I am just getting my craft legs here. LoL 🌈🕊️✌️😊💕😆


Frequently asked questions
Have a question about this project?