


DIY Wooden Target Tray Transformation
This DIY wooden Target tray transformation is SO EASY! You’ll love how simple it is to upcycle and transform into a pretty serving tray with feet.
I know you’ve perused Target’s Dollar Spot.
You can’t avoid it. It’s right smack in front of you when you walk into the store. You actually need to make an effort to avoid it.
But why would you?
There are great deals in the Dollar Spot.
I recently found a wooden tray with handles that was half off. Regularly $5, but on sale for $2.50.
Talk about a deal!
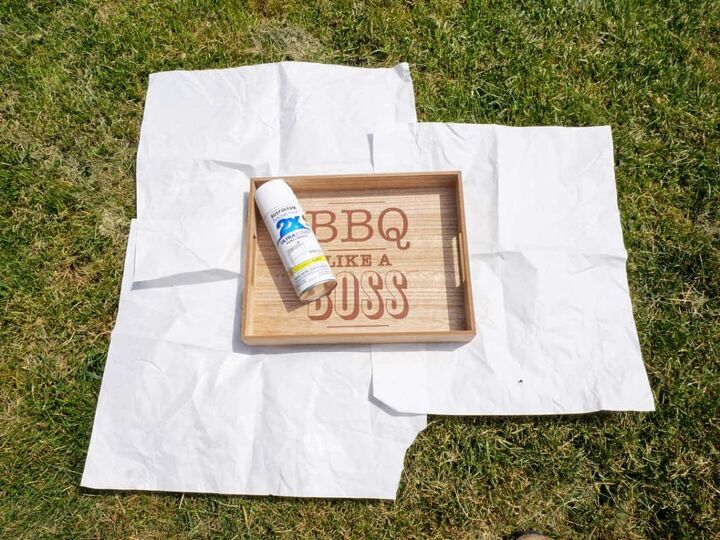
But it was for Father’s Day (which had already passed), and it was pretty plain and boring. (Plus it said, “bbq like a boss”. No thank you!)
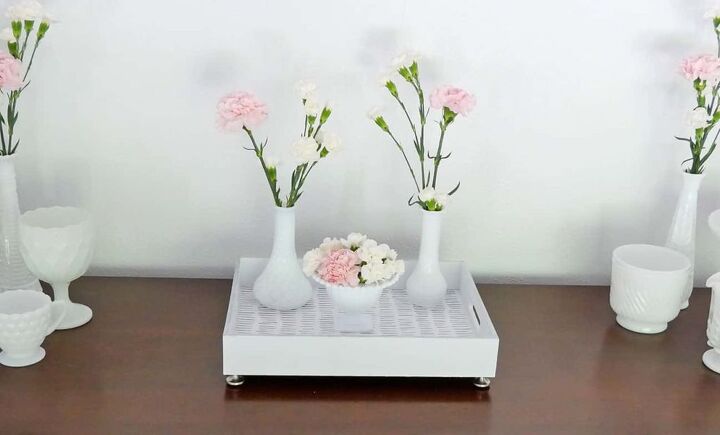
So, I decided to transform the tray into a classy serving tray with feet. One that I would actually use.
Check out how easy it is to upcycle a Target Dollar Spot tray…
Supplies for DIY Wooden Target Tray Transformation
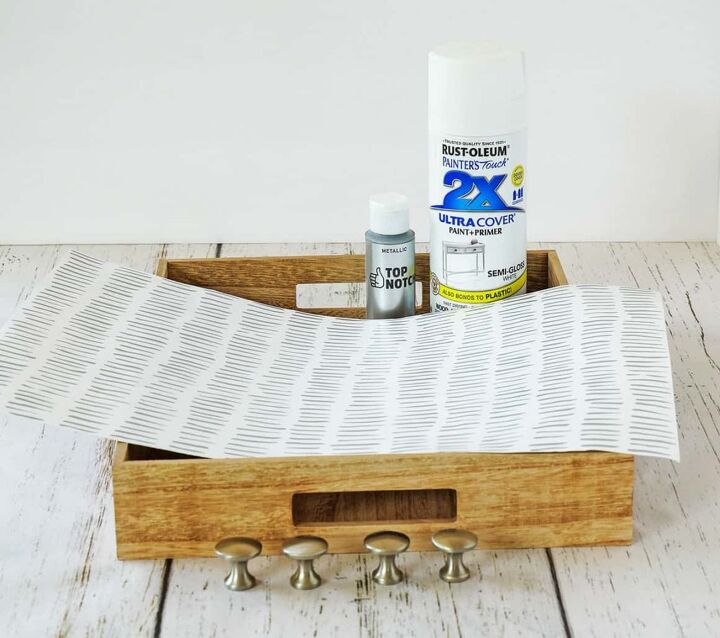
- Target Dollar Spot wooden tray
- Spray paint
- Silver craft paint
- Wallpaper from Dollar Tree
- Silver drawer knobs
- Scissors and E6000 glue
How to Upcycle a Tray from Target Dollar Spot
Step 1: Paint your wooden Target tray
To easily transform your Target Dollar Spot wooden tray ~ spray paint it.
If possible, spray paint outside so the fumes and spray don’t bother you. Be sure and lay down newspaper or a dropcloth first, to protect your work surface or lawn.
If spray painting outside isn’t an option, a garage or well-ventilated room will work, too.
When spray painting, follow the instruction on the can. Start painting before your tray and continue spraying past it. This will help prevent drips and blotches on your diy wooden tray.

You will need to apply multiple light coats of spray paint until your tray is completely covered and you can no longer see the original wood.
Step 2: Add paint accent to diy wooden tray
Once your diy wooden Target tray is totally painted, it’s time to add an accent paint color, to give it a little pop.
I chose a silver metallic craft paint and painted the top edge around the tray.
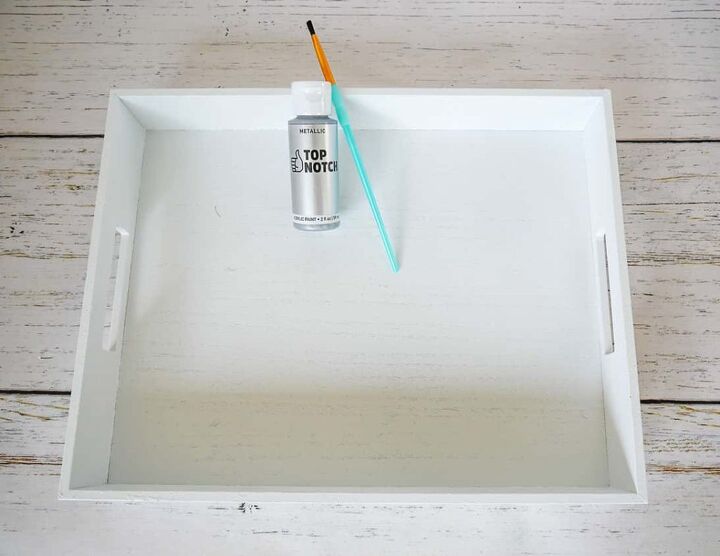
The metallic color gives the tray an elevated feeling.
Step 3: Add wallpaper from Dollar Tree to upcycle your Target Dollar Spot tray
Dollar Tree has really cute wallpaper patterns that are simply peel and stick. No gluing needed!
They’re great to use for this upcycle tray project as the wallpaper is easy to wipe clean, and if you want to switch it out later, you can easily remove it.
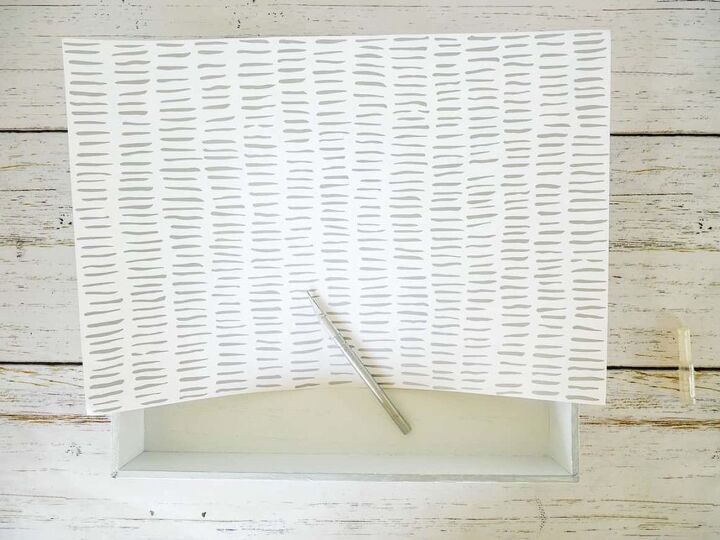
Measure the inside of your tray and cut the wallpaper to size. Then peel away one corner of the wallpaper from the backing and carefully place it inside your tray.
To ensure you don’t have any air bubbles, smooth out the wallpaper with a straight edge as you lay it down. Using a bone folder, or the edge of a ruler both work well.
Step 4: Add feet to the upcycled diy Target tray
Now add feet to your Target Dollar Spot serving tray. This will really complete the transformation.
Using E6000 glue, adhere your selected door knobs to the base of the wooden Target tray.
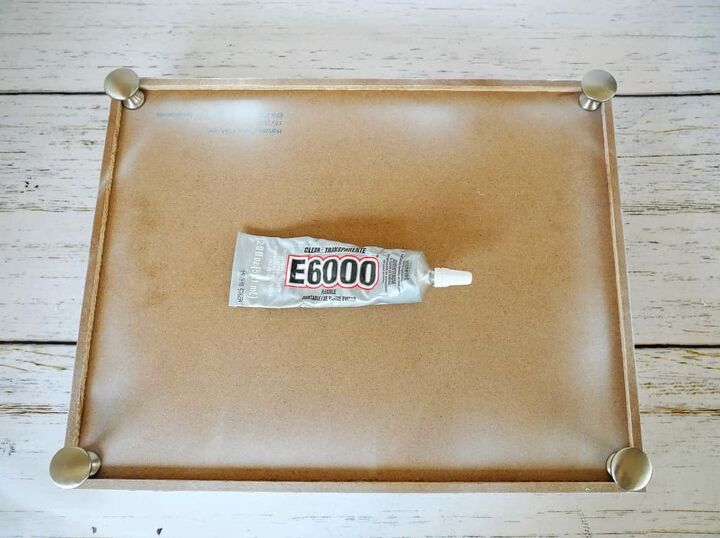
Make sure the knobs are placed towards the corners of the tray and that you allow the glue to dry before flipping the tray over.
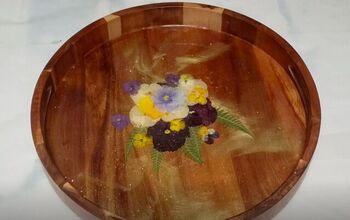
That’s it!
Your diy wooden Target Tray transformation is complete. And what an amazing Dollar Spot upcycle project!!
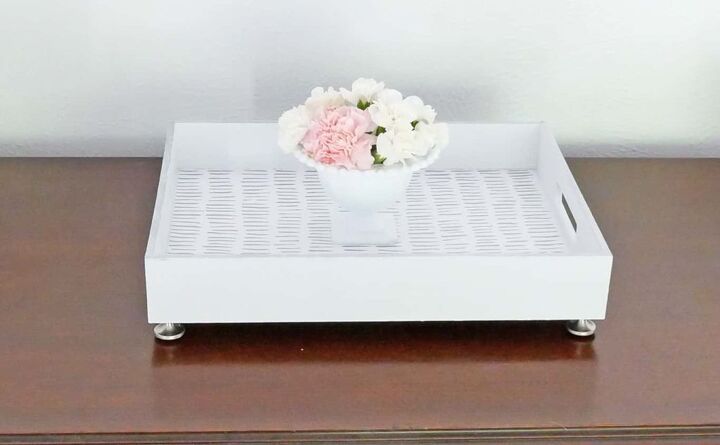
Time to use it on your kitchen counter, your coffee table, or in your dining room.
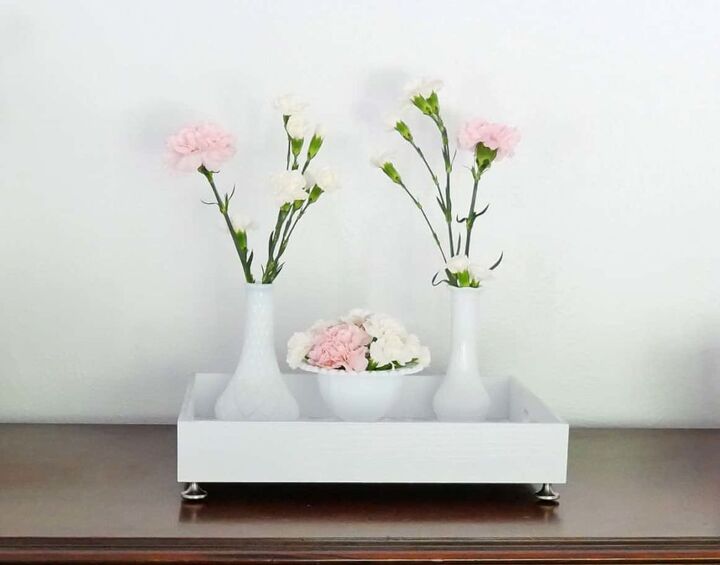
Check out how CUTE it looks on a Simple Pink & White Tablescape.
Check out other EASY DIY PROJECTS:
- DIY Friendship Bracelet Napkin Rings
- How to Stencil Cloth Napkins: Easy DIY
- Easiest DIY Napkin Rings for Everyday
- DIY Unique Menu Holder
- DIY Wine Cork Napkin Rings
- Simple Moss Bowl Centerpiece DIY
- Diamond Napkin Rings
- Twisted Paper Flower Napkin Rings


Frequently asked questions
Have a question about this project?