


DIY Speckled Easter Eggs
Featuring Miss Mustard Seed’s Milk Paint European Collection, learn how to make the prettiest speckled Easter eggs with this simple DIY just in time for Easter!
*Miss Mustard Seed’s Milk Paint graciously provided the wonderful milk paint products for this post. However, all opinions are honest and 100% my own.
I am so excited to share another fun project using Miss Mustard Seed’s Milk Paint with you today. You may know that I love decorating Easter eggs, and with Easter right around the corner I thought it would be a great excuse to paint some wooden Easter eggs with my favorite paint.
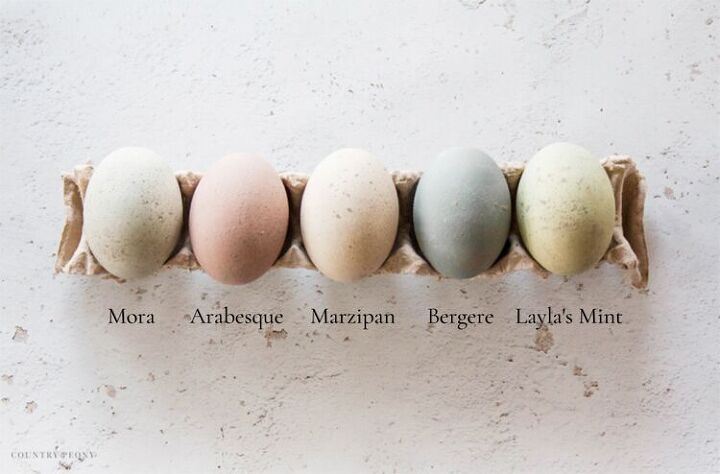
For today’s project I used colors from * Miss Mustard Seed’s Milk Paint (affiliate link) European Collection: Arabesque, Layla’s Mint, Marzipan, Mora, Schloss, and Bergere. The European Collection is full of vintage-inspired charm with so much depth and warmth. It is inspired by the history and beauty of Europe. I love how all of these gorgeous colors play so well together, making them the perfect addition to your Spring and year round decor.
The best thing about this DIY is that these eggs will last for more than one season. My hope is that you will smile when you bring these out year after year!
New to Milk Paint?
Beginning your milk paint endeavors with smaller projects like this is a great place to start. I love painting furniture with milk paint, but it can be intimidating. The key is to just have fun! Milk paint is very forgiving and you really can’t go wrong.
Please visit my blog (linked below) for many more milk paint tutorials.
For your convenience, I have created this step-by-step video so you can see how I made these speckled Easter eggs. Then continue below to follow the step-by-step picture tutorial to make your own DIY Speckled Easter Eggs just in time for Easter.
Mix Miss Mustard Seed’s Milk Paint
Mix 1 part paint powder to 1 part water.
I always recommend starting with less so you don’t waste your product. You can always make more paint later. A little bit of milk paint goes a long way especially with this small project.
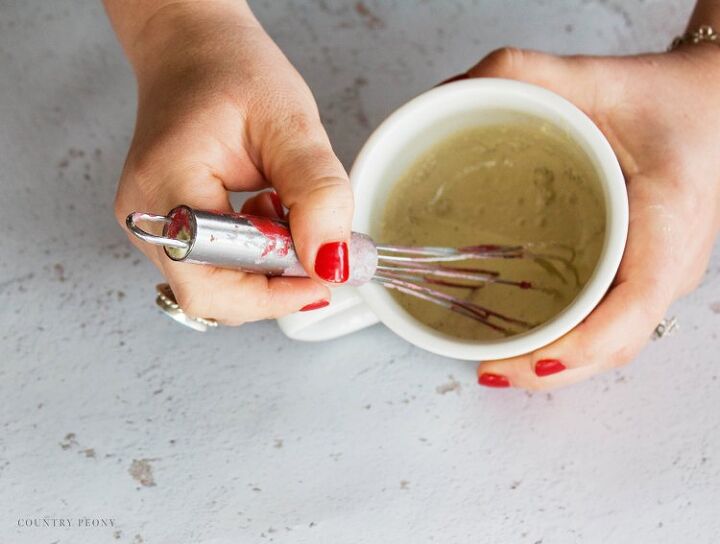
Whisk the paint together with the water until the paint is fully integrated into the water.
I have found that a miniature whisk is the best mixing tool to ensure the milk powder stays fully integrated into the water.
Your paint mixture should look like a thin pancake batter once it is mixed.
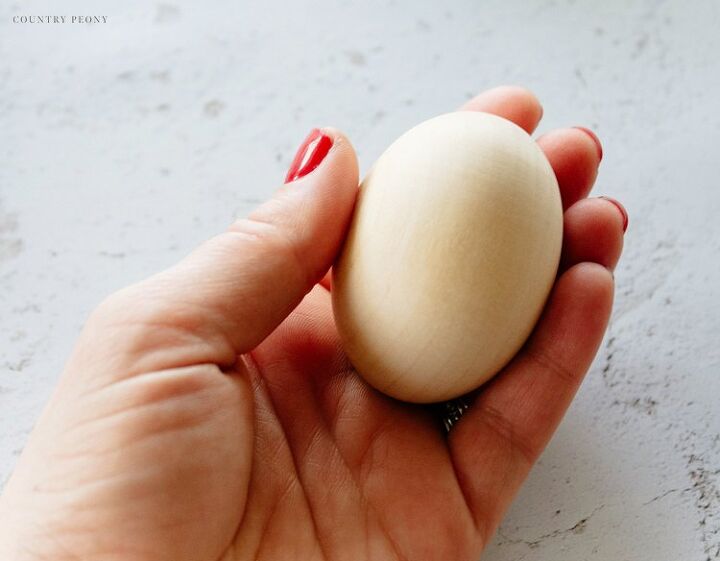
Paint the Wooden Easter Eggs with Miss Mustard Seed’s Milk Paint
For this project, I used these * wooden eggs (affiliate link) and they worked very well.
*You can also use plastic eggs as long as you mix in Miss Mustard Seed’s Bonding Agent into the milk paint. 1 part bonding agent to 1 part milk paint mixture.
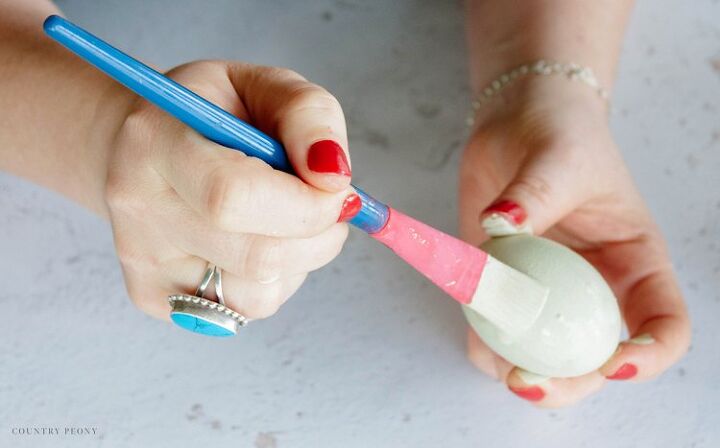
Paint 1 coat of milk paint to the entire egg.
*The milk paint soaks into the raw wood beautifully!
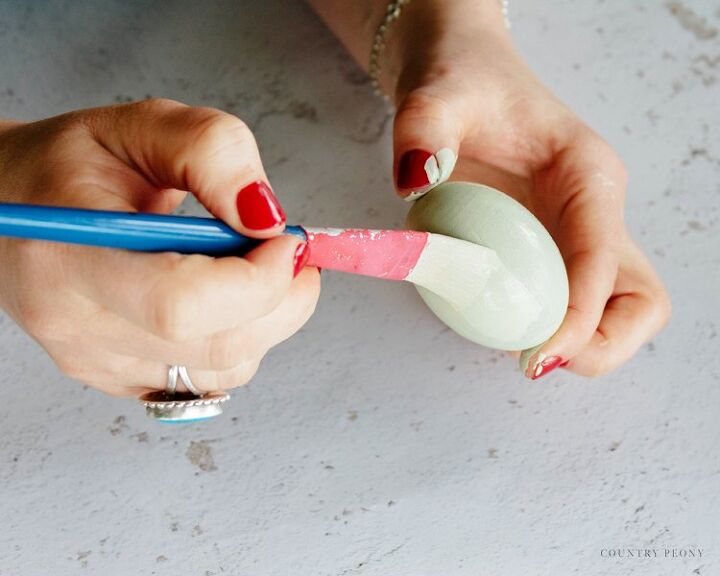
Once the first coat of milk paint is dry, paint another coat of milk paint.

Two coats of milk paint total.
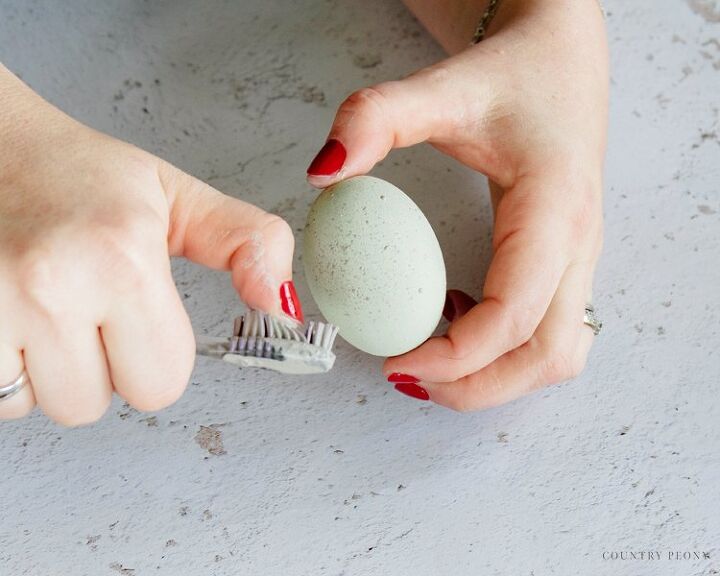
Add the Speckled Effect to the Easter Eggs
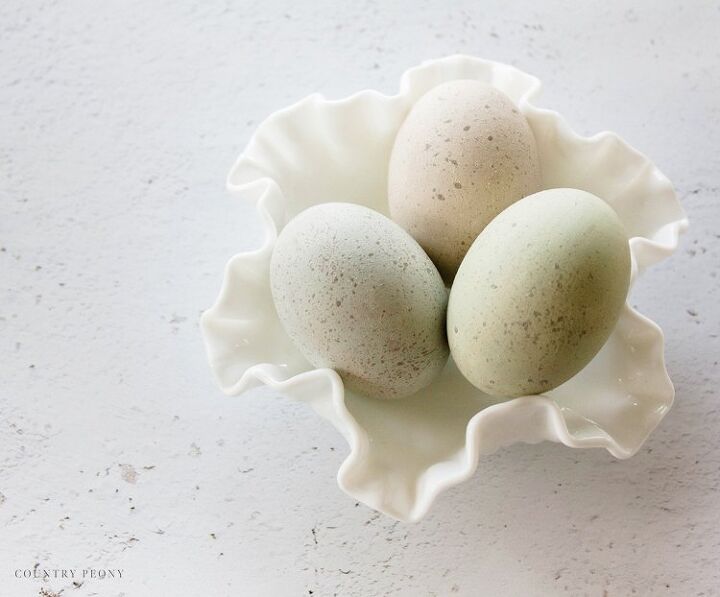
Use an old toothbrush to splatter Schloss paint onto the painted Easter eggs.
I love how this effect gives the eggs a beautiful, authentic look. So much charm and texture!
*This is a very messy step. Keep a wet cloth nearby to help with cleanup, which is a breeze!

Apply Miss Mustard Seed’s Hemp Oil to Give the Eggs a Beautiful Finish
Once the splattered paint is dry, use a lint free cloth to apply Miss Mustard Seed’s Hemp Oil to finish off the eggs, and give them a beautiful sheen.
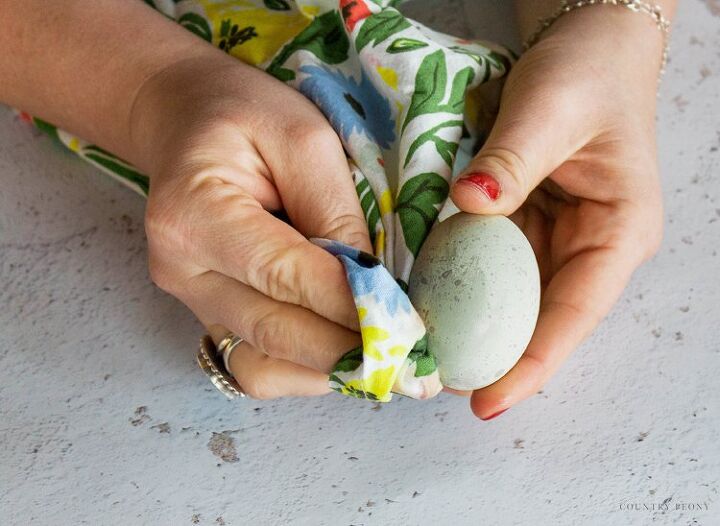
Once you apply the hemp oil, buff it off with the lint free cloth.
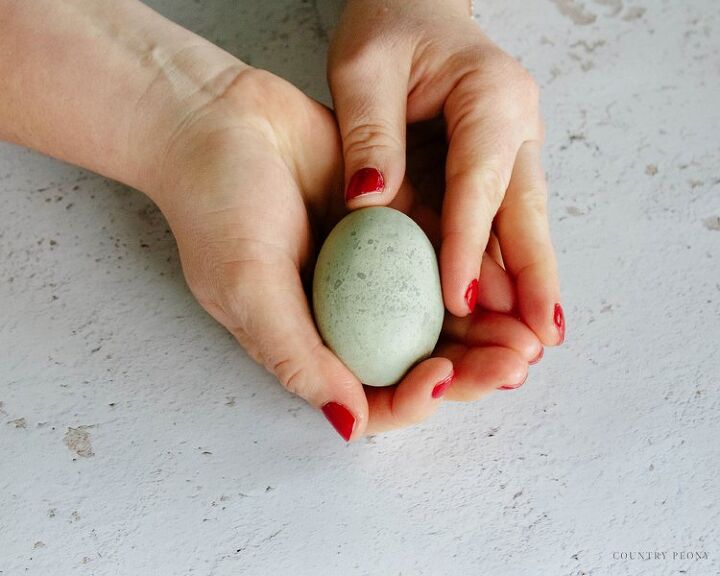
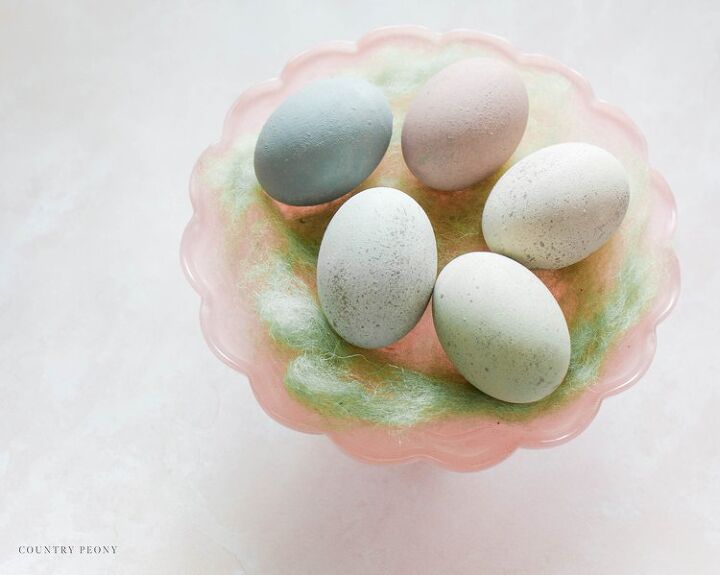
Enjoy your Beautiful Easter eggs!
This picture showcases all of the beautiful colors from the European Collection with Schloss as the speckles.
Thank you to Miss Mustard Seed’s Milk Paint for providing the wonderful products for this post.
For more non-candy Easter egg ideas read this guide!
Thank you so much for following along today. I hope you enjoy experimenting with Miss Mustard Seed’s Milk Paint as much as I do!

I believe crafting is more fun when we share our projects. Please email me at elizabeth@countrypeony.com, or please tag me @thecountrypeony to show me your beautiful, custom eggs!
Resources for this project:
See all materials


Comments
Join the conversation
-
Love the sweet pastel colors❤️. They remind me of the colored eggs my granddaughter’s chickens lay
-
Just an fyi, I have a couple of battery operated cream frother for coffee. Best thing ever. I use for eggs and smaller batches of mixing; I think, as so inexpensive, I would use one for mixing small amounts of paint or whatever too


Frequently asked questions
Have a question about this project?