


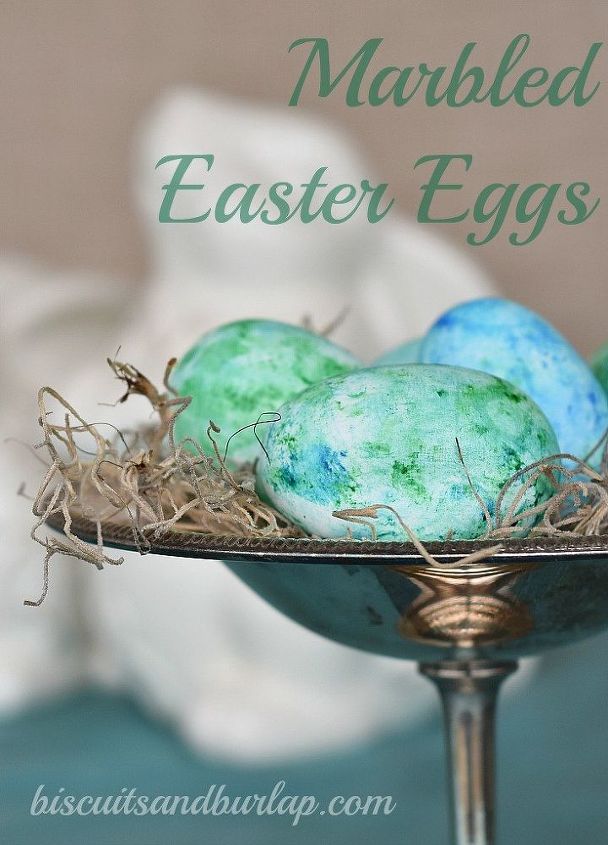
Easter Eggs Marbled - 3 Methods
7 Materials
I tried 3 different methods of making marbled Easter Eggs. They all turned out unique and beautiful. Which one is your favorite? At Biscuits and Burlap I've got pros and cons and more details. The link is below.
#1 tip? Have plenty of gloves on hand!
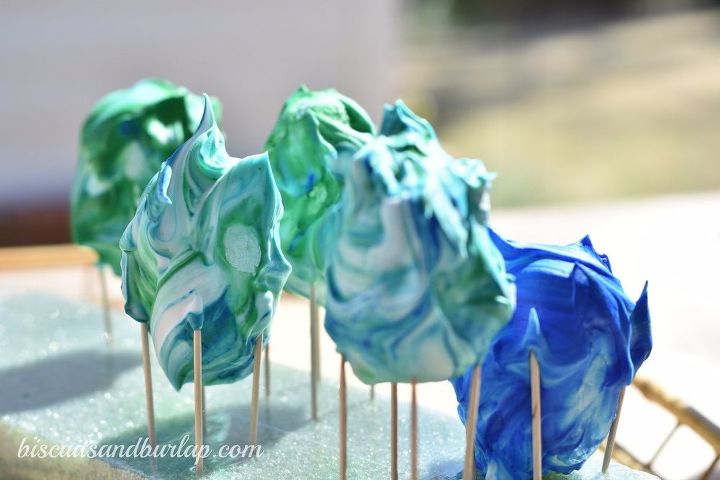
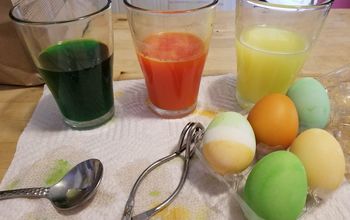
YIKES! What is this? Yes, they are Easter Eggs and this was the shaving cream method. This produced the boldest colors. I used Wilton Icing color (very concentrated) and just swirled it on top of the shaving cream.
I let them sit for a while before wiping off the cream. I think they turned out beautifully.
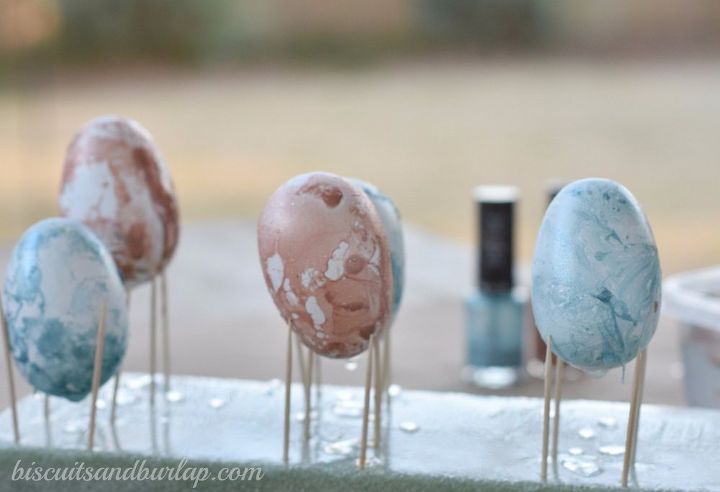
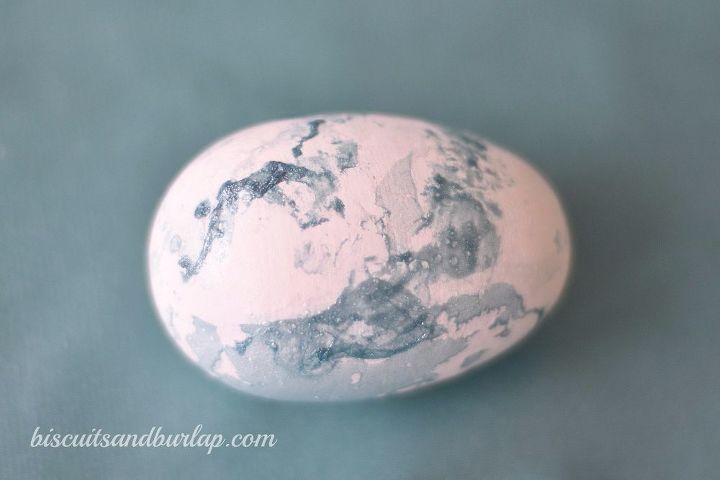
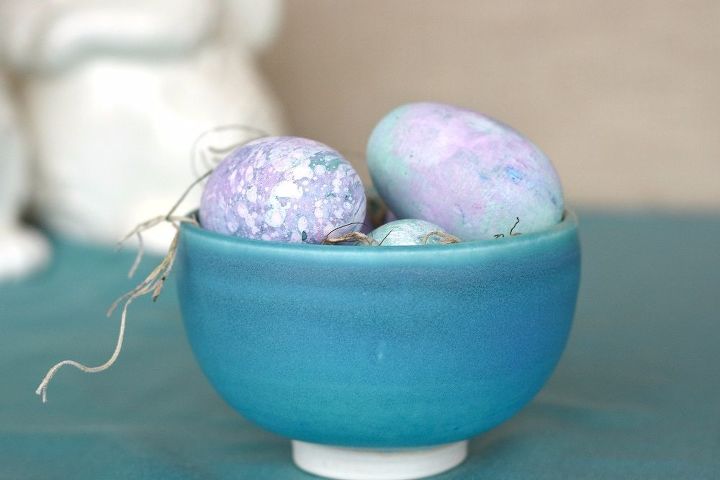
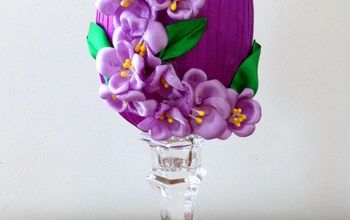
This is the nail polish method as they were drying. I think this was my favorite. I used iridescent polish, which gave an extra pearly sheen.
It took me a few tries to nail down the method for getting the egg in and out of the water. I put it in and out quickly and then turned it over and did the same thing. More details are at Biscuits and Burlap.
I only used one color at the time, but you could blend colors.
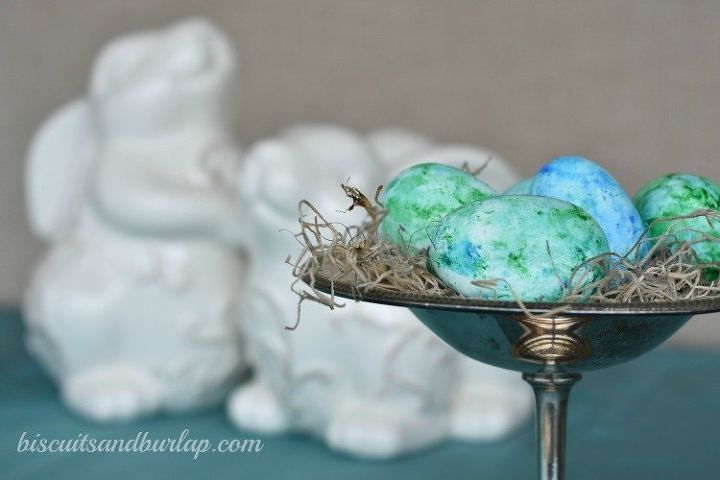
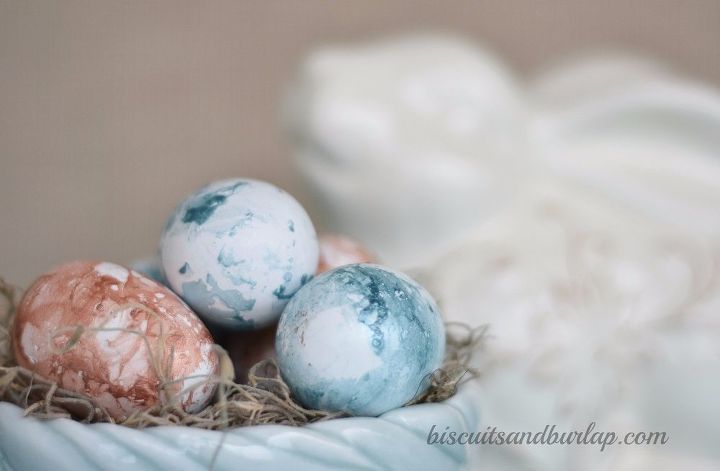
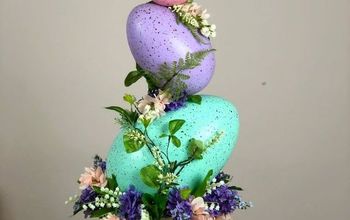
The oil method was so simple. It's just a tiny bit of vegetable oil in the coloring. The longer you let them sit, the bolder the color.

Okay, maybe THIS is my favorite. I don't know. I love them all. And by the way, these are faux (wooden) eggs. Any of these methods would work fine with the real thing, but I wanted mine to be around for a while.
Be sure to check out all the details at Biscuits and Burlap. Link below.

Want more details about this and other DIY projects? Check out my blog post!
Comments
Join the conversation
2 of 3 comments
-
Soo pretty!
-
really pretty :)


Frequently asked questions
Have a question about this project?